
The best DIY pet projects solve an everyday problem without creating a new safety risk. Homemade pet toys, washable beds, food puzzles, and gear organizers can save money when they match your pet’s size, habits, and level of supervision.
Use this hub to find the right starting point, rule out unsafe shortcuts, and open a full guide when the job involves electricity, travel, body weight, or reliable containment. Start with the Pet Project Picker, then use the safety checks to decide whether to build, adapt, or buy.
This post contains affiliate links. If you buy through our links, we may earn a commission at no extra cost to you. As an Amazon Associate, I earn from qualifying purchases. Learn more.
Table of Contents
- Start with the job—not the leftover material
- Pet Project Picker
- Safety rules before you start
- Five low-cost starter projects
- When a DIY pet project needs a full guide
- Build a small pet-project materials box
- Frequently asked questions
- Start with one project you can inspect
Start with the job—not the leftover material
Before you choose fabric or cardboard because it is free, answer three questions:
- What job should the project do? Play, food enrichment, rest, organization, travel, and separation each call for a different build.
- How will your pet test it? Think about chewing, pulling, climbing, digging, and whether your pet tries to swallow loose pieces.
- Can you inspect and supervise it? If failure could expose electricity, release an animal, carry body weight, or affect travel safety, use a proven product or a focused guide instead.
Frugal rule: reuse materials only when they are clean, intact, and suitable for the job. “Free” stops being frugal when it creates a choking, ingestion, electrical, or escape risk.
Pet Project Picker
Choose your pet and the job you want done. Material is optional; each result points to a starter build or focused guide and explains why it fits.
The picker narrows the choice. Before you cut or drill, use the safety rules below to test the materials, failure points, and supervision plan.
Safety rules before you start
Homemade pet toys and beds are not safe merely because the materials are familiar. The main risks are loose pieces, long strands, sharp edges, exposed fasteners, unstable structures, and materials your pet can tear apart and swallow. Cornell’s Feline Health Center warns about small detachable pieces and strand-like parts such as string or feathers.
- Size for the animal, not the photo. A toy should not fit fully inside your pet’s mouth, and a barrier should not create a gap that can trap a head, limb, or collar.
- Supervise the first sessions. Watch how your pet pulls, chews, paws, and climbs before deciding a project can stay in regular use.
- Remove strings after play. Wand toys, yarn, ribbon, and loose fleece strands should not be left where a cat or dog can swallow them.
- Retire damaged projects early. Fraying seams, cracked plastic, exposed wire, loose staples, and widening holes are replacement signals.
- Do not improvise around live electricity. Move or unplug accessible cords where possible and use a purpose-made physical cover when the cable itself remains reachable. Cornell also recommends heavy cord protection for cats that chew wires.
- Keep food projects separate from recipe experiments. Use part of your pet’s normal ration in a puzzle. Homemade pet treats are a separate nutrition task, and the FDA warns that xylitol can be dangerous to dogs.
Stop and buy or hire instead when the project must restrain a strong animal, carry body weight, protect a live cable, survive unsupervised chewing, or meet a travel-safety requirement. Those are engineering and safety jobs, not places to prove how cheaply you can improvise.
Five low-cost starter projects
These five builds are small, reversible, and easy to inspect. Each card gives you enough to decide whether the idea fits; larger or safety-critical jobs have their own focused guides.
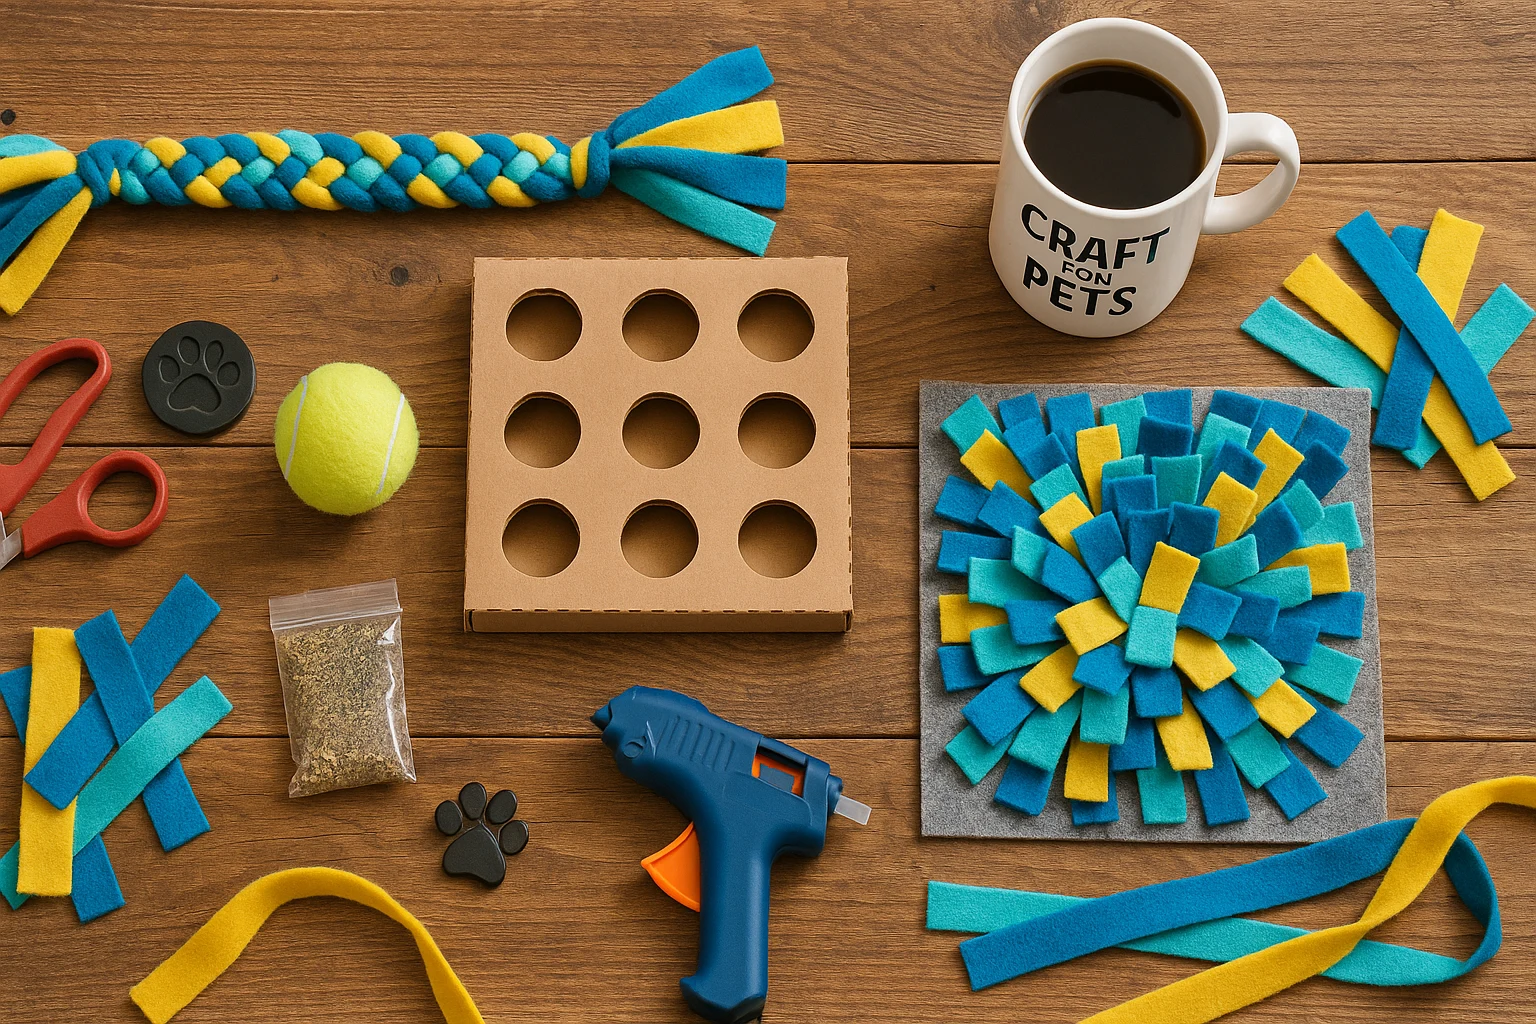
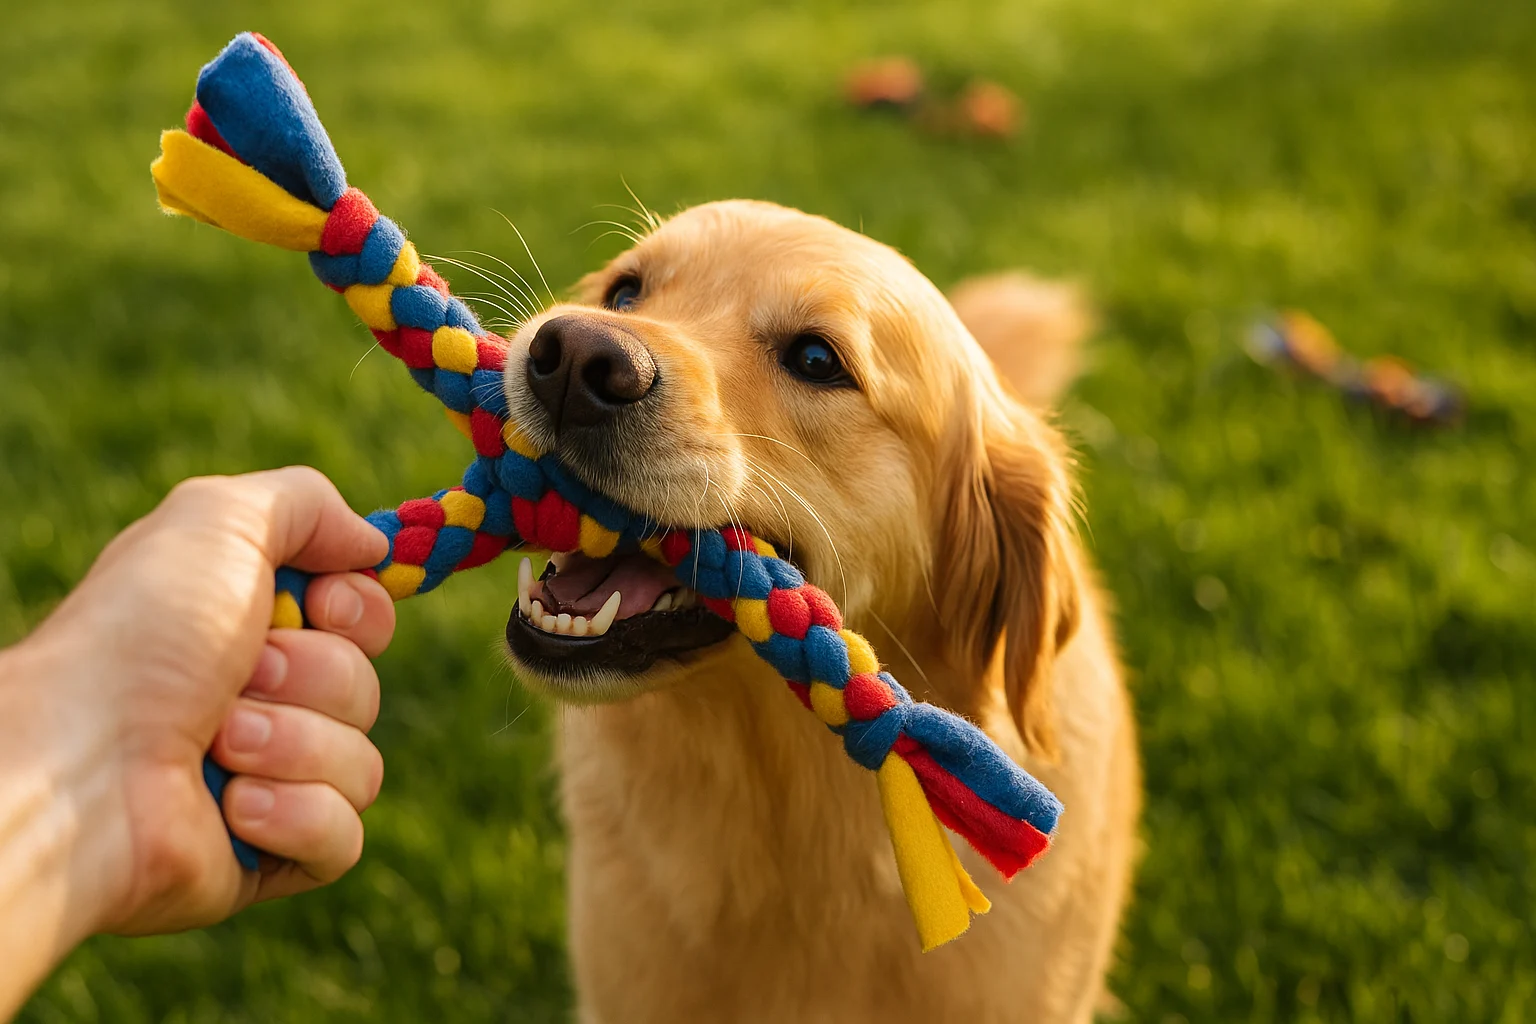
No-sew fleece tug (dogs)
Cut six long fleece strips, knot them together at one end, divide them into three pairs, braid tightly, and finish with a second large knot. Make the finished tug wider and longer for a larger dog.
Tug test: pull hard on both knots. Retire it when strips thin, tear, or come loose. Tug toys are for interactive play, not unattended chewing.
Cardboard puzzle feeder
Stand clean paper tubes inside a shallow box, leaving enough room for your pet to reach between them. Scatter part of the normal dry-food allowance through the spaces rather than adding extra treats.
Cardboard check: supervise closely and remove the feeder if your pet tears off or eats cardboard.
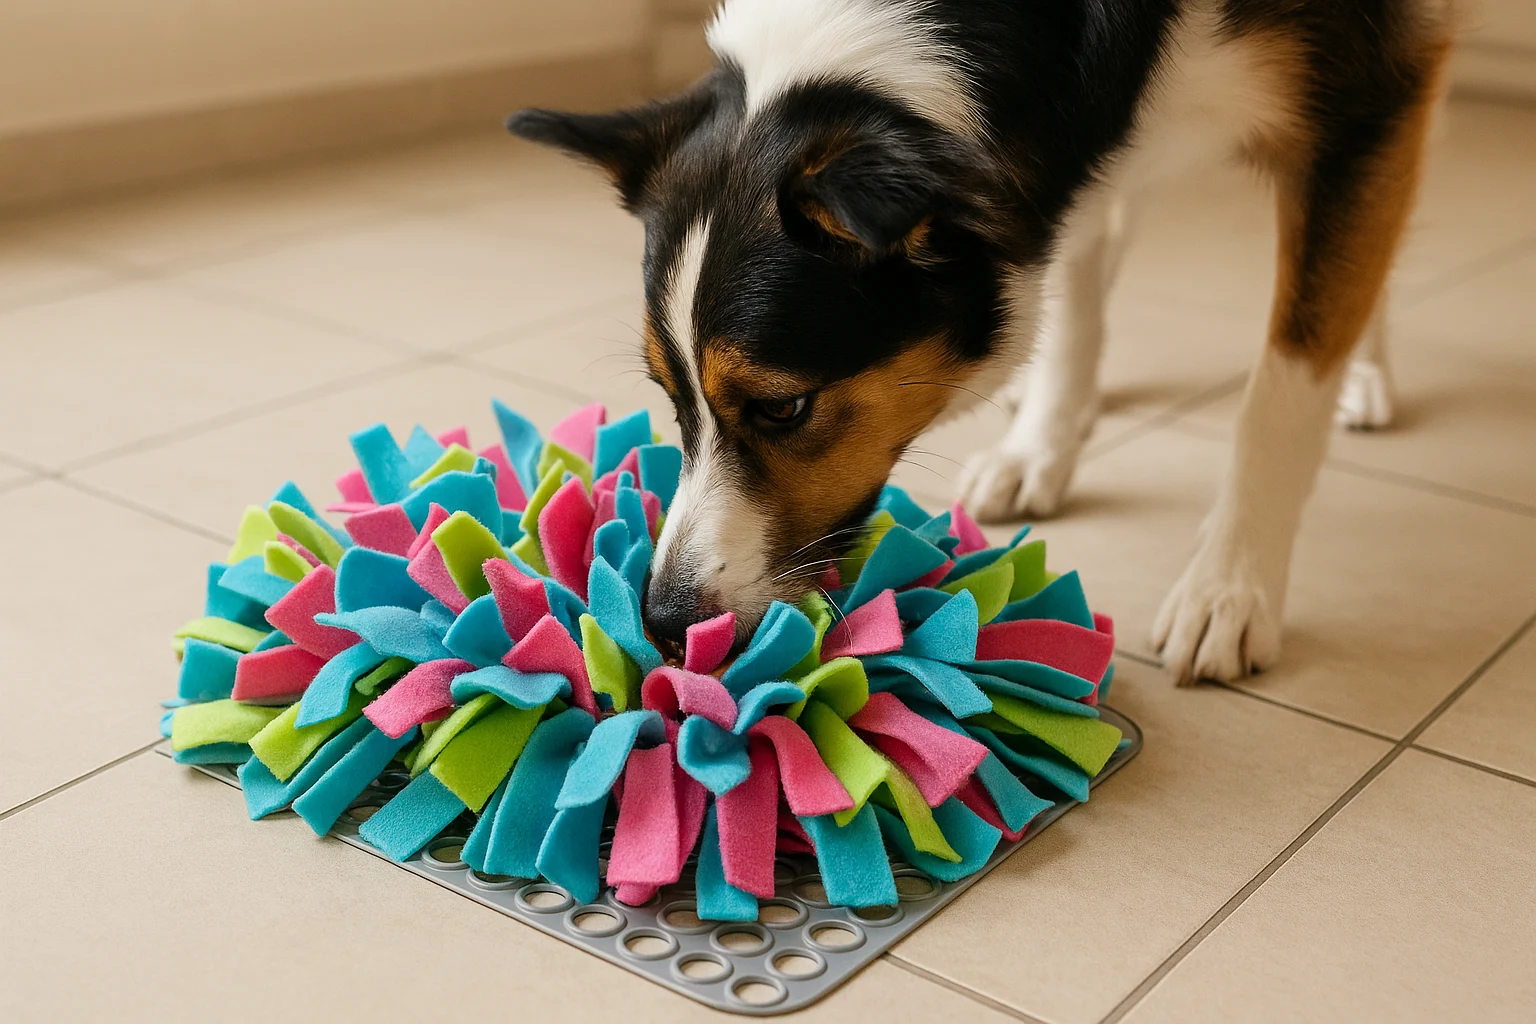
Washable snuffle mat
Cut fleece into short strips and tie each strip securely through a washable rubber base. Hide a small amount of kibble between the strips once every knot has been checked.
Mat check: choose a base your pet cannot chew apart, wash it regularly, and stop using it if strips loosen.
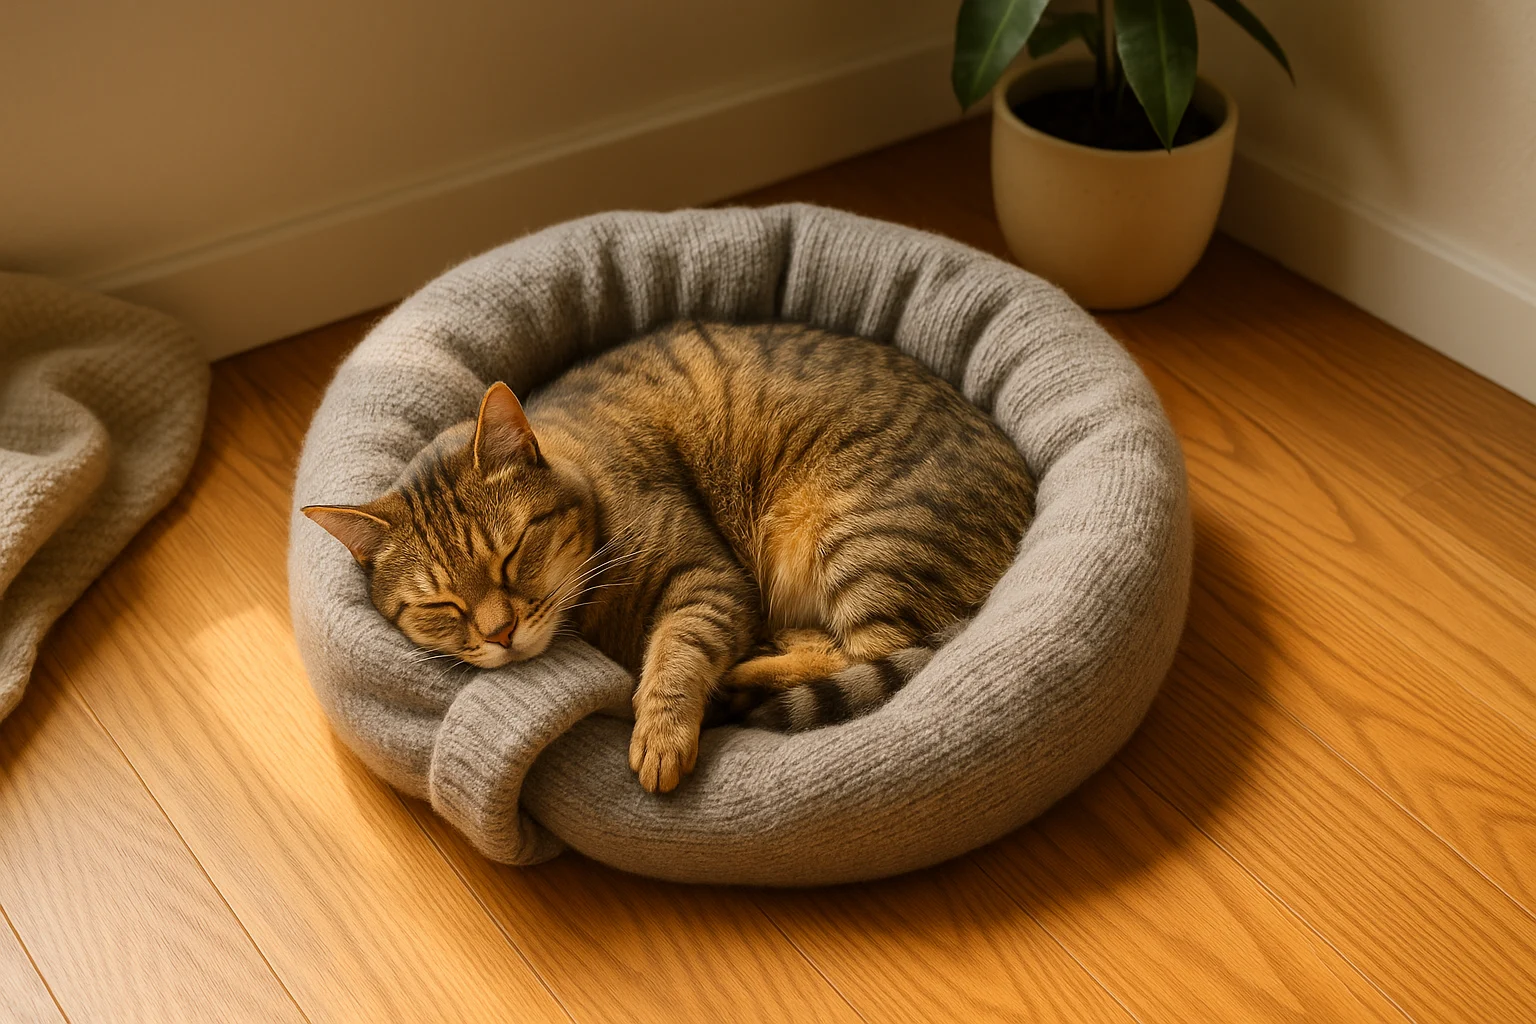
No-sew bed from old clothes
For a simple DIY dog bed or cat bed, remove buttons, zips, cords, and hard decorations. Fold clean fabric into a washable pillowcase or sturdy cover, then close the opening so your pet cannot pull the filling out.
Bed check: keep it low, dry, and washable. This is a comfort bed, not an orthopedic substitute.
Wall-mounted pet gear station
Sand a small board, position two or three hooks, pre-drill the holes, and mount the board into suitable wall anchors. Keep heavy bags off hooks that were installed only for light pet gear.
Mounting check: cover screw points, test the mounting, and place it beyond chewing height.
When a DIY pet project needs a full guide
Once a project controls movement, protects a cable, or carries weight, the details matter more than the idea. Use the focused guides below instead of turning a one-paragraph craft into a structural or safety job.
| Job | Use this guide | Main boundary |
|---|---|---|
| Personalize a dog collar | DIY dog collar accessories | Decorations should not replace or weaken the load-bearing collar and hardware. |
| Cover accessible cables | DIY pet cord protector | Unplug and reroute first; a cover is not permission to leave damaged wiring in service. |
| Separate pets in a car | DIY pet barrier for a car | A divider controls movement; it is not a crash-tested restraint. |
| Create a removable room divider | DIY pet barrier ideas | Use only where a removable barrier can safely handle the animal’s size and persistence. |
| Block a cat-sized opening | DIY pet gate for cats | Check jump height, footholds, squeeze gaps, and stability—not just the gate width. |
| Build an enclosure | DIY pet cages | Ventilation, spacing, materials, escape resistance, and species needs all matter. |
| Make a private memorial | DIY pet casket | Check local burial or cremation rules before choosing materials or a burial place. |
When buying is safer than improvising
Most projects on this page are small and supervised. Two jobs deserve a purpose-built fallback when a homemade version cannot safely control the risk.
For an intact cord that still remains reachable: consider the Alex Tech 10-foot cord protector sleeve, 1/2 inch.
Unplug, inspect, and reroute the cable first. A sleeve adds a physical barrier; it does not make a damaged cord safe or replace the full cord-protection plan above.
When reliable indoor containment matters: use the dedicated barrier or enclosure guide first. If a removable divider could be pushed over, climbed, or slipped through, the MidWest 30-inch exercise pen on Amazon is a purpose-built indoor fallback—not a vehicle restraint.
For the smaller projects that remain good DIY candidates, keep the supply kit compact and buy only the missing material that makes the build safer or easier to maintain.
Build a small pet-project materials box
A small materials box prevents the usual waste: buying a full pack for one ten-minute job, then losing the leftovers. Keep only clean materials you can identify, inspect, and wash when the project requires it.
- Washable fleece and cotton: useful for braided toys, covers, and snuffle mats. Remove buttons, elastic loops, zips, and loose decorations.
- Sturdy cardboard: useful for supervised food puzzles. Avoid boxes contaminated by cleaners, oils, staples, or unknown residues.
- Basic sewing supplies: useful when a secure seam is safer than glue. Keep needles and thread locked away after the project.
- Sandpaper and a hand drill: useful for simple organizers and barriers, provided the finished piece has no exposed points or splinters.
- Washable covers: often more valuable than extra stuffing because they make beds and mats easier to clean and inspect.
Do this before buying anything: choose one project, write down its three essential materials, and search your clean-laundry, recycling, and hardware leftovers. Buy only the missing item that makes the build safe or durable.
Once that box fills faster than one pet can wear things out — leftover fleece, spare hardware, a pattern you have now made four times — the same materials can start covering their own cost. The guide to starting a small pet-accessories business picks up there, including what changes when you are making things for animals you cannot inspect yourself.
Frequently asked questions about DIY pet projects
Start with one project you can inspect
A good first project is small enough to test, clean, and replace. Choose one need, use materials you understand, supervise the first session, and retire the build as soon as its weak point appears. Damage is information—not a challenge to make the next version indestructible.
Still deciding? Return to the Pet Project Picker. If the job involves a barrier, cable, enclosure, car, accessory, memorial, or tall climbing structure, use the focused guide section rather than improvising from a short summary.
This article is general information, not veterinary or engineering advice. Supervise pets with homemade toys and enrichment items, remove damaged projects promptly, and use professional guidance for health concerns, electrical hazards, load-bearing structures, secure travel restraint, or containment that could fail and injure an animal.