
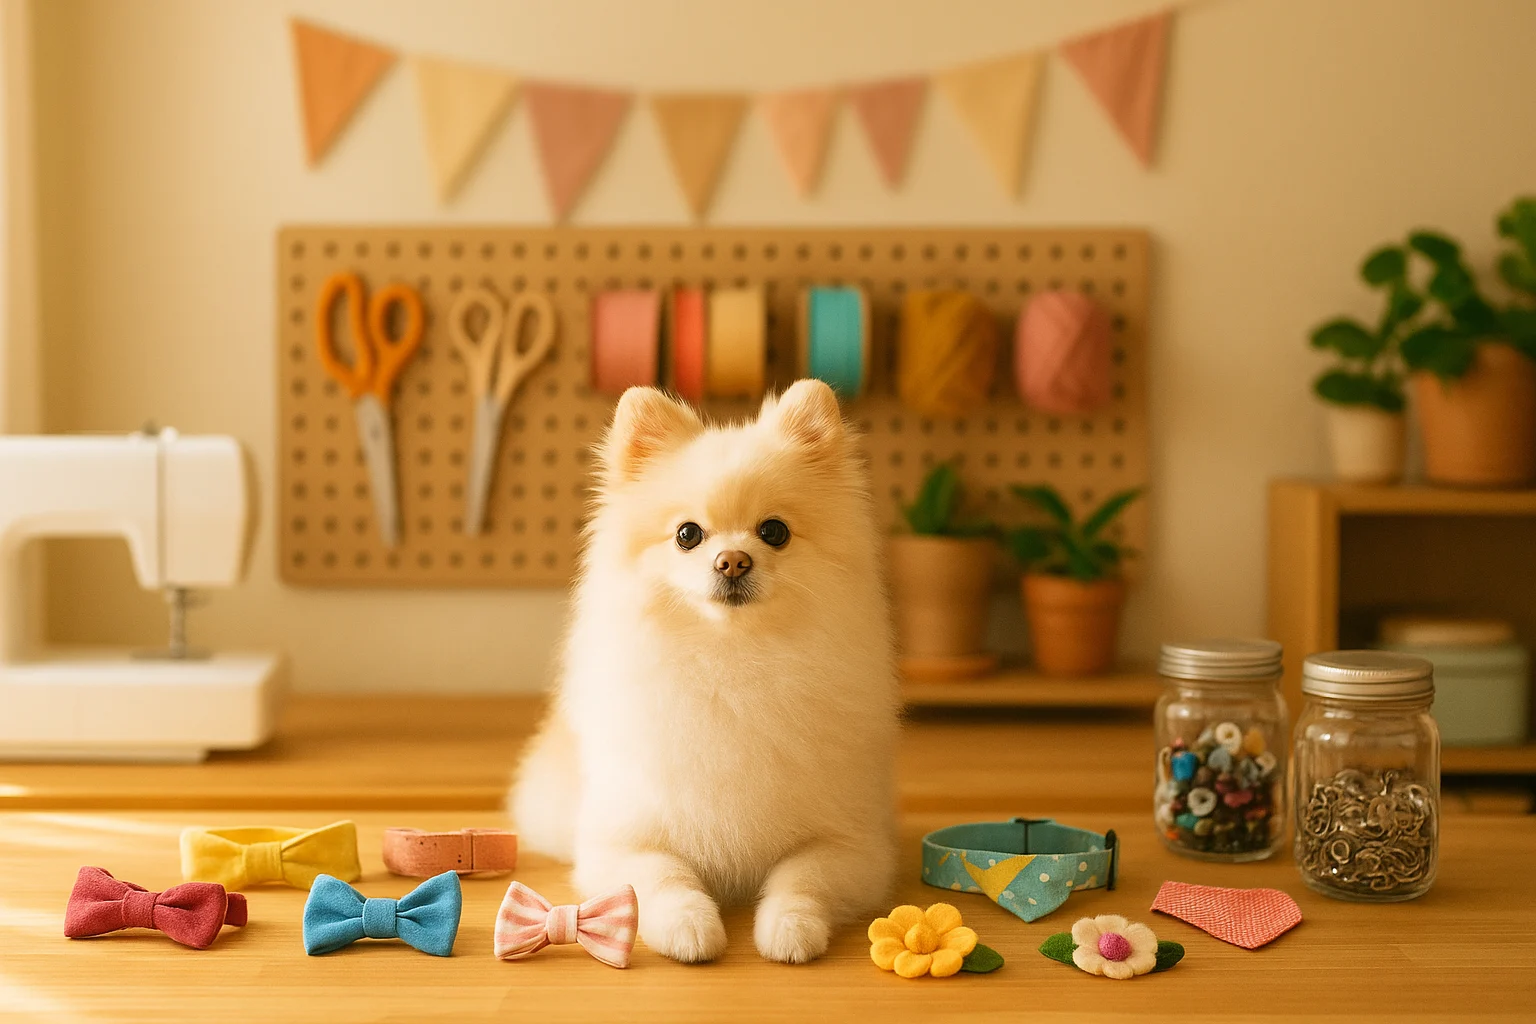
DIY dog collar accessories can stay under $15 when the budget covers materials, not a brand-new toolkit. The safest projects are light, flat, removable, and kept clear of the buckle, adjuster, ID tag, and leash ring. I’d start with a slip-on bandana or small fabric bow; both use scraps, come off easily, and do not change how the collar works.
This guide focuses on decorating an existing, correctly fitted collar—not making a load-bearing collar from scratch. For more low-cost pet builds beyond collar accessories, start with our DIY pet projects guide.
Find a collar projectThis post contains affiliate links. If you buy through our links, we may earn a commission at no extra cost to you. As an Amazon Associate, I earn from qualifying purchases. Learn more.
Table of Contents
- What the Under-$15 Budget Covers
- Safety Rules Before You Start
- Find the Right Collar Project
- Compare the 10 Projects
- Gather Only What Your Project Needs
- Optional Tools for Repeat Projects
- 10 DIY Dog Collar Accessories
- Fit, Cleaning, and Wear Checks
- DIY Collar Accessory FAQ
- The Best First Project
What the Under-$15 Budget Covers
The price promise is realistic when you already own ordinary household tools such as scissors, a ruler, an iron, and a needle. The estimates below cover the fabric, ribbon, felt, elastic, thread, or paracord used in one accessory. They are planning ranges rather than live store prices, and local costs will vary.
Budget rule: do not buy three new tools to save money on one bow. Use scraps first, choose the project, and upgrade a tool only when you expect to make several pieces.
Safety Rules Before You Start
A decorative add-on should never interfere with the collar’s real jobs: staying fitted, carrying identification, and providing a secure leash attachment. Check the base collar before adding anything. Follow its sizing guide and make sure it is neither pinching nor loose enough to slip over the head; current AKC guidance uses room for roughly one finger on small dogs and two on larger dogs as a fit check. See the AKC collar-fit guidance.
- Leave the hardware clear. Do not cover the buckle, adjuster, leash ring, quick-release mechanism, or reflective strip.
- Keep identification readable. AVMA notes that a collar with current visual identification remains useful even for microchipped pets. Review the AVMA identification guidance.
- Prefer soft, flat pieces. Skip beads, bells, hard charms, loose strings, and anything your dog can reach and chew.
- Stitch load points. Glue can help hold folds, but sewing is the more dependable choice for elastic loops and attachments. Follow the adhesive label and let it fully set before use.
- Supervise the first wear. Watch for pawing, chewing, rubbing, head shaking, or changes in movement.
- Remove accessories for crating, rough play, and unsupervised wear. AKC specifically advises removing collars in crates because they can catch on the bars. Read the crate-safety advice.
- Skip the project when comfort is uncertain. Do not add an accessory if your dog repeatedly mouths collar attachments, has irritated skin, or cannot wear the base collar comfortably. Decoration is optional; comfort and identification are not.
Find the Right Collar Project
Answer up to three quick questions before you buy or cut anything. Chewing behavior comes first, so you may get a safety-first answer immediately; otherwise, choose one answer at each step to narrow the options by style and time. Your result links straight to the matching project.
Question 1 of up to 3
Use the picker as a starting point, then scan all 10 projects below by cost, time, and fit before you gather materials.
Compare the 10 Projects
| Project | Planning cost | Time | Best fit |
|---|---|---|---|
| Fabric bow | $1–$4 | 15–30 min | Fast first project |
| Slip-on bandana | $2–$8 | 30–60 min | Soft and washable |
| Flat felt paw or flower | $1–$4 | 15–30 min | No-fray cutting |
| Short paracord sleeve | $4–$10 | 30–60 min | Sporty look |
| Reflective fabric tab | $3–$8 | 20–40 min | Practical accent |
| Ribbon rosette | $2–$6 | 30–45 min | Dressier occasions |
| Soft fabric pennant | $1–$5 | 20–40 min | Seasonal prints |
| Short slide-on necktie | $2–$7 | 30–60 min | Photo or event |
| Reversible fabric cuff | $1–$5 | 30–45 min | Two looks in one |
| Slide-on shirt collar | $3–$10 | 60–90 min | Most detailed option |
These ranges assume small quantities and existing tools. The cheapest project is the one you can make from a scrap you already own.
Gather Only What Your Project Needs
These pet collar crafts do not need one universal supply list. Match supplies to the project you chose and use what is already in the house.
- Washable cotton, felt, denim, or other tightly woven fabric scraps
- Ribbon or paracord for the project that specifically calls for it
- Needle, strong thread, fabric scissors, ruler, and fabric marker
- Small elastic loops for slide-on pieces
- Iron for crisp folds and casings
- Fabric glue or a fine-tip hot glue gun for non-load-bearing folds and details
With the collar off the dog, make a paper version before cutting the final fabric and hold it against a hardware-free section. Shrink the shape if it would touch the jaw, hide the ID tag, or reach the buckle or adjuster.
Avoid fraying trims, wired ribbon, glued-on beads, metal jewelry, and hard decorations. If a project needs a center detail, use another soft fabric or felt circle.
Optional Tools for Repeat Projects
Most readers can make one project with tools they already own. Consider a purchase only when one of these exact bottlenecks applies: precise glue work, missing hand-sewing basics, or repeated fabric cutting.
| Tool | Worth it when | Current listing |
|---|---|---|
| Surebonder mini fine-tip hot glue gun | You plan several no-sew felt or ribbon projects and want finer control than a full-size glue gun. Skip it if you already own a precise glue gun. | |
| Singer basic sewing kit | You are starting without basic hand-sewing supplies and plan several bows, bandanas, or slide-on fabric pieces. Check the current kit contents before ordering because included notions can vary. | |
| Fiskars 18 × 24-inch self-healing cutting mat | You plan several fabric projects and want a reusable measured surface for straighter cuts. Skip it for one small felt shape or a single bow. |
Buying rule: choose the project first. When none of the three conditions above applies, skip the links and use what you already have.
10 DIY Dog Collar Accessories
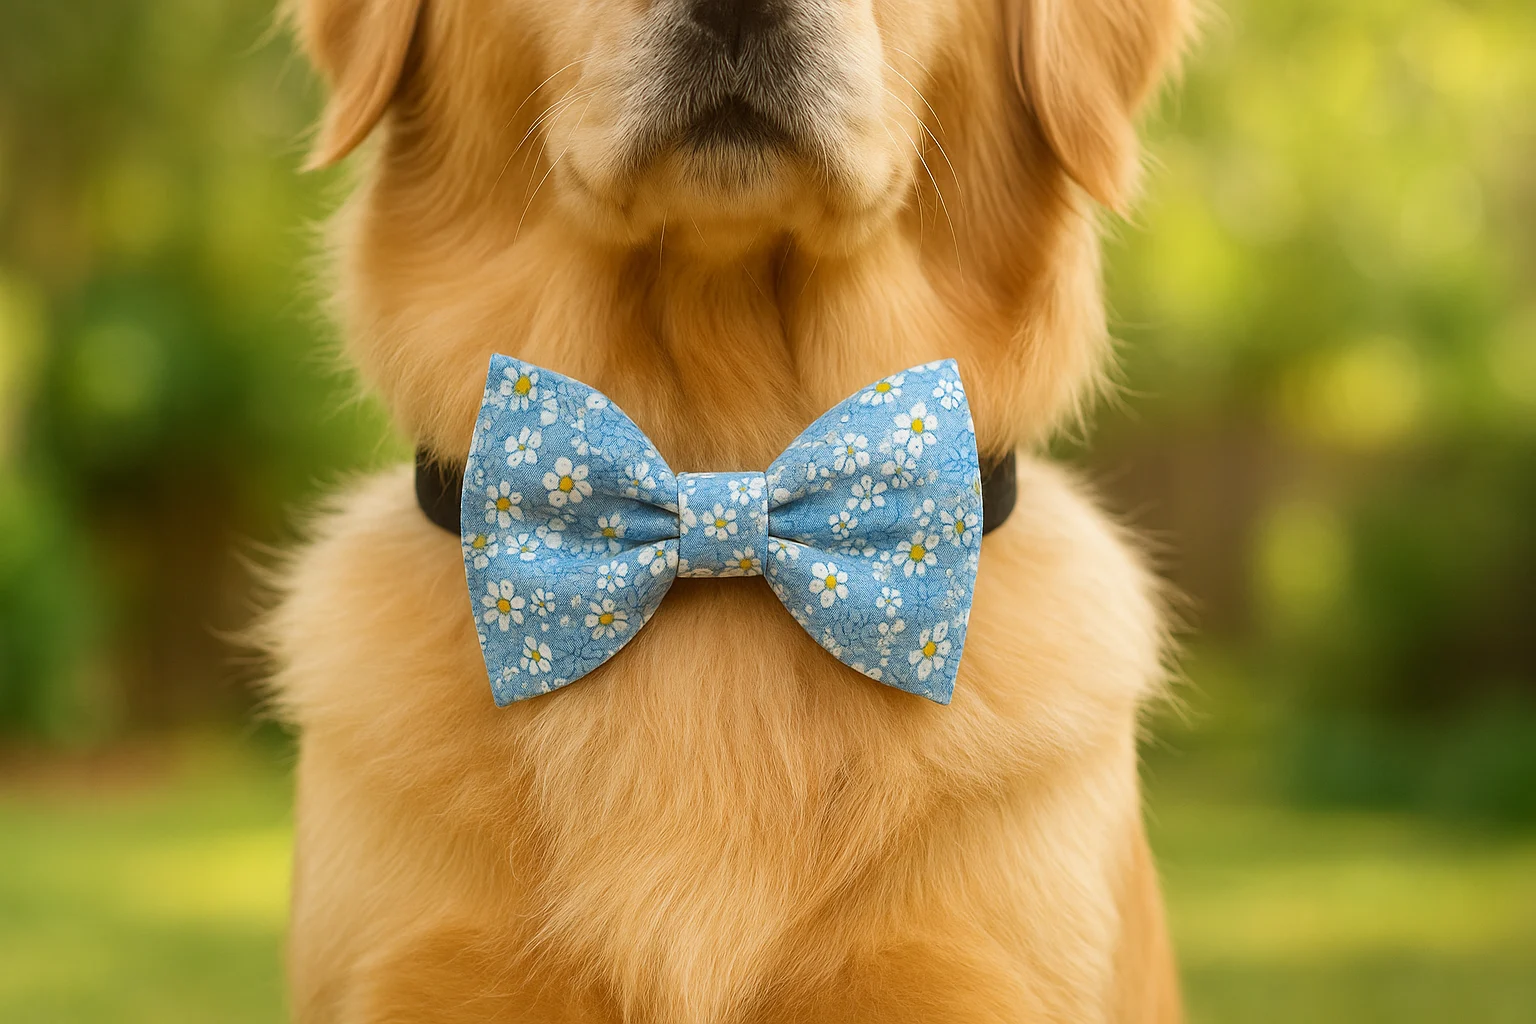
1. Small Fabric Bow
Approx. consumables: $1–$4 · Time: 15–30 minutes · Best for: a quick first project.
Materials: one 8 × 4-inch fabric rectangle, one small center strip, two short elastic loops, thread or fabric glue, scissors, and an iron.
- Fold the large rectangle lengthwise with the right sides together; stitch or glue the long edge.
- Turn the tube right-side out, center the seam at the back, and press it flat.
- Fold the short ends toward the center and secure them so the raw edges are hidden.
- Pinch the middle into a bow shape and wrap the small strip around it.
- Stitch two elastic loops to the back and slide the collar through both loops.
Keep the finished bow narrower than the side of your dog’s face and flat enough that it does not brush the jaw.
2. Over-the-Collar Bandana
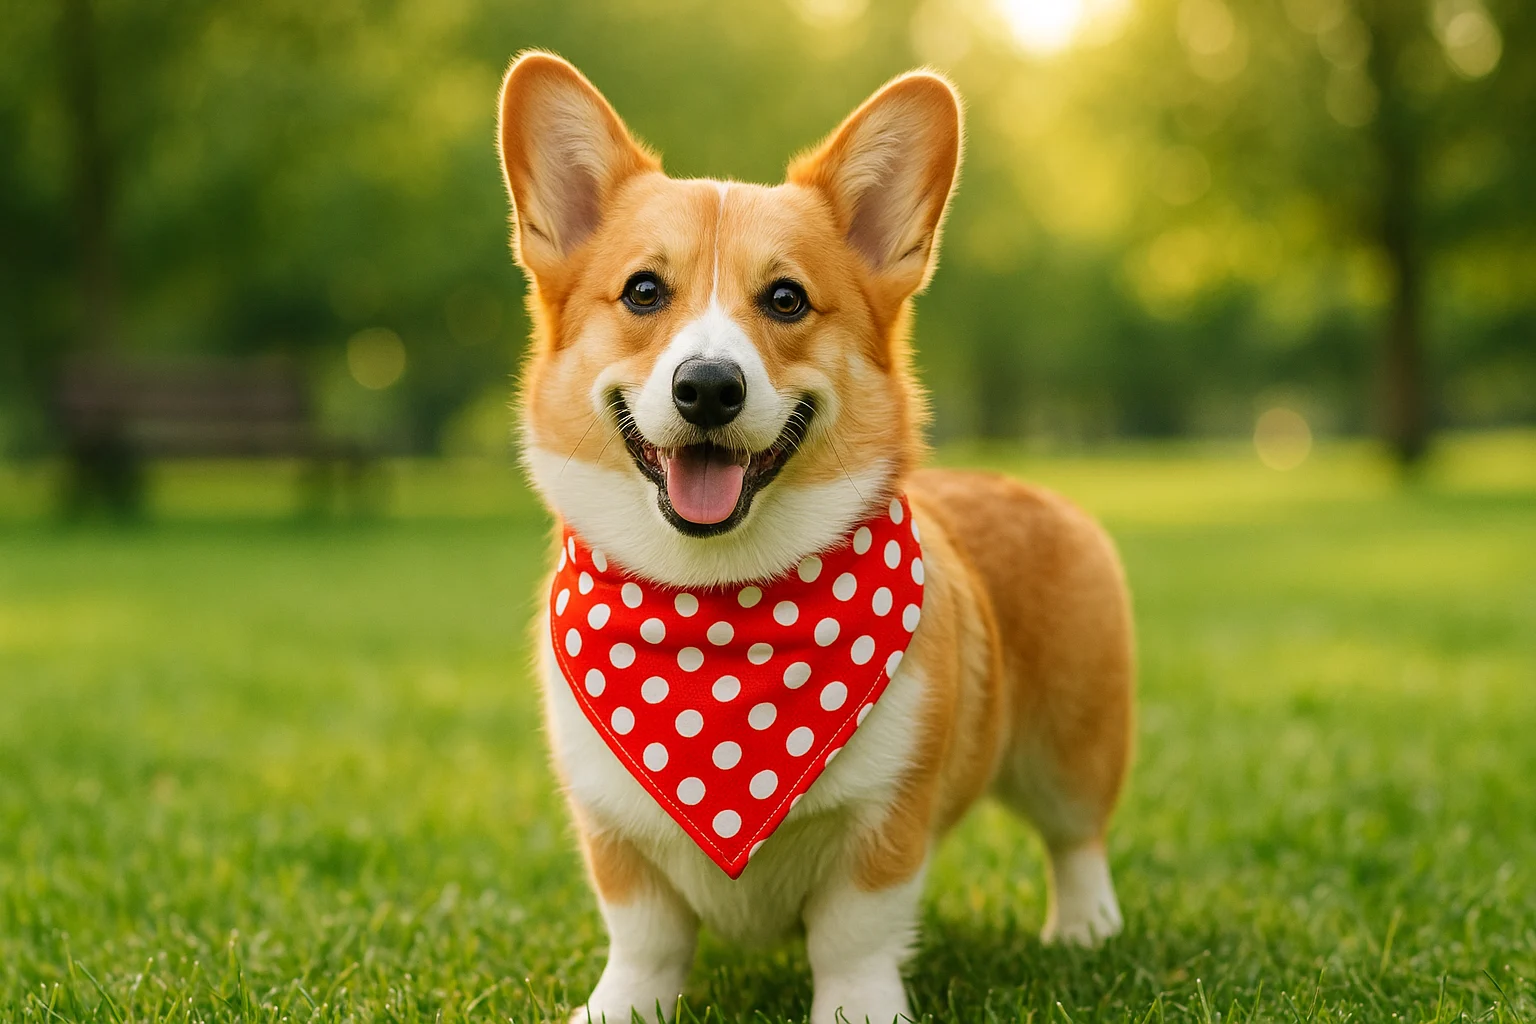
Approx. consumables: $2–$8 · Time: 30–60 minutes · Best for: a washable, flat accessory.
Materials: washable cotton, paper for a pattern, thread, scissors, ruler, fabric marker, and an iron.
- Measure the collar’s widest hardware-free section and decide how short the bandana point should be.
- Draw a triangle with a straight top edge, adding seam allowance around the sides and enough extra fabric at the top for a collar casing.
- Cut two matching pieces and sew them right sides together along the angled edges.
- Turn, press, and topstitch the edges.
- Fold and stitch the top casing, then thread the existing collar through it.
The bandana should end well above the front legs and should not twist the collar or cover the ID tag.
3. Flat Felt Paw or Flower
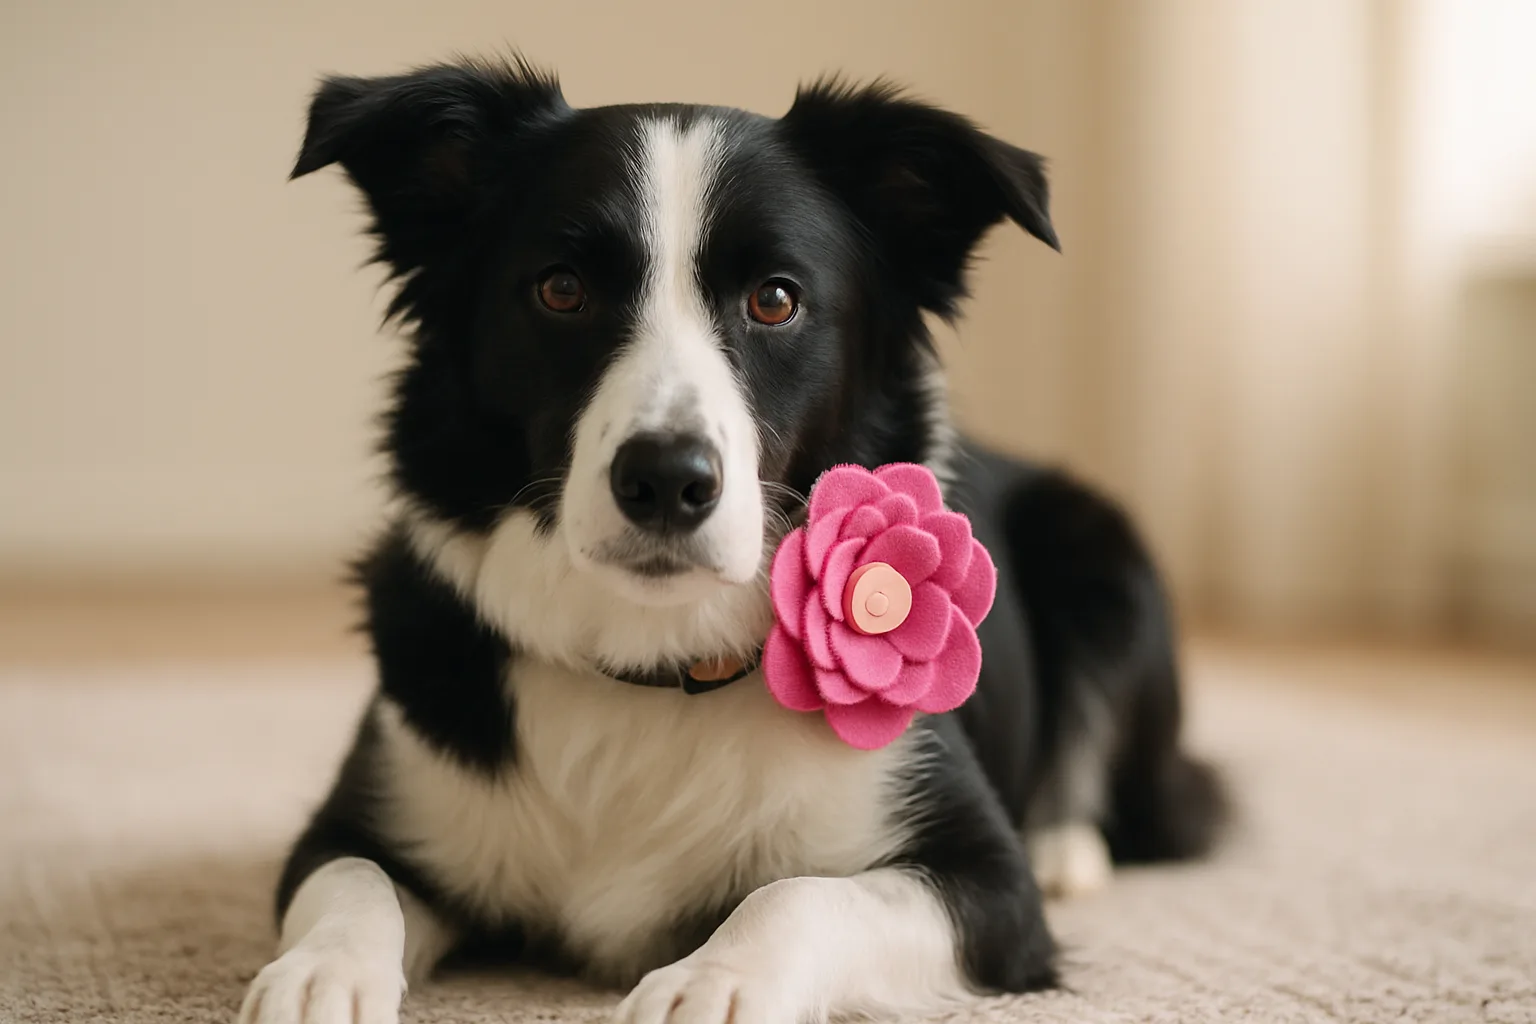
Approx. consumables: $1–$4 · Time: 15–30 minutes · Best for: a no-fray, beginner-friendly shape.
Materials: two colors of felt, paper template, scissors, thread or fabric glue, and two elastic loops.
- Draw a simple paw, circle, or five-petal flower no wider than the collar is long across your dog’s cheek.
- Cut one larger backing shape and one smaller top shape.
- Stitch or glue the layers together, using a soft felt circle as the center instead of a bead or button.
- Attach two elastic loops across the back.
- Slide it onto the collar and check that the shape lies flat.
Felt is easy to cut, but glued layers can separate. Check the edges before every wear.
4. Short Paracord Sleeve
Approx. consumables: $4–$10 · Time: 30–60 minutes · Best for: a compact, sporty accent.
Materials: paracord, thread, scissors, ruler, and two soft elastic loops.
- Choose a short collar section that does not include the buckle, adjuster, leash ring, or tag.
- Knot a flat cobra-style strip around a removable guide cord rather than around the working collar.
- Stop when the strip is only a few inches long and lies flat.
- Bind the cut ends securely with thread; if you heat-seal paracord, do it away from the dog and follow the cord maker’s guidance.
- Stitch two elastic loops to the back and slide the finished strip onto the collar.
This is decorative only. It must not become part of the leash connection or change the collar’s adjustment.
5. Reflective Fabric Tab
Approx. consumables: $3–$8 · Time: 20–40 minutes · Best for: a practical accent on evening walks.
Materials: reflective sew-on ribbon or fabric, cotton backing, thread, scissors, and two elastic loops.
- Cut a small rounded rectangle from the cotton backing.
- Cut a slightly smaller reflective piece and stitch it to the front.
- Fold or bind the backing edges so no rough corners remain.
- Sew two elastic loops to the back.
- Slide the tab onto the side of the collar, clear of the tag and hardware.
A small reflective tab can improve visibility when light hits it, but it is not a substitute for proper lighting, a reflective collar, or safe walking habits.
6. Ribbon Rosette
Approx. consumables: $2–$6 · Time: 30–45 minutes · Best for: a dressier removable piece.
Materials: soft unwired grosgrain or satin ribbon, felt backing, thread, scissors, and two elastic loops.
- Run a loose gathering stitch along one long edge of the ribbon.
- Pull the thread gradually until the ribbon curls into a compact rosette.
- Stitch the layers together from the back.
- Cover the back with a felt circle and add two elastic loops.
- Slide it onto the collar and trim any loose thread.
Skip wired ribbon and keep the rosette small enough that it does not fold under the jaw.
7. Soft Fabric Pennant
Approx. consumables: $1–$5 · Time: 20–40 minutes · Best for: seasonal fabric scraps.
Materials: two small fabric triangles, thread, scissors, iron, and two elastic loops.
- Cut two matching short triangles with a wide, flat top.
- Sew them right sides together, leaving the top open.
- Turn, press, and topstitch the edges.
- Close the top edge and sew two loops across the back.
- Slide the pennant onto the side of the collar.
Keep the point short and rounded. A long pennant can catch a paw or collect dirt.
8. Short Slide-On Necktie
Approx. consumables: $2–$7 · Time: 30–60 minutes · Best for: a supervised photo or event.
Materials: cotton fabric, paper template, thread, scissors, ruler, and iron.
- Draw a small tie shape with a wide top and a short point.
- Cut two pieces, sew them right sides together, and leave the top open.
- Turn and press the tie.
- Fold the top into a casing wide enough for the collar.
- Stitch the casing and slide the tie onto the front of the collar.
The tie should stop high on the chest. Remove it if it swings, twists, or attracts chewing.
9. Reversible Fabric Cuff
Approx. consumables: $1–$5 · Time: 30–45 minutes · Best for: two prints in one simple sleeve.
Materials: two contrasting fabric rectangles, thread, scissors, ruler, and iron.
- Measure a short hardware-free part of the collar and add seam allowance.
- Sew the two rectangles right sides together along the long edges.
- Turn and press the strip.
- Join the short ends to make a loose sleeve that can slide onto the collar.
- Turn the preferred print outward and position it away from the hardware.
The cuff must slide freely enough to remove but should not bunch into the buckle or adjuster.
10. Slide-On Shirt Collar
Approx. consumables: $3–$10 · Time: 60–90 minutes · Best for: the most detailed soft-fabric option.
Materials: cotton or light denim, paper pattern, thread, scissors, ruler, and iron.
- Draw a short symmetrical collar or bib shape with a straight top edge.
- Cut two matching pieces and sew them right sides together, leaving the top open.
- Clip the curves, turn, press, and topstitch.
- Fold the top into a casing sized to the base collar.
- Stitch the casing, thread the collar through, and check that both sides lie flat.
Decorative buttons are unnecessary and can become loose parts. Use contrast stitching or fabric paint if you want detail without hardware.
Fit, Cleaning, and Wear Checks
Wash fabric pieces separately from the collar so you can inspect both. Cotton bandanas and cuffs can usually be hand-washed in cool water with a small amount of mild detergent; felt, ribbon, reflective material, and glue may need gentler spot cleaning. Follow the material or adhesive label when it gives different instructions.
- Air-dry every accessory completely before putting it back on the collar.
- Check elastic loops, seams, and glued edges for movement or fraying.
- Recheck the collar fit after sliding on a thicker cuff or casing.
- Retire any piece that has been chewed, stretched, or pulled out of shape.
- Keep the ID tag visible and confirm the phone number is current.
For the larger household budget around food, grooming, toys, and routine care, continue with the frugal pet care guide.
DIY Collar Accessory FAQ
The Best First Project
Start with the over-the-collar bandana when you want the most useful all-round option: it is flat, washable, easy to size, and simple to remove. Choose the small bow when time matters more, or keep the collar plain when your dog chews attachments. That is the real frugal decision—make the piece that fits the dog, and skip the rest.
Decorative collar add-ons are not safety equipment or veterinary advice. Keep the base collar correctly fitted, leave identification and hardware unobstructed, supervise initial wear, and remove accessories for crating, rough play, sleep, or unsupervised use. Stop using a piece if it causes rubbing, chewing, snagging, or skin irritation, and contact a veterinarian about persistent discomfort or skin changes.