
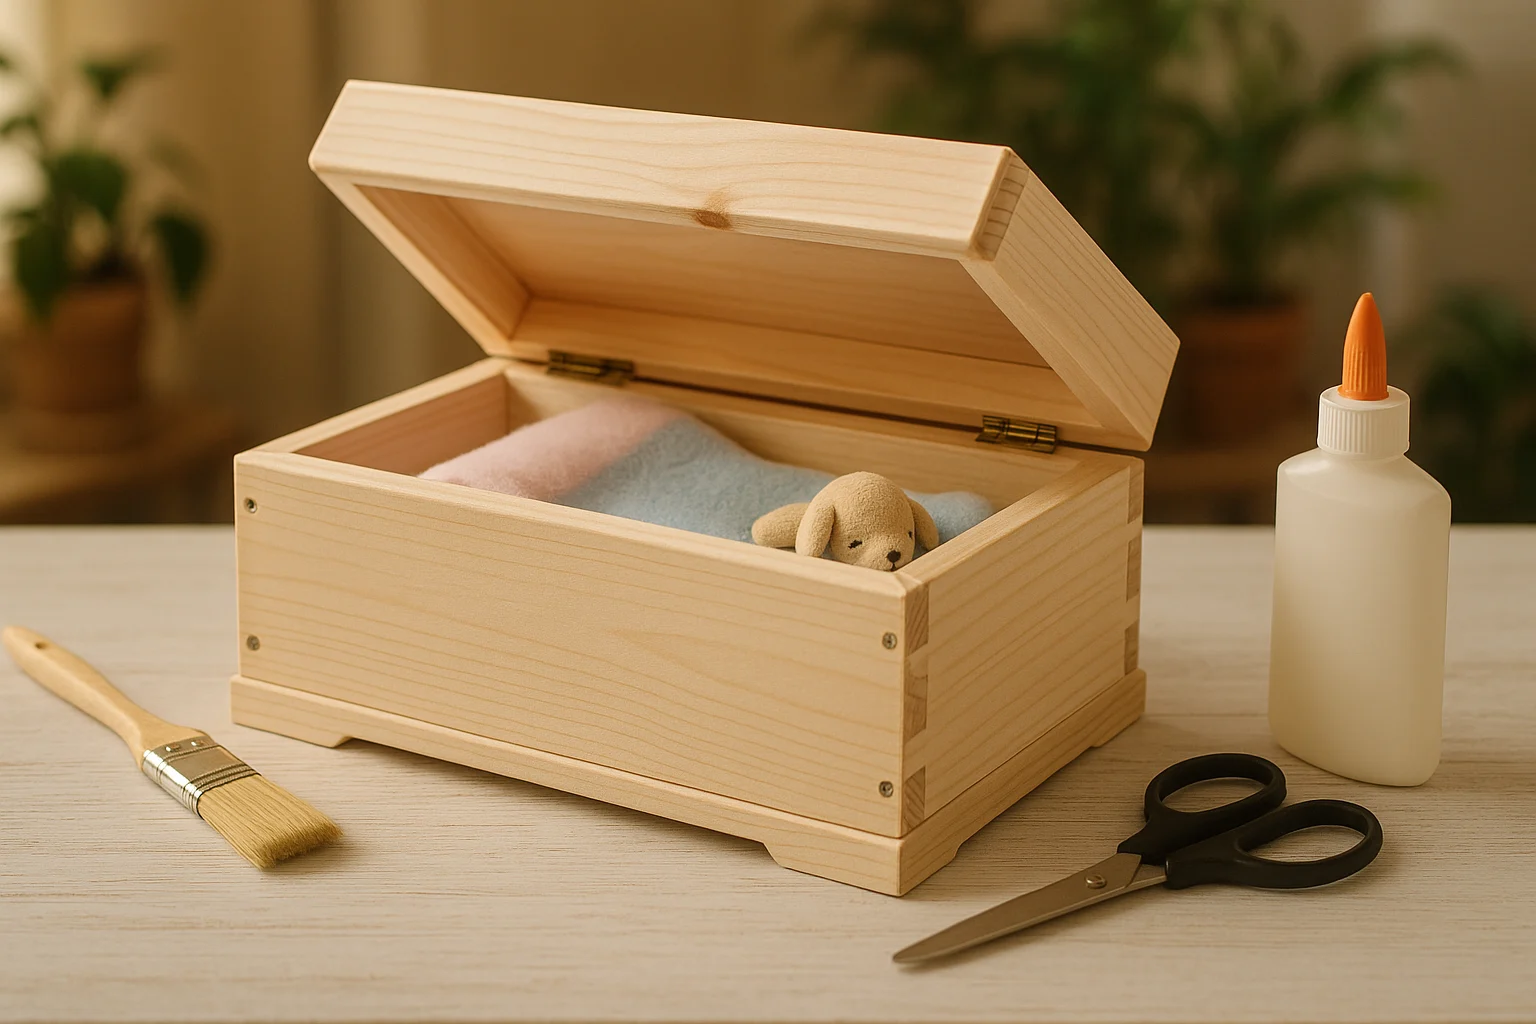
This is a hard project to need, but the build itself can stay simple. A DIY pet casket only needs to fit your pet comfortably, stay firm when moved, and use materials that suit the final plan—home burial where permitted, temporary use before burial or cremation, or indoor remembrance.
This guide walks you through those choices in the order they matter: confirm the final use, measure your pet, calculate the clear inside dimensions, compare reinforced cardboard with untreated wood, build and line the shell, and complete a final safety check. For more low-cost memorial and care projects, browse our DIY pet projects guide.
This post contains affiliate links. As an Amazon Associate, I earn from qualifying purchases. If you buy through our links, we may earn a commission at no extra cost to you. Learn more.
Table of Contents
- Before You Build: Burial or Remembrance?
- Measure and Plan the Inside Dimensions
- Calculate the Inside Size
- Choose the Right Material
- Build the Pet Casket Step by Step
- Prepare the Resting Place or Memorial
- Common DIY Pet Casket Questions
- When the Casket Is Ready
Before You Build: Burial or Remembrance?
The final use changes the material, lining, and preparation. Decide this before buying a box or cutting panels.
Home Burial, Where Permitted
Check local rules before you build. Home burial may be restricted, and requirements can cover permitted locations, soil cover, distance from wells or surface water, groundwater conditions, disease-related disposal, and the materials placed in the ground. Your local animal-services or public-health office can confirm the rules that apply where you live.
Veterinary safety check: If your pet was euthanized with pentobarbital or another barbiturate, ask your veterinarian which disposal method prevents scavenger access. The U.S. Fish and Wildlife Service warns that residues can poison wildlife.
Indoor Remembrance or Temporary Use
For indoor remembrance, you can prioritize a stable base, a secure lid, and a finished appearance. If the casket is temporary before burial or cremation, confirm the next-step timing and handling with your veterinarian before you choose a material or liner.
When DIY May Not Be the Best Option
A homemade casket is not the right choice for every situation. Get help if your pet is too heavy to move safely, the final arrangement must happen quickly, local rules are unclear, or you do not have the tools or steadiness for cutting and fastening.
A veterinarian, cremation provider, or local animal-services office can help you choose the next step. Asking for help does not make the goodbye less personal.
Measure and Plan the Inside Dimensions
Measure the space your pet needs rather than relying on breed or species labels. The measurements below are for the inside of the finished casket, after reinforcement but before the lining is added.
- Length: Measure from the tip of the nose to the base of the tail.
- Width: Measure across the widest point, usually the shoulders or hips.
- Height: Measure from the paws to the highest point of the body in the resting position you plan to use.
Add about two to four inches to each measurement for the lining, natural body position, and one small keepsake. The lid should close without pressing against the body or forcing the lining flat.
Calculate the Inside Size
Use the measurements above. Choose a 2-inch total allowance for a close fit, 3 inches for a balanced starting point, or 4 inches for extra padding or one small keepsake. The planner adds the allowance once to each measurement.
Choose the Right Material
Match the material to the final use, the weight it must support, the ground conditions, and the tools you have. This comparison is a starting point; local burial rules still decide what may go into the ground.
| Material | Best fit | Why choose it | Watch for |
|---|---|---|---|
| Reinforced uncoated cardboard | Low-cost build; burial where permitted | Easy to size, cut, decorate, and double-layer | Moisture, bowing, and heavier pets |
| Untreated wood | Sturdier burial or indoor remembrance | Holds its shape and accepts paint or a nameplate | Weight, tool use, rough edges, and local rules |
| Painted or sealed wood | Indoor remembrance | More finished appearance and easier surface cleaning | Coatings may make it unsuitable for burial |
| Plastic container | Short-term indoor use only | Stable, waterproof, and easy to clean | Not biodegradable; do not treat it as the default burial choice |
For backyard burial where it is allowed, reinforced uncoated cardboard or untreated wood are the more cautious starting points. The ASPCA End-of-Life Care guide also notes that home-burial legality depends on local law.
Build the DIY Pet Casket Step by Step
Use the material plan you chose, gather only what that build needs, and finish the empty shell before adding the lining or moving your pet.
Gather the Supplies for Your Build
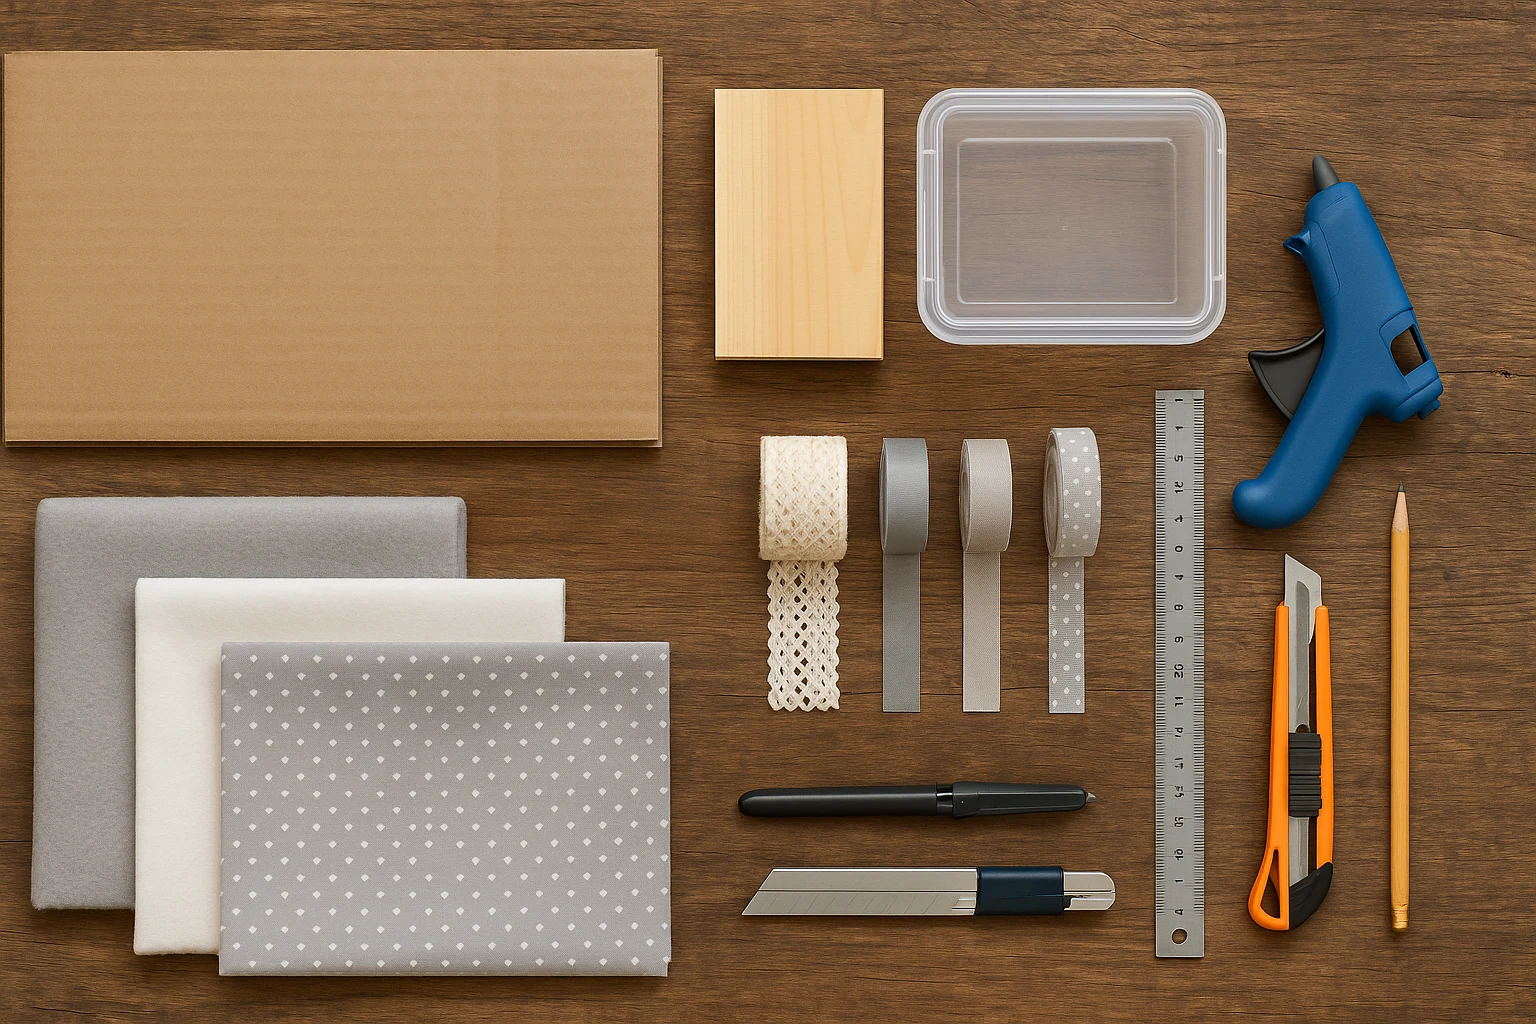
Start with the shell and structural tools. Add lining and personal details only after the empty shell fits and stays firm.
- Shell: a correctly sized double-wall cardboard box, an untreated wooden craft box, or untreated boards for a simple rectangular shell.
- Reinforcement: extra flat cardboard panels and packing tape, or wood glue and fasteners suited to the board thickness.
- Lining: a soft towel, blanket, or fabric plus a thin layer of cotton batting if you want padding.
- Tools: ruler, pencil, scissors, utility knife, a protected cutting surface, and—only for a wood build—sandpaper and the appropriate drilling or fastening tools.
- Personal details: paint pens, ribbon, dried flowers, a small nameplate, or one keepsake.
Budget rule: Spend first on a shell that fits and stays firm. Decoration cannot rescue a base that bends, a lid that will not close, or a material that does not suit the final use.
Cutting setup: Before the first cut, protect the table or floor underneath and make sure every piece is fully supported.
Cutting-surface choice: Use scrap plywood or a thick offcut for full casket panels.
For lining fabric and smaller cardboard pieces, the Fiskars 18 × 24-inch self-healing cutting mat is a reusable option that makes measuring and trimming easier. Skip it if you already have a safe cutting surface; the mat is too small for full panels.
Step 1: Dry-Fit the Empty Shell
Compare the inside measurements with your plan. Set the lid in place and confirm there is room for the lining without forcing the sides outward. Correct the size now, before glue, tape, or decoration makes changes harder.
Step 2: Reinforce or Assemble the Base
For cardboard: nest a second box when possible, tape every seam inside and out, and add flat panels across the floor and weak side walls. If the base flexes under light pressure, add another full panel rather than a small patch.
For wood: dry-fit the base, four side panels, and lid; sand rough edges; then fasten the shell with wood glue and hardware appropriate for the board thickness. No point or fastener should project into the interior.
For temporary plastic use: wash and dry the container, check the base for cracks, and confirm the lid closes without pressure.
Tool safety: Cut away from your body, steady the work before cutting or drilling, and follow the tool manufacturer’s eye-protection and handling instructions.
Step 3: Add the Lining
- Cut the fabric: Leave enough extra to cover the base and sides without bunching under the lid.
- Add light padding: Use a thin, even layer rather than overfilling the interior.
- Attach it neatly: Secure the fabric where it will not pull loose, then smooth folds away from the lid and corners.
- Check the closure: Put the lid on again and remove any bulk that prevents a natural fit.
Step 4: Personalize Without Crowding It
Among pet memorial ideas, the simplest details are often the easiest to finish with care. Add a name or dates, one favorite color, a paw-print pattern, or a single keepsake such as a collar, tag, toy, or short note.
Keep the inside uncluttered. Avoid food, batteries, and loose items that could attract animals or interfere with the lid.
Step 5: Complete the Final Check
- Fit: The lining lies flat and the lid closes without pressure.
- Structure: The base, corners, seams, and fasteners remain firm.
- Interior: No sharp edge, exposed fastener, loose tape, or wet adhesive remains.
- Final use: The material and liner still match the burial or remembrance plan.
- Next step: The resting place, transfer, cremation, or memorial arrangement is ready before the casket is moved.
Prepare the Resting Place or Memorial
The casket is only one part of the plan. Prepare the location or next arrangement before moving your pet, so you do not have to make practical decisions in the middle of the goodbye.
For a Permitted Home Burial
Use the location, soil cover, setbacks, and disposal method required by your local authority. Avoid wells, streams, drainage areas, vegetable beds, and underground utilities unless the responsible local office confirms the site is acceptable. Do not rely on one universal burial depth.
Stop before digging: If the rules are unclear, or if euthanasia involved a barbiturate, call your veterinarian or local animal-services office before choosing the site.
For Indoor Remembrance or a Later Transfer
Keep the casket in a dry, protected place and make sure the next arrangement is clear. When it is time, place one small keepsake beside your pet, close the lid gently, and check that nothing prevents a secure closure.
Common DIY Pet Casket Questions
Pet loss support: If the project feels heavier than expected, Cornell’s Pet Loss Resources and Support page lists current hotline hours and support groups, and Washington State University offers additional grief and memorial resources.
When the Casket Is Ready, Let Simple Be Enough
A secure shell, a soft lining, and one personal detail are enough. Once the lid fits, the base is firm, and the final-use plan is settled, the casket is ready. More decoration will not make the goodbye more meaningful.
When the practical work is done, pause. If you later want another small memorial or care project, browse our Complete Guide to DIY Pet Projects.