
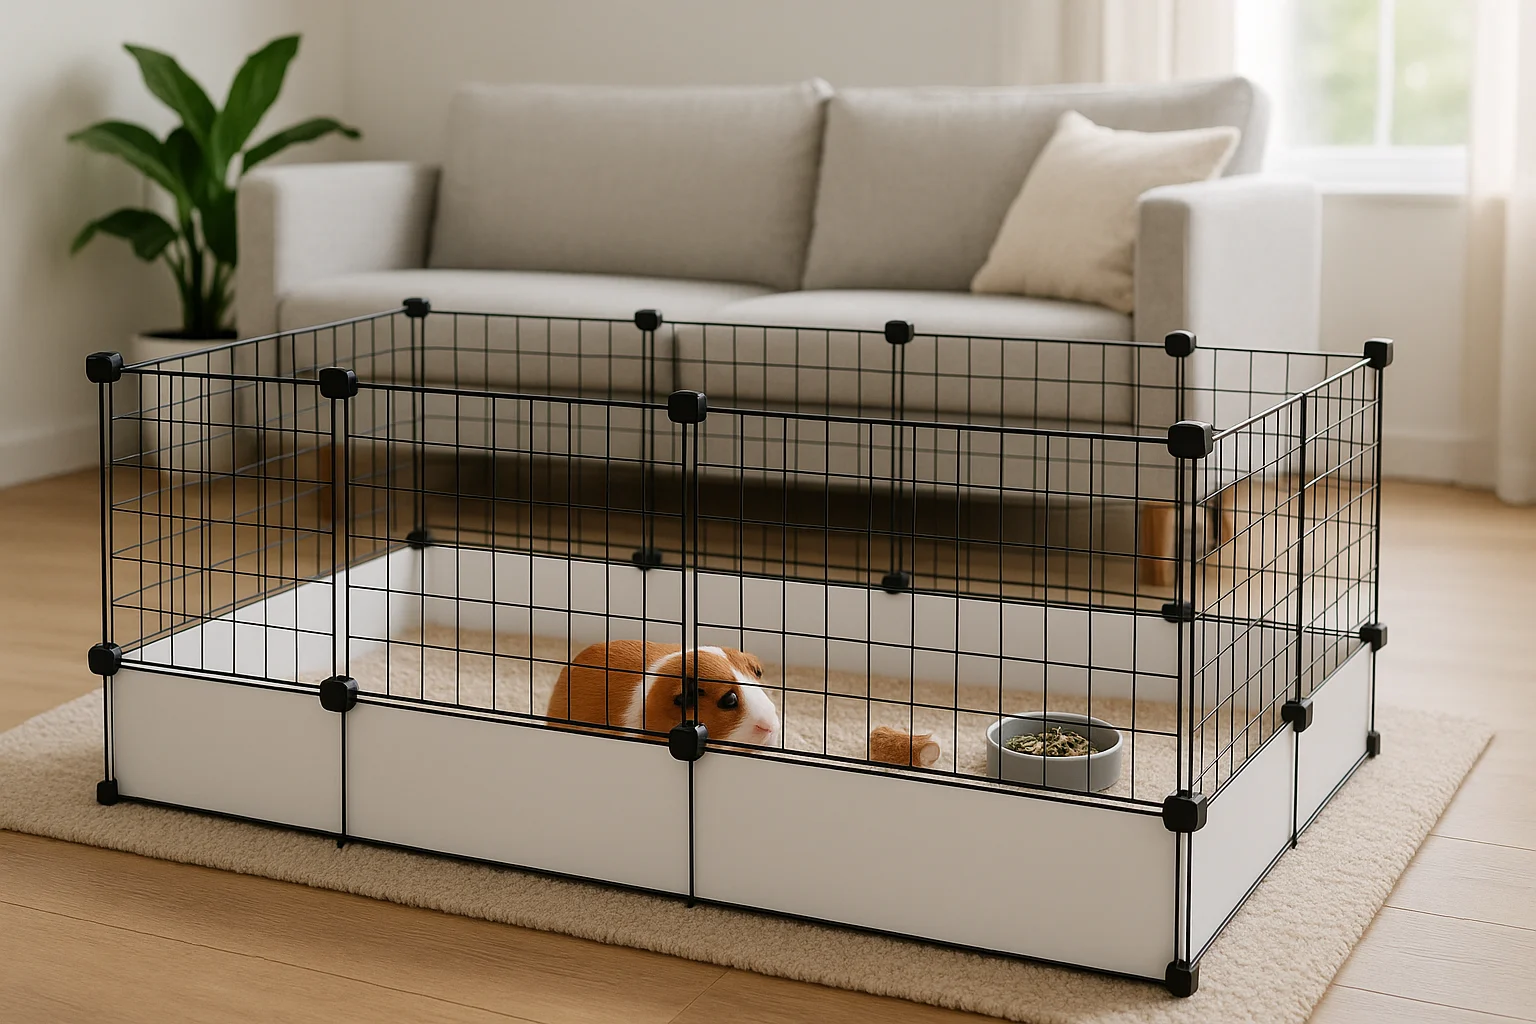
Building a cage that fits an awkward corner is the easy part. Building one that is genuinely suitable for the animal takes more planning. DIY pet cages make sense when you need a custom footprint, but only after you know the minimum space, opening size, flooring, ventilation, and social needs for your species.
This guide focuses on small-mammal enclosures and indoor pens, where modular DIY builds are most realistic. I’ll help you decide whether DIY is the right route, compare four construction systems, gather only the parts you need, and check the finished enclosure for red flags before your pet moves in. Treat your animal’s housing requirements as the specification and your room, tools, and budget as the design constraints. For related low-cost builds beyond the enclosure itself, browse more DIY pet projects.
Check Your Cage Plan for Red FlagsThis post contains affiliate links. If you buy through our links, we may earn a commission at no extra cost to you. As an Amazon Associate, I earn from qualifying purchases. Learn more.
Table of Contents
- Is a DIY Pet Cage the Right Choice?
- Plan Around Five Non-Negotiables
- Pet Enclosure Ideas: Choose the Build Type
- How to Build a DIY Pet Cage
- DIY Pet Cage Safety Checker
- Clean, Inspect, and Maintain the Enclosure
- DIY Pet Cage FAQs
- Before Your Pet Moves In
Is a DIY Pet Cage the Right Choice?
A DIY enclosure makes the most sense when you have already confirmed a suitable housing model and need to customize the footprint, door, or cleaning access. Modular grids, exercise pens, and simple framed panels can do that well. The goal is not to invent a new kind of cage; it is to adapt a proven approach without removing the safety features.
| A DIY Build Can Make Sense When… | Choose a Purpose-Built Option When… |
|---|---|
| You are expanding floor space or fitting an indoor corner with a known enclosure system. | The animal needs tightly controlled heat, humidity, filtration, or lighting. |
| You can verify species-specific size, spacing, flooring, and ventilation requirements first. | The enclosure must function as a travel carrier, survive a crash, or restrain a powerful animal. |
| You can inspect the build often and replace chewed, bent, damp, or loose parts promptly. | The project will be outdoors and you cannot confidently engineer protection from weather, digging, and predators. |
A roomy enclosure is not automatically a suitable enclosure. Space, spacing, flooring, ventilation, temperature, shelter, enrichment, and companionship all have to work for the same animal.
It is also worth pricing the build honestly before you start cutting, because on a frugal site the counterintuitive answer is sometimes the right one. Add up the frame, walls, base, roof or lid, hinges, latches, edge protection, flooring, fasteners and any tool you do not already own, then compare that total against a ready-made enclosure that already suits the species. A modular pen or a simple grid build often does come out cheaper. A large outdoor structure frequently does not.
The gap narrows further once you count the parts that are hardest to build well: a genuinely secure top and a closure a determined animal cannot lift, slide, or chew open. Buying is not a failure of frugality when the finished enclosure costs less and holds better.
If you only need to block a doorway, use the DIY cat gate guide instead of building a full enclosure. If you need a freestanding supervised zone, an exercise pen can create a larger temporary footprint with less construction. Before buying one, verify its height, bar spacing, floor setup, and supervision needs against current guidance for your animal.
When a ready-made pen is the simpler fit: MidWest 30-Inch Exercise Pen.
Choose it only for a supervised setup when the 30-inch height, bar spacing, floor, and containment needs suit your animal. It is a boundary tool, not a universal full-time habitat.
For vehicle travel, use a suitable carrier or restraint system. Our pet barrier for cars is a cabin-separation project, not a substitute for secure travel restraint.
Plan the Enclosure Around Five Non-Negotiables
Before buying materials, write a one-page build brief. These five decisions matter more than paint color, shape, or decorative extras; if one is still unknown, pause the shopping list.
1. Species, Group Size, and Daily Behavior
Use current housing guidance for the exact animal and number of animals. Requirements can be dramatically different even among small mammals. For example, Blue Cross guinea pig guidance describes C&C grids and puppy playpens as flexible indoor options, while RSPCA rabbit guidance calls for a much larger connected shelter and exercise area. Treat any universal cage plan as a starting sketch, not a specification.
2. Usable Space, Not Just Outside Dimensions
Measure the clear inside area after adding the base, shelves, hides, litter area, ramps, bowls, and door swing. Your pet should still be able to use the movement the species needs—such as running, hopping, standing, stretching, climbing, or burrowing. More levels do not compensate for missing floor space when the animal mainly moves on one level.
3. Gaps, Doors, Latches, and the Top
Choose spacing from species-specific guidance and check every seam, corner, hinge, and cable opening. A pet should not be able to push its head, snout, paw, or limb into a gap. Use a latch the animal cannot nose, lift, or shake open, and add a secure top when jumping, climbing, other household pets, or outdoor access makes an open pen unsafe.
4. Reachable Materials and Flooring
Plan for what the animal can chew, scratch, dig, soak, or pull—not what looks sturdy from outside the cage.
- Solid base: Use a stable, non-slip, species-appropriate floor. Avoid exposed wire flooring; RSPCA guidance for both hamsters and rabbits warns that wire floors can injure feet.
- Wood: Sand edges smooth and keep reachable preservatives, coatings, glue squeeze-out, and splinters out of the enclosure.
- Mesh: Use sturdy welded mesh or hardware cloth with suitable spacing. Chicken wire is not reliable predator protection; the RSPCA recommends stronger welded mesh for outdoor runs.
- PVC and plastic: Keep them away from determined chewers and follow the product label for ventilation, assembly, and full cure before use.
- Fasteners: Cover sharp points, trim zip-tie tails flush, and place staples, cut wire, and screw ends where the pet cannot reach them.
5. Airflow, Temperature, Cleaning, and Access
Avoid a sealed box. Keep ventilation openings clear, place the enclosure away from direct heat and harsh drafts, and make sure you can reach every corner for cleaning and inspection. Design the door wide enough to remove the base, litter tray, hides, and an animal in an emergency.
If a coating, adhesive, or cleaner may have caused an exposure, contact your veterinarian. The ASPCA Animal Poison Control Center is available at (888) 426-4435; a consultation fee may apply.
Once all five decisions are written down, you have a usable build brief. Take that brief—not a favorite photo—into the materials section.
Pet Enclosure Ideas: Choose the Build Type
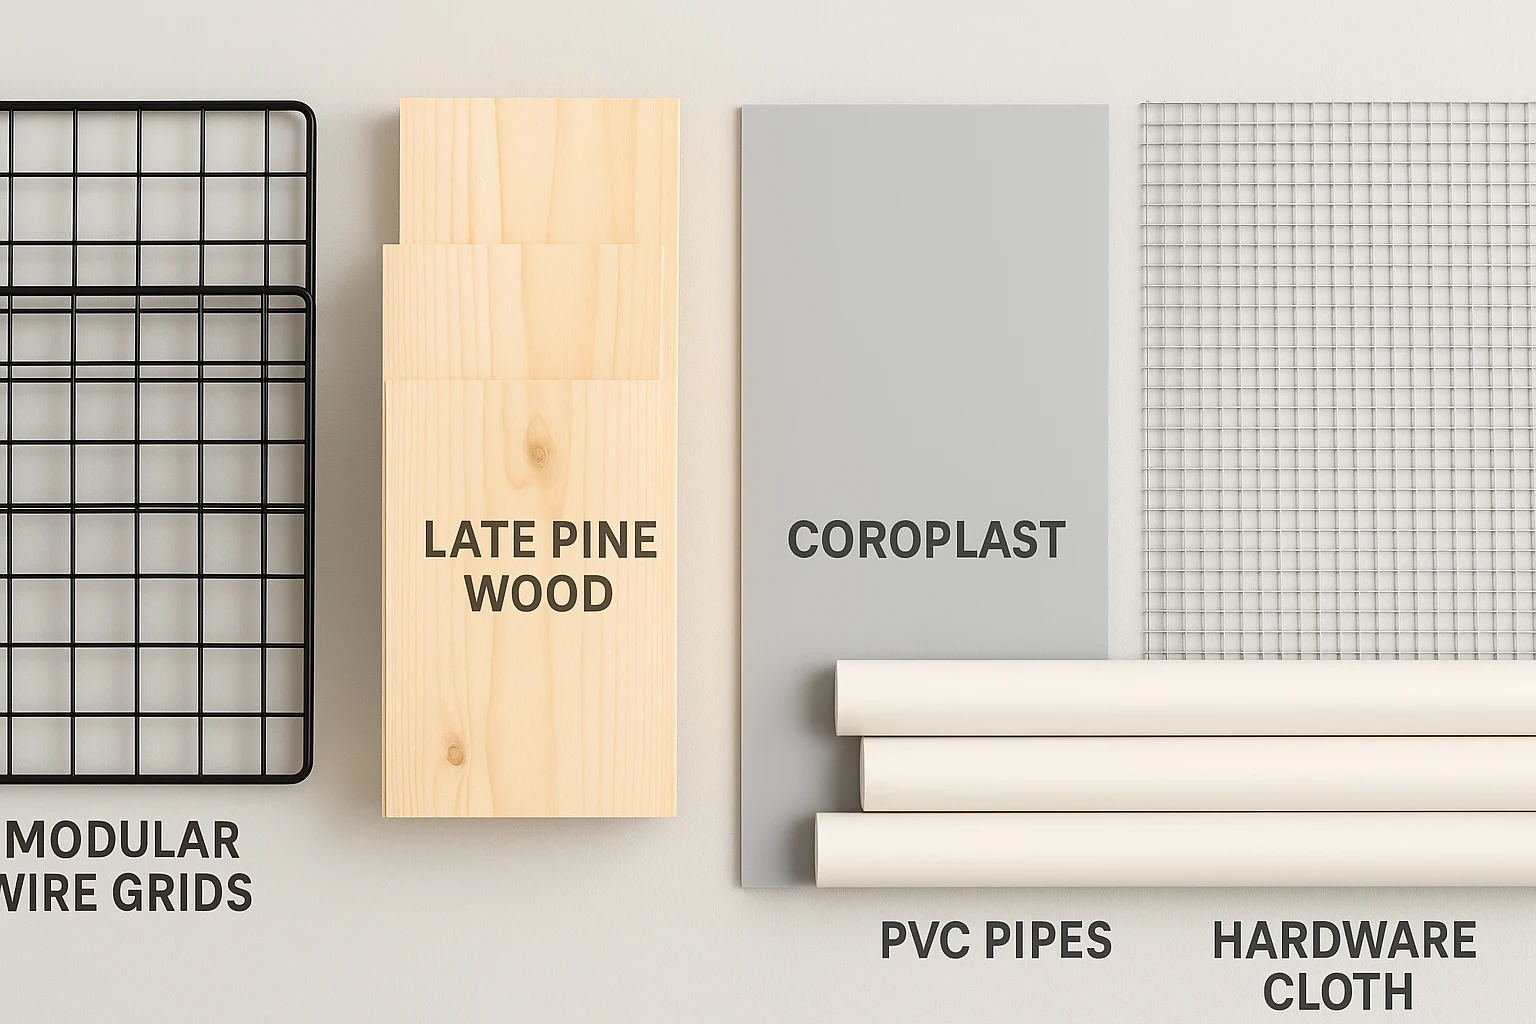
The best material is the one that matches the animal’s behavior and the enclosure’s job. Before assuming DIY will cost less, price the complete build: size, solid base, roof or lid, door hardware, edge protection, and any tools you do not already own. Our broader frugal pet care guide can help you compare that total with a ready-made option.
| Build Type | Best Use | Main Strength | Watch Closely |
|---|---|---|---|
| Modular grids or exercise pen | Flexible indoor layouts and supervised pens | Fast to resize or reconfigure | Grid spacing, connector strength, solid base, and lid needs |
| Wood frame with welded mesh | Permanent indoor builds or carefully engineered covered runs | Rigid, repairable structure | Chewing, moisture, splinters, weight, and predator resistance |
| PVC frame with mesh or fabric | Lightweight temporary or supervised barriers | Easy to move and wipe down | Flex, chewing, connector failure, and label-directed cement cure |
| Combination build | Custom permanent layouts with different needs at the base, walls, and roof | Puts each material where it works best | More joints, more maintenance, and more places for gaps to form |
Modular Grids and Exercise Pens
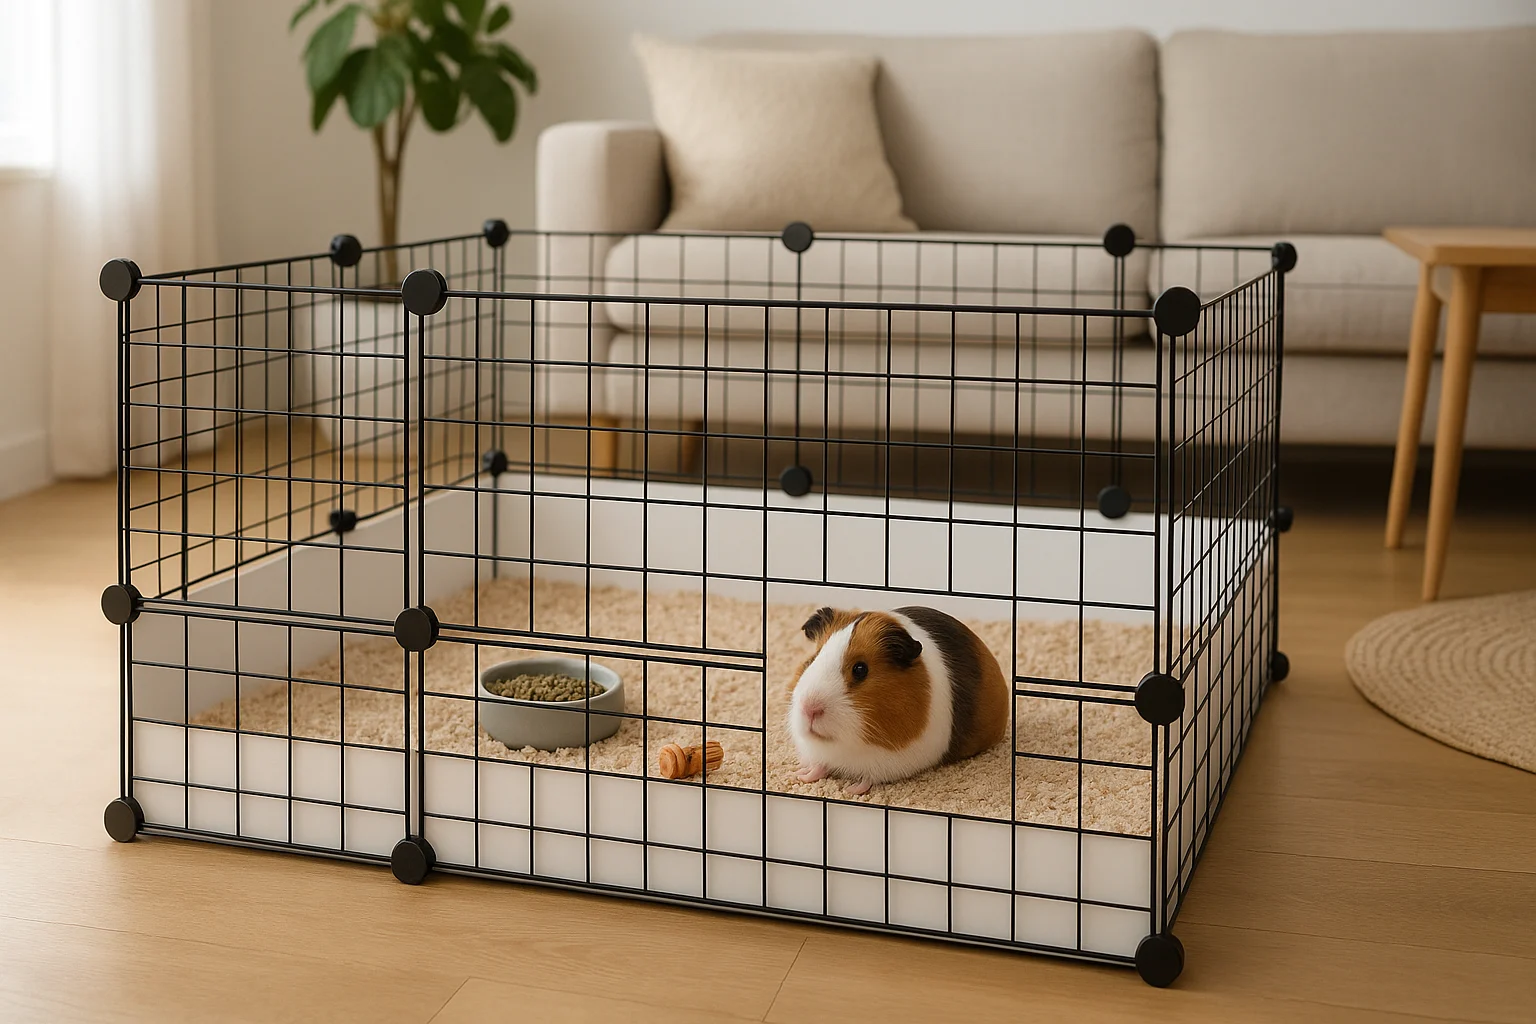
For many indoor guinea pig layouts, modular grids with a solid Coroplast-style base are the easiest starting point. Exercise pens can also create a larger footprint with fewer joints. Reinforce every connection, protect the base edge from chewing, and add a top when the animal can jump or another household pet could enter.
Typical parts: grids or pen panels, compatible connectors or heavy-duty ties, a solid base with raised edges, edge protection, and a secure top when the plan requires one.
Wood Frame and Welded Mesh
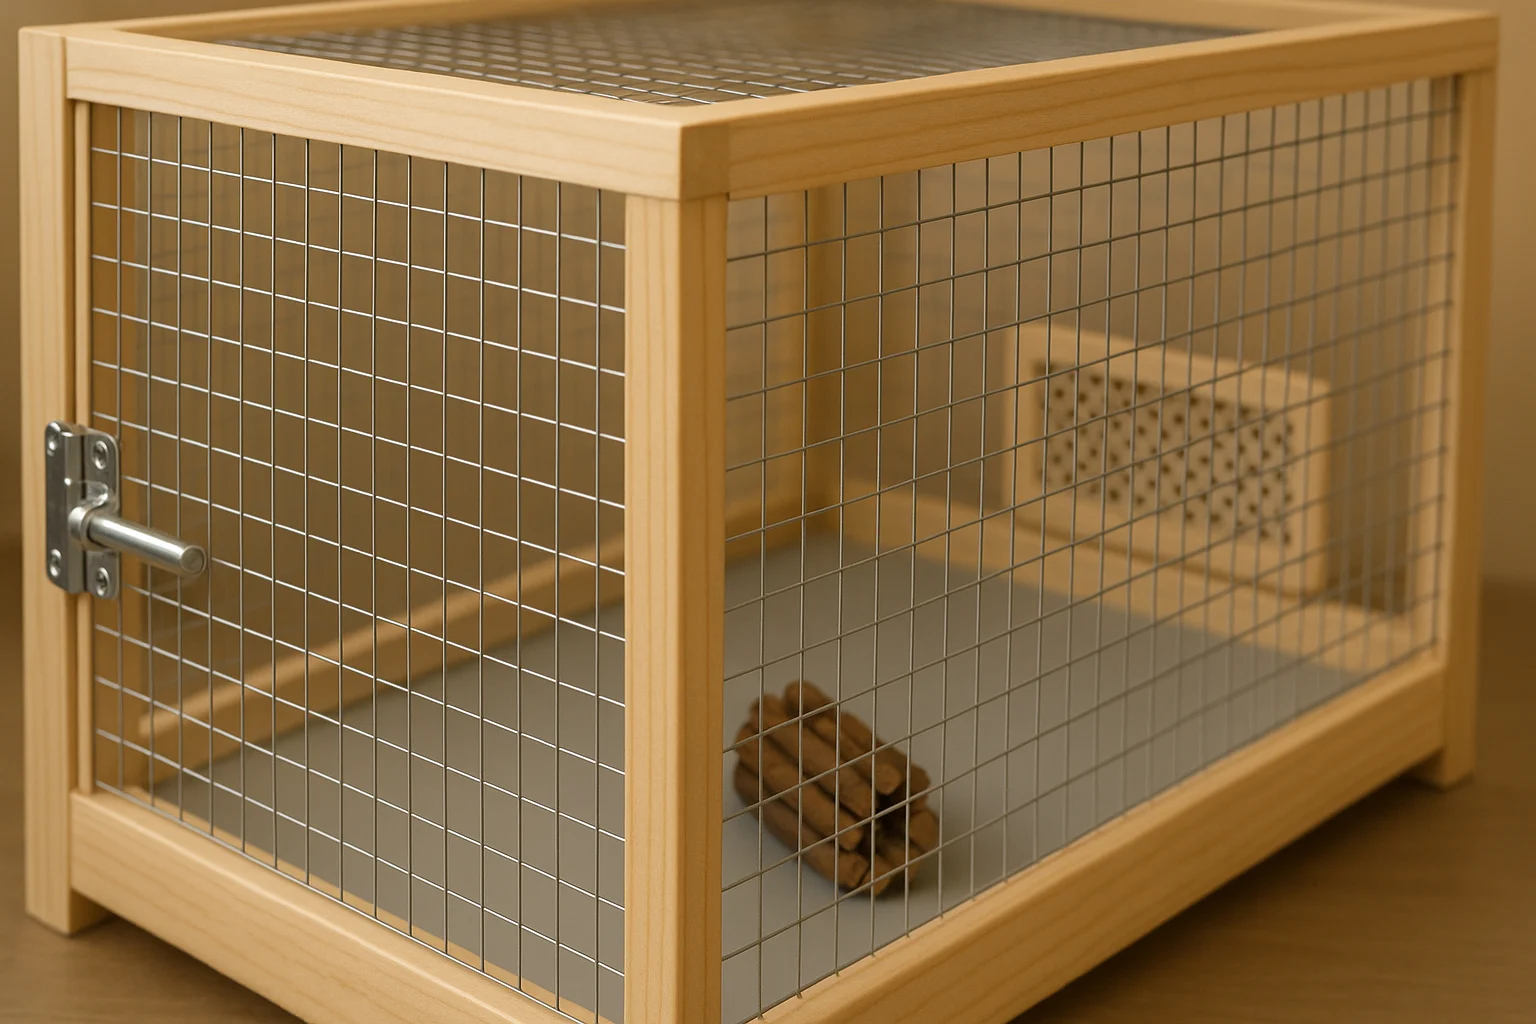
A wood frame is useful when you need a rigid door, fixed shape, or furniture-like finish. Keep reachable wood smooth and untreated unless a product is specifically suitable for the intended use. Pull mesh flat, cover cut edges, and make doors large enough for cleaning—not just for the pet.
Typical parts: straight lumber, welded mesh or solid panels, screws, hinges, a secure latch, edge guards, and only finishes confirmed suitable for the intended use. Wood frames usually involve more fastening and alignment work than modular-grid or simple PVC builds.
Mesh is the part of a wood-frame build worth getting right first. It is the wall the animal actually pushes, chews, and climbs, and it is the one component where the cheap option is genuinely the wrong option rather than simply a slower one.
For the mesh walls and lower-edge reinforcement: Amagabeli Hot-Dipped Galvanized Hardware Cloth.
Hot-dipped galvanized 19-gauge welded mesh, sold in ½-inch and ¼-inch spacing. Choose between them only after confirming the correct opening size for your exact species, age, and enclosure use — never by price or roll size. Rolls start near 16 in × 10 ft, so a single enclosure does not need a 50-foot roll. This is wall and perimeter material, not flooring: keep the solid, non-slip floor described above, and cover every cut edge before the pet goes in. Skip it entirely if your build uses solid panels or modular grids.
PVC Frame and Mesh
PVC is light and easy to cut, but that does not make it the best primary cage material. Use it for a supervised pen or low-load frame when chewing and flex are controlled. Dry-fit first, follow the cement label exactly, and keep the enclosure empty until the product’s full-cure requirement is met.
Typical parts: pipe and fittings, mesh or durable fabric, secure ties or clips, a solid base, a closure, and label-specified cement only when the joints need to be permanent.
Combination Builds
A solid washable base, rigid frame, welded-mesh walls, and removable top can each solve a different problem. Combination builds are often the most practical, but they also create more seams. Draw each joint on the plan and decide how it will be fastened, covered, inspected, and replaced.
Typical parts: list the base, frame, walls, roof, door, latch, edge protection, and replacement fasteners separately so no joint is treated as an afterthought.
How to Build a DIY Pet Cage Step by Step
With the build brief and material system chosen, turn the usable inside dimensions into a cut and hardware plan. Build in this order so the enclosure stays square, cleanable, and easy to test.
- Draw the finished inside dimensions. Mark the usable floor area, height, door swing, base depth, hides, ramps, shelves, feeding area, and cleaning access.
- Make a cut and hardware list. Include the frame, wall panels, base, roof or lid, hinges, latches, connectors, edge guards, and spare fasteners.
- Build the base first. Confirm it sits flat, does not rock, contains bedding or mess as intended, and can be removed or reached for cleaning.
- Assemble the frame and walls. Keep corners square, mesh taut, connectors tight, and every cut edge outside the pet’s reach.
- Add the door, latch, and top. Test them repeatedly from every angle. Make sure a curious pet cannot lift, slide, squeeze, or chew the closure open.
- Finish and cure the empty enclosure. Sand rough areas, remove debris, wipe surfaces, and follow every coating or adhesive label before the animal enters.
- Run an empty-cage test. Press corners, pull the door, check gaps with the exact species in mind, verify airflow, and leave the setup in place long enough to spot wobble, heat, dampness, or strong odor.
- Add species-appropriate shelter and enrichment. Do not fill the cage so heavily that movement, ventilation, cleaning, or supervision becomes difficult.
Basic tools: measuring tape, square, marker, the correct cutter or saw for the material, drill or joining tool, clamps, file or sandpaper, gloves, and eye protection. Buy only what the chosen build needs; a simple grid enclosure should not require a woodworking shopping list.
DIY Pet Cage Safety Checker
Run this checker twice: once on your final plan before buying the last materials, and again on the finished empty enclosure before your pet moves in. Choose the closest answer for each check; your result appears automatically when all five are complete. It is a red-flag screen, not a guarantee, so pause the build if even one serious issue remains.
Still Have One Safety Question?
If the checker flags a species-specific detail you cannot resolve from current guidance, ask a veterinarian before the enclosure is used. Have the dimensions, materials, photos, and one precise question ready.
Ask a Veterinarian About the Enclosure
Clean, Inspect, and Maintain the Enclosure
If the checker passes, the next job is keeping the enclosure safe as parts wear and the animal uses it. Build the cleaning and inspection routine around the species, number of animals, bedding, enclosure size, and where waste collects rather than copying one universal schedule.
- Every day: Remove wet or heavily soiled material as appropriate, check water and feeding areas, and look for a sudden mess, odor, temperature problem, or blocked vent.
- Every week: Pull every latch, press every corner, inspect mesh and fasteners, and look for chewing, rust, swelling, dampness, splinters, or sharp edges.
- During a full clean: Move the pet to a secure temporary area, follow product labels, rinse or wipe as required, and let the enclosure dry before resetting it.
- After any repair: Repeat the gap, latch, surface, cure, and stability checks before the pet returns.
If fragrance or irritation is a concern in your home, these lower-irritant cleaning ideas may help you compare options. They are not automatically suitable for every animal or enclosure surface, so check the label and ask your veterinarian when uncertain.
DIY Pet Cage FAQs
Before Your Pet Moves In
Do not judge the project by how finished it looks. The enclosure is ready only when the species requirements are confirmed, usable inside space is preserved, reachable hazards are removed, every gap and closure has been tested, and airflow, temperature, cure time, and cleaning access are resolved. Run the checker on the actual finished cage after every repair or material change.
Once it passes, add species-appropriate shelter and enrichment without blocking movement, ventilation, or cleaning access. For more practical projects, return to the DIY pet projects guide. The goal is not to build the cleverest cage; it is to create a roomy, maintainable space that suits the animal living in it.
Disclaimer: This guide is for general informational purposes and is not a substitute for veterinary or species-specific housing advice. Consult a licensed veterinarian for guidance tailored to your pet. If you suspect exposure to a toxic substance, contact your veterinarian or the ASPCA Animal Poison Control Center at (888) 426-4435. Follow product labels for ventilation, application, and cure time, and do not place a pet in an enclosure with unresolved gaps, sharp edges, unstable parts, strong odors, or uncured coatings or adhesives.