
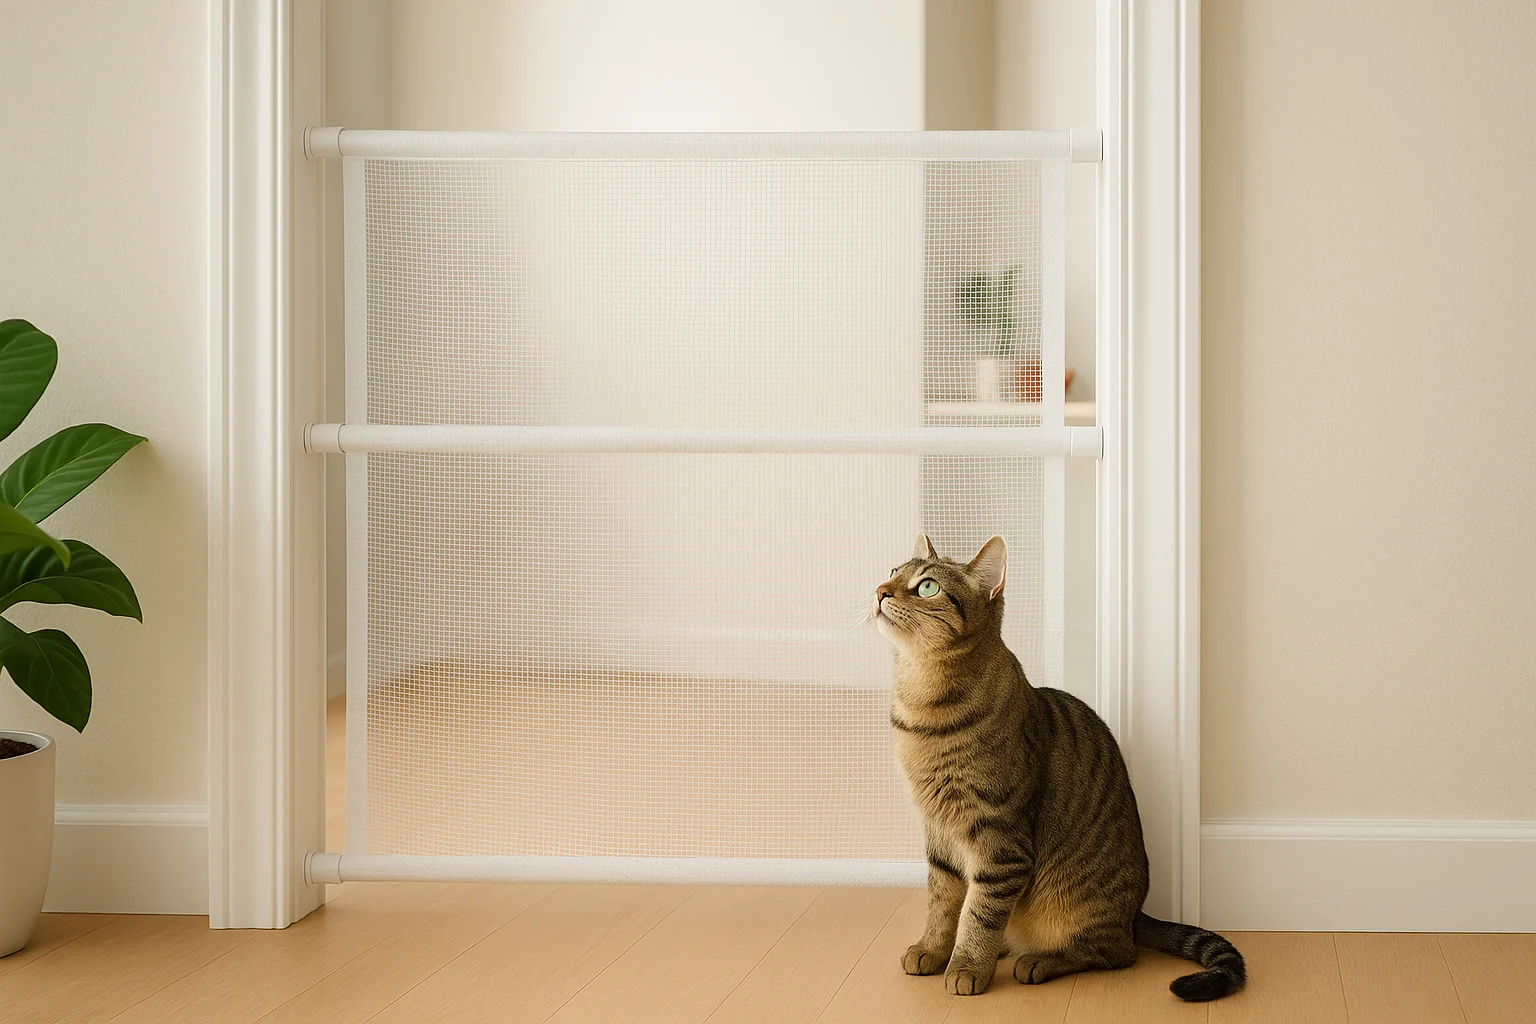
Choose the gate by how your cat defeats barriers—not by height alone. A DIY pet gate for cats can look tall enough and still fail because rods slip, panels bow, gaps open, or the surface becomes a climbing ladder. This guide compares three renter-friendly builds by cost, effort, and human access, then shows you how to test the finished barrier before you trust it.
Start with the comparison table, then use the four-question matcher if two methods still look plausible. This guide is part of the DIY pet projects collection for low-cost, renter-friendly builds.
Find the Right Gate for Your SpaceThis post contains affiliate links. As an Amazon Associate, I earn from qualifying purchases. If you buy through our links, we may earn a commission at no extra cost to you. Learn more.
Table of Contents
- Compare 3 Cat Barrier Ideas
- Find the Right Gate for Your Space
- Plan the Gate Before You Buy Materials
- Method 1: Tension Rod and Mesh Gate
- Method 2: PVC Pipe Cat Gate
- Method 3: Repurposed Gate or Modular Panels
- Test and Maintain the Gate
- When a DIY Room Gate Is the Wrong Solution
- Frequently Asked Questions
- Build the Simplest Gate That Passes All Five Tests
Compare 3 Cat Barrier Ideas
Exact costs depend on the opening and what you already own, so compare these as relative budgets rather than fixed prices. The cheapest safe option is usually the one that fits the space without extra bracing, replacement parts, or a second rebuild.
| Method | Best for | DIY level and time | Relative cost | Main trade-off |
|---|---|---|---|---|
| Tension rods and mesh | Standard doorways and cats that rarely test barriers | Beginner; about 15 minutes; no drilling | Lowest | Blocks human access and can sag, slip, or be pushed aside |
| PVC frame | Wide openings, climbers, pushers, and repeated use | Intermediate; about 30–60 minutes; manual pipe cutting | Moderate | Needs careful measuring, bracing, and a plan for people to pass |
| Repurposed gate or panels | Irregular room openings or materials you already have | Beginner to intermediate; about 5–30 minutes | Variable; often lowest when reused | Gaps and tipping are common unless the base and extension are secured |
DIY is not automatically the frugal choice. If you need a walk-through gate several times a day or would have to buy every rod, connector, panel, and fastener, compare the total with the purpose-built walk-through option before building.
A room gate can manage access to an ordinary doorway or work area. It is not balcony fall protection, a child-safety gate, or a substitute for a hardware-mounted top-of-stairs gate.
Still torn between two methods? Use the matcher to break the tie. It also catches the common case where frequent human access makes a fixed DIY panel the wrong choice.
Find the Right Cat Gate for Your Space
Answer four questions about your cat, the opening, and how people use it. You’ll get a practical starting method—or a warning that a fixed DIY panel is the wrong fit—plus the next step to check before buying materials.
Question 1 of 4
Treat the result as a starting decision, not permission to start cutting. The next section checks the opening, human route, and failure risks before you buy materials.
Plan the Gate Before You Buy Materials
Most failed DIY gates are not short on height; they are poorly matched to the opening, the cat, or the way people use the doorway. Check these three things before you spend money.
1. Measure the opening and the human route
Measure the clear width from wall to wall, the usable height, and any baseboard or trim that prevents a rod or frame from sitting flat. Then decide how people will pass. A removable mesh panel may be fine for an occasional-use room, while a frequently used doorway usually needs a walk-through or quick-release solution.
- Check both sides: A frame that fits at eye level may hit trim or a baseboard near the floor.
- Note the wall surface: Rubber feet hold differently on painted drywall, tile, wood trim, and uneven plaster.
- Protect the walkway: Keep feet, braces, ties, and loose material out of the normal walking path.
2. Match the gate to the way your cat escapes
Choose for the behavior that defeats barriers now, not the behavior you hope your cat will have later.
- Jumps over: Prioritize usable height and a smooth or overhanging top.
- Climbs: Avoid loose mesh and obvious horizontal footholds.
- Pushes or shakes: Use a rigid frame with a braced base.
- Squeezes around edges: Close the side and floor gaps before adding more height.
- Usually respects boundaries: Start with the lightest setup that passes the stability test.
3. Choose materials that fail safely
Use tightly woven material without loose loops, cover sharp cut ends, trim zip-tie tails flush, and avoid parts that can snag a paw or collar. Do not rely on a chewable cord, a single adhesive point, or a heavy panel that can fall toward the cat.
A sudden reluctance to jump, climb stairs, or move normally can be a sign of pain. AAHA recommends discussing those changes with your veterinary team before raising the barrier or treating the issue as training alone.
Method 1: Tension Rod and Mesh Gate
Best for: A standard doorway, occasional room separation, and a cat that does not aggressively climb or push. Skip it when: the opening is very wide, the walls are uneven, or people need frequent walk-through access.
What you need
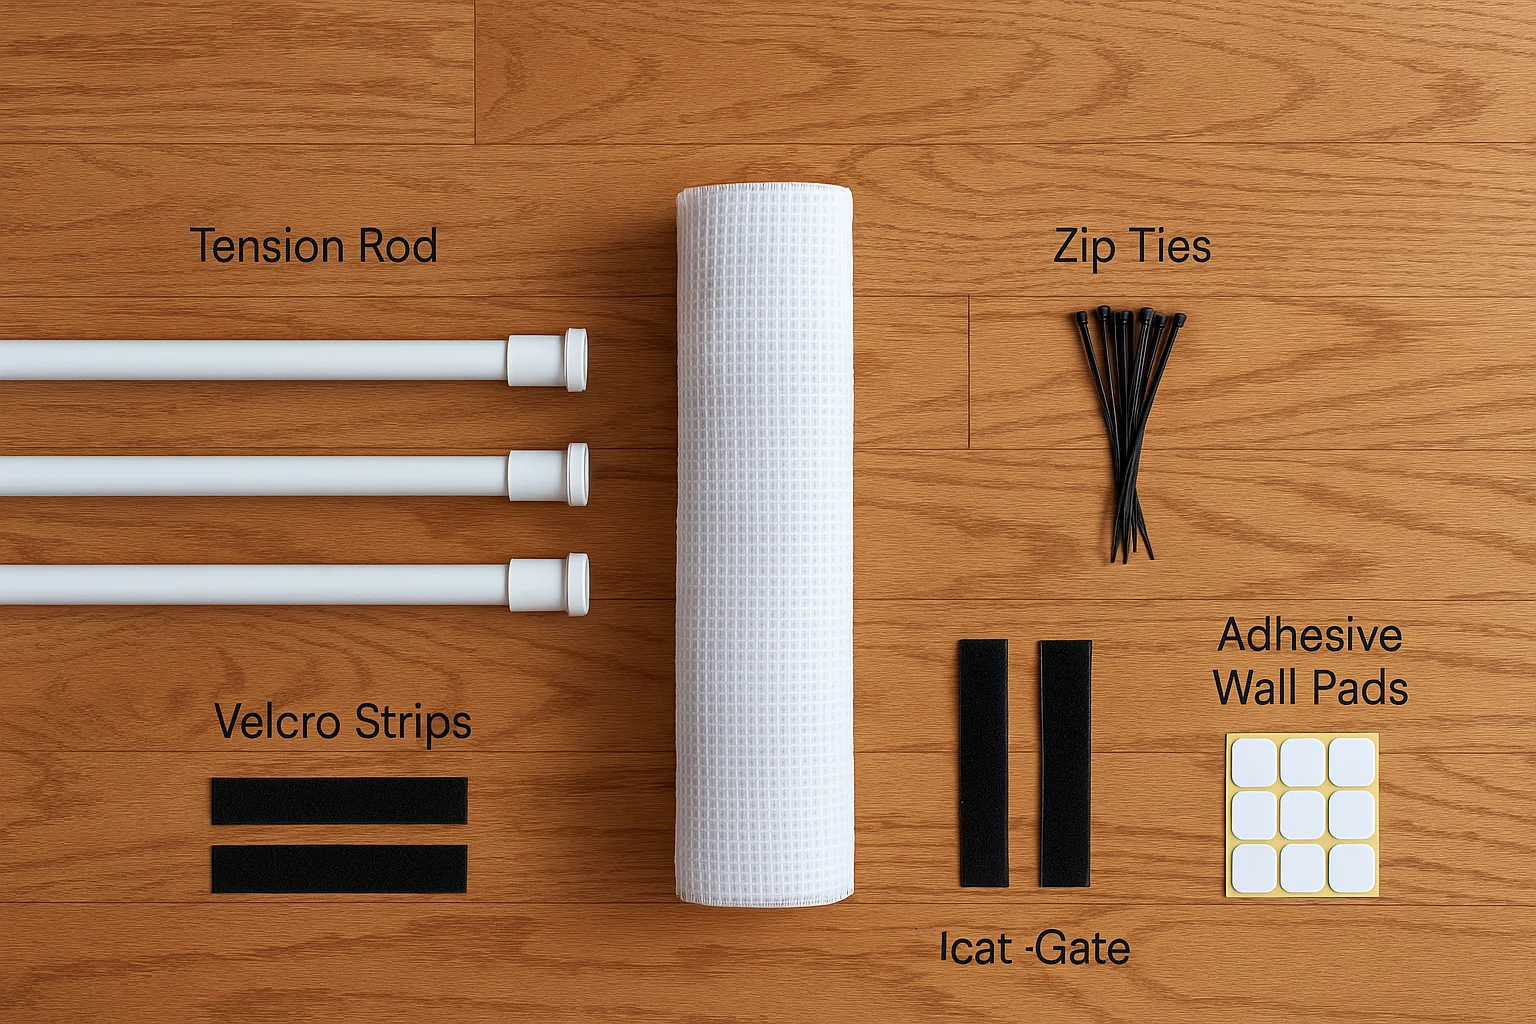
- Two or three tension rods: Choose rods with rubberized ends sized for the measured opening.
- Tightly woven mesh or sturdy fabric: Avoid loose loops and large openings that create footholds.
- Zip ties or hook-and-loop straps: Zip ties hold more firmly; reusable straps make removal easier.
- Wall-protection pads: Optional, but useful when the rod ends slip or mark paint.
How to build it
- Cut with an allowance: Add about 6–8 inches to the opening width and 4–6 inches to the height so the material can wrap around the rods.
- Attach the top edge: Fold the material over the top rod and fasten it at regular intervals.
- Install the top rod: Set it as high as the opening allows, keeping the rod level.
- Pull the material taut: Wrap and fasten the bottom edge before installing the lower rod near the floor.
- Add a middle rod when needed: Use it to reduce bowing in a tall or moderately wide panel.
- Trim and cover fasteners: Remove sharp zip-tie tails and check that no loop can catch a paw or collar.
- Run the pass/fail test: Push the center, sweep every edge with your hand, and confirm that the panel cannot slip or open a gap.
This method is quick because the whole panel stays in place. That also means it is not a walk-through gate; plan a safe way to remove or release it before blocking a doorway people use often.
If that trade-off is a deal-breaker—or if the span bows when pushed—move to the PVC frame instead of stacking on more rods and fabric.
For other lightweight room-divider approaches, see these DIY pet barrier ideas.
Method 2: PVC Pipe Cat Gate
Best for: A wider opening, a persistent cat, or a barrier you expect to use repeatedly. Skip it when: you cannot brace the base, the frame would obstruct an exit, or a purpose-built walk-through gate would cost about the same.
What you need
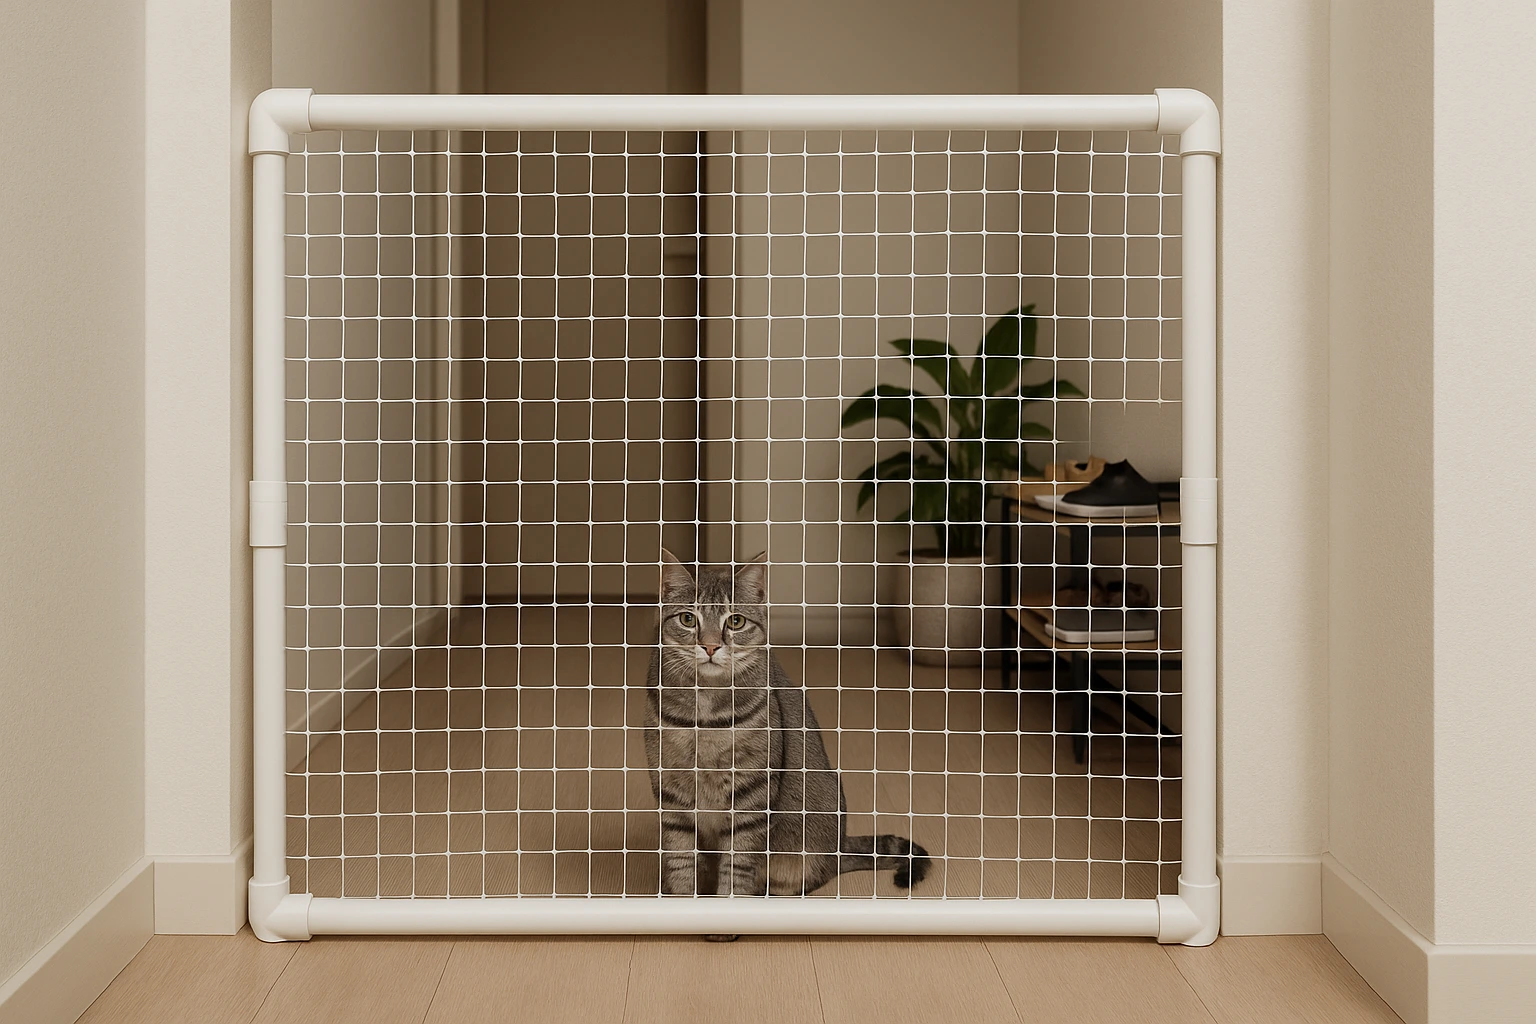
- ¾-inch or 1-inch PVC pipe: Use the larger size when the frame needs more stiffness.
- Elbows and tee connectors: Tees can support feet, a center brace, or a wider base.
- Tightly woven mesh or sturdy fabric: Size it to cover the complete frame without loose edges.
- Zip ties: Fasten the material around the frame and trim the tails flush.
- Manual PVC cutter: No power tool is required.
- Non-slip pads or wall-safe restraints: Use them only where they cannot become a trip point.
How to build it
- Sketch the frame: Mark the finished width, height, crossbars, feet, and the route people will use around or through it.
- Cut and dry-fit: Assemble the complete frame without cement first so you can correct the fit.
- Add stiffness: Use a middle crossbar, wider feet, or another brace if the frame twists when pushed.
- Attach the material: Pull it evenly across the frame and fasten it without puckers, loose edges, or exposed sharp ends.
- Place and restrain the frame: Keep the base flat and prevent it from sliding or falling toward the cat.
- Test before finishing: Push the center and corners. Cement only after the dry-fit version passes and only if you do not need to disassemble it.
Do this before buying pipe: Tape the planned outline on the floor and wall. Walk through the space normally. If the frame blocks the route or creates a trip point, change the design before cutting anything.
Method 3: Repurposed Gate or Modular Panels
Best for: Reusing a gate or panels you already own, creating a temporary barrier, or shaping around an irregular room opening. Skip it when: the base cannot be braced, the gaps are large enough for a kitten, or failure could cause a fall.
For either version, gather the gate or panels, multiple connection points such as zip ties or straps, non-slip pads or a stable brace, and edge covers for any sharp or cut surfaces.
Option A: Adapt a baby or pet gate
- Check the original fit: Use the gate only in an opening and location allowed by its instructions.
- Assess the height: Add a lightweight extension only when it can be attached without flexing, sharp edges, large gaps, or obvious climbing rungs.
- Preserve the latch and frame: Do not cover, jam, or weaken the gate’s locking mechanism.
- Test the complete assembly: Push the extension and the base separately; either one can become the failure point.
If you are buying a gate rather than repurposing one, compare the total DIY material cost with the purpose-built option below. Daily human access may be worth more than the small saving from a fixed homemade panel.
Skip the fixed panel for a doorway you use all day: Carlson Extra Tall Walk-Through Pet Gate.
This option gives people a walk-through route without building a fixed panel. Compare it only for an ordinary room doorway that fits the product instructions; extra-tall does not mean escape-proof, child-safe, balcony-safe, or suitable for the top of stairs.
Option B: Build a modular panel barrier
- Choose suitable panels: Avoid openings that can trap a head, paw, or collar.
- Connect every joint: Fasten adjacent panels at several points rather than relying on the original clips alone.
- Brace the base: Use a wide U-shape, stable feet, or wall-safe restraints so the barrier cannot fold or tip.
- Close the edge gaps: Check corners, baseboards, and the floor line before adding more panels.
- Plan access: Leave a controlled opening or movable section rather than climbing over the barrier.
Test and Maintain the Gate
A gate is ready only when it passes the same checks your cat will perform: push, climb, squeeze, and repeat.
The 60-second pass/fail test
- Push test: Press the center and each corner. The frame should not slide, bow, fold, or tip.
- Gap test: Run your hand around the floor, sides, and top. Close any opening your cat can widen with a paw or shoulder.
- Snag test: Feel for sharp cut ends, loose loops, protruding ties, and rough edges.
- Climb test: Look for horizontal rods, mesh openings, and nearby furniture that create a route over the top.
- Human-use test: Open, remove, or walk around the barrier the way you will in daily life. It should not create a trip point or block a needed exit.
Height alone does not make a gate escape-proof. UC IPM notes that cats can jump about six feet, but a lower rigid barrier can outperform a taller panel that flexes, offers footholds, or leaves side gaps.
What to change when it fails
- It slides: Refit the rod ends, add non-slip pads, or switch to a braced frame.
- It bows or folds: Add a middle rod, crossbar, wider feet, or a more rigid material.
- Your cat climbs it: Remove footholds, move nearby furniture, and use a smoother surface rather than relying on height alone.
- Your cat squeezes around it: Rebuild the edge to fit or add a rigid infill strip instead of loose filler.
- People keep stepping over it: Switch to a walk-through solution before the barrier becomes a trip hazard.
Ongoing maintenance
- Recheck after the first few uses: Tighten rods, braces, connectors, and fasteners that settle or shift.
- Inspect the material: Replace torn mesh, stretched fabric, cracked panels, or chewed fasteners rather than patching a growing weak point.
- Watch the behavior: Upgrade or retire the gate when your cat begins climbing, pushing, or testing it in a new way.
- Keep it clean and dry: Wipe the surface as the material allows and check that pads or feet still grip.
When a DIY Room Gate Is the Wrong Solution
Use a different solution when the consequence of failure is a fall, a child entering danger, or a pet being trapped in an unsafe space.
- Top of stairs: Use a suitable hardware-mounted gate and follow the manufacturer’s installation instructions. Do not improvise with a pressure-mounted or freestanding room divider.
- Balcony edge: Use a secure floor-to-ceiling enclosure, inspect every attachment and gap, and supervise. Cats Protection warns that poorly secured netting can allow escape or entanglement.
- Child safety: A pet barrier is not automatically a child-safety gate. Use a product and installation intended for the child-safety location.
- Sudden mobility or behavior change: Treat the change as a possible health or stress signal, not simply a reason to make the gate taller.
Vehicle barriers are a different job
A room divider is not designed for vehicle movement or crash forces. For separation inside a vehicle, use a vehicle-specific approach and see these DIY pet barrier ideas for cars.
Frequently Asked Questions
Build the Simplest Gate That Passes All Five Tests
Before buying anything, write down three facts: the opening width, how people need to pass, and whether your cat jumps, climbs, pushes, or squeezes. Those answers point to the lightest sensible starting method: tension rods for a simple low-pressure doorway, PVC for wider or more persistent cases, and braced panels for irregular openings or materials you already own.
After the build, run the push, gap, snag, climb, and human-use tests. Supervise the first uses. If the barrier fails even one test, reinforce it or switch methods instead of stacking improvised fixes.
For more low-cost builds, see the complete guide to affordable pet DIYs.
This guide provides general DIY information for managing pet access. It is not veterinary, behavioral, child-safety, or construction advice. Follow product instructions, use judgment, and supervise pets. For sudden mobility or behavior changes, talk to your veterinarian or a qualified behaviorist.