
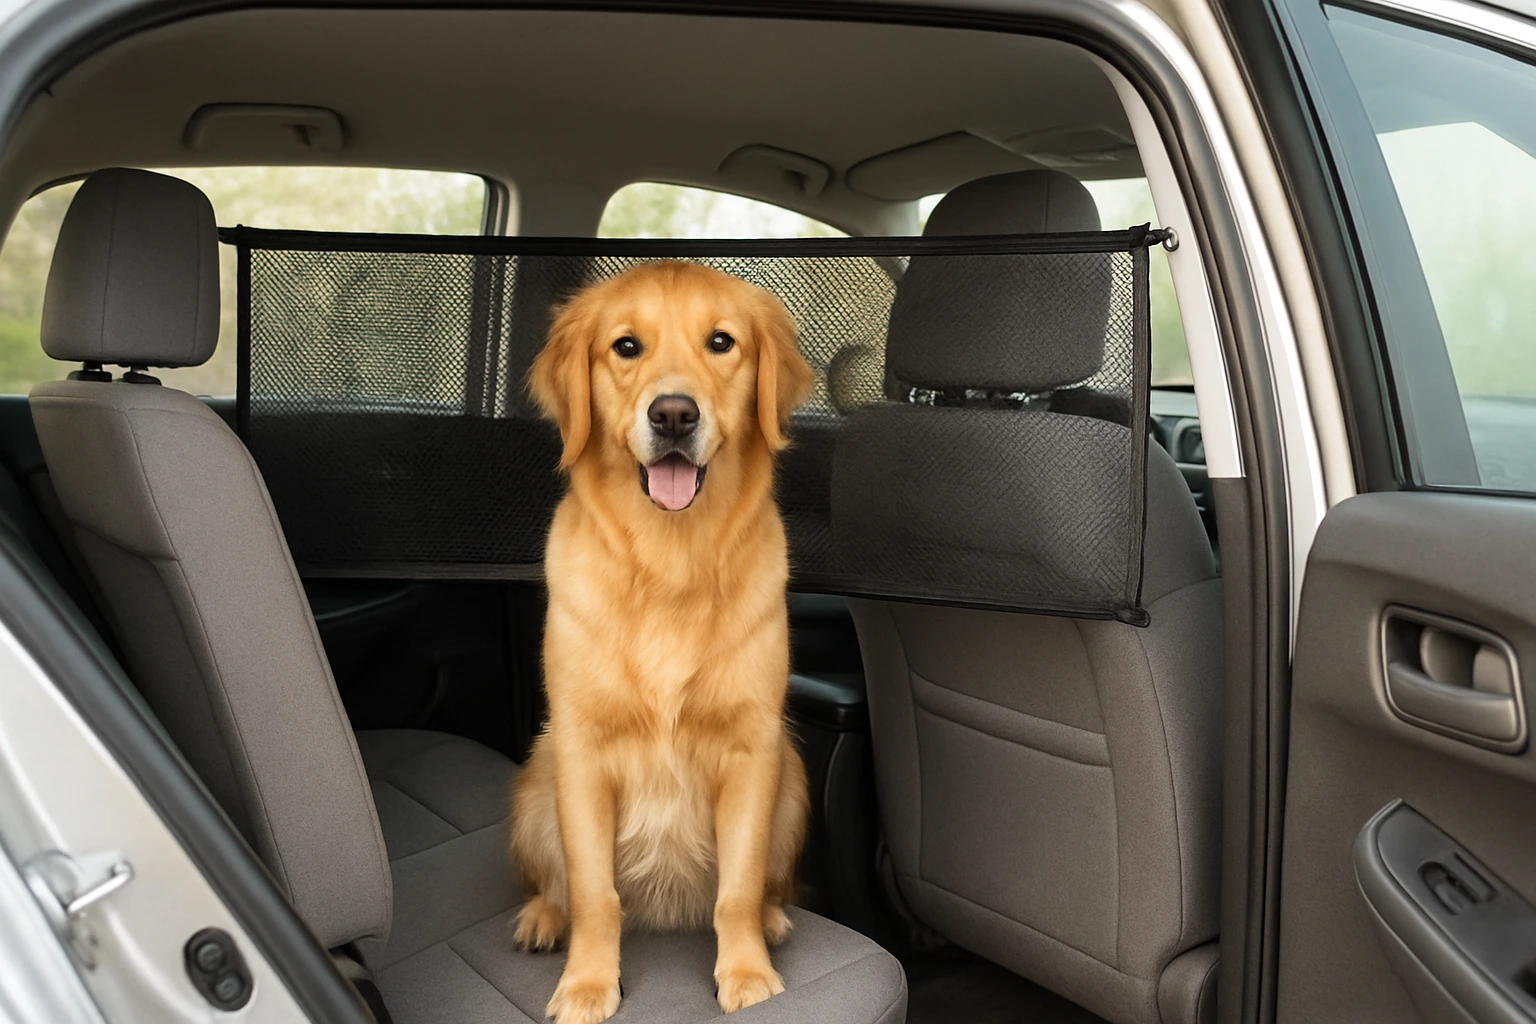
A cheap barrier that shifts, blocks a seatbelt, or leaves a dog-sized gap is not a bargain. A DIY pet barrier for car travel should be the simplest divider your dog cannot push aside, installed without blocking mirrors, airbags, seatbelts, doors, vents, or controls. It can reduce wandering into the front seat, but it cannot restrain a pet in a crash.
This guide helps you measure the opening, compare five practical designs, and test the finished setup before driving. You’ll also see when a rigid barrier or secured carrier is the better answer. For more low-cost pet builds beyond the car, browse the DIY pet projects guide.
Match Your Car to a BarrierThis post contains affiliate links. If you buy through our links, we may earn a commission at no extra cost to you. As an Amazon Associate, I earn from qualifying purchases. Learn more.
Table of Contents
- Containment vs. Restraint
- Measure the Car Before You Build
- Which DIY Barrier Fits Your Car?
- How to Build Each DIY Barrier
- Install and Check the Barrier
- When to Skip DIY
- Questions About DIY Car Pet Barriers
- Let the Parked-Car Hand Test Decide
What a DIY Pet Barrier for Car Travel Can—and Can’t—Do
A barrier is a containment aid: it discourages a dog from moving into the driver’s space and can keep fur and mud in one area. It is not a restraint system and should not be described or treated as crash protection.
For car pet safety, use a secured hard-sided carrier or a vehicle harness designed for car travel, following the manufacturer’s instructions. The ASPCA’s current travel guidance recommends securing pets in the vehicle and keeping them out of the front passenger seat. With that boundary clear, the next decision is fit: where the divider can sit and what it must leave untouched.
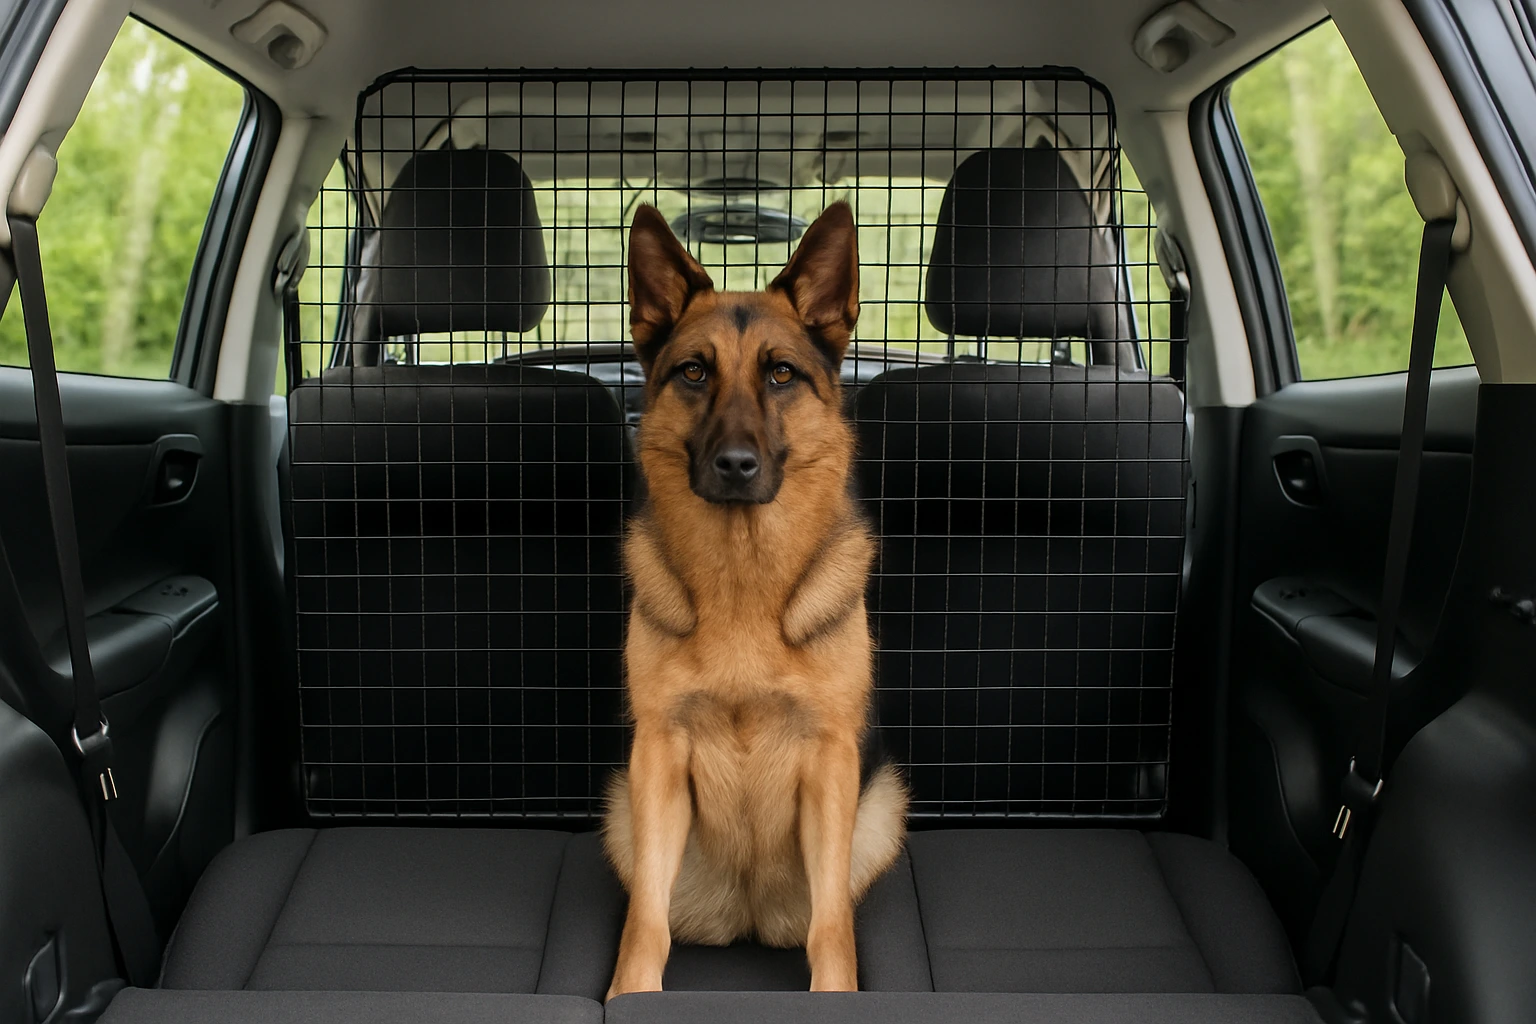
Measure the Car Before You Build
Set the front seats to their normal driving positions and load any cargo you usually carry before measuring. Then choose the mounting plane—usually directly behind the front seats or behind the rear seats in an SUV or hatchback—and measure the actual opening rather than buying or cutting materials from a generic vehicle estimate.
- Measure the width between the points where the divider would sit.
- Measure the height from the seatback or cargo floor to the roofline, while preserving your rear view.
- Check the side and bottom gaps against your dog’s head, shoulders, and paws.
- Mark the no-go zones: airbags, seatbelts, door latches, windows, vents, wiring, seat-adjustment tracks, and the driver’s sight lines.
Install the first version with your pet out of the car. If you cannot identify stable mounting points that stay clear of those systems, do not improvise—use a purpose-built barrier or secured carrier instead.
Price the whole build, not just the divider material. Count only what you still need: mesh or netting, straps or ties, edge protection, rods, pipe, connectors, and any tool you would buy only for this job. A PVC frame can stop being the frugal choice when every component is new, while a simple mesh panel may need fewer new parts when the vehicle already has suitable mounts. Compare the total with the current price of a compatible rigid barrier before buying.
Compare the Barrier Types
| Idea | Best fit | Resistance to pushing | Main limitation |
|---|---|---|---|
| Headrest mesh panel | Back seat; calm dog | Low | Can be pushed aside |
| Tension rod and mesh | Back seat; safe clear span | Low | Not suitable near airbags or soft trim |
| Cargo net and straps | SUV or hatchback cargo area | Low to moderate | Needs reliable anchor points |
| PVC frame and mesh | Cargo area; dog that pushes | Highest of these DIY options | Bulkier and vehicle-specific |
| Hammock plus mesh panel | Back seat; calm dog; footwell coverage | Low | The hammock itself is not a barrier |
Which DIY Barrier Fits Your Car?
After you find stable mounting points clear of the no-go zones above, choose where your dog rides and the closest behavior you have actually seen. The matcher will point to the closest containment starting point, or tell you when none of the five DIY builds fits your situation; it does not assess crash restraint.
How to Build Each DIY Barrier
Open the build linked in your result and read the full method before buying or cutting anything. Vehicle layout, mounting points, dog behavior, and material condition matter more than the price of the parts.
1. Headrest-Mounted Mesh Panel
Best fit: A calm dog in the back seat when the front headrests provide clear, stable upper mounting points.
What you need: Breathable mesh, reinforced edges or grommets, and adjustable straps or reusable ties. Avoid loose loops, exposed hooks, and anything the dog can chew apart.
- Measure the gap between the front seats and cut the mesh with enough overlap to close the side gaps.
- Reinforce the mesh edges before attaching straps.
- Secure the top to the headrest posts. Use lower mounting points only when they are fixed, clear of wiring and seat mechanisms, and suitable for an accessory.
- Pull the panel taut, then press along every edge to find a gap your dog could nose through.
Main trade-off: This is easy to remove and preserves visibility, but it is only for a dog that does not lean, chew, or jump against the divider.
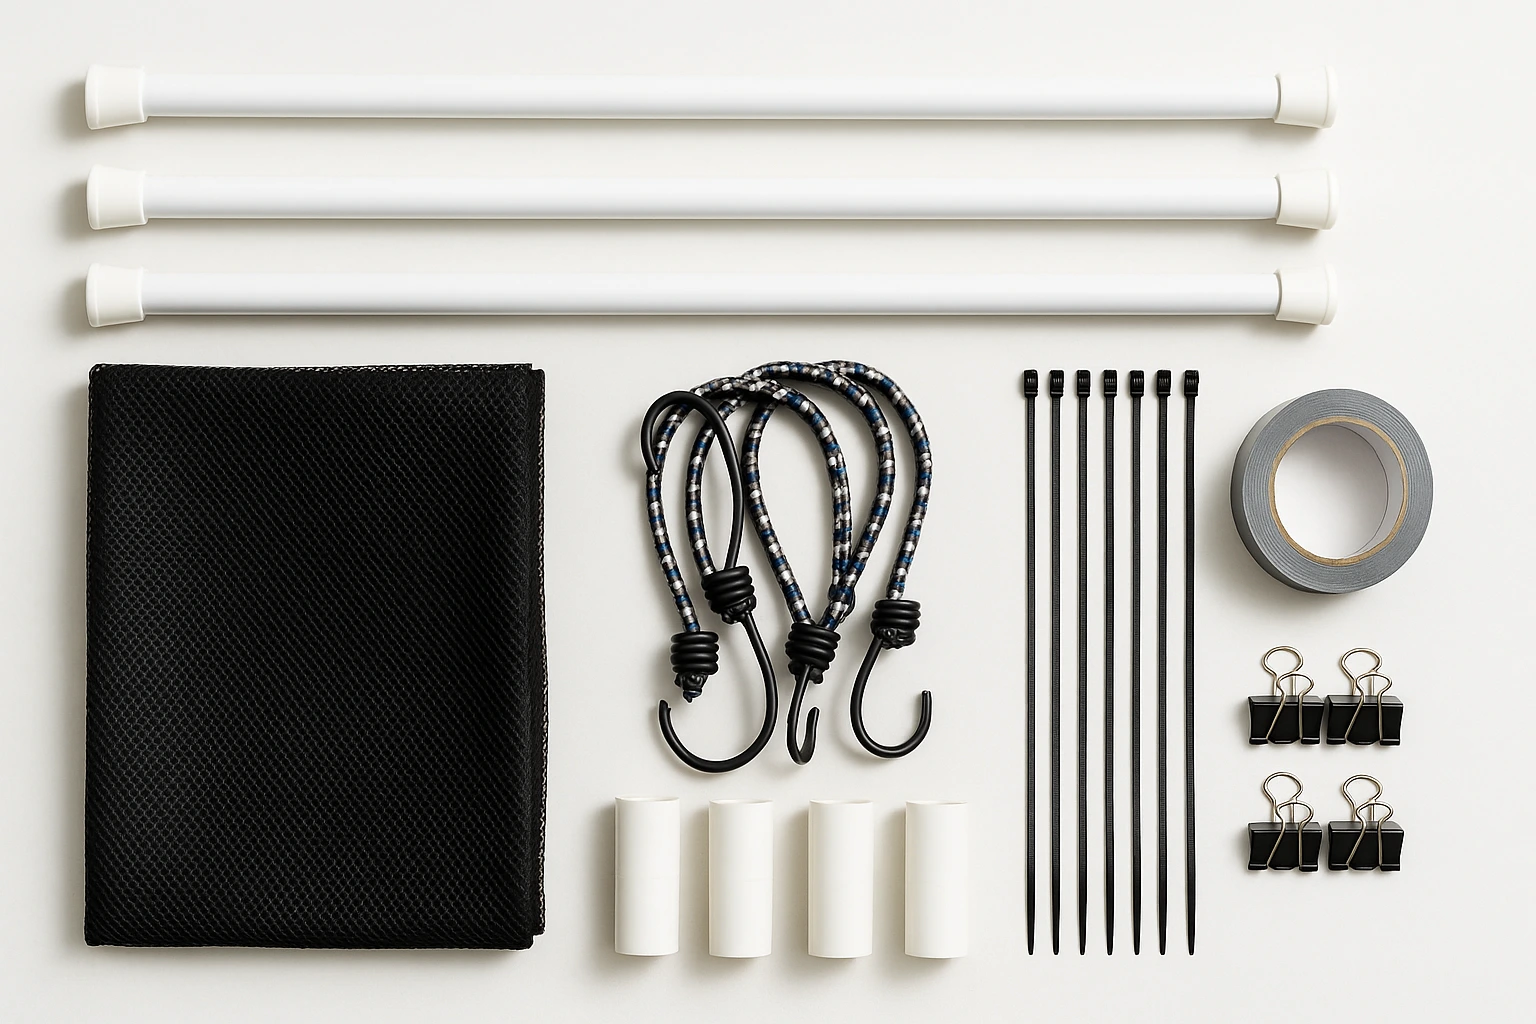
2. Tension Rod and Mesh Panel
Best fit: A calm dog and a vehicle with a hard, unobstructed span that is completely outside the airbag, door, window, and seatbelt paths.
What you need: Tension rods sized to the measured span, breathable mesh, and reusable ties. Do not brace rods against grab handles, airbag covers, soft headliner, windows, or moving door trim.
- Use the vehicle manual and the visible interior layout to identify the side-curtain airbag and other no-go zones.
- Fit the rods while the car is parked and confirm they cannot contact a door, window, or moving seat.
- Attach the mesh to the rods and close the bottom gap without interfering with seatbelts or seat adjustment.
- Shake and press the panel from the pet side. If a rod slips or rotates, abandon this design.
Main trade-off: It is removable and inexpensive when the car has a suitable span, but many interiors do not offer a safe place to brace a tension rod.
3. Cargo Net and Webbing Straps
Best fit: An SUV or hatchback with a cargo area and fixed anchor points behind the rear seats.
What you need: A small-opening cargo net and adjustable webbing straps. Avoid open metal bungee hooks and net openings large enough to catch a paw or head.
- Measure the cargo opening and choose a net that overlaps every edge.
- Attach the upper corners to suitable fixed points, then attach the lower corners to cargo tie-downs.
- Tension the straps evenly so the net does not bow toward the passenger area.
- Secure loose strap ends and check that the net does not block rear visibility or ventilation.
Main trade-off: A net stores easily and suits many cargo areas, but a determined dog can stretch, chew, or climb a soft barrier.
4. PVC Frame with Mesh
Best fit: A cargo area that needs a custom rigid shape and has reliable points for securing the finished frame.
What you need: PVC pipe and connectors, breathable mesh, edge protection, reusable ties, and webbing straps. Measure every side before cutting.
- Build a rectangular frame that fills the opening while leaving mirrors, vents, latches, and airbags clear.
- Dry-fit the frame inside the parked vehicle, then mark any changes before finishing the joints outside the car.
- Cover the frame with taut mesh and trim or cap every sharp edge and tie end.
- Secure the frame to suitable cargo-area points so it cannot tip, rotate, or slide during ordinary driving.
Main trade-off: This is the strongest DIY structure in the guide, but it is bulkier, more vehicle-specific, and still not a crash restraint.
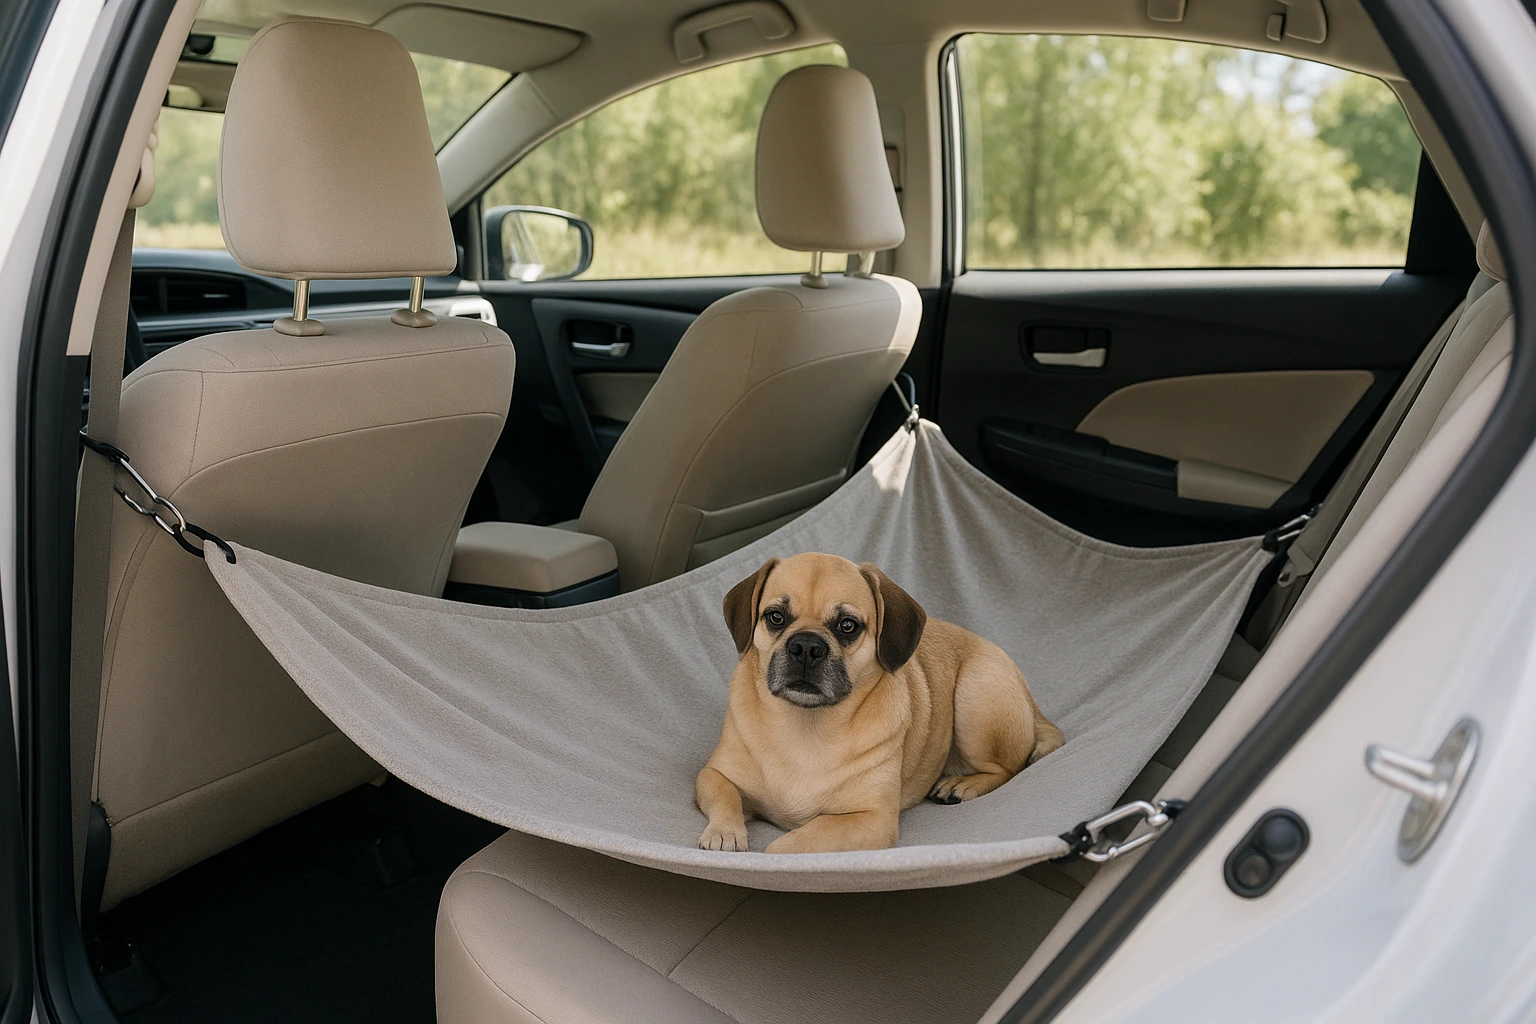
5. Backseat Hammock with a Mesh Front Panel
Best fit: A calm dog in the back seat when you also want to bridge the footwell and protect the seats.
What you need: A sturdy hammock-style seat cover or blanket setup, secure headrest straps, and a separate breathable mesh panel between the front seats.
- Stretch the hammock across the back seat so it covers the footwell without covering seatbelt buckles you need.
- Attach the mesh panel between the front headrests, keeping it clear of seat-mounted airbags and adjustment controls.
- Remove loose loops and check that the dog cannot crawl under or around the panel.
- Confirm the driver can still see through the rear window and mirrors.
Main trade-off: The hammock can reduce falls into the footwell and protect upholstery, but it does not become a rigid barrier or restraint.
Install and Check the Barrier Before Every Trip
For car pet safety, treat installation as a repeatable check rather than a one-time build. Put the pet somewhere else while you work, then inspect the complete setup before the first drive.
- Keep safety systems clear. Airbags, seatbelts, buckles, door latches, windows, vents, and seat controls must work normally.
- Remove snag and chew hazards. Cover sharp ends, trim ties, secure loose straps, and avoid exposed hooks.
- Test the barrier by hand. Push at the center, corners, and lower edge. Any part that slips during this check needs a different mount or design.
- Introduce it gradually. Let the dog inspect the setup while parked, then take a short drive and recheck every connection.
- Use separate restraint. Secure a hard-sided carrier or use a vehicle harness according to its instructions; do not attach a car restraint to a collar.
- Recheck before each trip. Heat, cleaning, folding, and repeated installation can loosen straps, mesh, and connectors.
- Never leave a pet in a parked vehicle. Interior temperatures can become dangerous quickly, even when the day does not feel very hot.
When to Skip DIY and Use a Purpose-Built Barrier
A homemade divider has reached its limit when it shifts during a hand test, blocks part of the vehicle, needs constant repair, or cannot contain your dog without adding risky mounting points.
- Use a secured carrier for cats, small pets, or any animal that can climb through the barrier openings.
- Move to a rigid vehicle barrier when a dog repeatedly pushes, jumps, chews, or climbs against soft mesh.
- Skip the barrier entirely when the only available mounting route crosses an airbag, seatbelt, door, window, or driver sight line.
When You Want a Measured, Purpose-Built Divider
Soft mesh has reached its limit when your dog repeatedly bows it, climbs it, chews it, or creates a gap during the parked-car hand test. If the vehicle still has a clear, compatible opening, a removable rigid divider may be the simpler next step.
Choose a rigid divider when: you need stronger containment than mesh can provide, but not crash restraint.
Purpose-built option: PetSafe Happy Ride Metal Dog Barrier
Tension-mounted and tool-free, so it goes in without drilling and comes back out when you need the seats. Adjusts 32–49 inches wide and 33–57 inches high — measure the opening and leave room for the rubberized caps. Best for a compatible opening and a dog that does not repeatedly climb, deform or overpower a rigid universal barrier; a determined barrier-attacker needs a vehicle-specific guard instead.
Skip it when: the fit range does not match your vehicle, the divider would interfere with the car, or the real need is crash restraint. For restraint, use a secured carrier or a suitable vehicle harness according to its instructions.
If What You Actually Need Is Restraint
Containment and restraint are different jobs, and the labels are worth reading carefully. A harness described as crash tested has usually been tested by the company selling it, often to a procedure it adapted itself. Independent certification is a stricter and separate bar: the Center for Pet Safety publishes which harnesses, carriers and crates have passed its own testing, and several widely sold “crash tested” harnesses have not.
If restraint is what you need, work from that directory rather than from a product title. Check the exact model and size, follow the manufacturer’s vehicle-attachment instructions, and avoid separate extension tethers or zipline-style attachments — CPS warns that they add movement and can undo the protection the harness is meant to provide.
None of this makes a DIY divider into crash protection. If your dog travels in the cargo area rather than on a seat, a secured hard-sided carrier is the more appropriate route.
Questions About DIY Car Pet Barriers
Let the Parked-Car Hand Test Decide
Start with the matcher result and build only one version. With the car parked, push the center, corners, and lower edge; then check mirrors, doors, seatbelts, airbags, vents, and seat movement. If the divider shifts, opens a gap, or interferes with the vehicle, stop revising that design and move to a compatible rigid barrier or secured carrier.
If it passes, save the measurements and photograph the anchor points so you can reinstall it consistently after cleaning, folding, or moving a seat. Recheck the setup before every trip, especially after changing cargo or seat position.
For another practical low-cost build, continue with the DIY Pet Projects guide.
Safety note: These DIY dividers are for containment and convenience, not crash protection. Secure pets in a hard-sided carrier or a vehicle harness appropriate for the animal and vehicle, follow the manufacturer’s instructions, and keep airbags, seatbelts, doors, latches, vents, and driver sight lines clear. Check the restraint rules that apply where you drive, and ask your veterinarian about motion sickness, travel anxiety, or other individual concerns.