
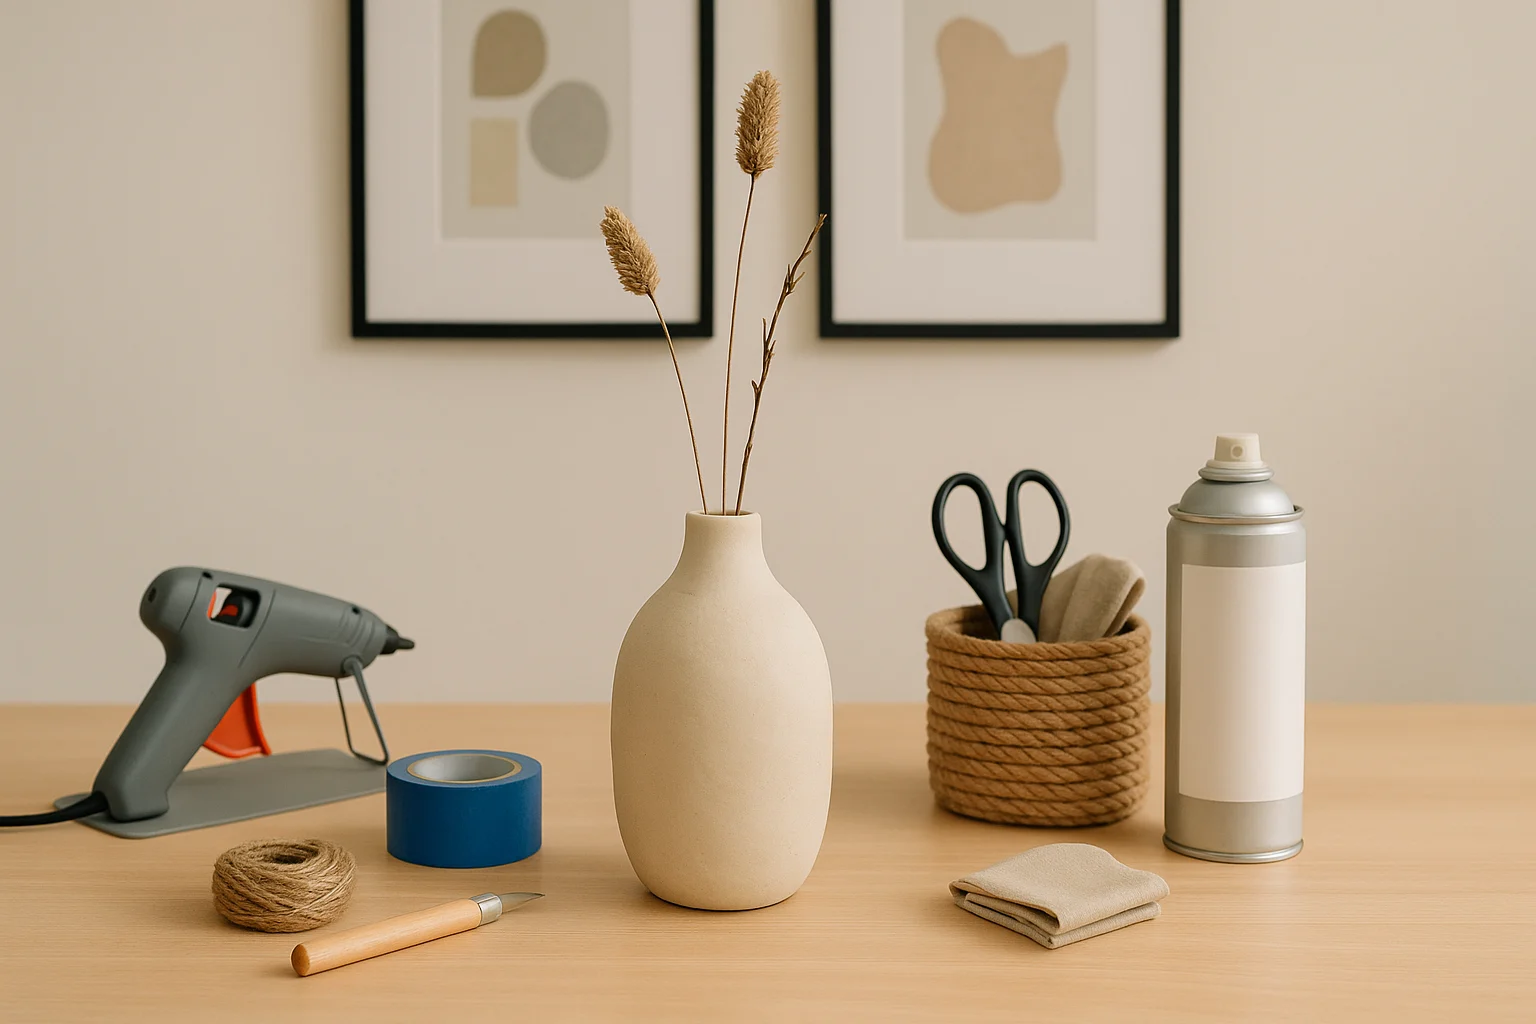
Some of the easiest-looking crafts hide the longest wait: clay, paint, adhesive, and sealer all need time before the piece is ready to use. These craft projects for adults separate hands-on time from drying or curing time, use common or reusable materials, and point out the finish detail that keeps each result from looking rushed.
Start with the matcher to choose what you want to make, how much hands-on time you have, and when it needs to be ready, then jump straight to the supplies and steps. For bigger room-by-room projects, our do-it-yourself home décor ideas guide uses the same budget-first approach.
This post contains Amazon affiliate links. As an Amazon Associate, I earn from qualifying purchases. This does not change the price you pay. Links marked “#ad” are affiliate links. Learn more.
Table of Contents
- Find a Craft Project That Fits Your Weekend
- How to Make Budget Crafts Look Polished
- 7 DIY Craft Ideas for Adults
- Do You Need Special Tools for These Crafts?
- Frequently Asked Questions
- Let the Leftovers Choose Your Next Project
Seven ideas are only useful if one fits both the time you can work and the time you can wait. Choose what you want to make, your hands-on window, and when you need it ready. The matcher will explain the trade-off and take you to the exact supplies and steps. Prefer to scan first? Jump straight to all seven projects.
Find a Craft Project That Fits Your Weekend
Use the result button to jump straight to your project. Still comparing? The five finishing rules below apply to every option and help the result look deliberate rather than rushed.
How to Make Budget Crafts Look Polished
Before you shop, set a finish line: one vase, one basket, one framed piece, or one set of four coasters. Use what you already own, then make the five finishing choices below before adding extra supplies or decoration.
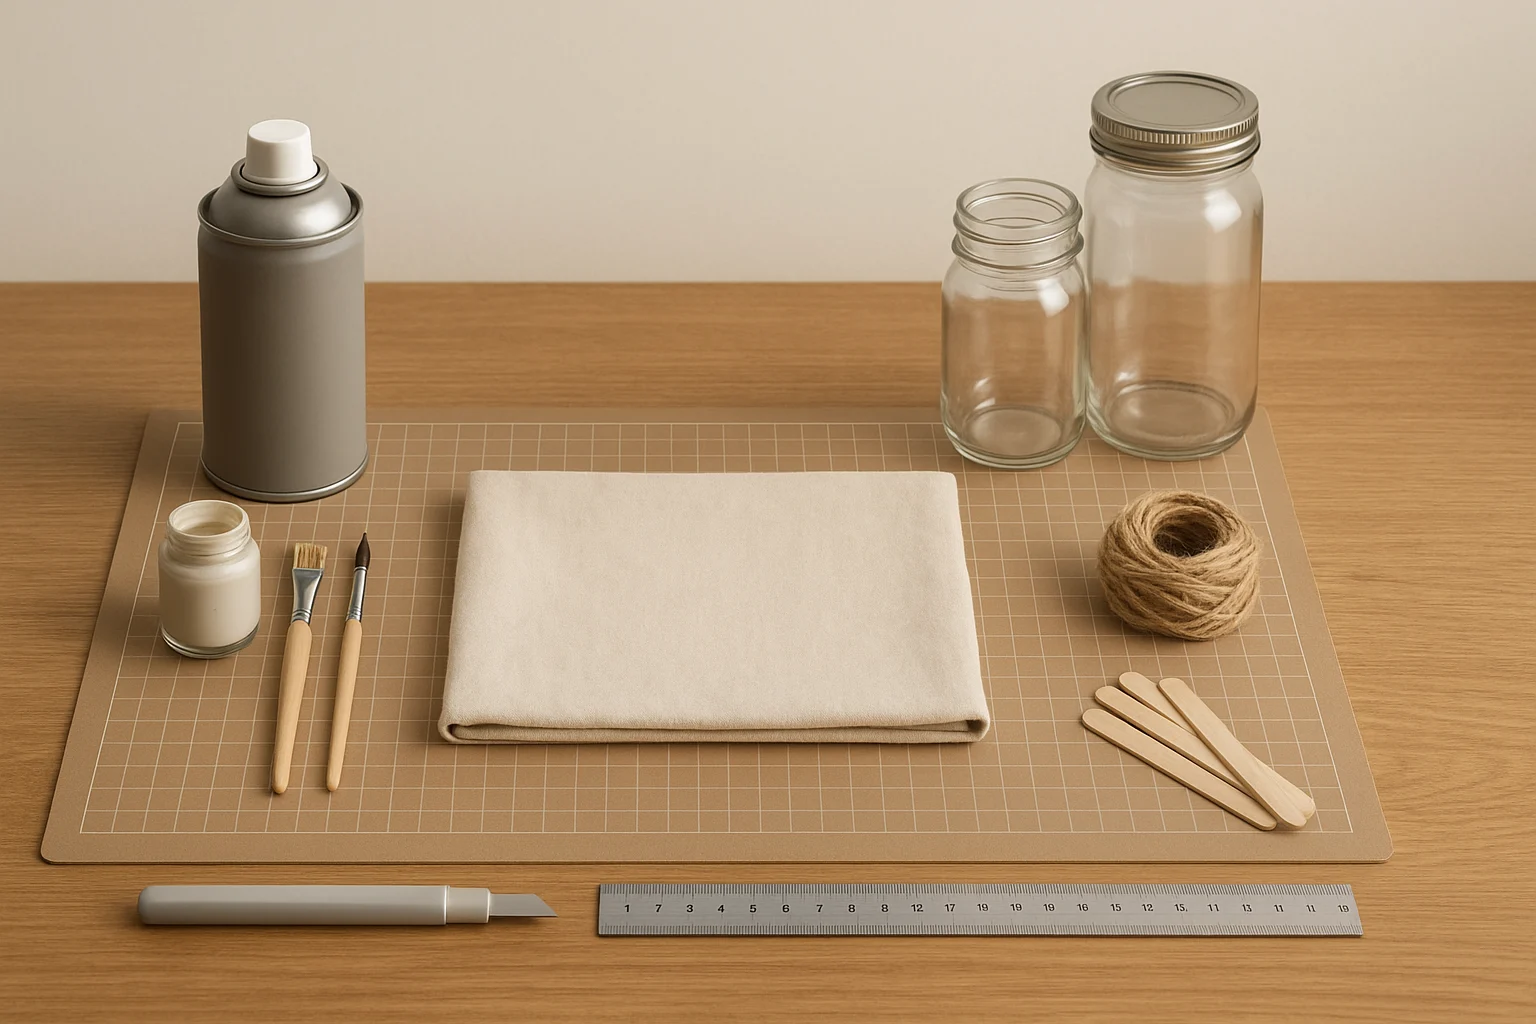
Expensive supplies are not what make a small craft look finished. Consistency does: limit the palette, repeat one finish, respect drying time, clean up the edges, and stop before decorative details start competing with one another.
- Limit the palette: Choose two or three colors, with neutrals such as white, cream, beige, grey, black, or earthy tones doing most of the work. Add one muted accent only when the piece needs it.
- Repeat one finish: Carry one main texture or surface—matte paint, natural rope, smooth fabric, or clear decoupage—through the whole piece.
- Respect the wait time: Let clay, paint, adhesive, transfer medium, and topcoats dry or cure for the time stated on their labels. Handling too early is one of the fastest ways to spoil a clean finish.
- Clean up the edges: Use painter’s tape for crisp lines, trim fabric and paper neatly, hide raw ends, and smooth rough spots before the final coat.
- Add one deliberate detail: A painted frame, brass-tone clip, neat tassel, or clean label can finish the piece. One accent is usually enough.
Safety note: Use cutting tools, hot glue, spray paint, adhesives, and sealers according to their manufacturer instructions. Ventilate as directed, protect the work surface, and check the CPSC recalls and product safety warnings database for the exact product and model when relevant.
For larger projects that use the same palette-and-finish decisions, see the DIY home decor on a budget guide.
7 DIY Craft Ideas for Adults You Can Make This Weekend
Each project starts with the fit, hands-on time, wait time, and a rough materials estimate. Prices vary, so reuse the jar, frame, fabric, cardstock, or flowers when you can. Start with the matcher’s pick or browse by category.
Home Décor Projects
These two projects turn a recycled or thrifted base into décor. If you are updating a larger piece too, the DIY furniture makeovers guide covers paint, stain, and hardware changes.
Project 1: Textured Air-Dry Clay Vase
Choose this when you want the biggest visual transformation and can wait several days before painting. A thin, even clay layer matters more than elaborate texture.
Hands-on time: 45–60 minutes
Wait time: about 24 hours to dry to the touch and roughly 72 hours to dry fully, plus paint drying
Rough materials estimate: $10–$15; less when you reuse a jar
What you need:
- Clean glass jar or bottle
- Air-dry clay sized for the container you are covering
- Matte spray paint in one neutral or earthy color
- Small shaping tool or craft knife, optional
- Compatible clear matte sealer, optional
How to make it:
- Clean the jar: Remove labels and residue, then let the glass dry completely.
- Shape the clay: Roll thin sheets, ropes, or small pieces. Avoid thick patches that will dry at a different rate.
- Cover the surface: Press the clay onto the jar, blend the seams, and add restrained ridges or impressions.
- Dry it fully: Leave the vase on a stable surface. Crayola’s guidance gives about 24 hours to dry to the touch and about 72 hours to dry fully, with timing affected by size and conditions.
- Paint in thin coats: Work outdoors or in a properly ventilated area and let each coat dry before adding the next.
- Seal only if needed: Use a finish compatible with the clay and paint, and follow its full cure time.
If the clay cracks or lifts: Thin any heavy areas, let the piece dry completely, and patch small cracks according to the clay maker’s instructions. On very slick glass, a lightly scuffed and clean surface may hold better than glossy glass.
Project 2: Framed Fabric Art
Start here when you want the fastest décor project, especially when a frame, backing, and fabric scrap are already available. The clean finish comes from taut fabric and hidden raw edges.
Hands-on time: 30–45 minutes
Wait time: adhesive drying; add extra time only if you repaint the frame
Rough materials estimate: $5–$10
What you need:
- Thrifted or unused picture frame
- Fabric remnant with a texture or pattern that suits the room
- Cardboard or foam board cut to fit the frame
- Hot glue or spray adhesive suited to the materials
- Scissors
How to make it:
- Prepare the frame: Clean it and repaint only if the current finish competes with the fabric.
- Cut the backing: Fit cardboard or foam board snugly inside the frame.
- Position the fabric: Lay the fabric face down, center the backing, and leave enough excess to wrap every edge.
- Wrap and secure: Pull opposite sides taut before fixing them to the back. Fold the corners neatly so the front stays flat.
- Reassemble: Return the covered backing to the frame and secure it.
Matte black, warm wood, or a soft metallic frame can sharpen a neutral fabric, but repainting is optional. The piece usually looks more deliberate when the frame and fabric do not compete for attention.
Planning several fabric or paper projects? See when a cutting mat earns its space instead of buying one for a single frame.
Organization Projects
These projects turn rope, clips, and scrap material into storage you can use immediately.
Project 3: Rustic Rope Storage Basket
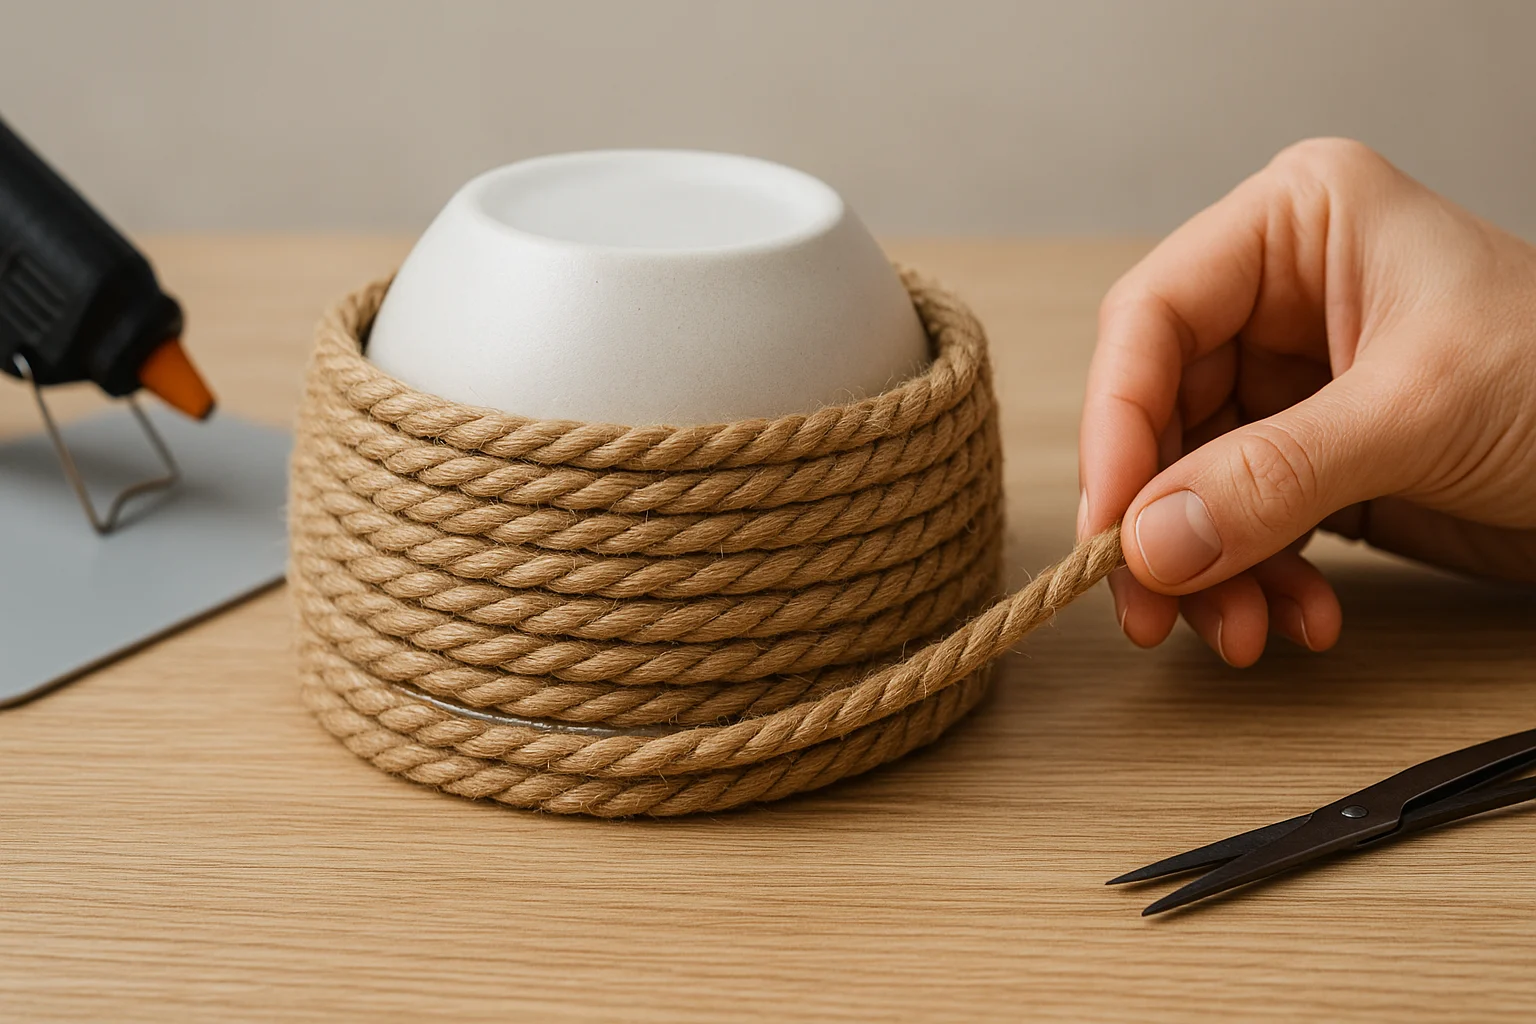
Choose this when you want a light-duty organizer with visible texture. An inverted bowl makes the shape easier to control than freehand coiling.
Hands-on time: 60–90 minutes
Wait time: only the cooling or setting time required by the adhesive
Rough materials estimate: $5–$10
What you need:
- Jute, cotton clothesline, or another rope that coils cleanly
- Hot glue gun and glue sticks, or another adhesive suited to the rope
- Sturdy scissors
- Small bowl or container to use as a form, optional
How to make it:
- Coil the base: Start a tight flat spiral, securing each round as you go.
- Build the sides: When the base reaches the right width, angle the next rounds upward. Use an inverted bowl only as a shape guide, keeping adhesive between adjacent rope coils—not on the bowl.
- Control and release the shape: Rotate the form as you work and check the basket from several angles. Once the adhesive has cooled or set, slide the basket off the bowl before securing the final end.
- Finish the end: Cut the rope cleanly and secure the end inside the final coil.
Thicker natural rope usually creates cleaner, more visible coils. Treat glued rope loops as decorative unless the adhesive and construction are specifically rated to carry weight; lift a filled basket from the base.
Making several glue-heavy projects? See when a fine-tip glue gun earns its place instead of duplicating the tool recommendation inside each project.
Project 4: Clip-On Labels for Bins and Shelves
Pick this for the quickest organizing project. Use a paint pen for fixed labels, or chalkboard paint and a chalk marker when you want to rewrite them later.
Hands-on time: 45–60 minutes
Wait time: paint and adhesive drying
Rough materials estimate: $5–$8
What you need:
- Small rectangles of scrap wood or thick cardboard
- Small binder clips
- Matte paint, or chalkboard paint for rewritable labels
- Paint pen, permanent marker, or chalk marker matched to the finish
- Hot glue or another strong adhesive suited to both surfaces
How to make it:
- Cut the label faces: Make the pieces the same size so a group looks intentional.
- Paint them: Apply thin coats in a ventilated area when the product requires it, then let them dry fully.
- Attach the clips: Position each binder clip at the same height and leave enough of the clip exposed to grip the bin or shelf.
- Add the wording: Use a permanent paint pen for fixed labels or a chalk marker on a rewritable surface.
Make one finished sample before completing the batch. It is easier to correct letter size, contrast, and clip placement once than to redo every label.
Handmade Gift Projects
Choose the coasters for a coordinated set or the photo transfer for one personal display piece. For more batchable presents, see these cheap homemade gifts for coworkers.
Looking for DIY craft ideas for Christmas or DIY craft ideas for Mother’s Day? Match the project to the number of gifts and the wait time:
- Best for a batch: Tile coasters, provided the finish has time to cure before wrapping.
- Best for one personal keepsake: Photo-transfer art using a family photo, recipe, or meaningful place.
- Best for mailing: Pressed-flower bookmarks, which stay flat and use very little material.
Project 5: Personalized Tile Coasters
Choose this for a housewarming, Christmas, or Mother’s Day gift when you can allow the finish to dry and cure before wrapping the set.
Hands-on time: 60–90 minutes for a set of four
Wait time: drying between coats and the full cure time stated on the finish
Rough materials estimate: $10–$15 for four
What you need:
- Four clean ceramic tiles
- Printed photos, maps, patterned paper, or a copied recipe card
- Decoupage medium
- Foam brush
- Felt pads or cork backing
- A topcoat specifically rated for the moisture exposure the coasters will receive, when needed
Buy only if you need the paper-layer medium: Mod Podge Matte (8 oz) adheres and coats the design with a clear matte finish.
Skip it if you already own a compatible decoupage medium. It is not waterproof, so condensation-prone coasters still need a topcoat rated for that exposure.
How to make it:
- Prepare the tiles: Clean and dry them, then arrange the set so the designs read as one group.
- Cut the paper: Leave a narrow tile border around each design.
- Adhere the design: Brush on a thin, even layer of decoupage medium and center the paper.
- Smooth the surface: Work from the center outward to remove bubbles and wrinkles.
- Build thin top coats: Apply two or three light coats over the paper. Plaid says Mod Podge Matte is typically touch-dry in about 15–20 minutes, though conditions and coat thickness affect drying.
- Plan for condensation: Regular Mod Podge Matte is not waterproof. Use a moisture-rated topcoat when the coasters will regularly catch cold-drink condensation, and follow its full cure instructions.
- Add the backing: Once the finish is ready for handling, attach felt pads or cork to protect the table.
Winter paper, simple metallics, copied recipe cards, and family photos can personalize the designs without changing the method. To package several small handmade pieces together, use these cheap homemade gift basket ideas.
Project 6: DIY Photo Transfer Art
This is the best fit for a personal keepsake when a one-day drying period fits your schedule. The method depends on a laser print and a transfer medium made for that process.
Hands-on time: 30–45 minutes
Wait time: a full 24 hours before removing the paper, plus final drying
Rough materials estimate: $10–$20
What you need:
- Wood slice, small wood block, or canvas panel
- Laser-printed photo; mirror any text before printing
- Mod Podge Photo Transfer Medium or another medium whose label supports laser or dry-toner transfers; review Plaid’s photo-transfer instructions before starting
- Foam brush
- Sponge or soft rag
- Small bowl of water
For this exact transfer method: Mod Podge Photo Transfer Medium (8 oz) is made for laser or dry-toner images on surfaces such as wood and canvas.
Choose it when you do not already own a compatible transfer medium. Skip it for ordinary decoupage: this is a specialized transfer formula, not regular Mod Podge.
How to make it:
- Prepare the print: Use a laser printer and mirror text or directional details.
- Prepare the surface: Clean and dry the wood or panel. A light base color can make the image appear brighter.
- Apply the medium: Follow the label and coat the image side of the print evenly.
- Place the image: Set it print-side down, press firmly, and smooth out air pockets without shifting the paper.
- Dry for 24 hours: Plaid’s photo-transfer guidance calls for a full 24-hour drying period before paper removal.
- Remove the paper: Dampen the back and rub away the fibers gently in small circles. Let the surface dry between passes so remaining haze is easier to see.
- Protect the image: Once the transfer is clean and dry, use a compatible clear finish according to its label.
A small amount of paper haze can create a distressed look, but stop rubbing before the transferred image begins to lift. Test the method on a spare print when the photo cannot be replaced.
Creative Upcycle
This final project uses small flowers, leaves, and cardstock to make a flat keepsake rather than another object that needs shelf space.
Project 7: Pressed-Flower Bookmarks
Choose this for the lowest-cost gift or upcycle, especially when you can press your own flowers. Fully dry, flat materials are easier to arrange and seal.
Hands-on time: 20–30 minutes
Wait time: drying between adhesive or sealer coats
Rough materials estimate: $5–$10; lower when you press your own flowers
What you need:
- Fully pressed and dry flowers or leaves
- Cardstock
- Decoupage medium or another paper-safe adhesive and finish
- Small foam brush
- Scissors or paper trimmer
- Hole punch and ribbon or twine, optional
How to make it:
- Cut the cardstock: Make each strip roughly 2 by 6 inches, or size it for the books you use.
- Arrange the flowers: Use one to three small blooms or leaves so the surface stays flat.
- Attach them: Apply a small amount of adhesive to the back of each piece and press gently.
- Seal in thin coats: Use the lightest coat that covers the surface and let it dry completely before adding another.
- Add a tassel if useful: Punch a centered hole and tie on ribbon or twine without making the bookmark bulky.
Test one flower first because some finishes deepen or shift natural colors. Thin coats also reduce the chance that the cardstock will curl.
Do You Need Special Tools for These Crafts?
Most readers can finish one project with sturdy household scissors, scrap cardboard or another protected work surface, and an adhesive matched to the materials. Start with that simple setup, borrow a specialty tool when it makes the job easier, and consider an upgrade after the same task appears across several projects. At that point, the table helps you match the repeated friction—such as glue control or protected cutting—to the smallest useful upgrade.
| Crafter stage | Best starting setup | When an upgrade earns its place | Next step |
|---|---|---|---|
| One project | Sturdy scissors, scrap cardboard or another protected surface, and the adhesive already suited to the project | This setup handles most one-off projects. Borrow a specialty tool when convenient, then consider buying when the same limitation returns in more than one project. | Start with this setup |
| Repeat glue-heavy projects | Surebonder Mini Fine-Tip Hot Glue Gun | Worth considering when rope baskets, label clips, or framed fabric repeatedly need finer glue placement. For occasional use, a borrowed glue gun or a suitable adhesive you already control well remains the easier route. | |
| Repeat fabric and paper projects | Self-healing cutting mat or another protected cutting surface | Worth considering when measured trimming and table protection recur across several projects. For occasional cuts, sturdy scissors over scrap cardboard remain a practical starting setup. | Consider after repeated use |
Frequently Asked Questions
Let the Leftovers Choose Your Next Project
After you finish one DIY craft project, store the usable leftovers together and choose the next project only when it uses at least two of them. Paint plus a frame can become fabric art; rope plus a jar can become a wrapped container; paper plus ribbon can become gift tags.
That rule keeps crafting from turning into a supply-collection hobby. If nothing fits, enjoy the piece you finished and wait until a real need gives the leftovers a job. For broader ways to make “use what you have” part of the household budget, continue with the Frugal Living Handbook.
Use cutting tools, hot glue, spray paint, adhesives, and finishes according to manufacturer instructions. Ventilate as directed, protect skin and work surfaces when required, and check recall notices for the exact product and model you own.