
A fallen hem, missing button, split seam, or stubborn zipper can make a perfectly wearable garment feel finished. The first question in clothing repair is not whether you own a sewing machine—it is what failed, which fix is least likely to cause more damage, and whether the job belongs at home or with a professional.
Use the quick repair check for a low-risk starting point, or jump straight to hems, buttons, tears, or zippers. By the end, you’ll know what kind of damage you have, which tools to gather, which warning signs change the method, and when a clothing repair shop is the smarter choice. For a broader plan to buy less and keep clothes in rotation longer, see the Frugal Fashion guide.
This post contains affiliate links. If you purchase through them, I may earn a commission at no extra cost to you. As an Amazon Associate, I earn from qualifying purchases. Learn more.
Table of Contents
- Diagnose the Damage and Choose a Repair
- Before You Repair: Test the Method
- Build a Basic Clothing Repair Kit
- How to Hem Clothes and Make Simple Alterations
- Fix a Missing or Loose Button
- Repair Tears, Holes, and Split Seams
- How to Fix a Zipper: Slider or Full Replacement?
- Match the Repair to the Fabric
- When to Use a Clothing Repair Shop
- Frequently Asked Questions
- Put One Garment Back in Rotation
Not sure which repair section fits the damage? Start with the quick check below. It will point you to the lowest-risk starting method and the exact instructions to use next.
Diagnose the Damage and Choose a Repair
Choose the closest answer each time. Some problems stop after two questions when a home repair is unlikely to be the safest route.
Question 1 of 3
What failed?
What does the damage look like?
What kind of garment or material is it?
Get ready:
Stop and change course if:
Go to the matching repair section Starting from zero? See the basic tools and kit options.Before You Repair: Test the Method
Whatever result the repair check gives you, treat it as a starting method—not permission to make an irreversible change. Before you cut, glue, crimp hardware, or remove stitches, confirm three things:
- Care and construction: Read the care label and inspect the hidden side for lining, interfacing, seam allowance, and previous repairs.
- Temporary version: Pin, clip, baste, or test the method on a hidden area so you can judge the hang, stretch, heat response, and visibility.
- Stop condition: Pause when the fabric keeps fraying, the garment changes shape, the hardware damage spreads, or the repair requires a result you cannot test and undo.
Build a Basic Clothing Repair Kit
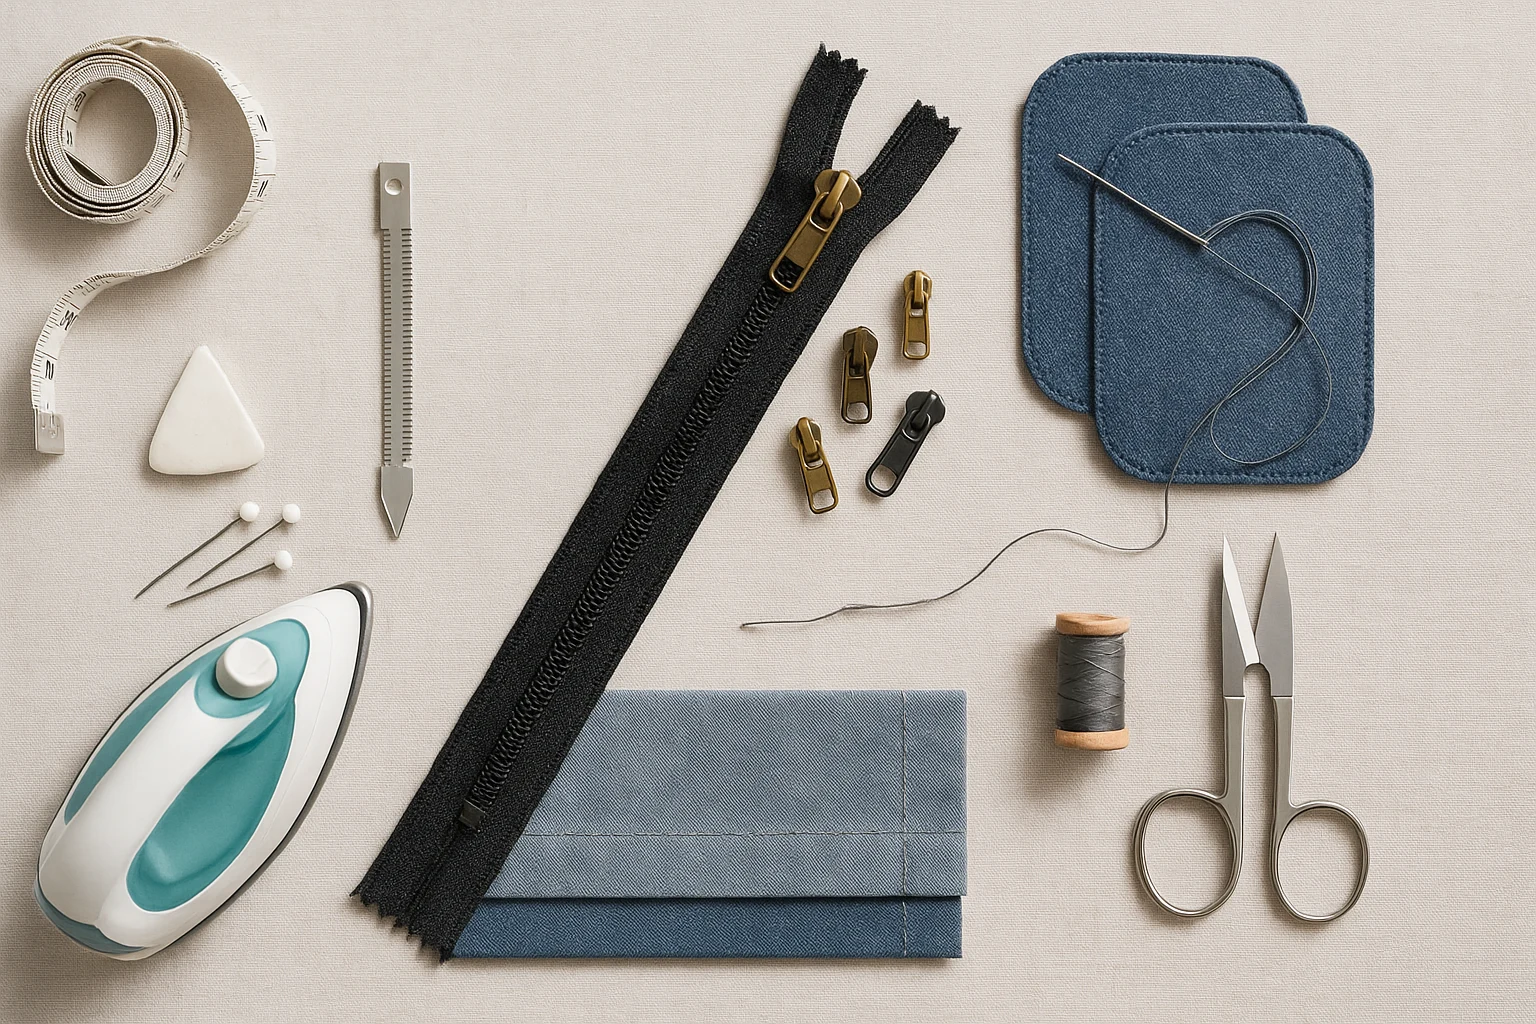
Most repairs in this guide need hand tools, not a sewing machine. Start with a seam ripper, hand needles, matching thread, small fabric scissors, pins or clips, a measuring tape, and an iron with a pressing cloth. A machine helps with long seams and durable patches, but it is optional for buttons, small holes, and many hems.
Match the needle to the fabric: use a fine needle for light wovens, a denim needle for heavy fabric, and a ballpoint needle for knits. Start with low iron heat on synthetics, test heat or adhesive on a hidden area, protect the work surface, and unplug the iron when you finish.
| Tool | Use it for | What matters |
|---|---|---|
| Seam ripper | Removing damaged stitches or opening a hem cleanly | Slide under one stitch at a time so the fabric is not cut. |
| Hand needles | Buttons, small tears, patches, and hand-finished hems | Choose a needle that suits the fabric weight and structure. |
| All-purpose thread | Most everyday woven-garment repairs | Match the color and avoid pulling the stitches so tight that the fabric puckers. |
| Fabric scissors | Trimming thread, patches, and excess allowance | Keep them for fabric so the blades stay clean and precise. |
| Pins, clips, and a fabric marker | Holding and marking the repair before you commit | Test the marker on a hidden area and remove pins before machine stitching. |
| Measuring tape | Checking hems, patch size, and button placement | Measure the finished line first, then add the allowance for the chosen method. |
| Iron and pressing cloth | Setting folds and heat-activated repair products | Follow the care label and product instructions; some fabrics can shine, distort, or melt. |
Already own the basics? Skip the kits. Starting from zero? Choose a compact starter kit for occasional repairs, a larger home kit for regular mending, or a heavy-duty set for denim, canvas, and sturdy bags. Choose by the repairs you expect to make—not by the number of pieces in the box.
Use the tools you already own—or the kit that fits the job—then continue to the matching repair method below.
How to Hem Clothes and Make Simple Alterations
People searching how to make alterations on a dress often mean “make it shorter.” That is a manageable beginner job; this section covers a simple length change, not reshaping a bodice, moving a zipper, or changing a lining. Decide the finished length, choose a finish that suits the fabric, and test the fold before cutting.
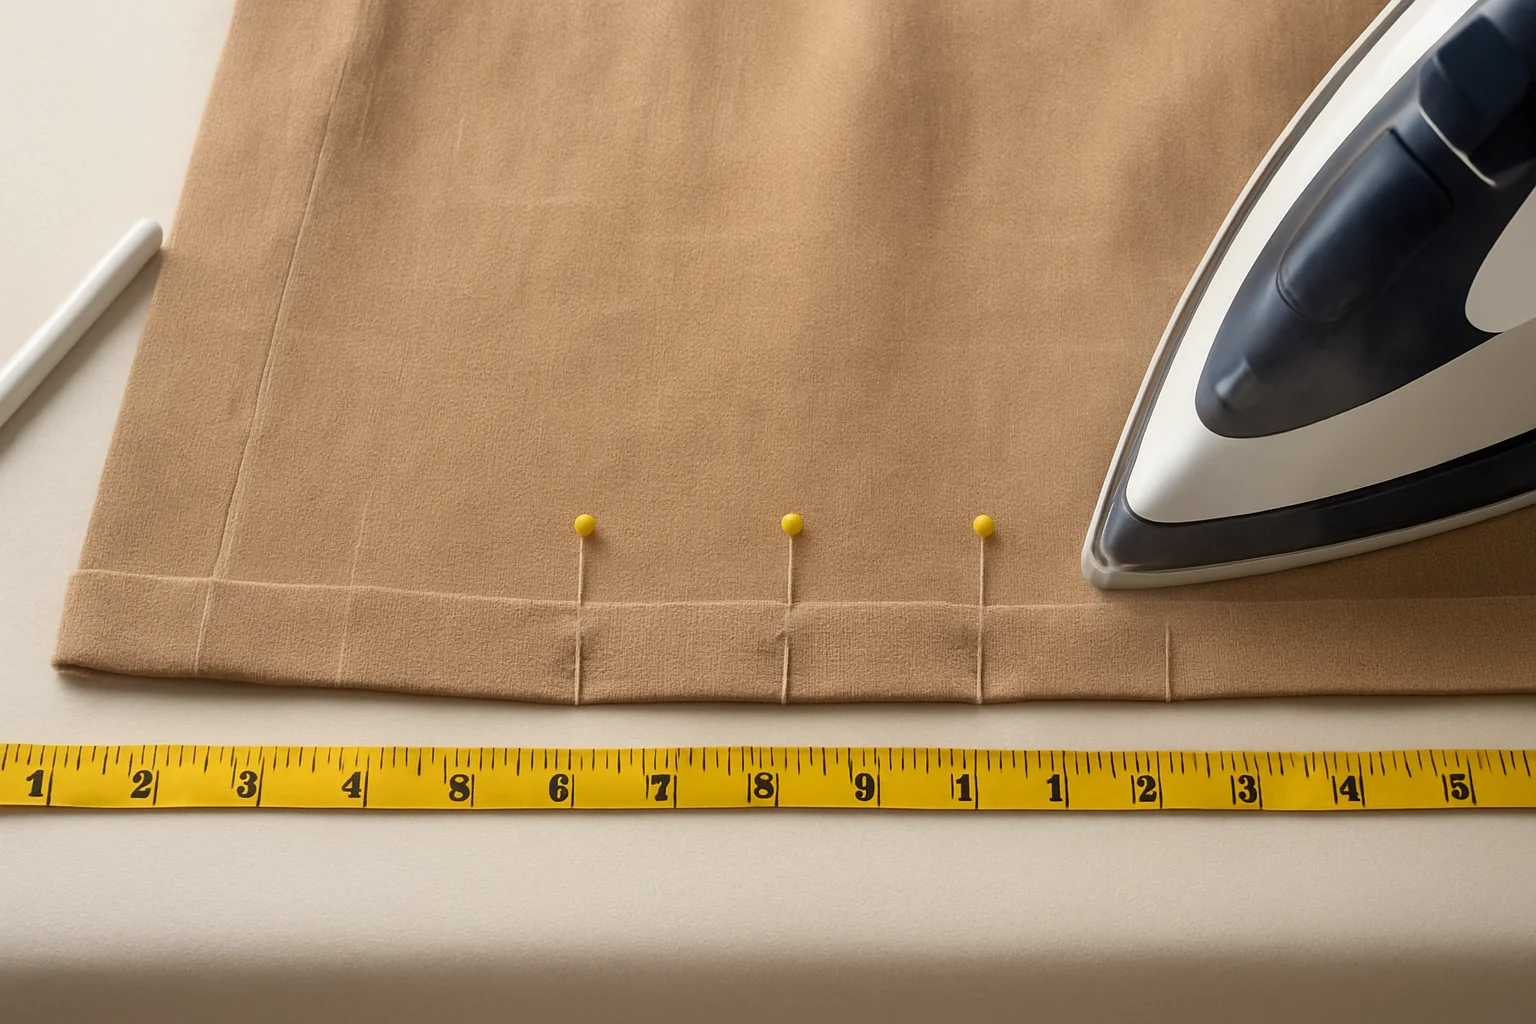
Measure and Test the Length Before Cutting
- Wear the garment: Put it on with the shoes you normally pair with it and stand naturally.
- Mark the finished line: Pin or mark the length evenly around the garment; ask for help when the back is difficult to judge.
- Lay it flat: Compare both sides and smooth the fabric without stretching it.
- Choose the finish: The method determines how much allowance must remain below the finished line.
- Fold and test: Press, pin, or baste the hem, then try the garment on and move in it.
- Cut last: Trim excess fabric only after the temporary hem looks even and hangs correctly.
Choose the Hem Finish
| Method | Best fit | Main caution |
|---|---|---|
| Double-fold hem | Stable cotton, linen, and many denim garments | Heavy side seams can become bulky; slow down and keep the fold even. |
| Blind hem | Dress pants, skirts, and garments where visible stitching would distract | Take tiny bites of the outer fabric and keep the thread tension light. |
| Flexible hand or machine hem | Knit and stretch fabric | Use a ballpoint needle and a stitch that can move with the fabric. |
| Fusible web | A quick no-sew fix on a heat-safe stable woven | Test heat first; it can stiffen stretch fabric and may need later stitching in a high-wear area. |
Fix a Missing or Loose Button
A button repair is straightforward when the surrounding fabric is intact. If the fabric is torn, stretched, or thinning, support that area first so the new stitches have something solid to hold.
- Choose the button: Use the original spare when possible, or match the size closely enough to pass through the buttonhole.
- Mark the position: Close the garment, align the buttonhole, and mark where the button should sit.
- Thread the needle: Double the thread and knot the ends.
- Sew the button: Make four to six passes through a two-hole button, or use parallel or crossed stitches on a four-hole button.
- Leave room for thick fabric: Wrap the thread beneath the button to form a small shank when the garment needs space to close.
- Secure the repair: Knot on the wrong side and check that the button sits flat without pulling the fabric.
Reinforce a loose button before it falls off: follow the existing stitch pattern, add a few passes, and secure the knot on the inside.
Repair Tears, Holes, and Split Seams
Start by naming the damage. A split seam needs the original seam line reclosed; a clean tear needs support; a worn hole needs a patch larger than the weakened area. Treating all three as the same problem can create a bulky repair or leave weak fabric unsupported.
| Damage | Best starting method | Stop or change course when |
|---|---|---|
| Split seam | Turn the garment inside out, align the original seam, and stitch along that line. | The seam allowance is shredded, the lining is involved, or the split changes the garment’s shape. |
| Small woven tear | Support it with compatible fabric behind the tear and stitch around or across the weak area. | The tear sits in a highly visible area where an invisible repair matters. |
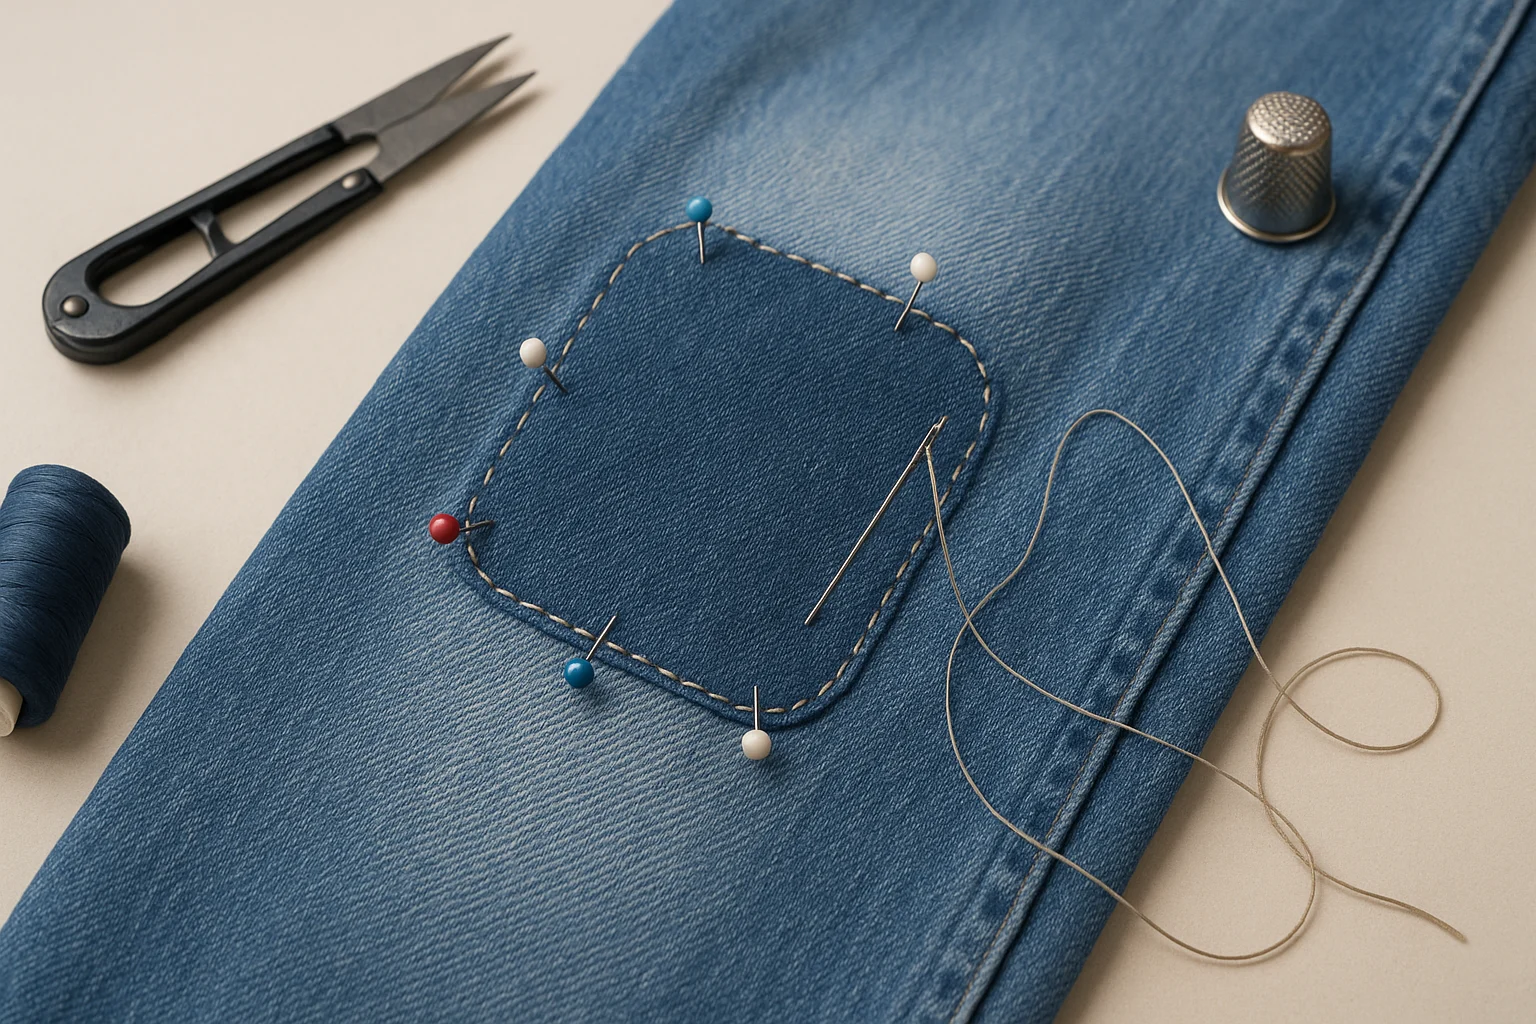
| High-wear denim or canvas hole | Use a patch larger than the damage and stitch the edges after positioning it. | The surrounding fabric is thin enough that the patch would pull on a larger weak area. |
| Small knit hole | Darn with light tension or use a flexible support and a ballpoint needle. | The loops continue to run or the repair creates a hard edge in the stretch fabric. |
| No-sew fix on a stable woven | Use fusible web or an iron-on patch after a hidden heat test. | The area stretches, carries weight, rubs heavily, or cannot tolerate heat. |
Resew a Split Seam
- Turn the garment inside out: Find the original seam line and check that the fabric around it is still strong.
- Align the edges: Match the old seam allowance or stitch line, then pin or clip the layers without stretching them.
- Stitch on the original line: Use small backstitches by hand or a straight machine stitch, extending slightly beyond both ends of the opening.
- Secure and test: Knot or backstitch, trim loose thread, turn the garment right side out, and gently pull across the seam to check it.
If the seam allowance is frayed or the split keeps reopening, support the weakened area or take it to a professional instead of sewing farther into damaged fabric.
Patch a Hole So It Lasts
- Prepare the area: Trim loose threads without enlarging the damage and flatten the garment.
- Size the patch: Cover the full weakened area, not only the visible opening; rounded corners are less likely to catch.
- Position it: Place the patch behind the hole for a quieter repair or on top when the patch is part of the design.
- Secure the edges: Follow the adhesive instructions when using heat, then add stitching around high-wear edges when the fabric allows it.
How to Fix a Hole in Clothes Without Sewing
For a small non-structural hole in a heat-safe stable woven, use fusible web or an iron-on patch larger than the weakened area. A thin fabric glue can work from the wrong side in a low-stress spot. Test the product first, let it cure or cool fully, and treat a no-sew repair as temporary when the area stretches or rubs.
How to Fix a Zipper: Slider or Full Replacement?
Most clothing zipper repair starts with diagnosis, not removal. Check whether the problem is caught fabric, the pull tab, the slider, the teeth, the stops, or the zipper tape before deciding what to replace.
| What happens | Likely problem | First move |
|---|---|---|
| The slider sticks at one point | Caught fabric, bent teeth, or buildup around the teeth | Ease out the fabric, clean the area, and test the slider without forcing it. |
| The zipper closes, then opens behind the slider | A worn or spread slider when the teeth and tape are intact | Gently crimp the slider rails and test; replace the slider if the gap returns. |
| The pull tab is missing but the slider still works | A broken pull, not necessarily a failed slider | Replace the pull or add a temporary pull without removing the whole zipper. |
| Teeth are missing or the tape is torn | Structural zipper damage | Plan for a full zipper replacement rather than another slider adjustment. |
Replace a Zipper Slider
Attempt a slider swap only when the teeth and tape are intact and you can match the slider type and size.
- Identify the zipper: Check whether it is separating, as on a jacket, or closed-end, as on many pants.
- Remove the stop: Lift the top stop with small pliers when the construction allows it.
- Match the slider: Use the size and type marked on the old slider, such as a coil, metal, or molded-tooth model.
- Thread the zipper tape: Feed both sides into the replacement slider evenly and test the movement.
- Install a new stop: Secure the top stop above the slider’s resting point and test the zipper again.
Match the Repair to the Fabric
The repair method can be correct and still damage the garment when the needle, heat, patch weight, or thread tension is wrong. Identify the repair first, then use the fabric as the second decision.
- Stable cotton and linen: Good candidates for hand stitching, machine stitching, double-fold hems, and tested fusible products.
- Denim and canvas: Use a stronger needle, slow down at thick overlaps, and support high-wear holes with a stitched patch.
- Knits and stretch fabric: Use a ballpoint needle and light tension; avoid a rigid patch or straight stitch that cannot move.
- Synthetics: Start with low heat and a pressing cloth because some fabrics can shine, distort, or melt.
- Wool and tweed: Darning and weight-matched patches can blend with the texture; avoid a stiff support that changes the drape.
- Silk, lace, leather, suede, and embellished fabric: Needle holes, heat marks, and adhesive damage can be difficult to reverse, so use a professional for anything beyond a tiny, low-risk repair.
When to Use a Clothing Repair Shop
If you search “clothing repair shop near me,” use the results as a shortlist, not the decision. Ask whether the shop handles your material and the exact job.
Searches such as “jacket zip repair near me” or “jacket repair zipper” mix simple slider work with full replacements. Describe whether the slider separates, teeth are missing, the tape is torn, or the lining is involved; those repairs are not interchangeable.
- Complex fit changes: Resizing a jacket, moving darts, changing a lined bodice, or altering major structure.
- Delicate or valuable materials: Silk, lace, leather, suede, heirloom fabric, or heavy embellishment.
- Invisible repairs: Reweaving or a prominent repair that must blend into the original fabric.
- Structural damage: Missing zipper teeth, torn tape, ripped lining, or damage that changes how the garment hangs.
When you call, name the garment, material, damage, and whether a visible mend is acceptable. Ask what the quote includes and how long the repair normally takes. Many dry cleaners offer or outsource minor alterations, but confirm the exact service before leaving the garment.
Get a quote before assuming replacement or repair is the better value. The garment’s fit, condition, replaceability, and personal importance can matter as much as the price.
Frequently Asked Questions
Put One Garment Back in Rotation
Choose one garment you would wear again if one problem disappeared. Use the repair check or the matching section, test the least invasive fix, and stop before an irreversible cut, glue, or hardware change when the method is uncertain. The goal is one wearable repair—not every technique at once.
Try the garment on, move in it, and check the repair again after its first wear and care-label wash. A repair is finished when the piece returns to use, not when the stitches look perfect on the table.