
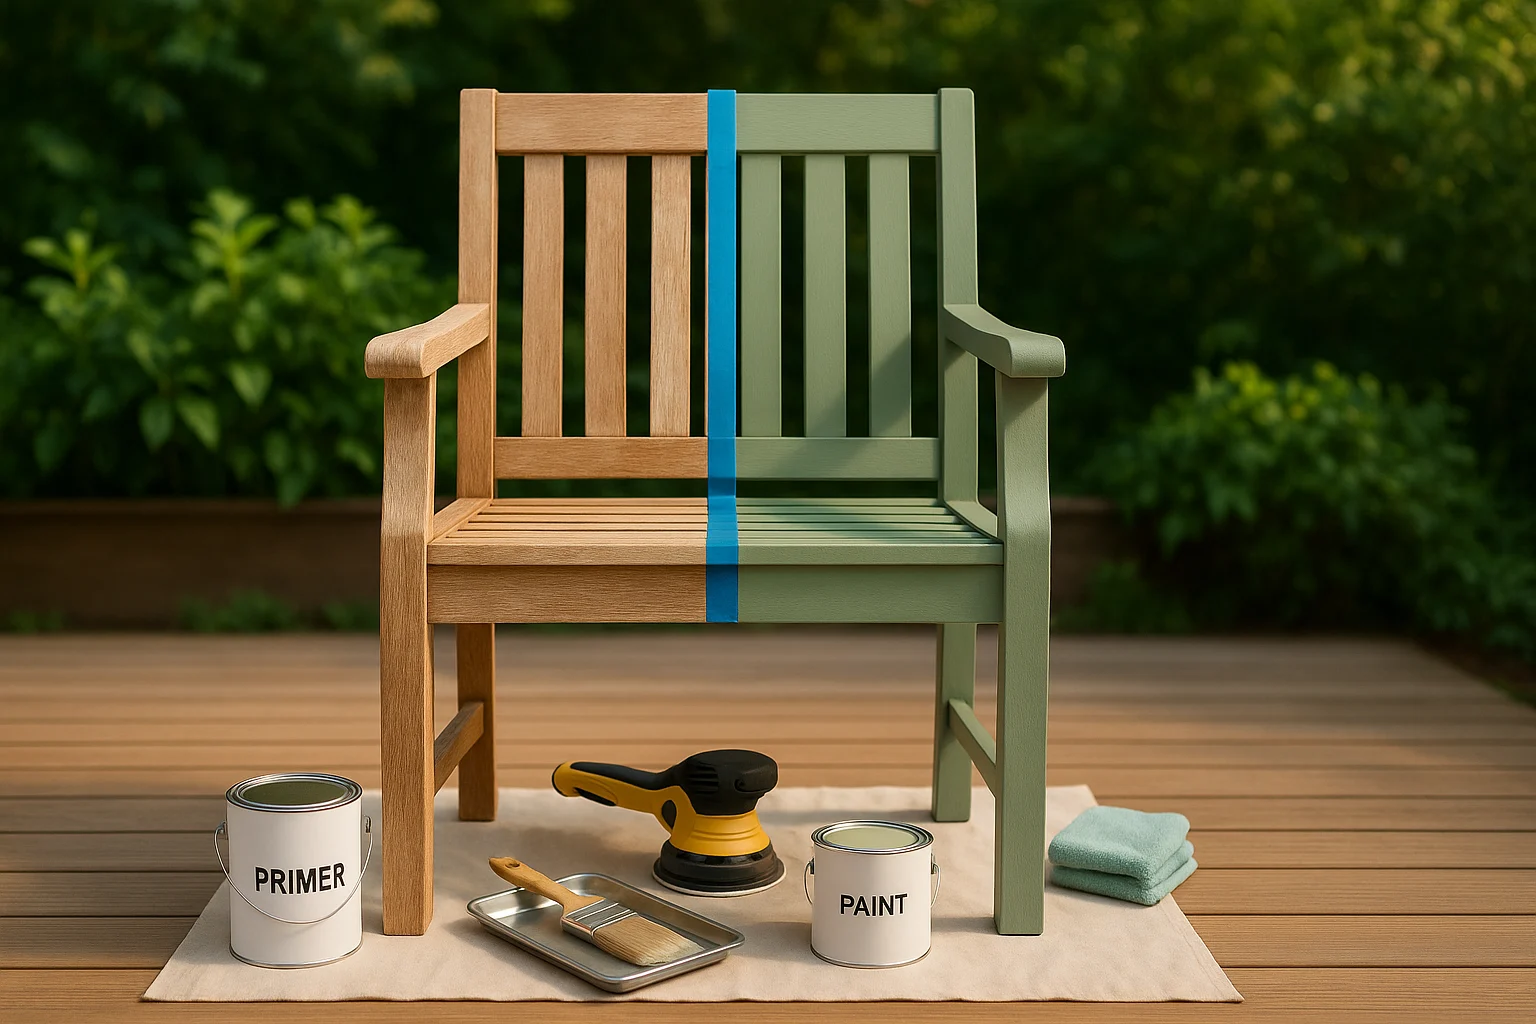
Thinking about refinishing your outdoor furniture? Start with the frame—not the paint. I’ll help you decide whether a faded patio chair is worth saving before you buy supplies, then match the finish to wood, metal, plastic, resin, wicker, or mixed materials.
By the end, you should know whether to refinish, repair first, or walk away; which coating path fits the surface and exposure; and how to clean, prepare, coat, and cure one piece safely. The guide focuses on rescuing existing furniture, with a short build-from-scratch route for lumber, pallets, and outdoor enclosures. For broader patio and room ideas, use the do-it-yourself home decor guide.
This post contains affiliate links. If you buy through our links, we may earn a commission at no extra cost to you. As an Amazon Associate, I earn from qualifying purchases. Learn more.
Table of Contents
- Decide Whether the Piece Is Worth Saving
- Choose the Right Outdoor Furniture Finish
- Match the Finish to the Material
- Check Old Paint Before You Sand
- Step-by-Step Outdoor Furniture Makeover
- Maintain the New Finish
- Building New Instead? Start With the Structure
- Outdoor Furniture Makeover FAQ
- Finish One Piece Before the Whole Set
Decide Whether the Piece Is Worth Saving
Cosmetic wear is a finish problem; structural weakness is not. Fading, chalking, small chips, surface rust, loose screws, and a tired color are usually manageable. Deep rot, cracked structural joints, sharp corrosion, or a frame that will not sit square are stop signs.
- Refinish: the piece is solid and needs cleaning, minor repairs, and a new finish.
- Repair first: a loose joint, replaceable fastener, or small fill needs attention before coating.
- Replace or get qualified help: the frame is unstable, badly corroded, deeply rotten, or unsafe to load.
Before buying anything, price only what this piece needs: cleaning, repair materials, surface preparation, and one compatible finish system. If the job also needs structural repair, several specialty products, or a tool you will not reuse, compare that total and your time with a used or replacement piece. The frugal home furnishing guide can help with that repair-versus-replace decision.
If replacement wins, check local secondhand options first. US readers who need a new piece can browse budget outdoor furniture, then verify the dimensions, material, delivery cost, and return terms before buying.
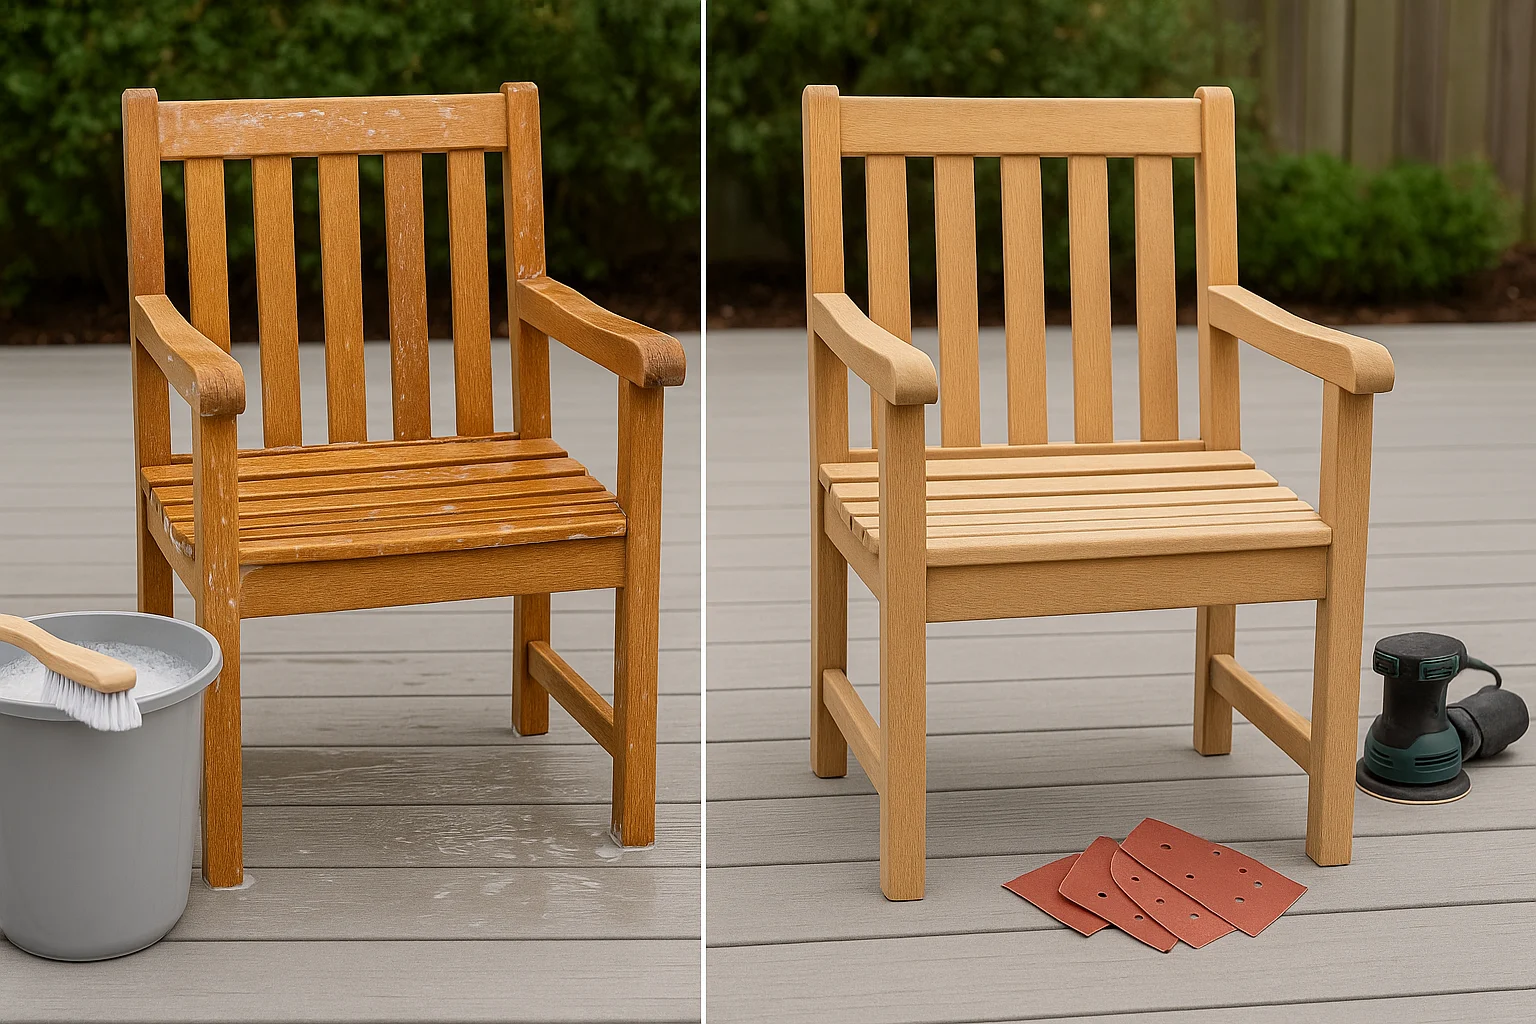
Once the frame passes that check, identify the surface before you shop. The finish finder narrows the coating path for the material and exposure, then sends you to the exact notes you need before preparation begins.
Choose the Right Outdoor Furniture Finish
If the frame passed the salvage check, choose the main surface and exposure; wood gets one extra question about paint versus stain. The result gives you a practical coating path and the exact material notes to read next. For wicker or mixed pieces, select that option instead of forcing one finish across every surface.
Choose the furniture material to start.
Match the Finish to the Material
Identify every surface on the piece before choosing products. “Exterior” on the label is not enough by itself: the cleaner, primer, paint or stain, and any optional clear coat must be compatible with the material, the existing finish, one another, and the expected exposure.
Wood
Paint gives an opaque color and can hide uneven appearance. Exterior stain keeps some or all of the grain visible. Remove loose finish, smooth damaged edges, and follow one compatible system for primer or conditioner, color, and any permitted clear coat. Do not assume every exterior stain needs a clear finish over it.
Metal
Remove loose rust and failing coating, then use a primer and finish labeled for that metal and outdoor exposure. If corrosion has thinned a load-bearing part, opened a hole, or created sharp edges, do not treat paint as a structural repair.
Plastic or resin
Clean thoroughly, dull the surface only as the coating maker allows, and use a product labeled for that plastic or resin. Test a hidden area first. Some plastics do not accept coatings reliably, and thick or incompatible coats are common routes to peeling.
Wicker or mixed materials
Identify the frame and the weave separately. Natural wicker, synthetic resin weave, wood, and metal may need different cleaning and coating instructions on the same piece. Repair brittle or broken weave before finishing, and do not coat a flexible surface unless the product is labeled for that material and movement.
| Surface | Prep priority | Typical coating path | Main caution |
|---|---|---|---|
| Wood | Clean, dry, repair, and smooth loose or rough areas | Exterior paint system or exterior wood stain system | Do not add a clear coat unless the system permits it |
| Metal | Remove grease, loose rust, and failing coating | Compatible rust-control primer and exterior metal finish | Paint does not restore metal that has lost structural strength |
| Plastic or resin | Clean and use only the scuffing the label permits | Plastic-compatible bonding and exterior color system | Confirm compatibility on a hidden area before committing |
| Wicker or mixed | Identify and inspect each material separately | Material-specific repair and finish instructions | Flexible weave and rigid frames may need different products |
One compatible system beats a cart full of mismatched cans. Check that the cleaner, primer, color coat, and optional clear coat are intended to work together. If you cannot identify the old finish, test the proposed preparation and coating on a hidden area before committing.
Check Old Paint Before You Sand
Before scraping or sanding an older or unknown painted piece, stop and consider lead. Federal guidance notes that old furniture may have lead-containing paint or varnish, and scraping, sanding, or heating lead paint can create hazardous dust. Review the EPA’s lead-safe renovation guidance and the CPSC’s lead guidance for older painted items before disturbing a questionable coating.
Follow the coating label for ventilation, protective equipment, temperature, cleanup, storage, and disposal. Keep children and pets away from dust, wet coatings, tools, and curing pieces.
Do not power-sand or dry-scrape an unknown old coating simply because the project is outdoors. Identify the hazard first, contain dust, and use qualified help when the surface or repair is beyond a safe DIY scope.
Step-by-Step Outdoor Furniture Makeover
Once the frame is sound and the old coating can be handled safely, the process is simple: clean, repair, prepare, coat, and wait. Gather only the cleaning tools, repair parts, hand-prep tools, applicator, and coating system this piece requires; add primer or clear coat only when that system calls for it.
1. Clean and let the piece dry
Brush off loose debris and remove cushions or accessories. Start with a mild cleaning method the surface can tolerate, use a stronger degreaser only when needed and allowed, rinse when required, and let seams, end grain, and joints dry. For low-cost cleaning ideas that do not turn the project into a chemical shopping trip, see these frugal cleaning hacks.
2. Repair joints and replace damaged hardware
Tighten loose fasteners, replace badly corroded hardware, and make compatible small fills or patches. Match the original fastener diameter and length when possible, choose exterior-rated corrosion-resistant hardware, and pre-drill where the material may split. A coating should be the last step over a sound repair, not the thing holding the piece together.
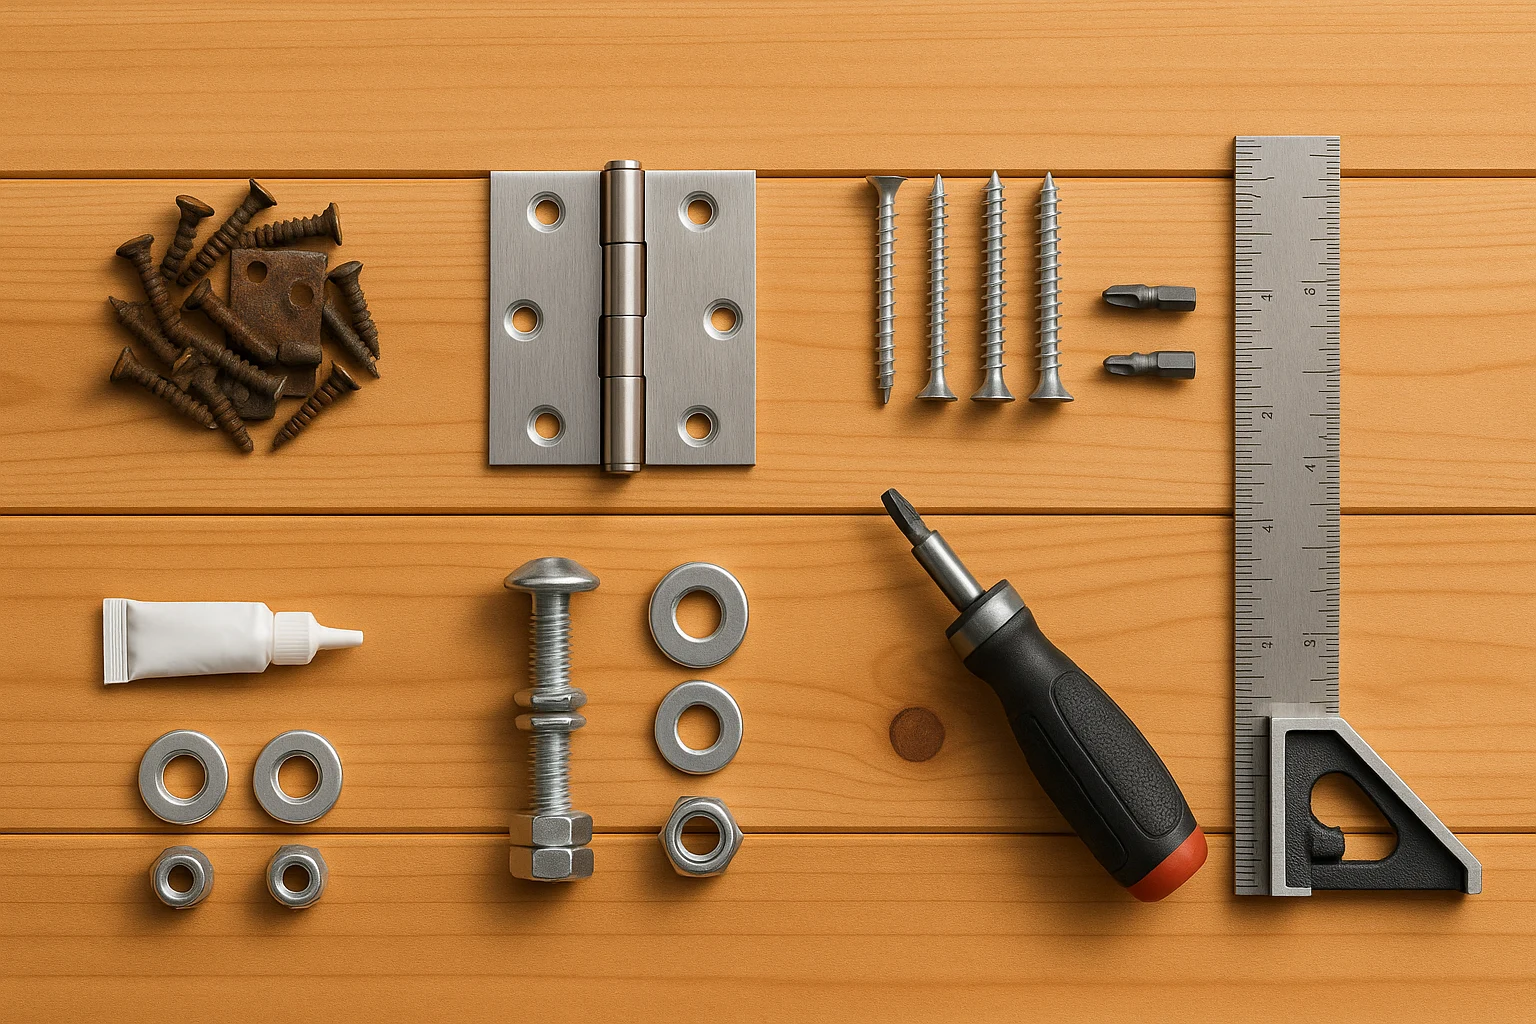
If a screw keeps spinning, a rail is split, or a hinge is pulling through soft material, stop and repair the joint before painting. Keep heavy coating out of threads and hinge pivots, then confirm that folding legs, latches, and adjustable parts move freely after the finish has cured.
3. Remove loose finish and prepare the surface
Use the least aggressive method that will remove failing material and create the surface the new coating requires. Hand sanding with a block or sanding sponge is the practical default for one small piece, narrow slats, delicate edges, or a coating that needs only a light scuff. Do not power-sand an older or unknown painted piece unless the safety question has already been resolved.
For repeated prep on known-safe coatings: BLACK+DECKER BDEMS600 Mouse Detail Sander.
Consider it when hand sanding would be the slowest part of a multi-piece makeover and you can control the dust. Skip it for one small touch-up, fragile details, or any older or unknown coating that has not passed the safety check.
A detail sander does not choose the right abrasive, prove the coating is safe, or replace final hand work at edges and joints. Follow the coating-system instructions, feather only sound transitions, and remove dust before priming or finishing.
4. Prime when the coating system calls for it
Primer can improve adhesion, block stains, or slow corrosion, but it must work with both the surface and the topcoat. Use the primer named or permitted by the finish manufacturer rather than mixing products simply because each one says “outdoor.”
5. Apply paint or stain in controlled coats
Use a brush, roller, or sprayer that fits the shape and the product instructions. Keep coats within the label’s thickness and recoat window. On slats, corners, wicker, and detailed metalwork, watch for runs and missed edges instead of trying to cover everything in one heavy pass.
6. Respect dry, recoat, handling, and cure times
Those milestones are not interchangeable. Temperature, humidity, ventilation, and film thickness can change the wait, so use the exact product instructions before recoating, moving the piece, adding cushions, or putting it back into regular use.
Example Decision: A Weathered Wood Chair
Suppose a chair has chipped paint, one rusty screw, and a frame that stays square under light pressure. The plan is to check the old coating, clean and dry the chair, replace the hardware, feather only the loose paint, and apply one compatible exterior paint system.
Change one fact and the decision changes. Soft wood at a joint, a frame that racks, or an old coating you cannot handle safely is a stop sign—not a reason to sand harder or add more paint.
Maintain the New Finish
Clean with the method allowed by the finish label, and repair chips before water reaches bare wood or metal. Use breathable covers or sheltered storage when practical. Inspect horizontal surfaces, joints, feet, and high-wear edges regularly; recoat when the finish system calls for it rather than on an invented universal schedule.
- Wipe up standing water and dirt instead of letting it collect in joints.
- Touch up a small chip before it becomes a large peeling edge or rust spot.
- Keep covers ventilated so trapped moisture does not become a new problem.
- Use shade where practical; these budget backyard shade ideas can reduce direct exposure while improving the seating area.
Building New Instead? Start With the Structure
Starting with lumber, pallets, or an outdoor enclosure changes the job: structure, drainage, fasteners, safe edges, and material selection matter more than stripping. Use these as routes to the right project, not as complete construction plans:
- DIY deck furniture projects: plan the layout before cutting so seats, doors, railings, and walkways work together. Choose exterior-compatible materials and fasteners, prevent water from collecting on horizontal surfaces, and start smaller with the easy DIY backyard projects guide when a full seating set is too much.
- DIY pallet furniture: inspect every board before cutting or coating, and reject damaged, contaminated, or unidentified material. Design the piece so water can drain and individual boards can be replaced.
- A furniture-style dog crate: treat a covered-porch crate as an enclosure first and furniture second. It needs secure latches, smooth contact points, ventilation, safe spacing, and a layout designed around the animal; use the DIY pet cages guide for that safety decision.
Outdoor Furniture Makeover FAQ
Finish One Piece Before the Whole Set
Start with one sound chair or side table, not the whole set. Inspect it, choose one compatible system, and carry it through the full cure window before buying supplies for the rest.
The process is ready to repeat when the frame is stable, the finish is fully cured, moving parts still work, and the maintenance plan feels realistic. If one of those checks fails, fix the process before scaling it up.
This guide is for general education. Treat older or unknown coatings as a potential hazard, use the protective equipment and ventilation required by the product labels, and use qualified help for structural repairs or unsafe surfaces.