
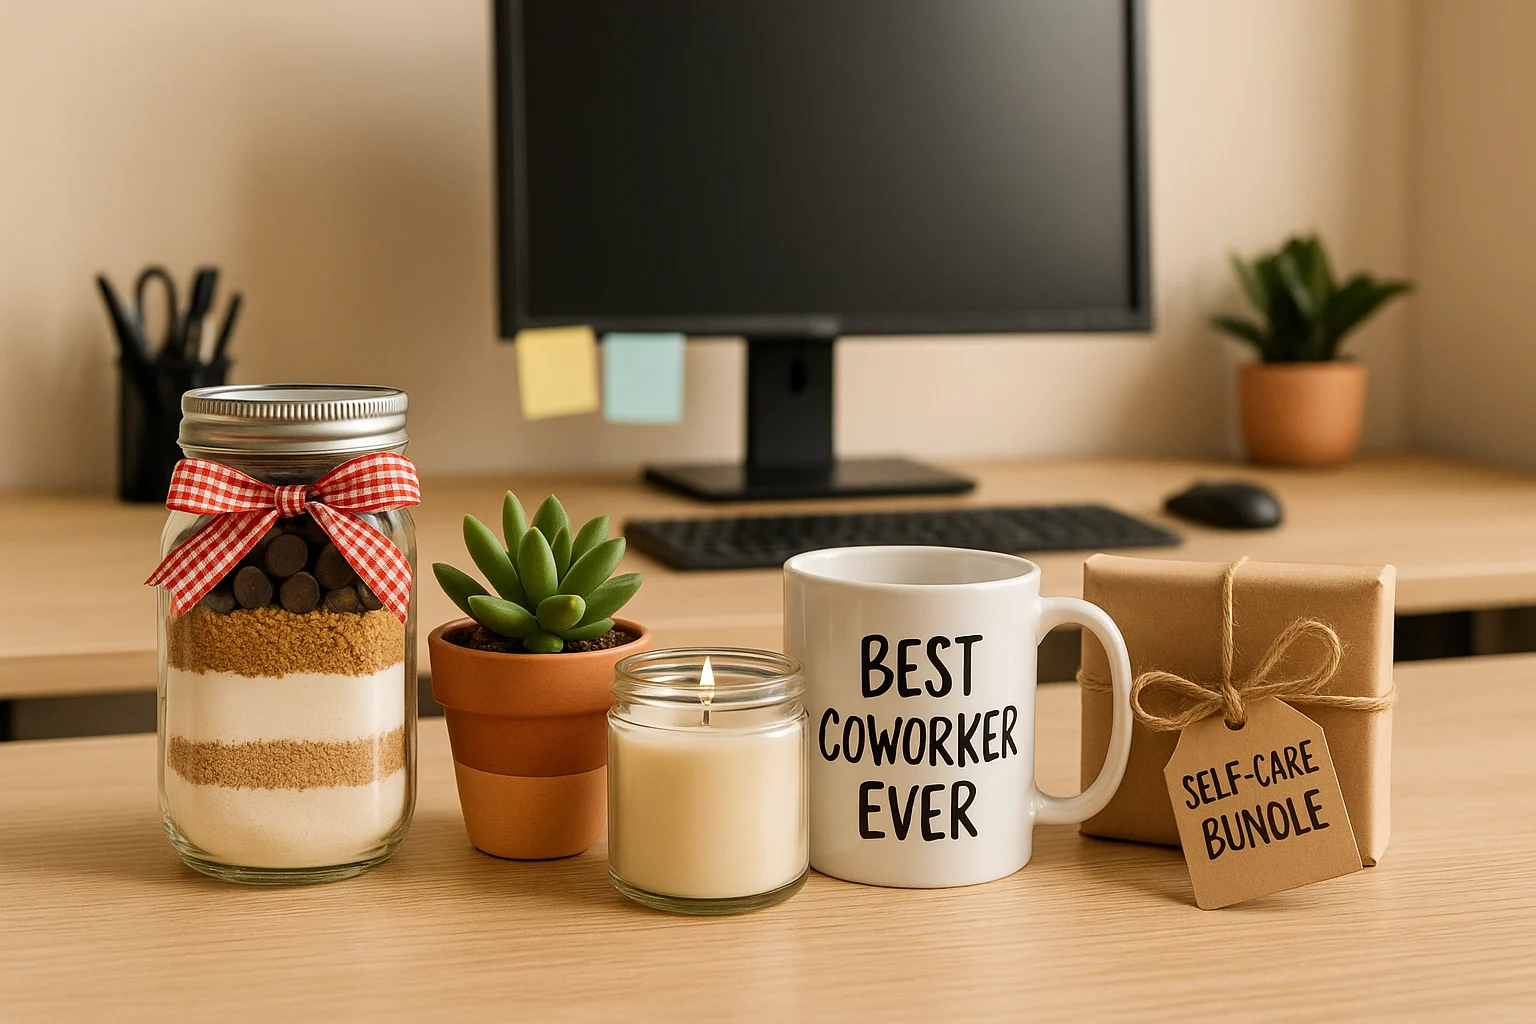
Homemade coworker gifts sound simple until one choice creates a new problem: an unlabeled allergen, a strong scent, an open flame, or a plant the recipient has to keep alive. The best cheap homemade gifts for coworkers stay within budget, travel easily, and ask little from the person receiving them.
Start with five practical limits: group size, total budget, the biggest workplace concern, the gift style that suits the recipient, and hands-on time per gift. The planner turns those answers into one primary match and surfaces a close alternative when the trade-offs are genuinely similar. The tutorials then show how to make these DIY coworker gifts in a repeatable batch. Test one sample before scaling up.
This post contains affiliate links. If you purchase through them, we may earn a commission at no extra cost to you. As an Amazon Associate, I earn from qualifying purchases. Learn more.
Table of Contents
Need help choosing? Match the five ideas to your group, budget, workplace, recipient, and time.
Coworker Gift Planner
Choose one answer in each menu. Your match appears automatically after the fifth choice.
0 out of 5 answered. Choose all five answers to see your match.
5 cheap homemade gifts for coworkers
The planner gives you one primary match, but the profiles below let you compare the trade-offs before committing. Each project targets roughly $10 per recipient; the ranges are planning estimates, not live prices. The list moves from simpler gifts to options that need more recipient knowledge or technical care.
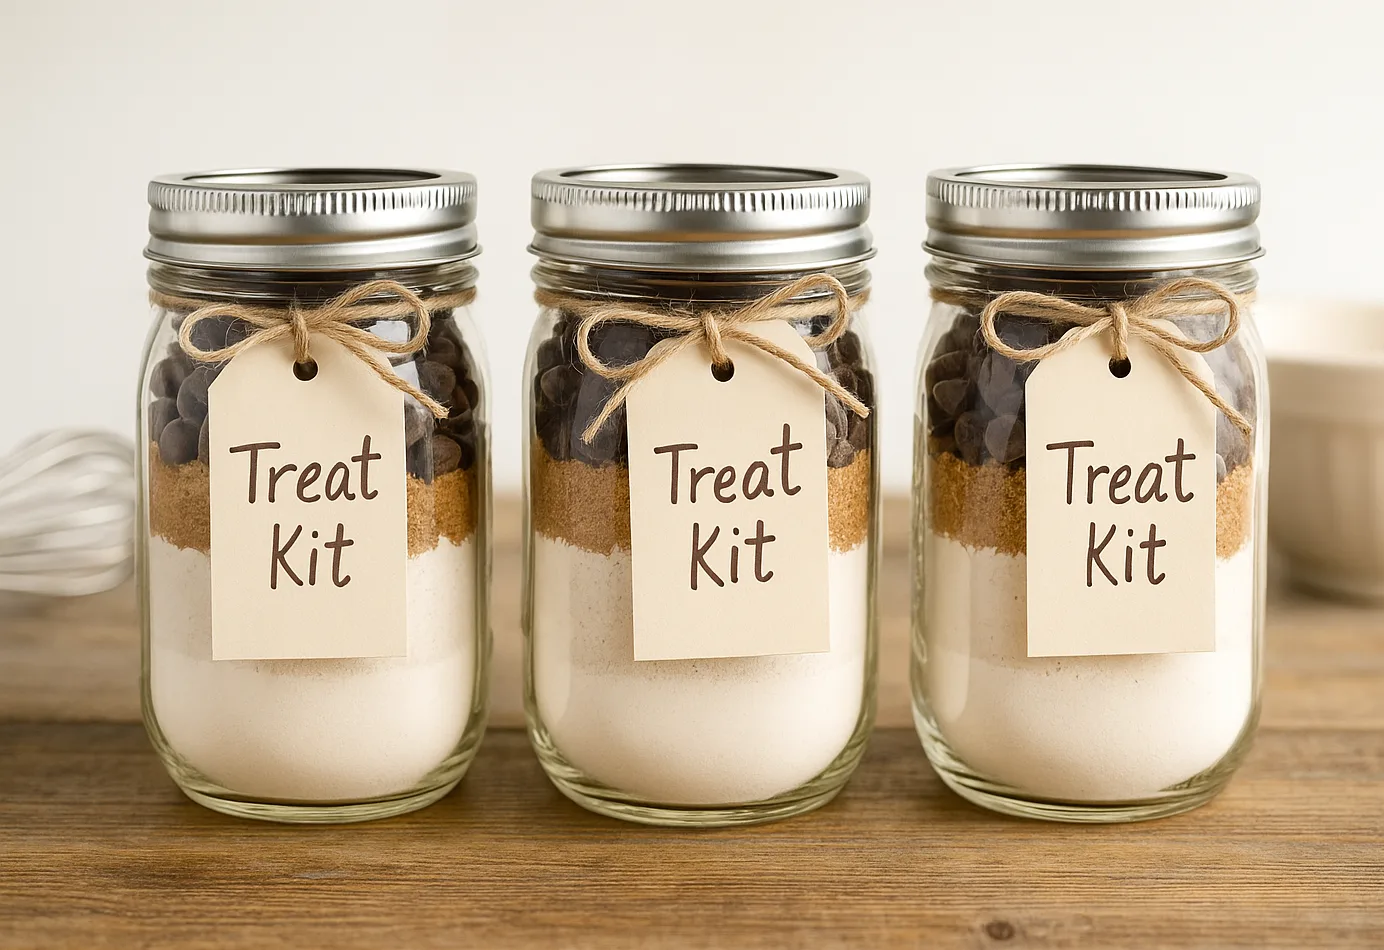
1. Mason jar treat kit
Best for: coworkers who enjoy baking and whose ingredient restrictions you can label clearly. Estimated cost: $3–$7 each. Hands-on time: about 20 minutes each.
Layer the dry ingredients for cookies, brownies, or hot cocoa in a jar, then attach a complete recipe card. The recipient should know exactly what wet ingredients to add and what the jar contains. Use a tested dry-mix recipe sized for your container; The Kitchn’s roundup of homemade food gifts that travel well is a useful place to compare packable options.
Materials
- A clean 16-ounce or wide-mouth jar with a secure lid
- Measured dry ingredients for one complete recipe
- A label listing ingredients, major allergens, and add-in instructions
- Twine or ribbon for the recipe card
Steps
- Choose a recipe that fits the jar and write the complete instructions before filling it.
- Layer the heaviest dry ingredients first and tap the jar gently to settle each layer.
- Seal the jar, then attach the ingredient list and exact add-ins.
- Make one test batch from the same measurements before producing the rest.
Batch shortcut: Set up one ingredient station and fill every jar in the same order.
Watch out for: unlabeled allergens, incomplete baking directions, or reused jars that do not seal cleanly.
2. Personalized mug
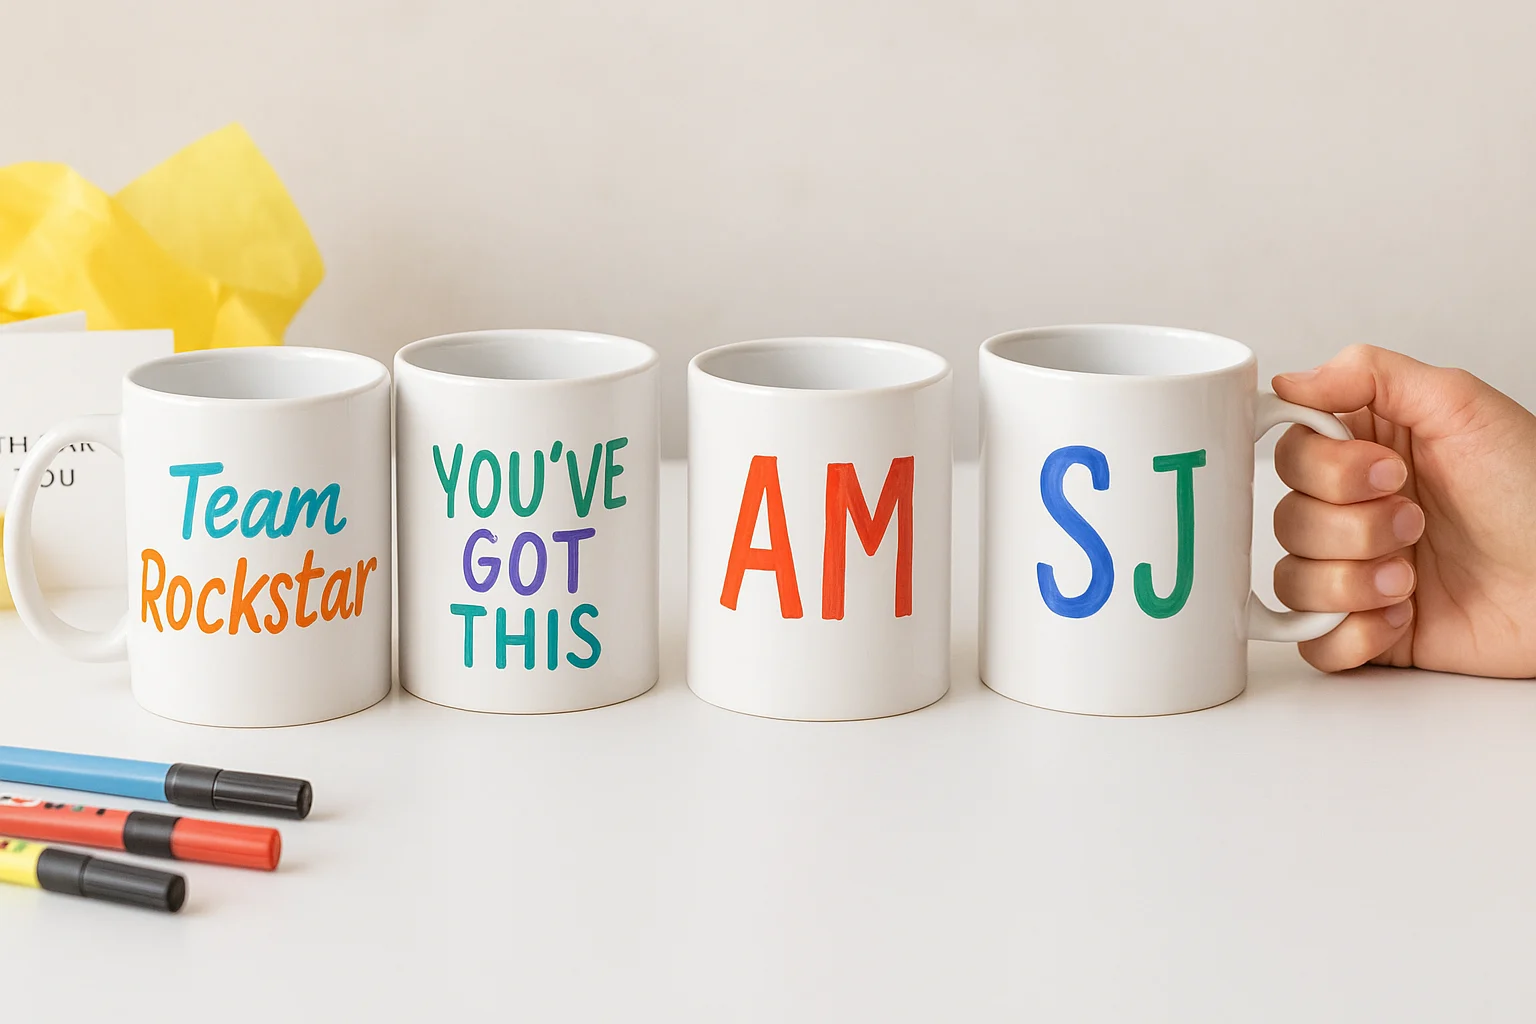
Best for: a practical, low-fragrance gift with a simple team or initial design. Estimated cost: $4–$8 each. Hands-on time: about 30 minutes, plus the product’s drying or curing time.
Decorate the exterior of a plain ceramic mug with a marker whose manufacturer explicitly approves the intended ceramic use. Keep the design simple enough to repeat cleanly.
Materials
- A plain ceramic mug
- A manufacturer-approved ceramic paint marker
- Rubbing alcohol and a lint-free cloth
- A paper template for repeated designs
Steps
- Clean the exterior with rubbing alcohol and let it dry.
- Keep decoration off the rim and inside of the mug.
- Sketch or trace the design, then apply the marker as directed.
- Follow the exact drying, curing, and washing instructions for that product; do not assume every marker should be baked.
Batch shortcut: Use one small template and complete the same part of every design before moving to the next.
Watch out for: vague “dishwasher-safe” claims. Include care instructions that match the marker manufacturer’s directions.
When to order instead: For U.S. readers who need a matching team batch—or do not want the result to depend on hand-drawn consistency and marker-care rules—a printed mug is the cleaner route. See Vivoprint custom mug options. Skip this option for one or two gifts when the handmade variation is part of the appeal.
3. Self-care bundle
Best for: a quick, batch-friendly gift that can be adapted for remote or in-office coworkers. Estimated cost: $6–$10 each. Hands-on time: about 15 minutes each.
Build a small bundle around one neutral moment—tea break, desk reset, or end-of-day wind-down—rather than filling a bag with unrelated samples. Include one simple handmade element, such as three desk-break cards or a bookmark, so the gift feels created rather than merely repackaged.
Materials
- A small kraft box or paper bag
- Two to four suitable items, such as tea, a notebook, lip balm, or hand cream
- One simple handmade element, such as desk-break cards or a bookmark
- Tissue paper or shredded paper
- A short appreciation note
Steps
- Choose one theme and remove anything that feels too personal for work.
- Make the small handmade element and repeat the same version for every box.
- Check food, fragrance, and ingredient labels before buying a full batch.
- Arrange the items so the box closes without crushing them, then add the appreciation note and any needed labels.
Batch shortcut: Lay out every box, distribute one item to each, then repeat with the next item.
Watch out for: strong fragrance, unlabeled ingredients, and oversized packaging that makes a small gift feel wasteful.
For a larger themed version, see these cheap homemade gift basket ideas; keep the coworker version compact enough to carry home.
4. Mini desk plant
Best for: a coworker who likes plants and has a suitable place for one. Estimated cost: $4–$9 each. Hands-on time: about 15 minutes each.
Choose an identified succulent or rooted pothos cutting, plant it in a small draining pot, and include a care card for that exact species.
Materials
- One healthy, identified plant
- A small pot with a drainage hole and saucer
- Potting mix suited to the chosen plant
- A species-specific care tag
Steps
- Use a pot with a drainage hole; pebbles do not replace drainage.
- Plant at the same depth the plant was growing before.
- Water according to the species and let excess water drain fully.
- Attach a care tag that names the plant and gives realistic light and watering guidance.
Batch shortcut: Prepare every pot first, then plant and label one species at a time.
Watch out for: guessing the species or using one watering schedule for different plants. For succulents, the University of Minnesota Extension recommends draining pots and allowing the soil to dry completely between thorough waterings.
5. Handmade candle
Best for: a recipient who enjoys home fragrance and has no scent or open-flame restrictions. Estimated cost: $5–$9 each. Hands-on time: about 30 minutes, plus cooling and curing.
A small container candle can feel polished, but it is the most process-sensitive project in this guide. Use matched wax, wick, fragrance, and container instructions rather than treating all candle supplies as interchangeable. If you prefer a kit, compare the contents and limitations in our Roxy Epoxy candle-making kit review.
Materials
- Container wax and a wick matched to the container diameter
- Heat-safe candle containers
- A double-boiler setup and thermometer
- Optional fragrance approved for candle use
- A burn-safety label
Steps
- Secure the wick according to the supplier’s instructions.
- Melt the wax using the specified method and temperature.
- Add fragrance only at the temperature and percentage approved for that wax.
- Pour at the supplier’s recommended temperature and let the candle cure for the stated period.
- Trim the wick and attach a clear safety label before gifting.
Batch shortcut: Prepare and label every container before melting the wax.
Watch out for: copying temperatures from a different wax. For Golden Brands 464, CandleScience lists 185°F for adding fragrance and 135°F for pouring in its current product instructions; other waxes differ.
Candle safety: The U.S. Consumer Product Safety Commission advises keeping candles away from anything that can burn, never leaving them unattended, and extinguishing them before leaving the room or sleeping. If open flames are restricted, choose another project instead. Read the CPSC candle-safety guidance.
How to make a batch without wasting money
Once you have chosen a project, make one complete sample before buying or assembling everything. That test exposes the hidden costs—packaging that is too small, a label that is hard to read, or a drying time that makes the deadline unrealistic.
- Finish one gift first. Check the size, label, packaging, drying or curing time, and whether it is comfortable to carry home.
- Price the whole batch. Multiply the per-gift estimate by the number of recipients, then include packaging and replacement materials before buying in bulk.
- Work assembly-line style. Complete one step across every gift—fill every jar, prepare every pot, or write every card—before moving to the next step.
- Check the handoff. Keep messages professional, label food and fragrance clearly, and make the finished gift easy to store or transport.
Personalize the note more than the object. One specific sentence of appreciation usually feels more thoughtful than extra decoration and is much easier to repeat consistently.
Making a large batch of tags or bookmarks? Consider the Fiskars 18 × 24-inch Self-Healing Cutting Mat.
Use it when you are cutting many instruction cards, bookmarks, or gift tags and need a stable surface that protects the table. Skip it when scissors and scrap cardboard already handle the job; the mat does not replace the cutting tool.
Coworker gift questions before you start a batch
Keep the gift simple and the note specific
A coworker gift does not need to prove how crafty you are. Choose the easiest project that fits the workplace, make one clean sample, and use the note to name something you genuinely appreciate. That feels personal without creating extra clutter, care, or obligation.
Once the gifts are planned, the budget DIY home and garden guide can help you choose the next low-cost project based on the job, tools, and time you have.
DIY safety: Follow the manufacturer’s instructions for wax, wicks, markers, containers, and curing. Label food ingredients and fragrance, use draining pots for plants, keep candle warnings with the gift, and check workplace rules before bringing in food, scents, or open-flame items.