
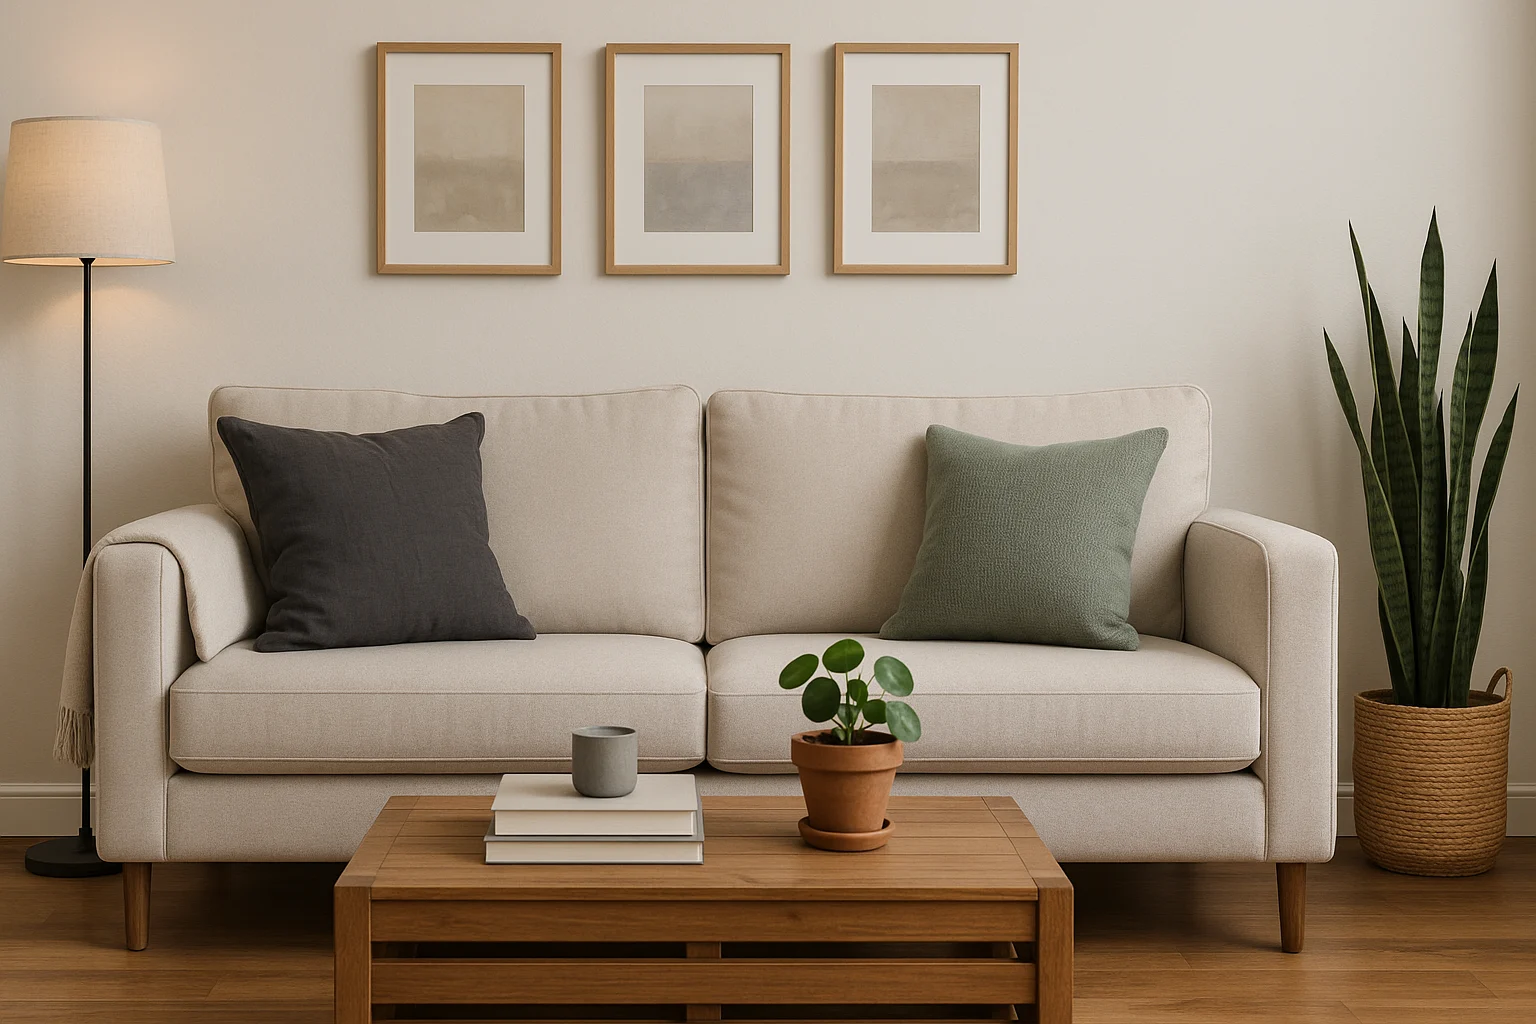
If a room still feels off after you add decor, stop shopping for a moment. The problem is usually not how many things are in it; it is one unresolved decision—where the eye should land, which finish should repeat, where clutter should go, or how the room should be lit.
Use this DIY home decor guide to identify that decision, choose one anchor project you can realistically finish, and make the rest of the room support it. The goal is one finished improvement, not a cart full of maybes. If your project also involves furniture, layout, or a full-room plan, use our broader guide to do-it-yourself home decor ideas before you spend.
Prices and availability vary by region and brand. For electrical, structural, or wall-mounting work, follow product instructions, local codes, and your lease; hire a qualified professional when the job is beyond your experience.
This post contains affiliate links. If you purchase through them, we may earn a commission at no extra cost to you. As an Amazon Associate, I earn from qualifying purchases. Learn more.
Table of Contents
- A five-step plan for any room
- Choose your first DIY decor project
- DIY home decor ideas by room
- Make budget DIY look intentional
- Common mistakes that waste money
- Frequently asked questions
- Start with one room
A Five-Step DIY Home Decor Plan for Any Room
Good rooms rarely come from buying everything at once. The most useful DIY decor ideas for the home work as a sequence: diagnose the room, choose one anchor change, repeat a few visual cues, add comfort, and then stop before the space becomes busy.
1. Diagnose the Room Before Shopping
Stand in the doorway and take a quick photo. The camera often makes the real problem easier to see: weak light, too many small objects, furniture that feels out of scale, a color conflict, or no obvious place for the eye to land.
- If the room feels cluttered: remove and regroup before buying storage or decor.
- If it feels flat: improve lighting, contrast, or texture.
- If it feels unfinished: add one correctly scaled focal point, such as curtains, a rug, art, or a mirror.
- If it feels mismatched: repeat one color, wood tone, or metal finish in at least two places.
2. Choose One Anchor Change
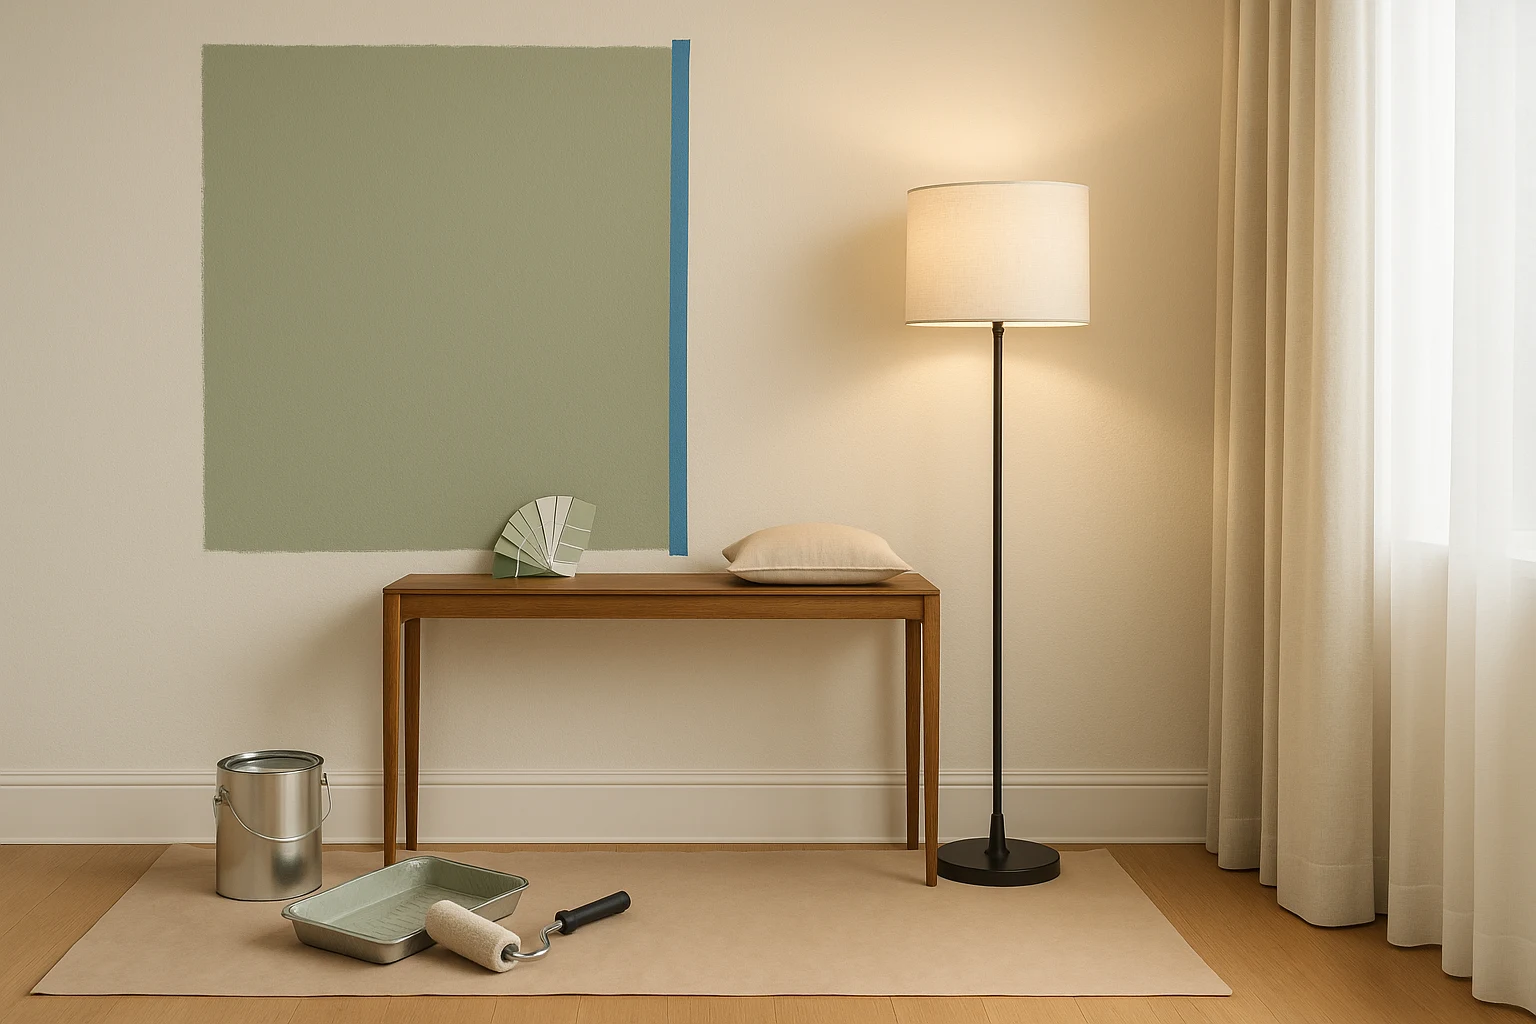
The anchor is the upgrade that changes the room at a glance. Depending on the problem, that may be paint, floor-length curtains, a larger rug, a statement light, a storage piece, or one oversized artwork. Choose a project you can finish with your current tools, skills, and time; a smaller completed change is more useful than an ambitious half-finished one. Accessories should support the anchor rather than compete with it. If paint is the anchor, test swatches on more than one wall and check them in morning and evening light before committing.
For layouts, furniture timing, and bigger purchases, use the frugal home furnishing guide before committing your budget.
3. Use a Small, Repeatable Palette
Choose one main neutral, one supporting color, and one accent. Then repeat a limited set of finishes—such as warm wood with black metal, or pale wood with brass-tone details. Cohesion comes from repetition, not from making every item match exactly.
A room often looks expensive because the scale and finishes agree, not because the individual pieces cost more.
4. Layer Light and Texture
Use more than one light source when possible: general light for the room, task light where you work or read, and a smaller accent light for warmth. ENERGY STAR describes 2700–3000K as a warmer white range; see its color-temperature guidance.
Then add texture where it changes comfort or scale: curtains that reach the floor, a rug large enough to connect the furniture, or two coordinating pillow covers instead of a pile of unrelated accents.
5. Edit the Room Before Adding More
Clear one surface, group small objects instead of scattering them, and leave open space around the focal point. If the room already has a strong anchor, useful lighting, and a repeated palette, another decorative purchase may make it worse rather than better.
Do this now: photograph one room, name its single biggest visual problem, and write down one project that would solve it. Do not shop until that sentence is specific.
Now turn the diagnosis into a project. Choose the room, name the main problem, and add a constraint if one matters; the planner will prioritize one first project and send you to the matching room plan. Style comes later, when you choose the finish and palette.
Choose Your First DIY Decor Project
Choose the room and its biggest problem. Add one optional constraint, and you’ll get one first project, why it comes first, and what to postpone.
2) What is the room’s biggest problem?
3) Add a constraint (optional)
Your first project
Choose a room to begin.
Use the simple palette you set above to choose the finish; do not let style change the project order.
If this project involves hanging or assembly, compare the tool options
Treat the result as a starting decision, not a command. Open the matching room plan, confirm measurements and surface limits, and choose the simplest version you can finish well.
DIY Home Decor Ideas by Room: What to Fix First
Use the same rule in every room: solve the biggest problem first, choose one anchor project, and treat the remaining ideas as later phases. Renters, apartment dwellers, and small-space decorators can favor changes that are lighter, reversible, or easy to complete in stages—but no “removable” product is damage-free on every surface.
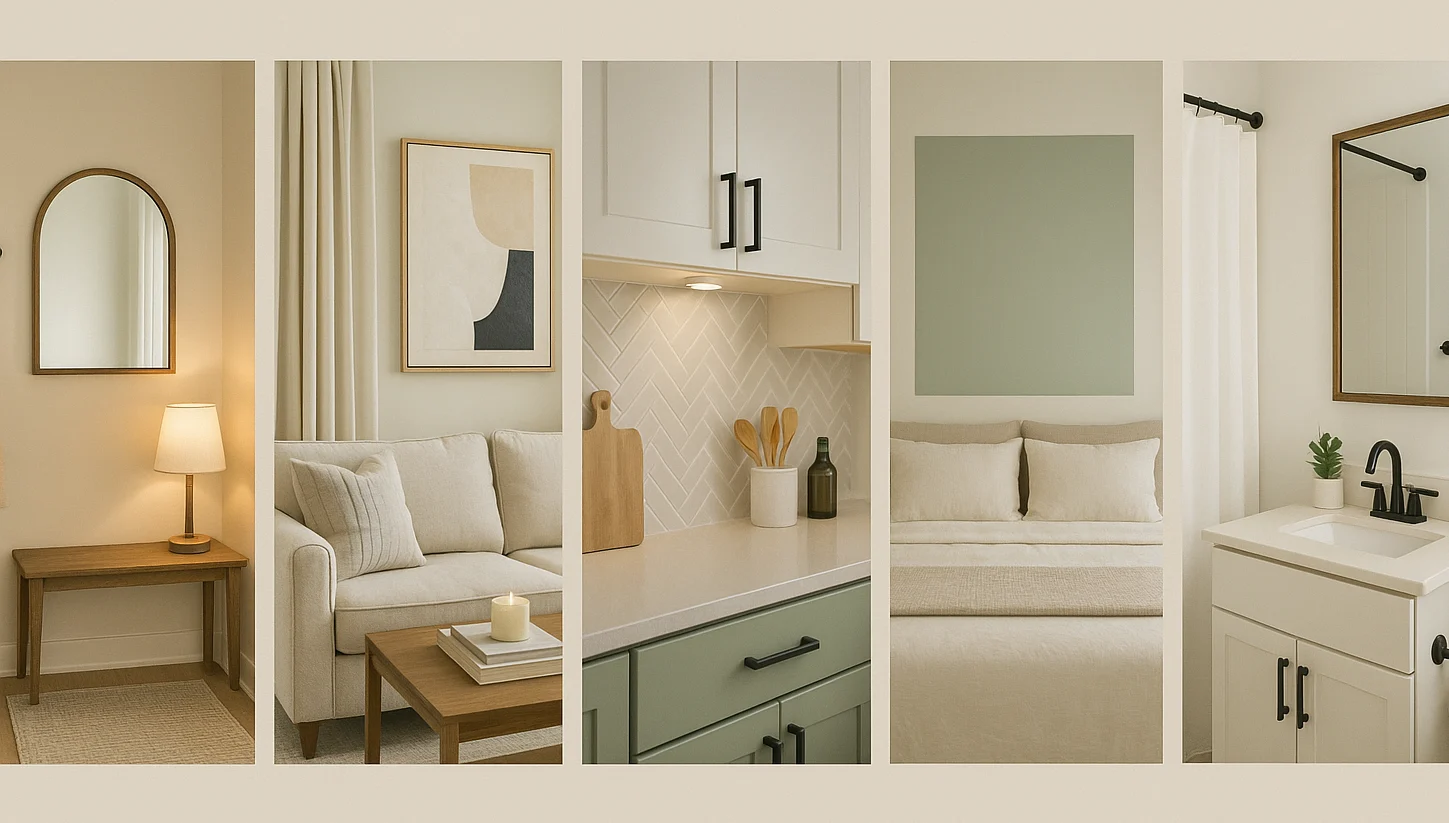
Entryway: Make the Drop Zone Obvious
Create one place for shoes, bags, keys, and mail. A narrow console, wall hooks, or a small bench can improve the room more than decorative accessories.
- Add a mirror when the space feels dark or narrow.
- Use a durable runner to define the path and catch dirt.
- Paint one wall only when the entry needs a focal point more than storage.
Fund first: the storage or landing-zone piece; add the mirror, rug, or paint later.
Living Room: Fix Scale Before Buying Accessories
Living-room DIY decor ideas work best when you correct scale first: curtains that are too short, art that is too small, a rug that floats between furniture, or too many tiny objects competing for attention.
- Hang curtains high and wide to give the window more presence.
- Create one large artwork or frame a generous fabric panel instead of building a wall of small pieces.
- Refresh a lamp or pillow covers only after the main focal point is working.
Mini project — oversized framed fabric art: Use a large frame, a fabric remnant, backing board, and scissors to create one correctly scaled focal point. Measure the wall and the furniture below it before choosing the frame; plan on an easy afternoon. The common mistake is making the finished piece too small to anchor the wall.
Choose one anchor: curtains, a rug, or large art; do not try to replace all three in one phase.
Kitchen: Improve One Work Zone
Choose the change that improves both function and appearance: clearer counters, better task lighting, consistent hardware, or one backsplash zone.
- Use battery-operated task lights when fixed electrical work is not appropriate.
- Replace hardware only after counting the holes and measuring the center-to-center spacing.
- For peel-and-stick products, follow the surface, heat, moisture, and removal instructions and test a hidden area first.
- Keep everyday containers simple and coordinated; use the frugal meal planning guide when pantry organization and weekly food routines are the real problem.
Pick one lane: backsplash, hardware, lighting, or organization—not all four.
Bedroom: Create One Calm Focal Point
For DIY bedroom decor, start with the wall and lighting around the bed. A painted shape, simple upholstered headboard, larger artwork, or two matching bedside lights can organize the whole room.
- Repeat two or three colors across bedding, curtains, and art.
- Use one textured throw or pair of pillow covers instead of many decorative pillows.
- Refresh a nightstand only when it supports the focal point and still functions well.
Mini project — painted headboard shape: Use painter’s tape, a small roller, paint, and a level or straightedge to create a visual anchor behind the bed. Measure the mattress width and target height first; allow a weekend including drying time. The common mistake is making the shape narrower than the bed or placing it too low behind the pillows.
Anchor first: make the bed wall the focal point, then stop and reassess before buying more textiles.
Bathroom: Repeat One Finish
A small bathroom looks calmer when the visible finishes agree. Paint, a shower curtain, a mirror frame, and hardware do not need to be identical, but they should belong to the same simple palette.
- Choose paint or a shower curtain as the main change.
- Repeat one metal or wood tone in the mirror, shelf, or small hardware.
- Use baskets or a narrow shelf only when they reduce visible clutter.
Phase the upgrades: treat a new mirror and a full hardware change as separate projects.
Home Office: Solve Function First
Decor should make the workspace easier to use. Improve task lighting, remove supplies that do not belong on the desk, and give papers and tools a clear home before adding wall art.
- Add a task lamp where shadows fall across the work surface.
- Use a cork board, calendar, or framed sheet metal only when it replaces loose notes.
- Choose one plant or artwork rather than filling every open corner.
Fix the interruption: spend first on the problem that disrupts work, not on the most photogenic accessory.
Kids’ Room: Make Cleanup Easier
Build the room around routines children can actually follow. Low bins, clear labels, a reachable book shelf, and one display area for artwork usually do more than a complicated theme. Keep tall or heavy storage stable and follow the manufacturer’s anchoring instructions.
- Use removable decals only after checking the product and wall-finish instructions.
- Frame or clip up a rotating selection of the child’s own art.
- Create one reading or play corner instead of trying to theme the whole room.
Storage before styling: solve cleanup first, then add one decorative layer.
Balcony or Patio: Define One Activity Zone
Decide what the space is for—morning coffee, plants, reading, or outdoor meals—and design that zone before buying decor. For larger weekend builds, use these easy DIY backyard projects.
- Use an outdoor rug or a compact seating arrangement to define the zone.
- Add lighting rated for the location and follow its installation instructions.
- Choose a few containers that leave safe walking space rather than filling every edge with plants.
Define the activity first: choose the element that creates the zone; plants and accessories come after the layout works.
Make Budget DIY Look Intentional
Once the anchor project is chosen, small details matter—but only when they support it. Use the checks below to keep finishing upgrades, thrift finds, and wall decor from becoming extra clutter or avoidable repairs.
Use Small Upgrades as Finishing Moves
Hardware, lampshades, pillow covers, and frames are finishing moves. Count cabinet holes before buying pulls, compare the cost of a thrifted lamp base plus a shade with a new lamp, and make sure a furniture flip is stable before spending on paint or trim. For project techniques, see these DIY furniture makeovers.
Mini project — thrifted lamp refresh: Start with a stable lamp whose cord, socket, and switch are intact. Clean the base, refresh only the non-electrical exterior finish, add a compatible shade if needed, and use an appropriate warm LED bulb. Check the shade fitter and finished height before buying parts; the hands-on work is usually a few hours plus drying time. Skip any lamp with damaged electrical components rather than decorating around a safety problem.
Thrift for a Known Gap
Shop with a measurement, material, and purpose in mind. A thrifted mirror, side table, vase, or frame works best when it fills a known gap instead of becoming another object to style. Before shopping, use these thrifting strategies to spot useful pieces rather than impulse buys.
Clean the item, repair what affects safety or function, and choose a finish that repeats something already in the room. For material-appropriate cleanup, use these frugal cleaning hacks.
Choose a Tool Only When the Project Requires It
Most readers do not need a starter kit. Once the project is specific, identify the next physical obstacle: finding framing before drilling, hanging lightweight decor on a compatible surface, or joining small decorative pieces. Choose only the row that matches that obstacle.
| Project situation | Product | Check before choosing | Action |
|---|---|---|---|
| Drilling for a shelf, mirror, or hardware where framing location matters. | Zircon StudSensor A100 | A stud finder does not prove that wiring or pipes are absent, that the fastener is suitable, or that the wall can carry the load. Get qualified help when those questions are unresolved. | |
| Hanging lightweight decor on a smooth, compatible surface without drilling. | Command Picture Hanging Kit | Skip wallpaper, rough or unsealed surfaces, valuable items, and loads beyond the package rating. Follow the surface, weight, application, and removal limits in 3M’s picture-hanging instructions. | |
| Joining lightweight, non-load-bearing trim or craft pieces. | Surebonder Mini Fine-Tip Hot Glue Gun | Skip load-bearing, high-heat, wet-area, wall-mounting, and safety-critical joints. Match the adhesive to the materials rather than treating hot glue as a universal fix. |
Buy for the project you already chose—not because the tool list exists. If you already own a suitable equivalent, use it and keep the budget for the room itself.
Common DIY Decor Mistakes That Waste Money
Budget decorating fails less often because the idea was bad and more often because the order was wrong. Avoid these common traps:
- Buying before measuring: record wall width, furniture dimensions, window size, and mounting limits before shopping.
- Using too many small pieces: one larger item often creates a clearer focal point than several unrelated accents.
- Mixing every finish: repeat a limited set of colors, woods, and metals so thrifted and new items feel connected.
- Decorating around a function problem: fix weak lighting, poor storage, or an awkward layout before adding accessories.
- Assuming removable means risk-free: test products, follow instructions, and check lease rules before covering a large area.
- Trying to finish the room in one shopping trip: complete the anchor project, live with it, and only then decide what is genuinely missing.
Frequently Asked Questions
Start With One Room, Not a Shopping List
Stand in the doorway of the room you use most and finish this sentence: “This room would work and look better if I fixed ______.” Choose one project that fills the blank, measure for it, and set a spending cap before you browse.
Complete the project and take another photo from the same spot. Use the room before deciding whether it needs a second change. When you are ready to plan furniture, layout, or a larger project, continue with the broader DIY home decor and furniture guide.
This DIY home decor guide is for general education and inspiration—it isn’t professional, safety, or building-code advice. For electrical, structural, or wall-mounting work, consult a qualified professional and follow local codes, product instructions, and your lease.