
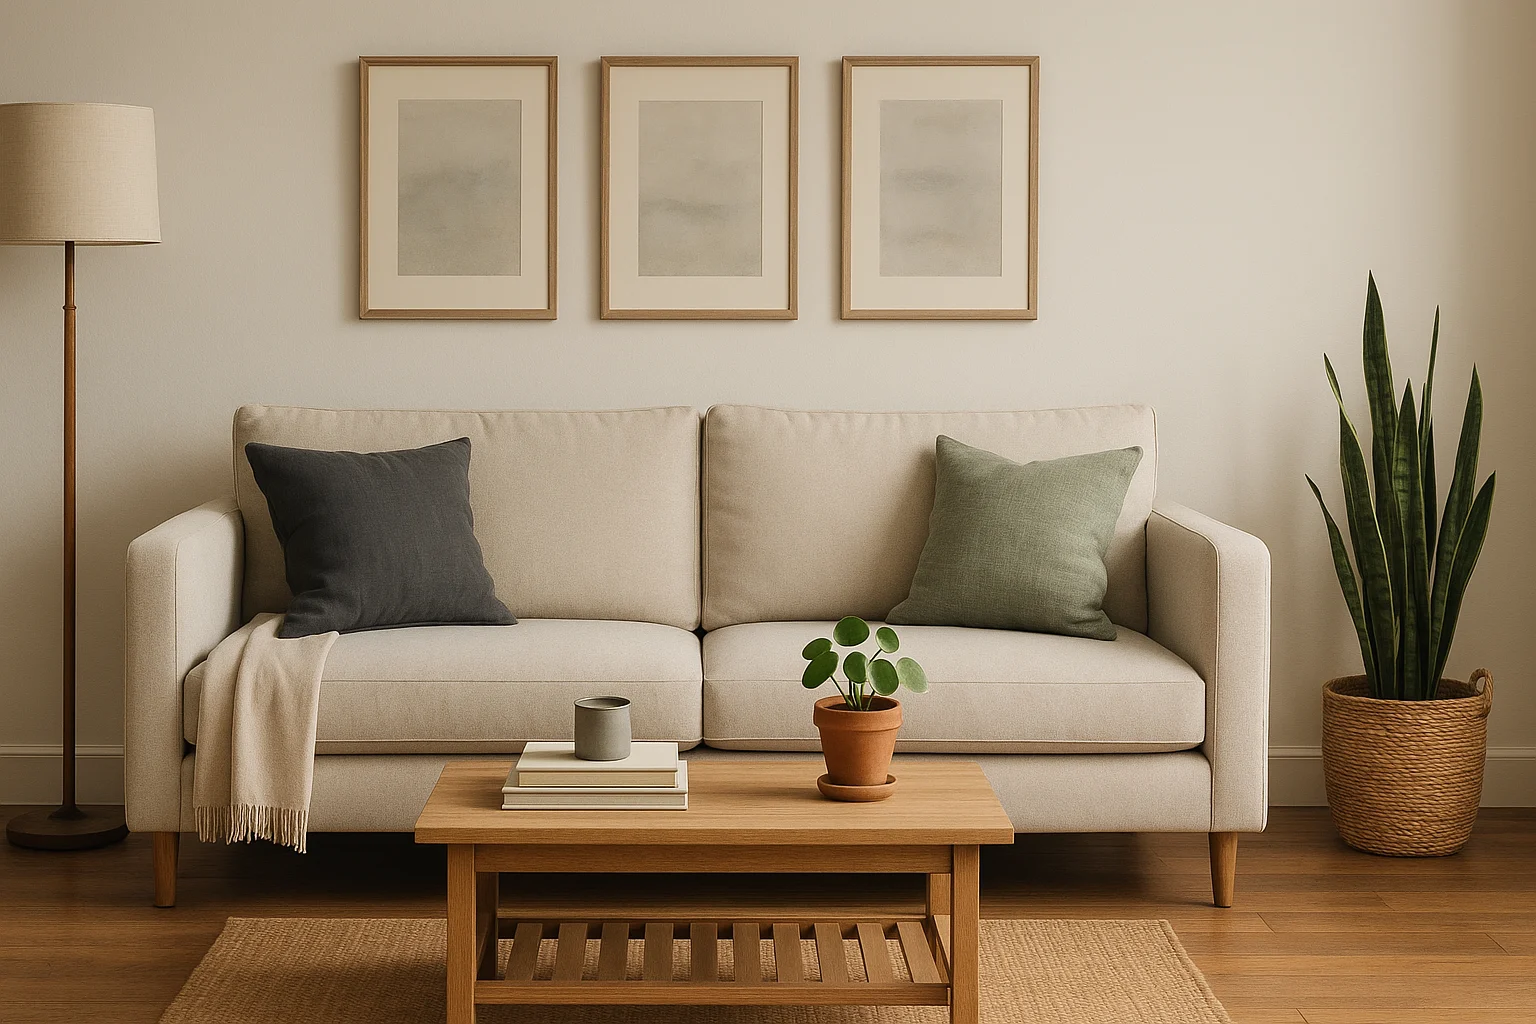
You do not need a full renovation—or a Pinterest-perfect plan—to make a room feel better. The best do it yourself home decor ideas solve one visible problem at a time: a blank wall, a tired dresser, awkward storage, or a room that feels disconnected.
This guide organizes more than 20 projects by time, budget, room, and project type, then shows you how to measure, price, prepare, and finish the one you choose. By the end, you should have one realistic project—not another saved idea—with a spending limit and a clear stopping point. Cost ranges are rough supply estimates; reuse, room size, tools you already own, and local prices can change them.
This post contains affiliate links. If you buy through our links, we may earn a commission at no extra cost to you. As an Amazon Associate, I earn from qualifying purchases. Learn more.
Table of Contents
- Choose Your Route
- Find a Project That Fits Today
- 5 Beginner Projects
- Is This Project Worth DIYing?
- Tools and Materials You Really Need
- Make DIY Decor Look Intentional
- Budget Home Decor Ideas by Room
- Paint a Dresser Without a Peeling Finish
- Source Better Materials for Less
- Mistakes That Waste Time and Money
- Frequently Asked Questions
- Finish One Visible Change
Choose Your Route
Start with the matcher below, or jump to the guide that matches the size of the job.
- Whole-room refresh: Use the room-by-room DIY home decor guide to coordinate several low-cost changes.
- Furniture makeover: Follow the DIY furniture makeover walkthrough for paint, stain, prep, and hardware decisions.
- Short creative build: Browse craft projects for adults that use inexpensive supplies and fit into a free afternoon.
Find a DIY Project That Fits Today
Choose your available time, new-supply budget, and preferred project type. You’ll get one beginner project, a clear explanation of how well it fits, and the first step to take.
Choose all three answers to see your project match.
Best fit from the beginner list
Why it fits:
Time:
Budget:
Tools:
First step:
Check before starting:
See the matched beginner project below5 Easy DIY Decor Projects for Beginners
These frugal decorating ideas deliver a visible result without a large tool collection. Choose the smallest project that solves a real annoyance or blank spot in your home.
- Paint a thrifted frame. Clean it, lightly scuff the finish, use a compatible primer, and apply two light paint coats. Estimated time: about 45 minutes plus drying. Estimated cost: $5–$10.
- Style a coffee-table tray. Combine one useful item, one taller object, and one softer or natural texture. Leave enough empty space for the table to work. Estimated time: 15 minutes. Estimated cost: $0 using what you own; up to $25 if buying pieces.
- Stencil a tea towel. Wash and dry the fabric, secure the stencil, apply fabric paint sparingly, and follow the label for drying or heat-setting. Estimated time: about 30 minutes plus drying. Estimated cost: $6–$12.
- Refresh a plant pot. Clean the pot, choose coatings rated for its material and location, keep drainage holes clear, and let every layer cure. Estimated time: about 40 minutes plus drying. Estimated cost: $8–$15.
- Create a removable frame display. Weigh one lightweight frame and use picture-hanging strips approved for both the wall surface and load. Estimated time: 30 minutes plus the product’s bonding wait. Estimated cost: $8–$20.
For adhesive-mounted decor, the package—not the project photo—sets the surface, weight, cleaning, pressing, bonding-wait, and removal rules. Command’s installation guide shows the full sequence.
For more small builds, inexpensive supplies, and handmade home accents, continue with our craft projects for adults. For any project you keep here, run the five-minute check below before buying supplies.
Before You Start: Is This Project Worth DIYing?
A project is worth DIYing when it solves a specific problem, fits the surface and space, and costs less—or fits better—than a bought alternative. Run this five-minute check before shopping:
- Name the problem. “The wall feels empty” is more useful than “I want to decorate the bedroom.”
- Measure the exact area. Record width, height, depth, outlet locations, door swings, and the maximum size that can enter the room.
- Identify the surface. Solid wood, veneer, laminate, tile, drywall, plaster, and fabric need different prep, adhesives, fasteners, and finishes.
- Compare making, buying, and hiring. DIY is strongest when you can reuse materials, need a custom fit, or already own or can borrow the tools. Buying may be cheaper for a standard item when new tools and finish products erase the savings. Hire qualified help when the work becomes structural, electrical, gas-related, or code-critical.
- Price the whole project. Include primer, hardware, brushes, anchors, delivery, and disposal—not only the main material.
- Count waiting and cleanup time. Drying, bonding, recoat, cure, and cleanup can turn a one-hour task into a multi-day project.
Quick cost test: Suppose a $15 thrifted dresser needs $20 of primer and paint, $18 of hardware, and $12 of prep supplies. That is a $65 project before delivery or a new tool, so compare it with a finished secondhand piece that already fits the room.
The frugal choice is the option that reaches a safe, finished result—not automatically the option labeled “DIY.”
Tools and Materials You Really Need
Once a project passes that check, build a small core kit and buy or borrow only what the chosen surface and method require. Specialty tools are not a beginner milestone.
| Project job | Start with | Add only when needed |
|---|---|---|
| Measure and plan | Tape measure, pencil, small level | Stud finder, square, or laser level for repeated anchors and larger builds |
| Clean and prep | Cleaning cloths, sanding block, scraper, filler | Random-orbit sander for broad surfaces and dust control suited to the task |
| Paint and finish | One quality brush, mini roller, tray, painter’s tape | Surface-specific primer, topcoat, or sprayer only when the project justifies it |
| Hang and fasten | Screwdriver, level, hardware rated for the object and surface | Drill/driver and correct bits or anchors for the fastening system |
| Protect yourself | Eye protection, gloves, ventilation | Task-specific respiratory or hearing protection required by the product or process |
Follow each product label for ventilation and protective equipment, keep ignition sources away from solvent vapors, shut power at the breaker before electrical work, and review EPA lead-safe guidance for DIYers before disturbing painted surfaces in a pre-1978 home. Leave wiring, structural changes, gas work, and code-critical changes to an appropriately licensed professional.
When a Tool Is Worth Buying
Start with the manual option. Consider one of these tools only when the same task comes up often enough to justify the cost, storage, setup, and cleanup.
| Use case | Tool and trade-off | Action |
|---|---|---|
| Sand curves, corners, and furniture details. Useful for repeated dresser, chair, or refinishing work where a sanding block is slow or awkward. |
BLACK+DECKER BDEMS600 Mouse Detail Sander. Skip it for one small flat frame or when hand sanding gives better control. It speeds preparation but does not replace cleaning, dust control, suitable abrasives, or final hand work. | |
| Drill and fasten repeatedly. Useful for shelves, storage, benches, desktops, or furniture projects with several pilot holes and screws. |
DEWALT DCD771C2 20V MAX Drill/Driver Kit. Borrow or skip it for one lightweight hanging job or a screwdriver-only task. You still need the correct bit, anchor, screw, and safe drilling location. | |
| Find framing before mounting heavier decor. Useful for shelves, pegboards, headboards, and other projects that may need framing or a carefully selected anchor system. |
Zircon StudSensor A100 Stud Finder and Wall Scanner. Skip it for an approved lightweight adhesive display within its limits. A scanner is one input—not a guarantee about hidden utilities, wall construction, or the correct fastener. | |
| Paint small furniture, frames, and tight edges. Useful for dresser edges, plant pots, frames, trim, and touch-ups where a full-size brush feels clumsy. |
Wooster Q3211-2 Shortcut Angle Sash Paintbrush. Skip it when a disposable foam brush suits a one-off craft or the finish maker specifies another applicator. Better control cannot compensate for poor cleaning, incompatible coatings, or heavy coats. |
Buy the tool only when it improves control, repeatability, or safety for work you expect to do again. One small decor project rarely justifies a four-tool kit.
How to Make DIY Decor Look Intentional
Good budget home decor is not about copying luxury finishes. It is about making a few choices look deliberate and repeating them across the room.
- Repeat one finish. Use the same black, brass, wood tone, or paint color in at least two or three places so a new piece belongs in the room.
- Choose scale before quantity. One larger piece of art or one substantial lamp often looks calmer than several undersized objects.
- Finish the edges. Clean paint lines, aligned hardware, covered fasteners, smooth filler, and tidy cords matter more than decorative extras.
- Layer the lighting. Combine ambient, task, and accent light while keeping bulb color temperatures reasonably consistent within the room.
- Leave breathing room. Remove one object after styling a surface. Empty space helps the useful and personal pieces stand out.
Before buying decor, photograph the room from the doorway. The photo often reveals the real problem—scale, clutter, lighting, or an unfinished edge—faster than standing inside the room does.
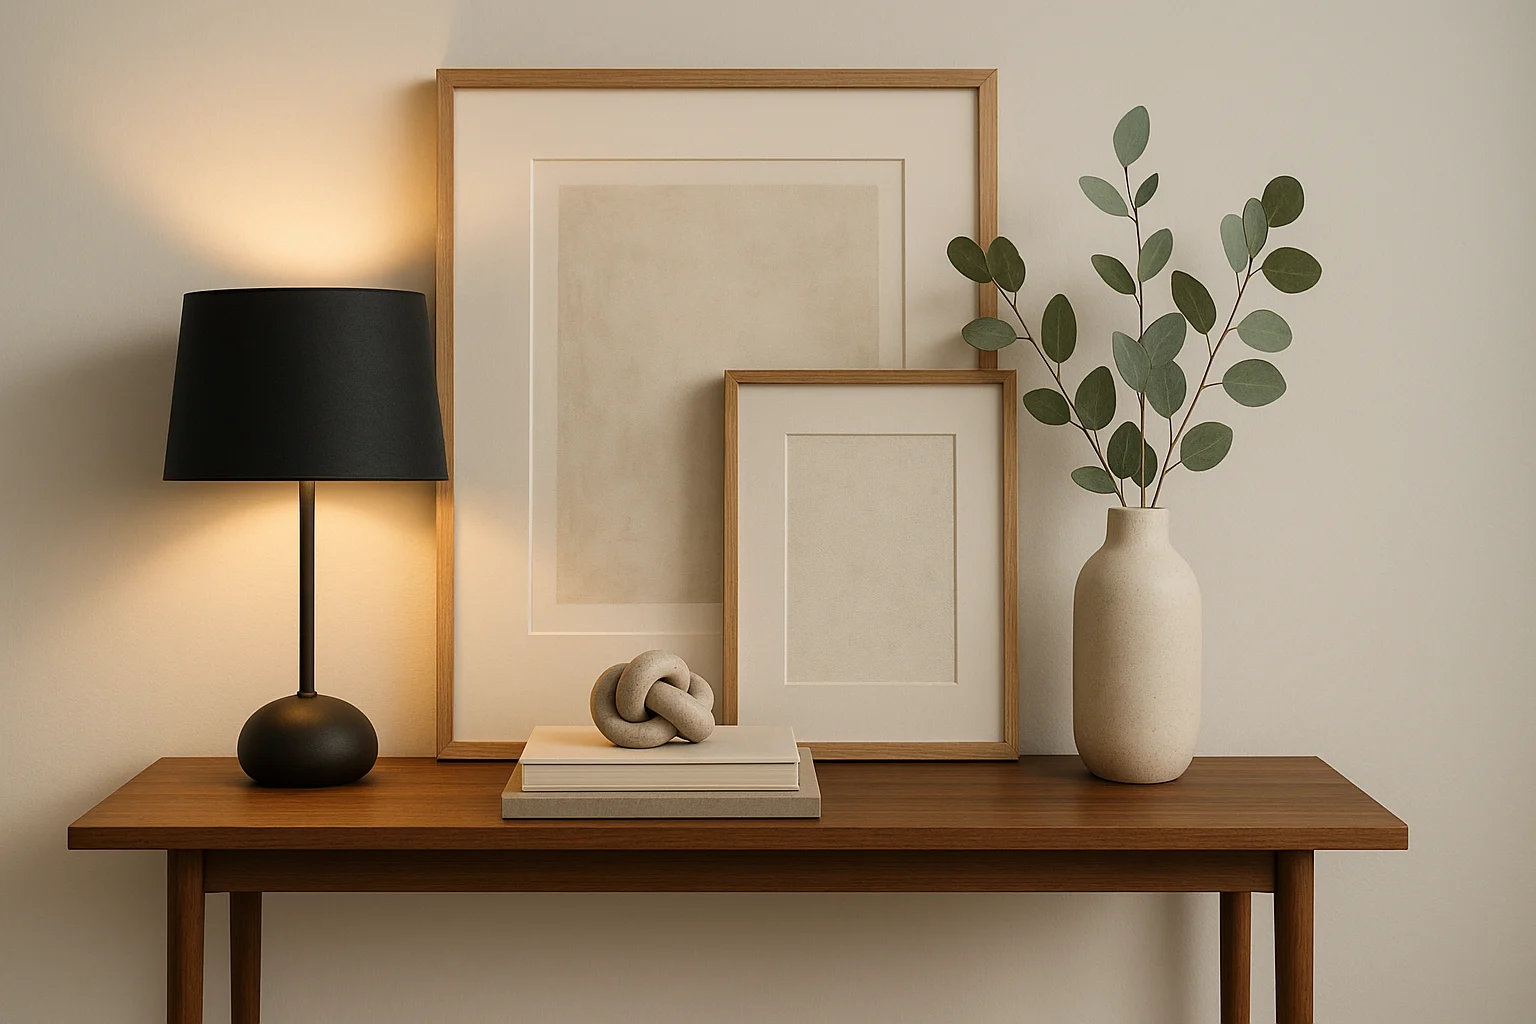
Budget Home Decor Ideas by Room
Now apply those design rules to the room that needs help most. Use these as menus, not checklists: pick one idea that fixes the biggest visual or functional problem, then repeat one color, material, or finish so the result looks connected. For a coordinated multi-project plan, use the room-by-room DIY home decor guide.
Living room
- Quick win: Restyle one tray, shelf, or side table with three objects of different heights and at least one useful item. Estimated cost: $0–$25.
- Half-day project: Create a pair of oversized fabric or printable-art panels instead of filling the wall with many small frames. Estimated cost: $20–$60.
- Weekend project: Build or refinish a coffee table with storage sized to the sofa and walking path. Estimated cost: $30–$120, depending on reused materials.
Bedroom
- Quick win: Rework the bedside surface: hide charging cables, add one lamp, and limit decor to one personal object and one soft texture. Estimated cost: $0–$30.
- Half-day project: Upholster a simple plywood headboard in a durable neutral fabric and mount it with a suitable cleat or fastener system. Estimated cost: $50–$120.
- Weekend project: Build or adapt two slim nightstands with a cord notch and enough clearance for drawers, outlets, and bed movement. Estimated cost: $40–$100.
Kitchen and dining area
- Quick win: Create a low centerpiece from a bowl, tray, or vase that can move easily when the table is used. Estimated cost: $0–$25.
- Half-day project: Repaint stools or dining chairs with a durable finish suited to the existing surface. Estimated cost: $20–$80.
- Weekend project: Add open shelves or a slim rolling pantry after measuring clearances and planning the bracket, anchor, and load. Estimated cost: $40–$140.
Bathroom
- Quick win: Replace mismatched hooks or organize daily items on one wipeable tray. Estimated cost: $10–$40.
- Half-day project: Frame a builder mirror with trim finished before installation and a mirror-safe adhesive suited to the frame material. Estimated cost: $25–$70.
- Weekend project: Build a narrow freestanding ladder shelf sized to the floor space and sealed for a damp room. Estimated cost: $35–$90.
Home office
- Quick win: Route cables, remove unused desk items, and add one container for the tools you reach for daily. Estimated cost: $0–$20.
- Half-day project: Install a pegboard with proper wall clearance and group tools by task rather than color alone. Estimated cost: $30–$80.
- Weekend project: Build a plywood desktop over sturdy drawer units, size it for legroom and monitor depth, and use a durable work-surface finish. Estimated cost: $100–$250.
Entryway
- Quick win: Make a landing zone with a tray for keys, one hook per regular user, and a basket for items leaving the house. Estimated cost: $0–$35.
- Half-day project: Refresh a small bench with paint or a washable cushion cover after tightening any loose joints. Estimated cost: $15–$60.
- Weekend project: Build or adapt shoe storage to the actual footwear, baseboard depth, door swing, and walking clearance. Estimated cost: $40–$140.
Before buying lumber and finish for a shelf, cart, side table, or shoe rack, price a ready-made version in the exact size you need. Build when reuse or a custom fit gives you a real advantage; buy when a standard piece solves the same problem faster and for less.
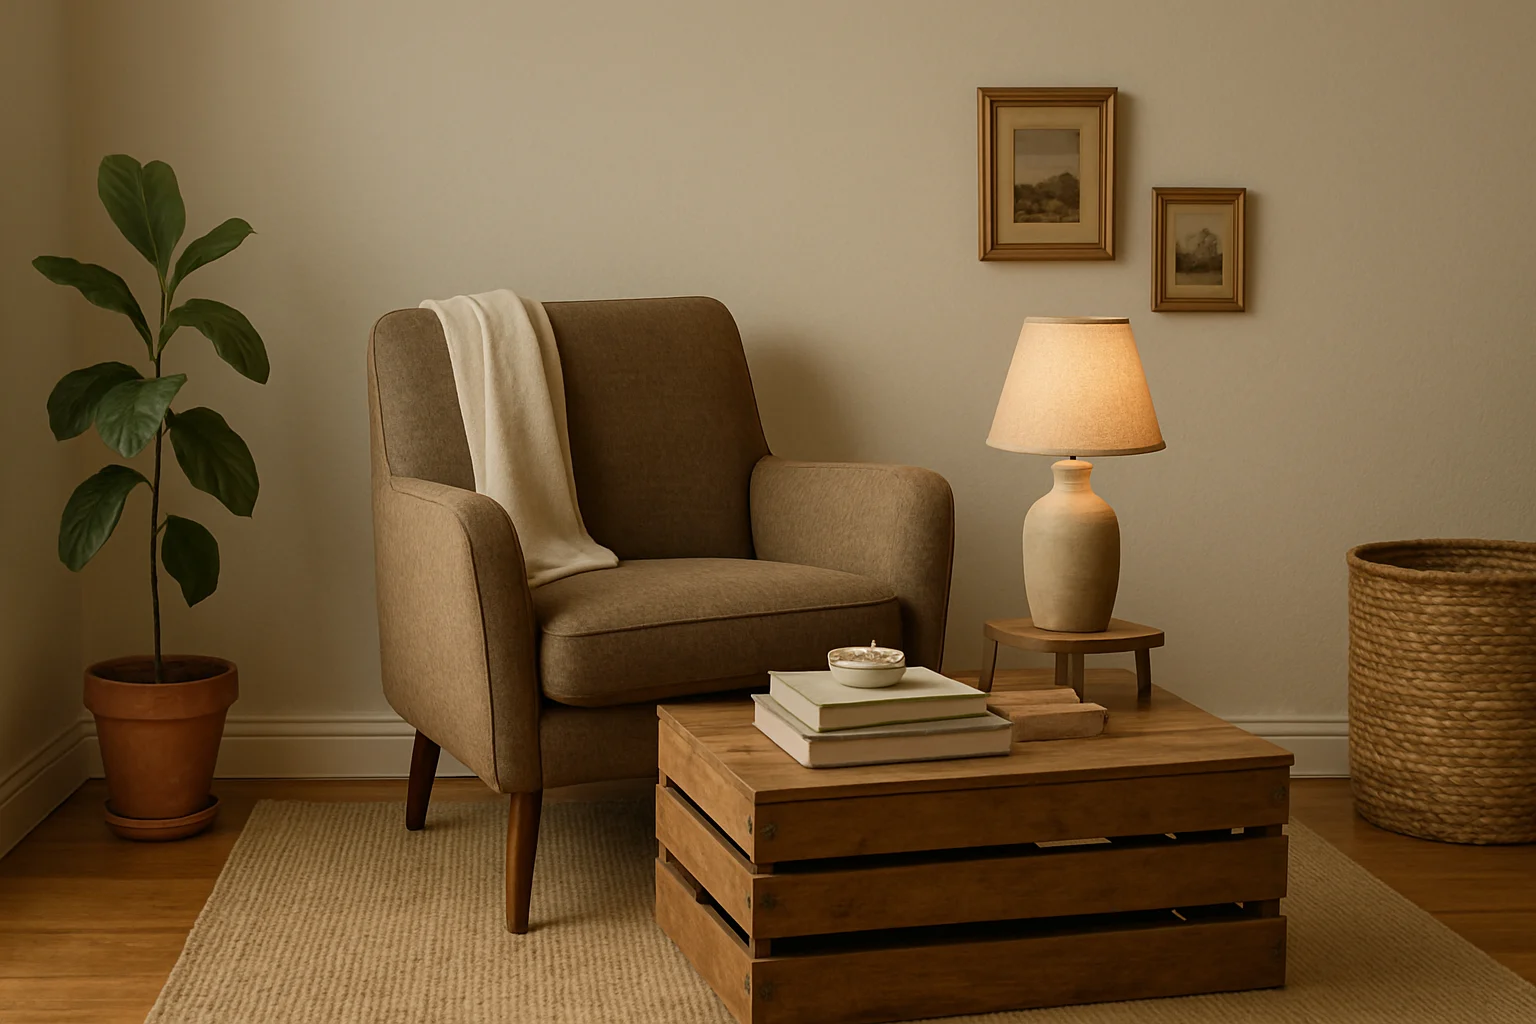
If the room’s best fix is a tired dresser, use the walkthrough below as the model for any painted furniture project: identify the surface first, then build one compatible prep-and-finish system.
How to Paint a Dresser Without a Peeling Finish
The finish lasts when the cleaning, surface identification, primer, paint, and cure schedule work as one system. Do not copy a paint recipe before you know what the dresser is made from.
- Identify the surface. Check whether you are working with solid wood, veneer, laminate, an existing glossy coating, or an older painted surface. Avoid sanding through thin veneer.
- Clean before sanding. Remove drawers and hardware, label their positions, and clean off grease, polish, wax, and residue with a method compatible with the surface.
- Repair only what needs repair. Tighten loose joints, fill chips or holes with a compatible filler, and sand repairs flush. Scuff intact glossy areas only as much as the coating system requires.
- Use the right primer. Choose primer for the surface and the stain or adhesion problem you are solving. Apply thin coats and follow its dry and recoat instructions.
- Apply thin paint coats. Use a mini roller on broad flat areas and a quality angled brush on edges or details. Let each coat level and dry instead of trying to cover in one heavy pass.
- Protect high-wear areas when needed. A compatible clear coat can help on tops and other hard-use surfaces, but not every paint system requires one. Follow the paint maker’s compatibility guidance.
- Let it cure before normal use. Recoat time, reassembly time, and full cure are different. Follow the slowest product in the coating system before loading drawers or placing objects on top.
The most common failure is not “bad paint.” It is a mismatch between the surface, prep, primer, finish, or cure schedule.
For detailed before-and-after walkthroughs, including stain and hardware decisions, continue with our DIY furniture makeovers guide. If you still need a piece to work on, use the sourcing checklist next to avoid a “cheap” find that becomes an expensive repair.
If the old coating, surface type, or finish system is still unclear after those steps, pause before buying another product. Write down what the surface looks like, what has already been applied, and where the failure appears so the question is specific enough to answer. For help narrowing the next troubleshooting step, you can ask an online home-improvement expert; use an appropriately licensed local professional for electrical, structural, gas, code-critical, or on-site safety work.
Source Better Materials for Less
Thrifting and reuse can stretch a project budget, but the cheapest item is not always the cheapest finished project. Inspect the piece, calculate the repair materials, and decide what you can realistically transport and store.
- Shop your home first. Move lamps, art, baskets, hardware, and small furniture before buying a substitute.
- Prioritize sturdy candidates. Solid frames, stable stools, sound mirrors, ceramic vessels, and well-built wood furniture are often easier to improve than damaged flat-pack pieces.
- Inspect before pickup. Check for wobble, swelling, strong odors, missing hardware, cracked joints, damaged veneer, and signs that the repair exceeds your tools or experience.
- Calculate the real cost. Add primer, finish, hardware, replacement parts, transport, and disposal to the purchase price.
- Keep a useful material stash. Label leftover paint, knobs, hooks, and scrap wood with enough information to reuse them safely.
Marketplace search tip: Try common misspellings and phrases such as “project piece,” “needs TLC,” or “curb alert.” Set a travel radius you will actually use, save exact measurements, agree on pickup details before leaving, and bring appropriate tie-downs.
Skip upholstered items with unexplained odors, pest evidence, or moisture damage, and skip any piece whose repair would require safety work you cannot evaluate.
Mistakes That Waste Time and Money
- Starting with a vague room makeover. Choose one problem and one finish line so the project cannot expand without a decision.
- Buying before measuring. Record the space, object, doorways, outlets, and clearances before shopping or cutting.
- Using a finish that does not match the surface. Paint, primer, adhesive, sealer, and fasteners must suit the material and intended use.
- Rushing drying, bonding, or cure time. A surface that feels dry may still be too soft to assemble, load, wash, or cover.
- Ignoring the full project cost. A bought shelf may be the frugal choice when a DIY version requires new tools, hardware, delivery, and several finish products.
- Decorating over a functional problem. Fix wobble, poor lighting, cord clutter, blocked storage, or an awkward walking path before adding more objects.
- Starting the next project too soon. Finish, clean up, store leftovers, and live with the result before deciding what the room still needs.
Frequently Asked Questions
Your Next Step: Finish One Visible Change
The goal is not to collect more ideas. It is to solve one visible problem with a project that fits your time, budget, surface, and skill.
Start here: use the project matcher, write down the exact measurements and maximum spend, and take a before photo. Finish and clean up before adding another project; then live with the result before deciding what the room actually needs next.
This DIY home decor guide is for general education. For structural, electrical, gas, code-critical, or other safety-sensitive work, consult an appropriately licensed professional.