
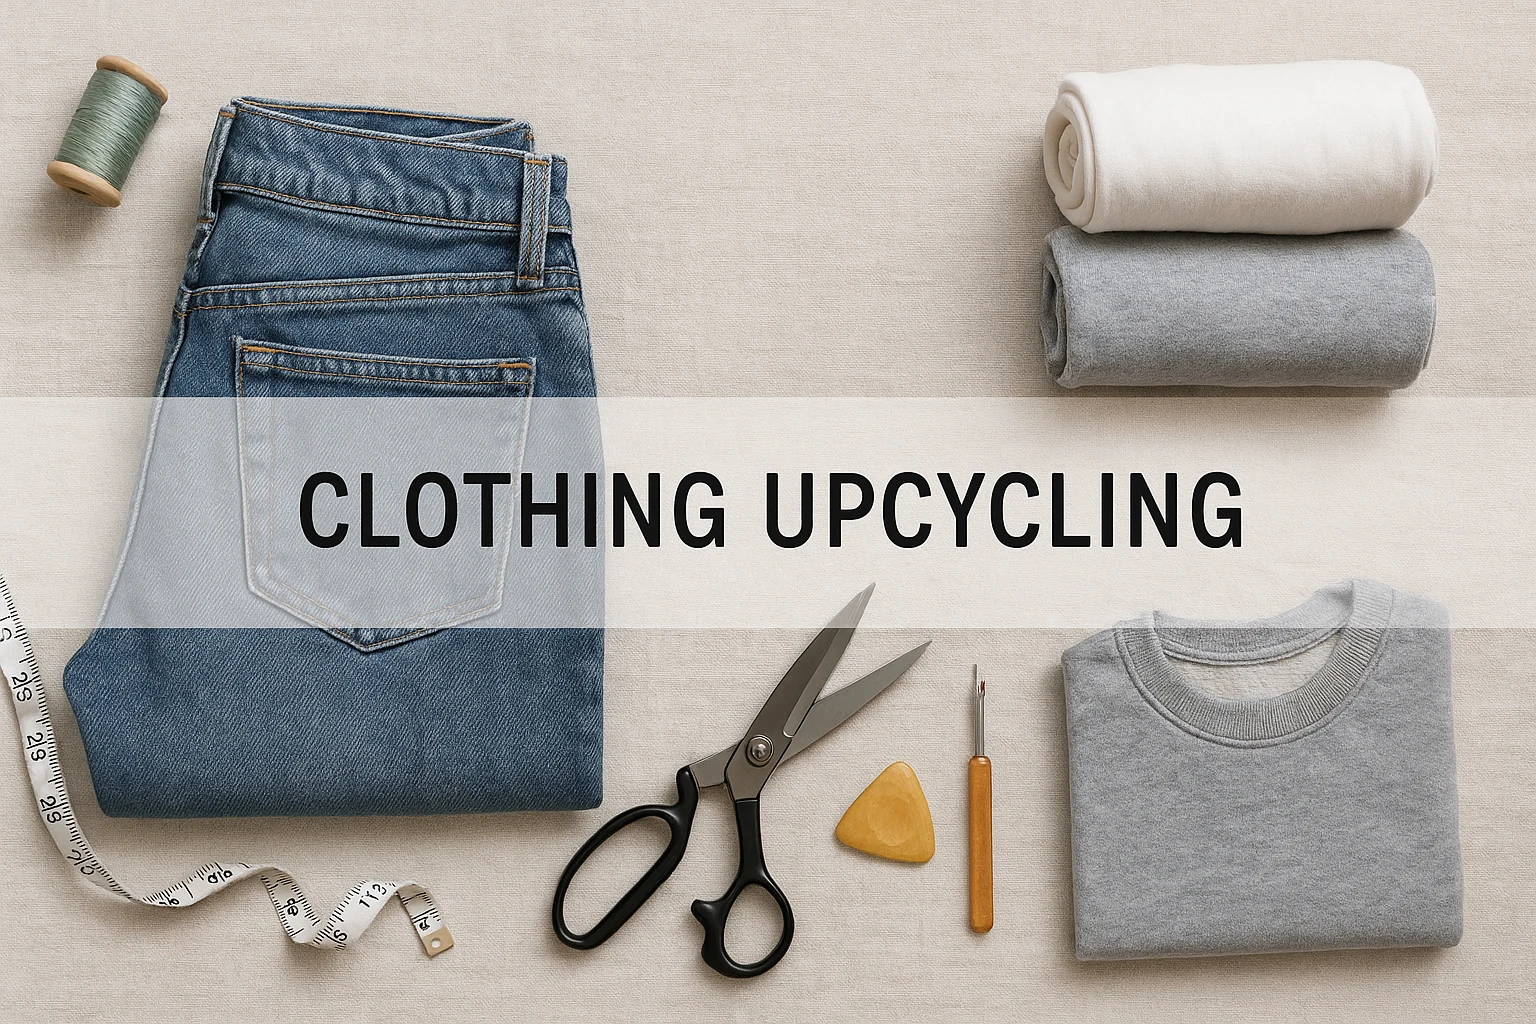
The best clothing upcycling project does not begin with scissors. It begins with one question: why are you not wearing this garment now? The fit may be off, one damaged spot may catch your eye, or the style may no longer feel like you. I’d start with the smallest change that solves that problem, because a wearable result is more useful than a dramatic makeover that becomes another unfinished experiment.
This guide helps you do exactly that. Use the three-question matcher to find a realistic first route, then check the fabric, gather only the tools you need, and follow the no-sew, beginner-sewing, or larger-transformation steps. The goal is not simply to make the garment different; it is to make it wearable again. For the wider wardrobe plan, see the frugal fashion guide.
This post contains affiliate links. If you buy through our links, we may earn a commission at no extra cost to you. As an Amazon Associate, I earn from qualifying purchases. Learn more.
Table of Contents
- Find Your Best First Upcycling Route
- Check the Garment Before You Cut
- Choose the Tools You Actually Need
- No-Sew and Low-Risk Upcycling Projects
- Beginner Sewing Projects for Fit and Function
- Bigger Transformations for Sturdy Garments
- Fix Common Problems and Finish Cleanly
- Wash and Care for Upcycled Clothes
- Frequently Asked Questions About Clothing Upcycling
- Start With One Garment You Already Own
Already have a garment in mind? Start with the matcher. It uses what you are starting with, your sewing comfort, and the reason you are not wearing the garment to point you to one realistic first route and the closest instructions below. Prefer to browse? Jump to the no-sew, beginner-sewing, or bigger-transformation sections.
Find Your Best First Upcycling Route
Answer three quick questions. You’ll get one realistic route or next step, why it fits, a time range, and the exact section to use next.
Once you have a first route, check that the garment can support it before you cut, glue, dye, or unpick a seam.
Check the Garment Before You Cut
Start with the reason the garment is not being worn. A stain needs a different fix from a tight armhole, and a stretched knit needs a different plan from sturdy denim. Put the garment on, move in it, and name the one problem you want the project to solve.
| What you notice | Best first route | Pause or skip when |
|---|---|---|
| The style feels dated, but the fit is good | Try a removable detail, shorter hem test, patch, or color refresh | The fabric is brittle, peeling, or badly stretched |
| The garment is too long or too loose | Pin the new shape, wear-test it, then hem or add a tie | The change pulls seams off-grain or restricts movement |
| There is one hole, worn spot, or stain | Reinforce, patch, appliqué, or place a pocket over the area | Damage spreads across several stress points |
| You want a completely different garment | Choose a transformation that uses the existing seams and closures | You do not have enough fabric for seam, hem, overlap, or casing allowance |
| The piece is valuable or sentimental | Practice the technique on a low-stakes garment first | The fabric or construction is unfamiliar; consider a tailor |
Not every garment needs an upcycle. Repair it when the original design still works, pass it on when it is wearable but wrong for you, and stop when the fabric is too weak to hold a new seam. Upcycling is worth the effort when one clear change can return the piece to use.
Check fiber, stretch, and condition
- Read the labels: Note the fiber content and use the care label as the starting point for heat, washing, and drying. The FTC’s apparel-labeling guidance explains why those instructions matter.
- Test the edge: On a hidden seam allowance, see whether the fabric frays, curls, ladders, melts under heat, or shows glue.
- Check recovery: Stretch knits gently and see whether they return to shape. A stretched-out edge will not be fixed by a more ambitious cut.
- Find sound fabric: Hold the garment to the light. Widespread thinning, dry rot, delamination, mold, or stubborn odor makes a wearable upcycle a poor bet.
Use your closet first; thrift for fabric, not labels
Begin with something you already own and rarely wear. If you thrift for a project, look for enough usable fabric, sound seams, and extra room rather than a particular brand. Our Goodwill thrifting strategies can help you inspect secondhand pieces before buying them.
When you need ideas for upcycling clothes, use before-and-after photos and upcycled clothing websites to study silhouette and placement—not as proof that the same cut will work on a different fabric. Save two references, sketch the change, and take a before photo. During the first fitting, another photo often reveals a crooked hem or awkward proportion faster than the mirror does.
Use this rule throughout: test heat or adhesive on a hidden area, pin or baste fit changes, add finishing allowance before cutting, and wear-test before the final seam.
If the bigger issue is that many pieces do not work together, a capsule wardrobe on a budget may help more than altering another isolated item. If this garment has one fixable problem, gather only the supplies that solve it.
Choose the Tools You Actually Need
You can complete many clothing upcycling projects with a small kit. Start with what the chosen project requires instead of buying a full sewing setup.
- Sharp fabric shears, a seam ripper, measuring tape, ruler, and fabric chalk
- Pins or clips, hand needles, all-purpose thread, and a thimble if useful
- An iron and pressing cloth; washable fabric tape or fabric glue only when the project suits it
- A sewing machine for speed and stronger finishes, not as a requirement for starting
- Project-specific supplies such as elastic, interfacing, a denim needle, knit binding, patches, or dye
Most first projects should use what you already own. Before buying anything, test your current scissors on a scrap or hidden seam allowance. If they make a clean cut without dragging, lifting the fabric, or chewing the edge, keep using them.
Use What You Have—or Build One Complete Cutting Setup
If you already own sharp fabric shears, a reliable ruler, and a surface you can cut on safely, you are set. Keep using them and move straight into the project instructions.
If you are starting from scratch or expect to make several measured projects, the Fiskars 3-Piece Fabric Cutting Set combines a rotary cutter, folding cutting mat, and sewing ruler in one purchase. It can save setup time when you plan to cut straight strips, patch panels, or multiple fabric layers. Skip it for an occasional one-layer alteration or when you would rather add tools individually.
Complete rotary-cutting setup: best suited to repeated, ruler-guided fabric work—not required for a first simple alteration.
No-Sew and Low-Risk Upcycling Projects
Use these projects to test a new shape or surface treatment before committing to major construction. No-sew does not mean no planning: adhesives, heat, dye, and raw edges still need fabric-specific checks.
1) Test a New Length Before You Cut
Best for T-shirts, button-downs, dresses, and long skirts when the main problem is proportion.
- Put the garment on and fold the hem to the shortest length you are considering.
- Pin or use removable fabric tape, then sit, reach, and walk.
- Mark the final line only after checking the front, back, and side view.
- For a permanent change, add the allowance required by the finish you will use.
Knits may curl at a raw edge; woven fabric usually frays. A temporary test lets you choose the length before deciding between a sewn hem, binding, or a product-rated no-sew finish.
2) Turn Jeans Into Cutoff Shorts
- Try the jeans on and mark the desired finished length on both legs.
- Add extra length for a cuff, hem, or controlled fray.
- Lay the jeans flat, align the seams, and cut one leg first; use it as the guide for the other.
- Wash once if you want a frayed edge, then trim long threads without cutting into the weave.
Keep the first cut conservative. The shorts will look shorter once the edge rolls or frays.
3) Cover a Small Hole or Stain
A fusible patch, repair tape, iron-on appliqué, or removable patch can stabilize a low-stress area or turn a stain into a design detail.
- Trim loose threads and place the garment flat without stretching it.
- Choose a patch that extends into sound fabric around the damage.
- Test heat and adhesive on a hidden area, then follow the product directions exactly.
- After cooling, flex the area gently. Add stitching later if the edge lifts or the location carries stress.
4) Refresh Faded Color
Dye works best when the fiber, original color, stains, thread, and trims are all considered. Read the dye instructions before choosing the product; many synthetic blends need a different process from cotton or linen.
- Prewash the garment without fabric softener.
- Test a hidden area and confirm that stains will not remain darker or lighter.
- Protect the work area, wear gloves, and use ventilation as directed.
- Rinse and wash the finished garment according to the dye instructions, separately at first.
5) Make a Removable Detail From Scraps
Turn a scarf or stable scrap into a headband, bag tie, removable bow, belt, or cuff. Start with a tie-on or pin-on version so you can test scale and placement before sewing it permanently. This is also a useful way to preview colors and prints on a plain garment.
If the idea works but needs a stronger, washable finish, move into the beginner sewing projects next.
Beginner Sewing Projects for Fit and Function
These projects use short, controllable seams. Choose thread and needles that suit the fabric rather than forcing one setup onto every garment.
1) Reinforce Damage With Visible Mending
- Identify the full weak area, not only the visible hole.
- Place a patch behind or over it so the patch reaches sound fabric.
- Baste the patch flat, then use rows of running stitches or another simple reinforcing stitch.
- Check the repair from the inside and remove any loose threads that could catch.
Visible mending works best when the repair is allowed to look intentional. For more repair methods, including hems and zippers, use our clothing repair basics.
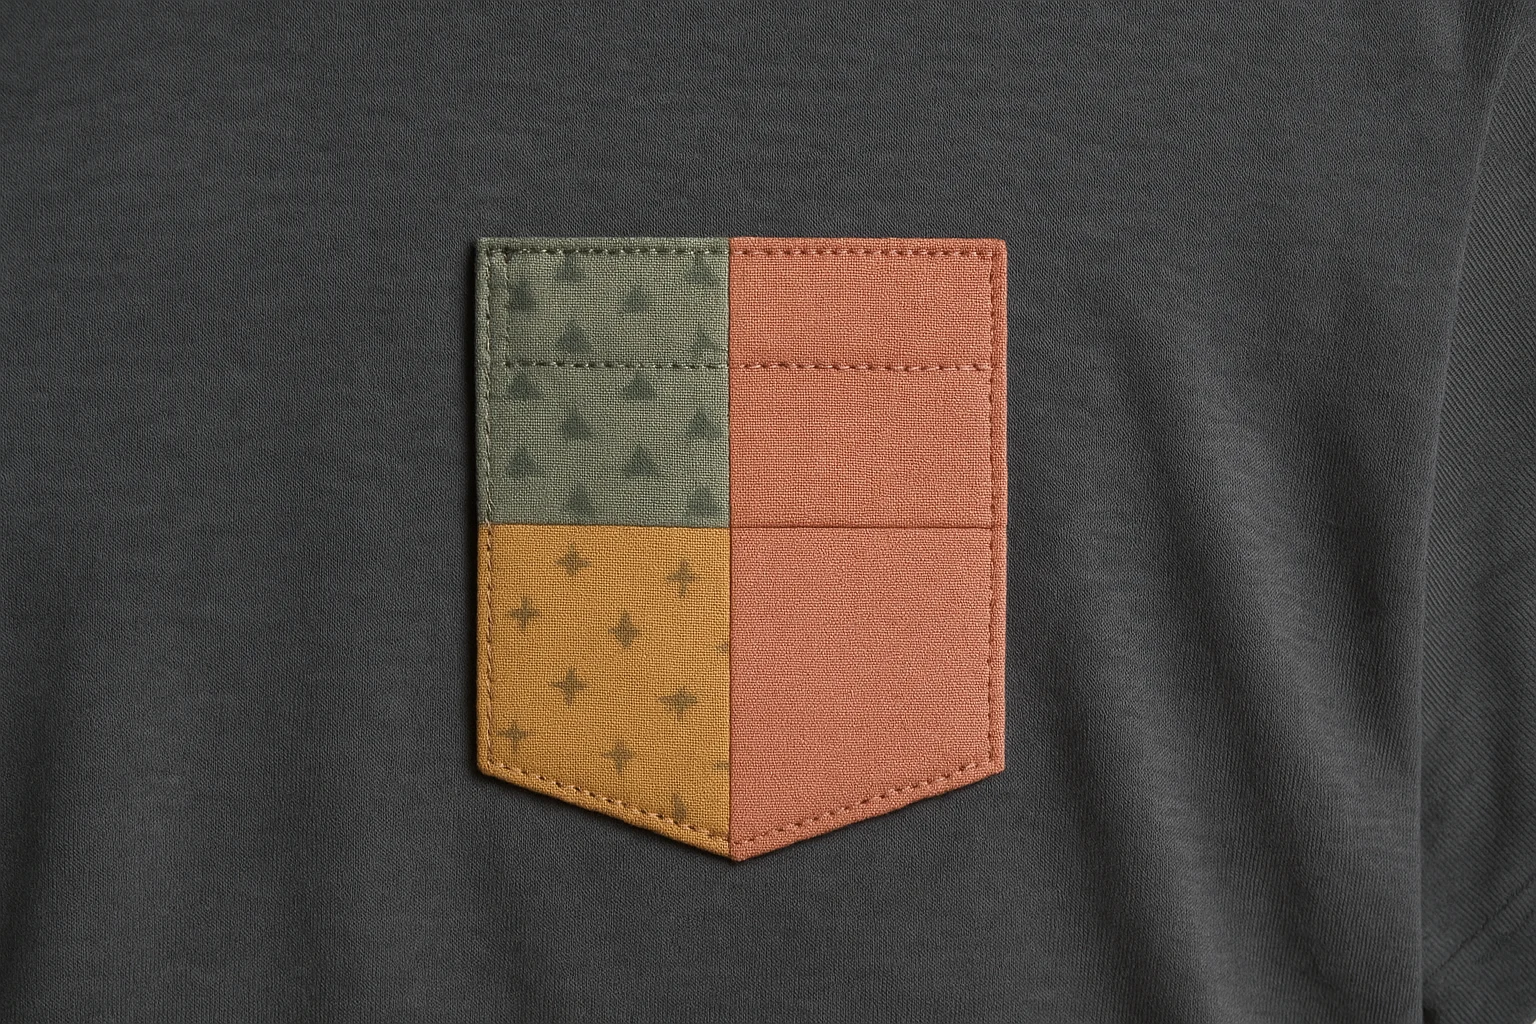
2) Add a Patch Pocket or Appliqué
A pocket can cover wear while adding function; an appliqué can cover a stain without adding bulk.
- Make a paper template and test the size and placement on the worn garment.
- Cut the fabric with enough allowance to turn the edges under.
- Press the edges, baste or pin the piece, and check that it sits level while worn.
- Stitch around the appliqué or around three sides of a pocket, reinforcing the upper corners.
3) Shorten a Hem or Reshape a Neckline
Small changes to length and neckline can make a garment wearable without rebuilding it.
- Mark and baste the proposed line, then try the garment on.
- For a neckline, cut a shallow version first and keep the shape symmetrical.
- Choose a finish that suits the fabric: double-fold hem for stable wovens, binding or a stretch finish for knits, or an overcast edge where appropriate.
- Press without stretching and topstitch only after the edge lies flat.
4) Add or Replace an Elastic Waistband
- Check that the garment has enough fabric for a casing and comfortable ease.
- Fold and press the casing, leaving an opening for the elastic.
- Use a safety pin or bodkin to thread the elastic without twisting it.
- Overlap and secure the ends, distribute the fullness, then close the opening.
Wear-test the waistband before closing the casing. Elastic that feels comfortable while standing can still bind when sitting.
5) Add a Side Panel or Adjustable Tie
This can rescue a top, skirt, or simple dress that is slightly too tight, but the added fabric must behave like the original.
- Open the side seam only as far as needed.
- Pin in a test strip and measure the added ease on both sides.
- Cut matching panels with seam allowance, then baste them in symmetrically.
- Try the garment on, check movement and drape, and finish the seams only after the fit works.
Once you can baste, fit, and finish a short seam cleanly, the larger transformations below become much safer.
Bigger Transformations for Sturdy Garments
These are project overviews, not complete patterns. Use them only for garments with strong fabric and enough material for new seams, overlap, and finishing; a full tutorial or tailor may still be the safer route for lined, fitted, or valuable pieces.
1) Turn a Button-Down Into a Wrap Top
- Put the shirt on and pin the desired crop, side shape, and overlap without cutting.
- Check that the front panels stay covered when you sit, reach, and bend.
- Mark the new shape, add finishing allowance, and cut symmetrically.
- Finish the cut edges and add ties that are anchored into strong seams rather than a thin raw edge.
- Try it on again before final topstitching.
2) Turn Jeans Into a Skirt
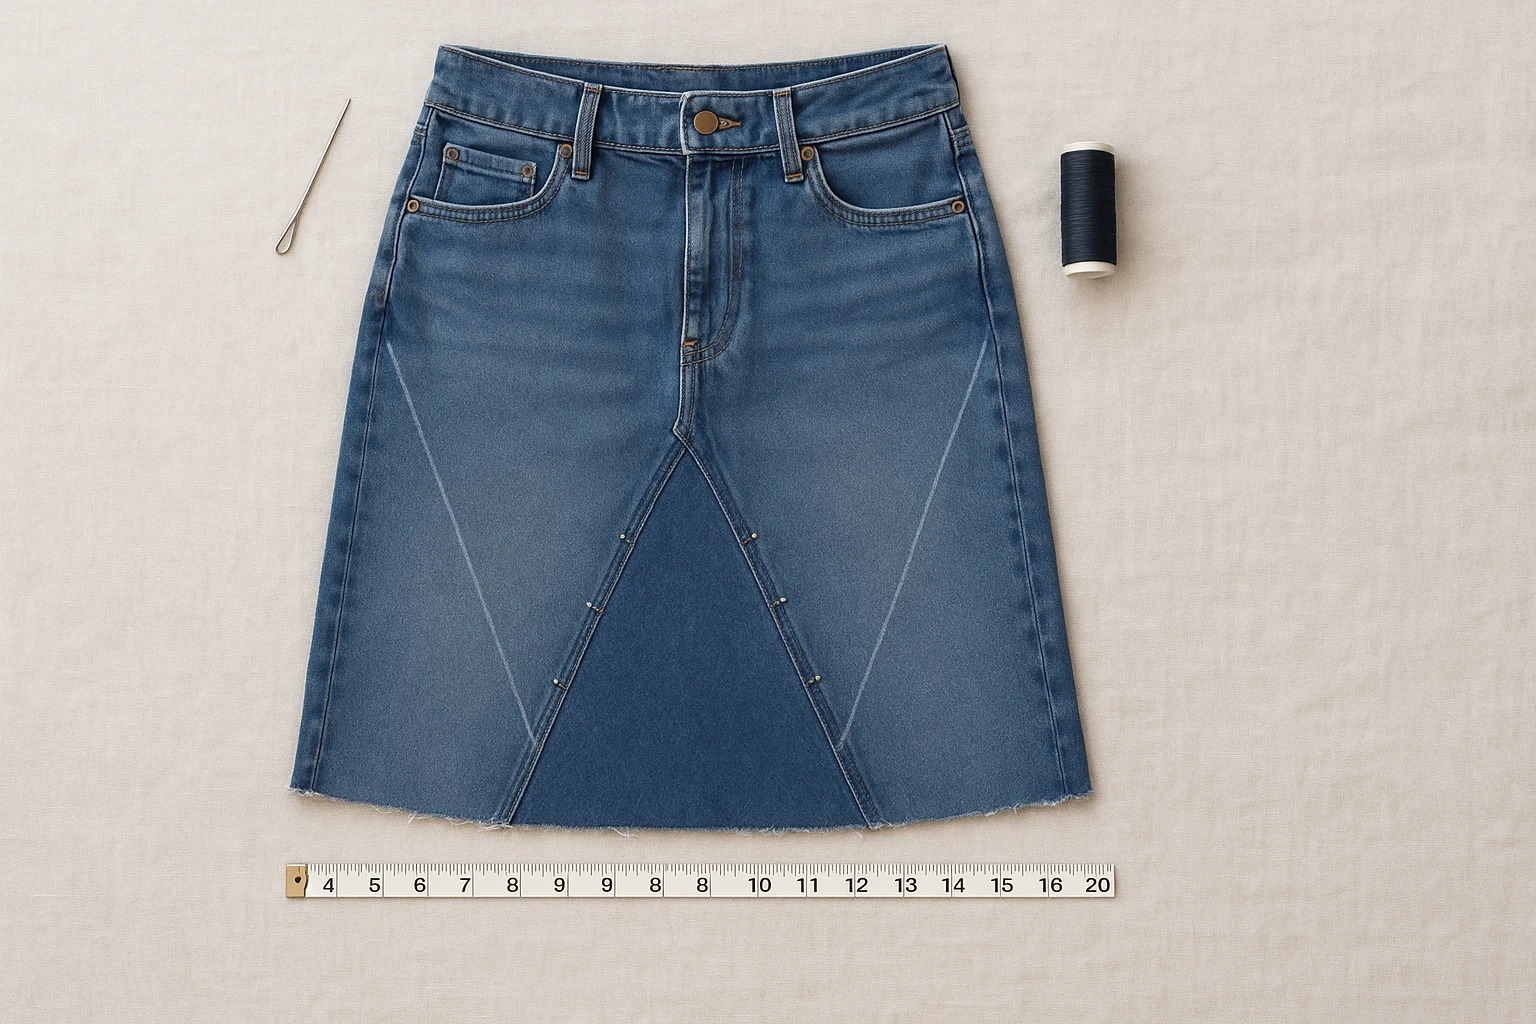
- Mark the skirt length and cut the legs with extra fabric reserved for panels.
- Unpick the inseams and open the curved crotch seams only as far as needed for the fabric to lie flat.
- Overlap or reshape the front and back edges, then pin denim panels behind the gaps.
- Baste, try on, sit, and walk. Adjust puckering before permanent stitching.
- Use a denim needle and strong thread, then finish the lower edge.
3) Turn a Sweater Into a Vest or Arm Warmers
Test the knit before cutting. Felted wool and stable sweatshirt fleece may hold a raw edge; loose or fine knits can unravel quickly.
- Cut a tiny hidden sample or inspect an existing seam allowance to see how the knit behaves.
- For a vest, remove sleeves close to the seam while preserving enough edge to finish.
- For arm warmers, cut the sleeves to length and mark the thumb opening while worn.
- Use an overcast, zigzag, binding, or other stretch-compatible finish when the edge needs support.
- Steam lightly only if the fiber and care label allow it.
4) Turn a Dress Into a Wrap Skirt or Two-Piece Set
A wrap skirt is usually the simpler route because the skirt portion already has volume. A two-piece set asks you to finish both the top and skirt, so it needs more fabric and more time.
- Pin the new waistline and check whether the remaining bodice and skirt will each be long enough after finishing.
- Add allowance for the waistband, casing, ties, hem, and overlap before cutting.
- Separate the pieces and stabilize the skirt’s upper edge.
- For a wrap skirt, add ties and enough overlap for sitting and walking. For a two-piece set, finish the top edge and add a separate waistband or casing to the skirt.
- Wear-test both pieces before closing the final seams.
Whatever the size of the transformation, the final pass is where the project starts to look intentional rather than improvised.
Fix Common Problems and Finish Cleanly
Clean finishing matters more than adding more decoration. Pressing, even spacing, a repeated design detail, and a final wear test can make a simple alteration look considered.
| Problem | Likely cause | What to try |
|---|---|---|
| The knit edge waves | The fabric stretched while cutting, pressing, or sewing | Let it rest, reduce handling, use a stretch-compatible finish, and avoid pulling as you sew |
| The hem twists or looks uneven | The line was measured flat instead of on the body, or the fabric is off-grain | Re-pin while worn, baste, and compare front, side, and back before trimming |
| A patch lifts or feels stiff | The adhesive is wrong for the fiber, stress, or washing method | Check the product directions; stitch the edge if appropriate or choose a softer patch method |
| Dye looks uneven | Residue, stains, fiber blend, crowding, or incomplete agitation | Follow the dye maker’s correction guidance; do not keep adding color without checking the fiber and process |
| The project still feels “off” | The change solved style but not fit, proportion, or comfort | Try it with three outfits, photograph it, and decide whether one smaller adjustment would solve the real problem |
Use the three-pass finish
- Fit pass: Sit, reach, walk, and check strain at seams and closures.
- Construction pass: Trim threads, secure seam ends, finish raw edges, and press.
- Style pass: Repeat one color, stitch, patch shape, or hardware detail instead of adding several unrelated ideas.
Before calling it done, style the piece with clothes you already wear. If the new item still requires several new purchases to work, the project may not have solved the wardrobe problem.
Wash and Care for Upcycled Clothes
- Follow the most delicate component: A sturdy denim body does not make a delicate trim, patch, or adhesive safe for a hot wash.
- Let adhesives cure: Wait the full time stated on the product before washing or flexing the area heavily.
- Wash dyed items separately at first: Use the dye maker’s instructions for temperature, detergent, rinsing, and aftercare.
- Protect hand stitching: Turn the garment inside out and use a mesh bag or hand wash when the repair or embellishment could snag.
- Dry conservatively when uncertain: Heat can shrink fabric, set some stains, weaken adhesives, and distort mixed-fiber projects.
After the first wash, inspect patches, high-stress seams, hems, and elastic. A two-minute repair now is easier than rebuilding the project after the damage spreads.
The questions below cover the decisions beginners most often get stuck on before starting or finishing a project.
Frequently Asked Questions About Clothing Upcycling
Start With One Garment You Already Own
Choose the piece you keep skipping and write down the exact reason: fit, damage, length, color, or style. Use the matcher if you need a starting route, then test the smallest fix with pins, basting, or a hidden-area sample before you cut. Finish and wear-test that one change before adding another.
A successful first project is not the most dramatic before-and-after. It is a garment that returns to regular rotation without forcing you to buy more supplies or more clothes to make it work. That is how upcycling old clothing saves money. When you want to use the same repair-first approach around the rest of your home and budget, continue with the frugal living handbook.
Use shears, seam rippers, irons, dyes, and adhesives according to their labels and keep them away from children and pets. Test heat, dye, and glue on a hidden area first. Stop if fabric melts, distorts, sheds, or weakens; valuable or structurally damaged garments may be better handled by a tailor.