
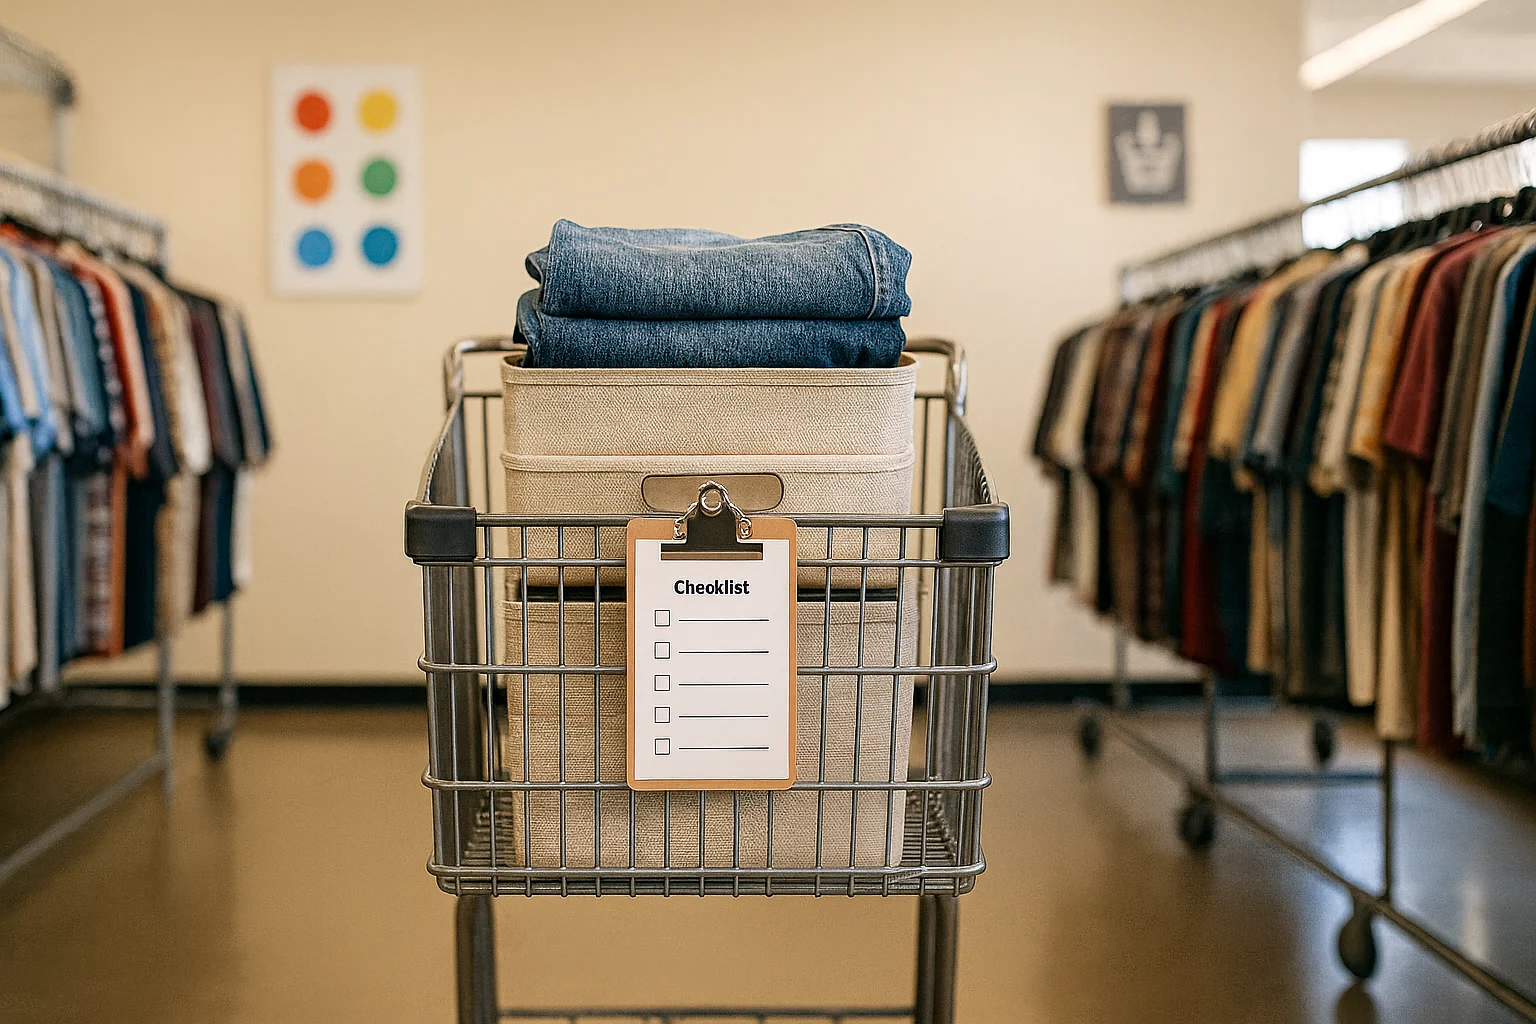
Most thrift-store mistakes look like bargains at the register. A low price stops saving money when the item does not fit, needs a repair you will never finish, or costs more to clean than it is worth. The goal is not a full cart; it is a few useful finds.
This guide to thrifting Goodwill gives you a repeatable plan: check local sale rules, choose a regular store or Outlet, scan only the categories that matter, calculate the true cost, and clean what you keep. For broader secondhand wardrobe planning, see our frugal fashion guide.
This post contains affiliate links. If you purchase through them, we may earn a commission at no extra cost to you. As an Amazon Associate, I earn from qualifying purchases. Learn more.
Table of Contents
- Plan Your Goodwill Trip
- Scan the Store in a Simple Order
- Is This Thrift Find Worth It?
- Clean and Repair Your Finds
- Where Else to Shop Secondhand
- Where to Buy Vintage Clothing Online
- Frequently Asked Questions
- Plan One Focused Thrift Run
Plan Your Goodwill Trip
Choose two categories, a spending ceiling, and a time limit before you leave. Check the store’s posted hours and current sale rules, then decide which flaws you are willing to clean or repair. That keeps a low sticker price from turning into an expensive unfinished project.
Check your location: Goodwill is a network of local nonprofit organizations, so discounts, return policies, and Outlet procedures can differ. Use the official Goodwill locator to find your local organization and confirm current details.
Regular Goodwill Store or Outlet?
- Choose a regular store when you want labeled categories, a calmer scan, and time to inspect items one at a time.
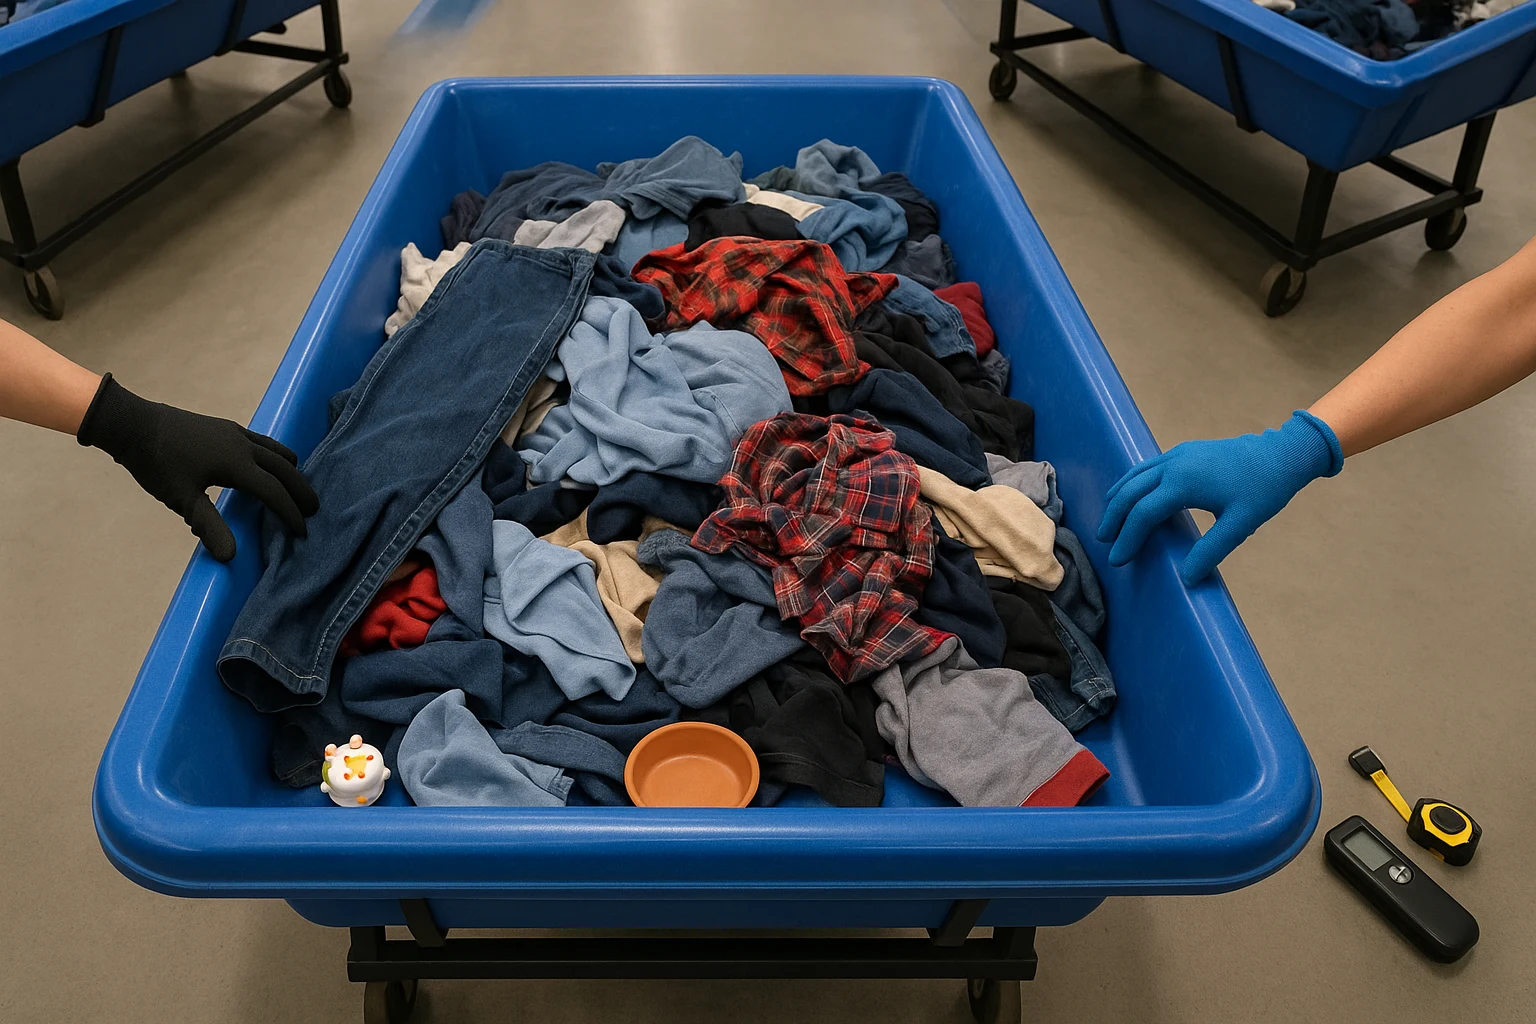
- Choose a Goodwill Outlet—the Bins when low unit cost and bulk textiles, craft supplies, or resale stock matter more than speed.
Check local pricing and floor rules before driving; not every area has an Outlet, and procedures vary by location.
What to Wear and Bring Thrifting
Wear easy layers, closed-toe shoes, and socks so trying on is simple. Bring a hands-free bag, a small tape measure, and light gloves for an Outlet. Batteries or a charging cable help only when the store allows testing and you know what you plan to check.
Scan Goodwill in a Simple Order
A full-store sweep wastes time and makes impulse buys more likely. Use the same four-step route on each visit:
- Read the entrance signs. Confirm the current sale color, return policy, and whether the store has an electronics test area.
- Go straight to your two categories. Check the discounted tag first only when it matches your list; save unrelated aisles for the end.
- Inspect before an item reaches your cart. Check seams, zips, soles, cords, missing parts, odors, and obvious repair work while the item is still easy to put back.
- Run a final cart audit. For every item, name where it will go, how you will clean it, and what the repair will cost. If you cannot answer, leave it.
Dense-city route: For secondhand shopping in NYC—or any city with several nearby stores—group two or three stops by travel time, give each one a firm limit, and leave when the selection does not match your list.
Once an item passes your first inspection, calculate its true thrift cost: sticker price plus cleaning, repairs, and missing parts. Compare that finished cost—not the tag—with a ready-to-use alternative, then use the checker before the item reaches your cart.
Is This Thrift Find Worth It?
Compare the item’s finished cost with a ready-to-use alternative. The checker uses a 25% savings cushion as a conservative default, then adjusts the result when the cleaning or repair plan is uncertain.
Decision rule: The result is a shopping aid, not a safety clearance. A safety concern always overrides the price calculation.
Set a walk-away price for each category before you enter. A low-priced coat that needs specialty cleaning and a new zipper may cost more than a ready-to-wear alternative; once the finished cost reaches your normal replacement cost, the thrift find has lost its advantage.
| Item | What to check | Fast test |
|---|---|---|
| Denim | Hems, inseams, zipper, hardware | Tug gently at belt loops and run the zipper |
| Knitwear | Pilling, cuffs, underarms, small holes | Stretch and release; check whether the shape recovers |
| Shoes | Outsole wear, crumbling foam, odor | Bend at the toe and press the heel for cracks |
| Furniture | Loose joints, odors, stains, pest signs | Rock it gently and inspect seams and undersides |
| Electronics | Cords, battery door, corrosion, missing parts | Inspect first; test only where the store permits |
| Kitchenware | Cracks, chips, warped bases, damaged coatings | Check edges, handles, lids, and the cooking surface |
What to Skip at a Thrift Store
- Infant car seats and helmets: Unknown history can hide impact damage or missing safety information, so buying new is the safer default.
- Mattresses or upholstery with pest signs: Walk away from live insects, spotting, shed skins, frass, or a strong unexplained odor.
- Damaged electrical items: Frayed cords, heat marks, corrosion, cracked housings, and missing safety parts are not worth a casual gamble.
- Strong, set-in odors: Smoke, mildew, and heavy pet smells can outlast the bargain.
- Badly damaged nonstick cookware: Skip pieces with peeling, deeply scratched, or flaking coatings.
Safety check: For baby gear, helmets, car seats, electronics, and small appliances, search current recalls on the U.S. Consumer Product Safety Commission website. When the item’s history matters and you cannot verify it, leave it.
Clean and Repair What You Keep
Clean keepers soon after you get home so they do not become a pile of unfinished projects. Follow care labels and manufacturer instructions, and use low-cost homemade cleaning solutions only on materials they suit.
Match the Cleaning Method to the Item
- Clothing and delicates: Wash according to the care label, air-dry when heat could cause damage, and use these quick clothing repairs for small seams, buttons, and hems.
- Books and toys: Wipe book covers and air them out. Wash hard-plastic toys with warm, soapy water, and check seams and care labels before laundering plush items.
- Kitchenware: Use hot, soapy water or a dishwasher only when the item is dishwasher-safe. Skip cracked pieces and cookware with badly damaged coatings.
- Furniture and upholstery: Inspect seams and undersides before bringing the item inside. When the fabric and care instructions allow it, this upholstery cleaner recipe offers a low-cost starting point.
Use a Fabric Shaver Only for Surface Pilling
If an otherwise sound sweater, coat, or blanket looks worn because of surface pilling, the BEAUTURAL Fabric Shaver and Lint Remover is a practical tool for that narrow job. This battery-operated model has two speeds, three shaving heights, a fabric spacer, and two replacement blades. Use it only after the item is clean and dry, keep the fabric flat, and test a hidden area first.
Skip it when: the knit is loose, thinning, heavily textured, embroidered, or delicate.
Limitation: A shaver removes pills; it does not repair holes, stretched yarn, poor fit, or fabric that is already wearing through.
Where Else to Shop Secondhand
If your local Goodwill rarely carries the category, size, or condition you need, stop repeating the same trip. Choose the source by the job:
- Local charity shops: Try another donation-based inventory with different local pricing, policies, and stock patterns.
- Consignment stores: Use them when a narrower, preselected selection and easier condition checks matter more than the thrill of the hunt.
- Estate and community sales: Check them for furniture, tools, kitchenware, and household bundles when you can work with unpredictable inventory.
- Flea markets and antique malls: Consider them when you are hunting for a specific vintage style, collectible, or hard-to-find piece.
For furniture and home goods, read our frugal home furnishing guide before you shop.
Where to Buy Vintage Clothing Online
Go online when specificity matters more than browsing. Choose the platform by what you need:
- A specific brand, size, fabric, or vintage style: Search Poshmark, Depop, or eBay, save narrow searches, and compare the item price with shipping and return terms.
- Goodwill inventory from home: Browse ShopGoodwill.com, which lists items from participating local Goodwill organizations.
- Curated or luxury consignment: ThredUp quality-inspects listed items, while The RealReal focuses on authenticated luxury consignment. Read condition notes instead of assuming curation guarantees value.
- Large or free local items: Try Facebook Marketplace or Buy Nothing and follow the platform’s current pickup-safety guidance.
To find cheaper vintage pieces, search narrowly and wait for the right listing instead of assuming one platform always has the lowest price. Hunting for no-cost finds? Bookmark our best freebies list.
Frequently Asked Questions
Plan One Focused Thrift Run
Before your next trip, choose one store, two categories, a spending ceiling, and a time limit. Then use the store plan above, and run the worth-it checker before a find reaches your cart.
At the cart, ask three questions: Where will this go? How will I clean it? What will repairs cost? If any answer is unclear, put the item back. The best thrift trip is not the fullest cart; it is the one that still saves you money after you get home.
This guide offers general shopping and cleaning information, not professional safety advice. Follow store policies, care instructions, and current recall guidance. For safety-critical items such as baby gear, helmets, car seats, and electronics, consider buying new or verifying recalls through trusted sources.