
Got ‘nothing to wear’ in a packed closet? Try clothing upcycling—turn pieces you already own into styles you’ll actually love. We’ll keep it friendly and doable: what to grab, quick no-sew wins, simple stitches, and tidy finishes. You’ll get safety notes, project specs (time, tools, cost), plus fixes for common hiccups. Ready to refresh your wardrobe, save money, and cut waste—without buying new? For the bigger picture, see our frugal fashion guide.
Use this as your starting point for a smarter, more sustainable closet. We’ll walk you through sourcing, simple planning, and step-by-step projects you can finish in an afternoon—no fancy gear required.
Your Best-Fit Upcycling Tool
Pick one option in each step. Your result appears automatically.
About the Upcycle Idea Generator: Need ideas after a closet clean-out or thrift haul? Pick your garment and get a project in seconds, then follow the quick steps above.
Table of Contents
- Key Takeaways
- Why Embrace Clothing Upcycling? It’s More Than a Trend!
- The Art of the Hunt: Sourcing Your Upcycling Treasures
- Assessing Your Upcycling Potential: Fabric & Fit Forensics
- Planning Your Project: Measure Twice, Cut Once!
- Upcycling Toolkit: Essentials for Every Project
- No-Sew Ideas to Upcycle Old Clothes
- Beginner Stitching Projects: Stepping Up Your Game
- Trend-Forward Flips: Major Transformations
- Care & Laundering: Making Your Upcycles Last
- Styling Your Upcycled Creations: Old Meets New
- Frequently Asked Questions
- Ready, Set, Upcycle!
Key Takeaways
- Save Money & Earth: Stretch your budget and keep textiles out of landfills at the same time.
- Start Simple, No-Sew: Snip, knot, glue, or dye—small moves, big payoff.
- Unlock Creativity: Express your style with custom fits, colors, and details.
- Strategic Sourcing & Planning: Choose quality fabrics, browse upcycled clothing websites for silhouettes you like, then adapt them to what’s in your closet.
- Beyond the Basics: Try visible mending, shirt-to-wrap-top, or a jeans-to-skirt flip.
Why Embrace Clothing Upcycling? It’s More Than a Trend!
Fast fashion encourages throwaway habits; upcycling pushes back with practical creativity. You spend less, waste less, and wear more of what feels like “you.” It also eases demand for new production and turns “meh” pieces into go-tos. New to the idea? This concise definition of upcycling is a handy starting point.
- Eco-Friendly Fashion: Divert textiles from landfills; save water, energy, and raw materials.
- Budget-Friendly: Build “new” looks from what you own or thrift inexpensively.
- Unique Style: Customize color, embellishments, and silhouette—your rules.
- Skill Building: From cutting and glue to basic stitches, skills stack fast.
- Sentimental Value: Reimagine keepsakes into wearable stories.
“Upcycling isn’t just about fixing clothes; it’s about reimagining their potential and weaving new stories into your wardrobe.”
The Art of the Hunt: Sourcing Your Upcycling Treasures
Your Own Closet: The First Stop! 🚪
- Worn-out favorites: Stains, small holes, or stretched necklines are a nudge to flip.
- “Meh” items: Pieces you skip for length, shape, or vibe—prime candidates.
- Ill-fitting pieces: Too long or baggy? Pin out the excess and tailor it to you.
- Good fabric: Cotton, linen, wool, and silk are versatile for dyeing and rebuilding.
Thrifting & Swaps: Hidden Gems Galore! 🛍️
- Look beyond labels: Hunt for quality fabric, color, and prints first. Also skim upcycled clothing websites for silhouette ideas you can recreate from thrifted pieces. For quick inspo, search “upcycling ideas clothes.”
- Think deconstruction: A shapeless dress can become a skirt, top, or even a bag.
- Check damage: Minor fixes are fine; skip severe tears or stubborn odors.
- Favor natural fibers: Easier to sew, press, and dye.
- Size up: Extra material makes reshaping easier.
New to sourcing? Start with our Goodwill thrifting strategies for where to look and what to check.
Assessing Your Upcycling Potential: Fabric & Fit Forensics
Fabric Quality Check: What’s It Made Of?
- Feel & drape: Soft, durable beats flimsy.
- Weave health: Check for thin spots or pulls against the light.
- Read labels: 100% cotton/linen/wool/silk are beginner-friendly; pure synthetics are trickier to dye.
Fit Potential: Can It Be Saved?
- Try it on to see how it hangs and where seams land.
- Pin to visualize: remove excess, test hems, and cinch the waist.
- Start near your size for quick wins.
Planning Your Project: Measure Twice, Cut Once!
- Get inspired: Save reference looks. Search “upcycling ideas clothes” and bookmark a few you love.
- Sketch it: Quick shapes help you visualize. Reference simple diy clothes patterns to plan seams.
- Measure carefully: Mark lines with chalk.
- Pin before cutting: Keep layers aligned.
- Baste & test: Try on before final stitches.
- Gather tools: Keep everything within reach.
Plan & Shoot: Upcycling Clothes Before and After
Snap “upcycling clothes before and after” photos to track progress and fine-tune fit.
Safety: Work with sharp blades on a stable surface and cut away from hands. Ventilate when dyeing or using fabric glue; wear gloves. Patch-test dyes on a hidden seam for colorfastness and wash dyed items separately at first. For mixed fibers, follow care for the most delicate fabric. Keep dyes and sharp tools away from kids and pets.
Clothing Upcycling Toolkit: Essentials for Every Project
- Sharp fabric shears; seam ripper; measuring tape & ruler.
- Fabric chalk/marker; pins; hand needles & all-purpose thread.
- Fabric glue (optional); iron & board; thimble (optional).
- Sewing machine (optional) to speed up finishes.
No-Sew Wonders: Upcycling Old Clothing Fast
1) The Crop & Knot: T-Shirts & Button-Downs
Great if you’re searching how to upcycle t shirts—mark your desired length, cut straight across, then knot or glue a clean hem. Cut slightly long—you can always trim more.
2) Strategic Cuts & Slashes
Open necklines, off-shoulder tees, or tasteful distressing on denim. Slide cardboard inside to protect the other layer.
3) Fabric Glue Hems & Seams
Double-fold edges and glue for quick hems on light fabrics; test first for staining or stiffness.
4) Dye It Up
Revive faded pieces with fabric dye. Natural fibers take color best; test colorfastness on an inside seam.
This post contains affiliate links. If you buy through our links, we may earn a commission at no extra cost to you. Learn more.
Add Custom Prints to Your Upcycle
Turn tees and shirts into personalized pieces with simple uploads—no design software needed. Pick sizes and placement in a few guided steps.
Use code MAXSAVE20 for extra savings (per offer).
Beginner Stitching Projects: Stepping Up Your Game
These sewing upcycling projects build confidence with simple stitches.
1) Visible Mending
Celebrate repairs with contrast thread or patches—think sashiko-style running stitches.
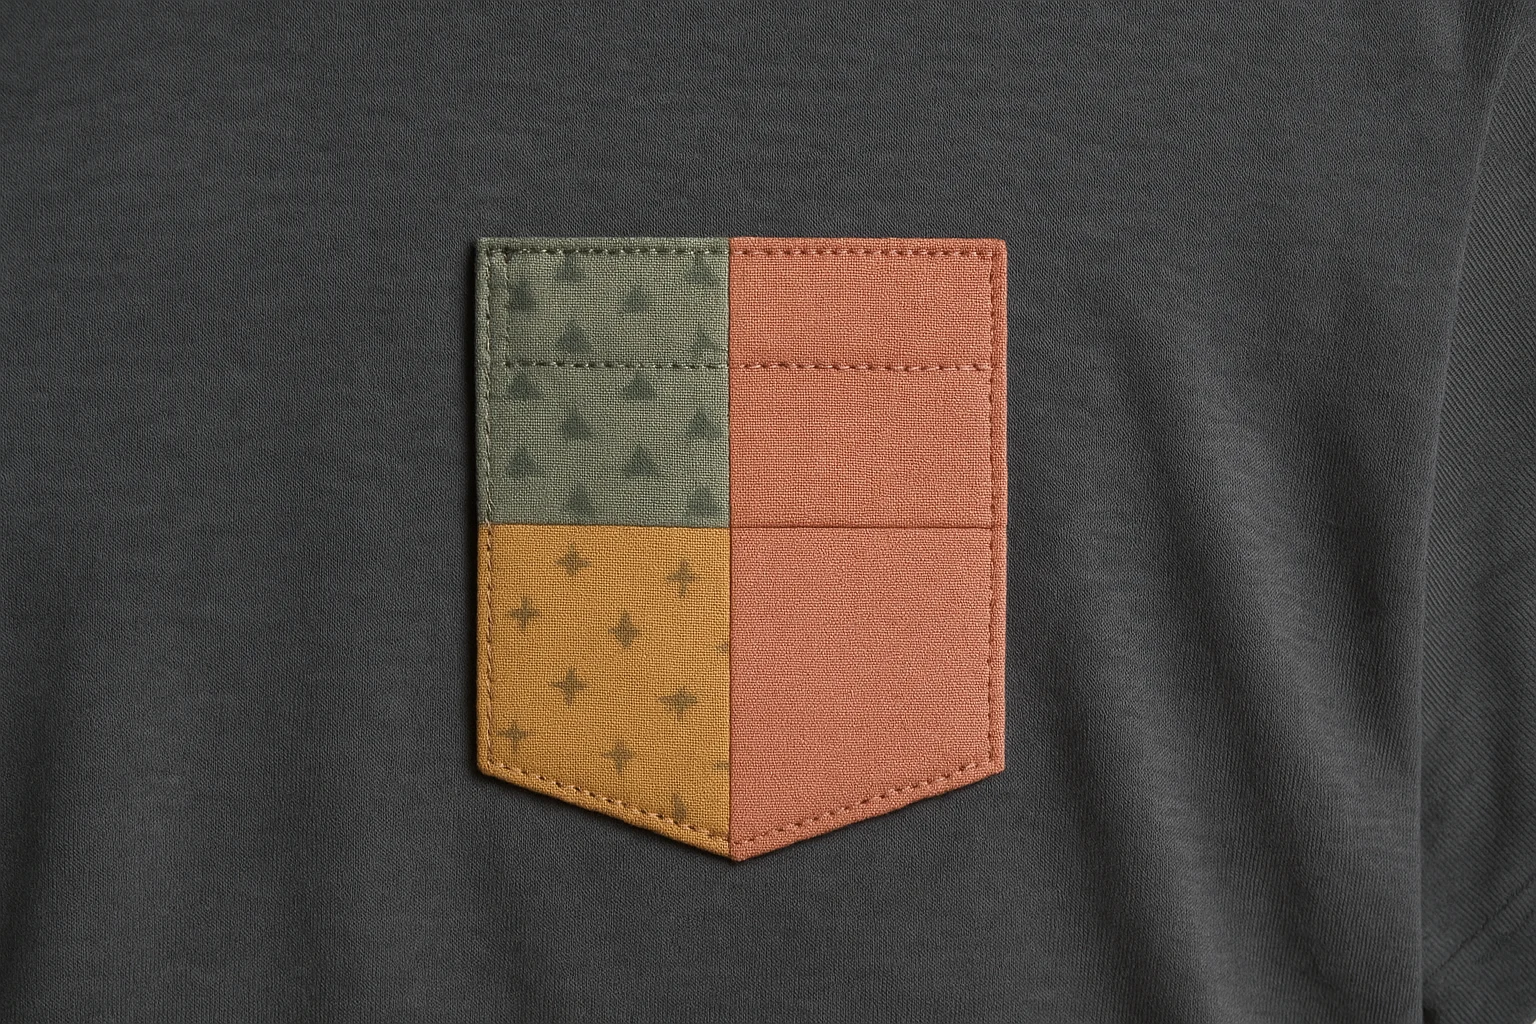
2) Patchwork Pockets & Embellishments
Use scrap shapes to add pockets or appliqués; hand- or machine-stitch. A simple patch can transform a plain garment into a statement piece. Add diy clothes embroidery or diy glitter clothes accents with fabric-safe paint.
3) Neckline & Hem Refinishes
Reshape a neckline (scoop, V, or boat). Finish with a double-fold hem or add a binding for polish.
4) Simple Elastic Waistbands
Create a casing, thread elastic, join ends, and close the opening—instant fit.
Need techniques for hems, zippers, and patch kits? See our clothing repair basics.
Trend-Forward Flips: Major Transformations
If you’re into punk diy clothes, these ideas adapt easily—think patches, safety pins, and strong contrast topstitching.
1) Shirt → Wrap Top
Split the back, hem edges, adjust sleeves/length; wrap panels to tie at the waist.
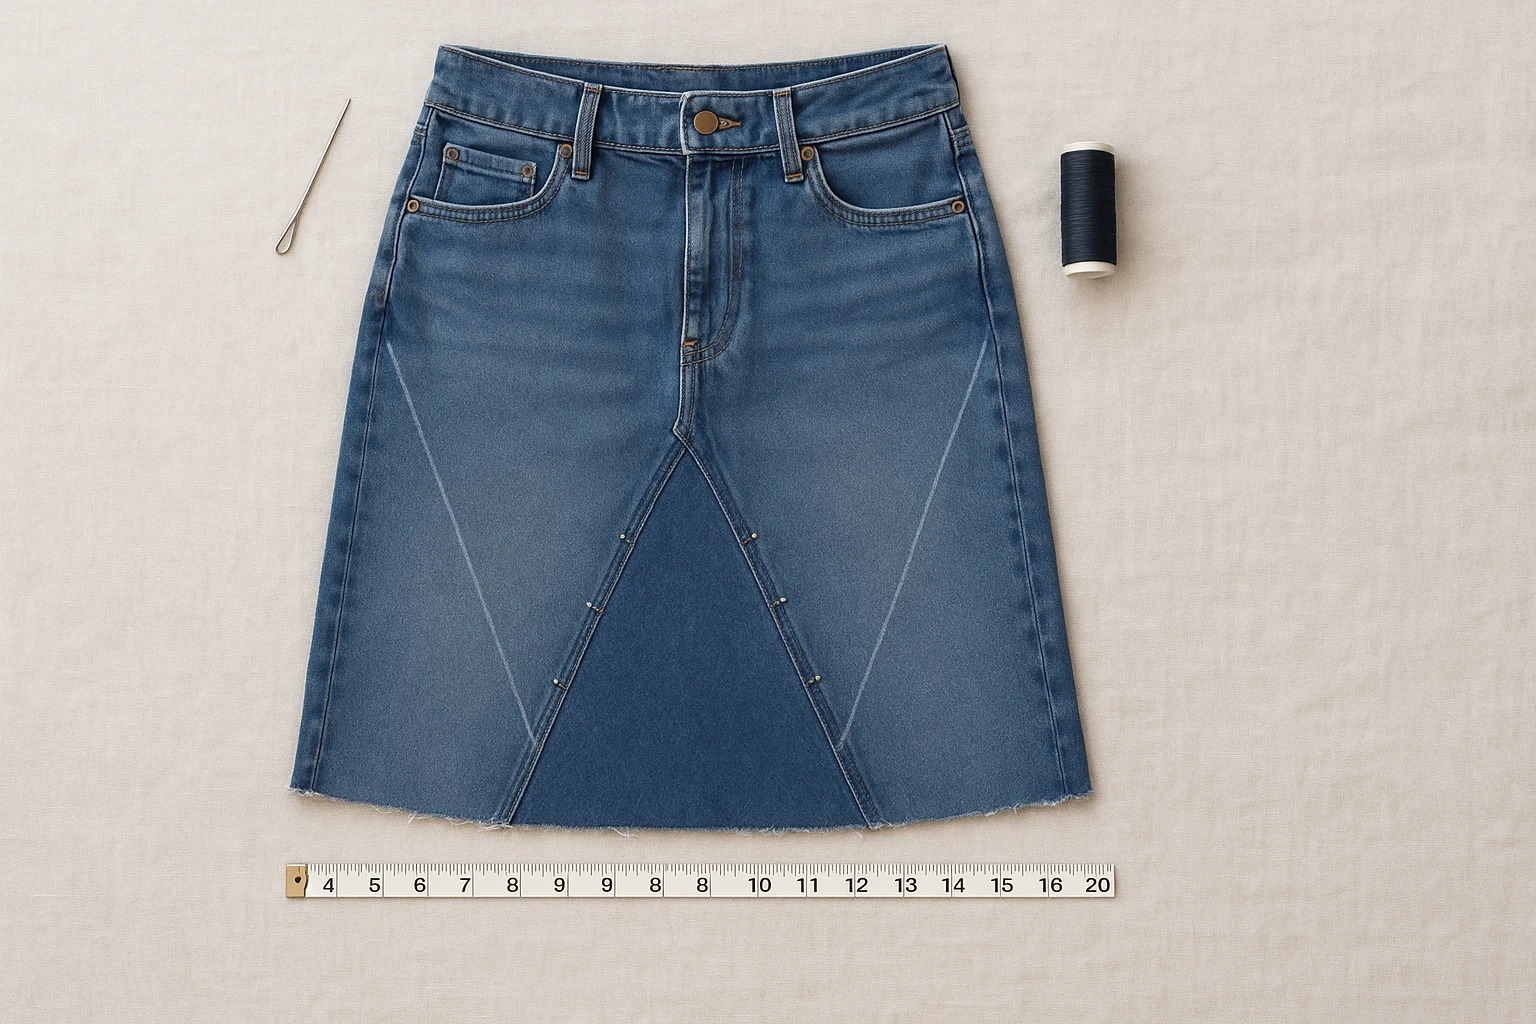
2) Jeans → Skirt
- Cut to length.
- Unpick inner leg seams and crotch ~2.5 cm below the zipper.
- Use leg denim to fill front/back gaps; stitch securely.
- Hem the bottom. Use a sturdy needle and denim thread.
3) Sweater → Vest
Remove sleeves along seam lines; finish edges or leave raw for rustic texture; optional pocket or embroidery.
Care & Laundering: Making Your Upcycles Last
- Mixed fabrics: Follow care for the most delicate component.
- Dye precautions: Wash dyed items separately at first with cold water and color-safe detergent.
- Hand-stitched items: Hand wash or use a mesh bag on gentle.
- Fabric glue: Let cure 24–72 hours before washing; follow product directions.
Pressing & Starch Basics
Light misting with diy clothes starch helps crisp hems and collars—test on a hidden seam first.
Styling Your Upcycled Creations: Old Meets New
- Mix a denim skirt with a classic tee; layer a sweater vest over a blouse.
- Keep accessories simple so your upcycled piece stands out.
- Wear it with confidence—your creativity shows.
- For upcycled clothing for women, pair a denim skirt flip with a crisp tee and low-profile sneakers.
- For upcycled clothing men, try a tee plus sweater-vest combo or a patched denim jacket.
Want a streamlined closet to pair with your upcycles? Build a capsule wardrobe on a budget.
Frequently Asked Questions
Finish with a Pro-Looking Print
Upload a graphic for custom patches or accents—easy for pockets or hems on your refreshed pieces.
Use code MAXSAVE20 for extra savings (per offer).
Ready, Set, Upcycle!
Upcycling old clothing blends creativity, sustainability, and personal style. From a quick crop to a full transformation, every project moves you toward a more mindful wardrobe. For more ideas on how to upcycle old clothes, start with a quick tee or denim refresh. For broader money-saving strategies beyond clothing, browse our frugal living handbook.
This guide shares general educational tips for clothing upcycling. Techniques and results vary by fabric, fit, and tools—always follow product labels and safety directions. For complex tailoring or valuable garments, consider consulting a professional tailor. This is not medical, legal, or professional advice.