

Frugal home furnishing is mostly an order-of-operations problem. Decide what the room must do, measure it, buy the comfort and safety essentials first, and leave the decorative gaps open until you have lived with the space. That sequence saves more than chasing a low sticker price on every item.
Use secondhand furniture when you can inspect its condition, repair sound pieces before replacing them, and buy new when hygiene, warranty, exact fit, or dependable delivery matters. This is frugal living at room scale: spend on what makes the space work, not on making it look “finished” for one photo.
Plan Your Room BudgetThis post contains affiliate links. If you buy through our links, we may earn a commission at no extra cost to you. As an Amazon Associate, I earn from qualifying purchases. Learn more.
Table of Contents
- The frugal furnishing order
- Plan your room furnishing budget
- What to buy used, new, or repair
- Room-by-room priorities
- Thrift store furniture tips
- Repair before replacing
- Make mixed furniture look intentional
- Where to shop without wasting the budget
- Avoid false savings
- Frequently asked questions
- Finish the room, then stop shopping
The Frugal Furnishing Order
A low-cost room can still be an expensive mistake if the sofa blocks a doorway, the dresser tips, the desk hurts to use, or the bargain table needs a van, missing hardware, and three weekends of repair. Start with the room’s job and treat every purchase as part of one system.
- Name the job. Write one sentence: “This room needs to seat four,” “This bedroom needs better sleep and closed storage,” or “This office needs a comfortable eight-hour workstation.”
- Measure the real limits. Record wall lengths, door swings, radiator or vent clearance, stairwells, lifts, and the narrowest doorway on the delivery path.
- Rank the essentials. Buy the item that controls comfort or function first. In most rooms, that is seating, a sleep surface, a table, or a desk-and-chair setup.
- Keep a friction reserve. Delivery, cleaning, replacement hardware, wall anchors, paint, and small repairs belong inside the budget—not in a later “miscellaneous” surprise.
- Live with the gaps. A blank wall is cheaper than art you replace. An empty corner is better than a storage unit that does not solve a real problem.
A room does not need to be complete on move-in day. It needs to be safe, comfortable, and usable. The planner below gives those priorities the first share of the budget; the finished look can arrive one correct piece at a time.
Plan Your Room Furnishing Budget
Choose the room, say whether you are starting from empty or improving what you have, and set your total limit. The planner divides your own budget by priority; it does not estimate live store prices.
Choose a room to build your plan.
Your result will show a suggested allocation that adds up to the budget you set.
Use the allocation as a ceiling, not a shopping target. Spend less when a good used piece appears, and move the difference to delivery, repairs, or the next room.
What to Buy Used, Buy New, or Repair
The best source depends on what can go wrong. I am comfortable buying a visibly solid table with a scratched finish; I would be far more cautious about a stained upholstered item with an unknown history. Use the risk and repairability of the piece—not a blanket “secondhand is always cheaper” rule.
| Category | Usually strongest route | What decides it |
|---|---|---|
| Solid tables, wood chairs, shelving | Used or repair | Stable joints, complete parts, manageable cosmetic damage |
| Dressers and tall storage | Used or new | Drawer function, structure, recalls, and safe anchoring |
| Mattress and sleep surface | Usually new | Comfort, hygiene, warranty, return terms, and known condition |
| Upholstered seating | Case by case | Pest risk, odor, frame condition, cleaning access, and transport |
| Lighting and electrical items | New or clearly verifiable used | Condition of cord, plug, socket, shade clearance, and safety labeling |
| Decorative accents | Use what you own, thrift, or DIY | Low consequence and easy to change later |
“Repair” belongs beside used and new because it often wins. Tightening fasteners, cleaning a finish, replacing a handle, adding shelf pins, or touching up a surface can turn an existing piece into the right piece without restarting the search.
Room-by-Room Priorities
Living room: seating first, surfaces second
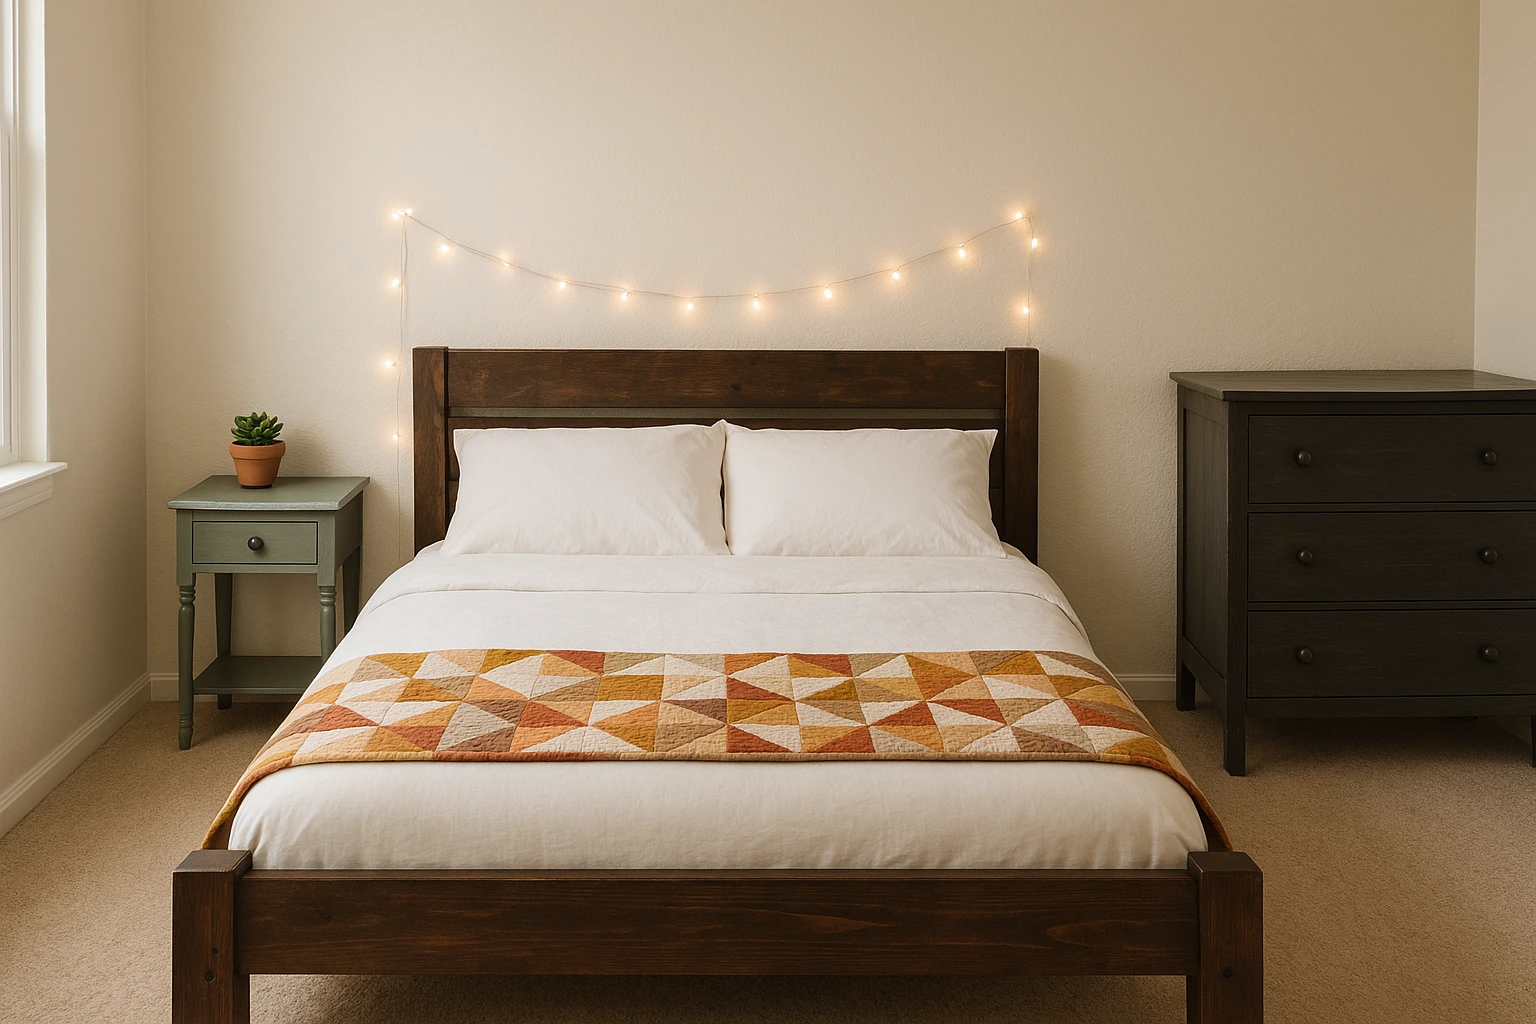
Start with enough comfortable seating for the people who actually use the room. Then add one reachable surface per seating zone and enough light to read or relax. A rug, extra chair, television unit, and decorative storage can wait until the traffic pattern is obvious.
For a used sofa, measure the full delivery route and inspect the frame, cushions, seams, underside, odor, and cleaning label. A low purchase price does not compensate for a piece you cannot safely clean or physically get through the door.
Bedroom: sleep, storage, reachable light
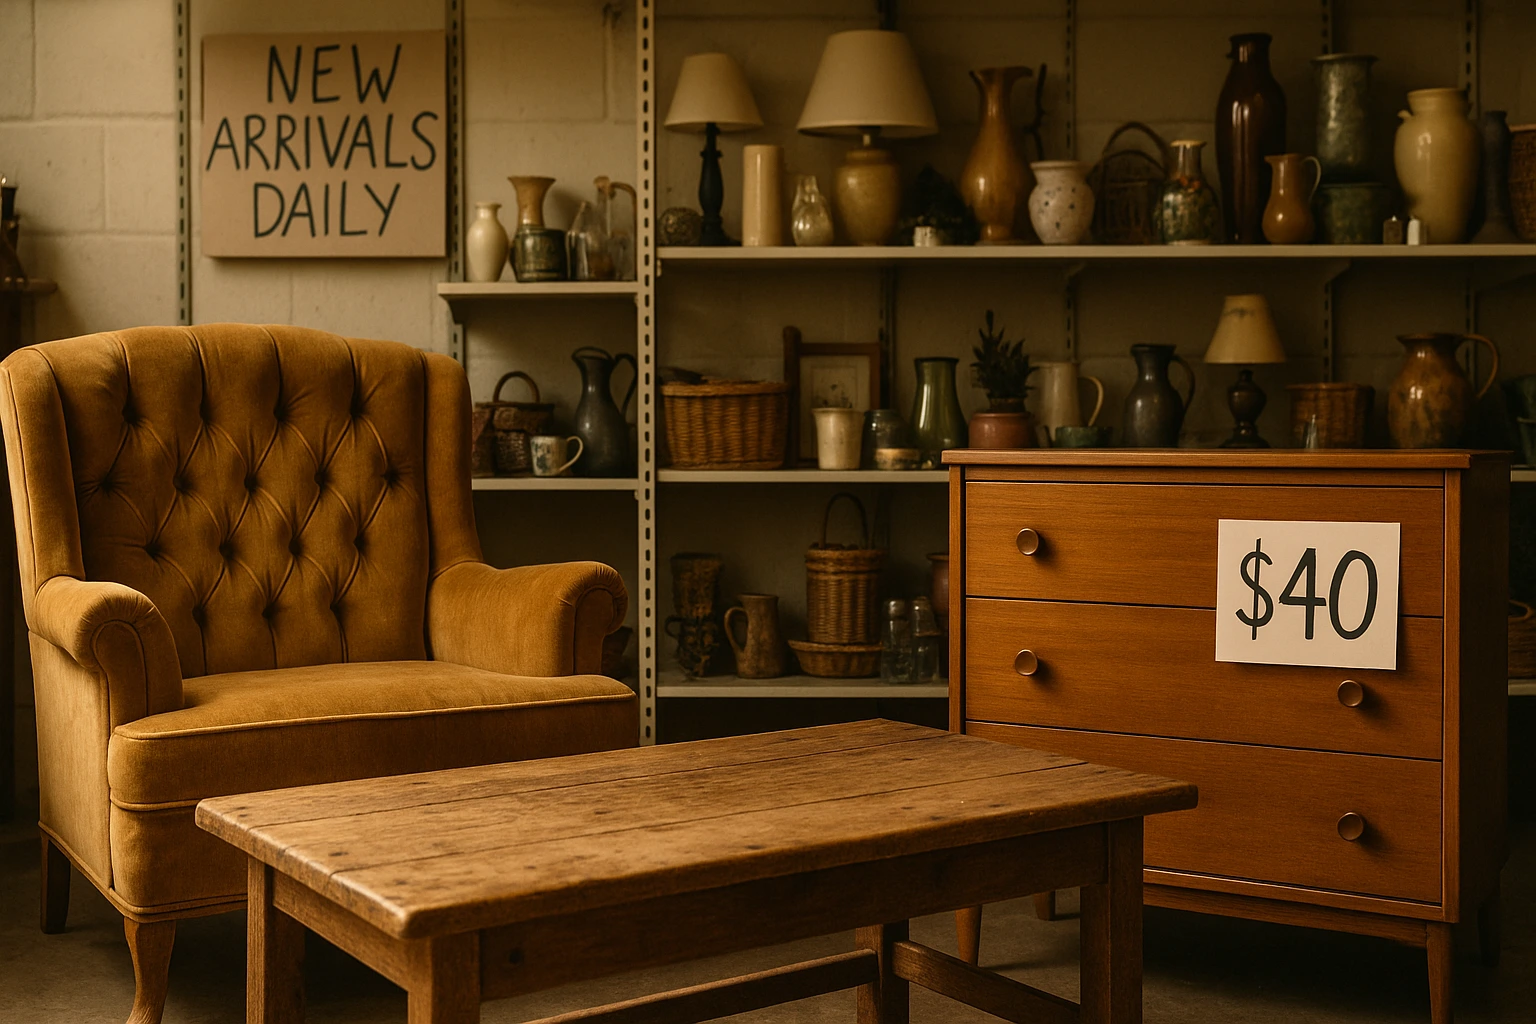
Put the largest share into the sleep setup. A matching bedroom suite is optional; a stable frame, suitable mattress, useful storage, and reachable lighting are not. Two different bedside tables can look deliberate when their heights and lamps relate to each other.
Anchor dressers, bookcases, and other tall storage after placement. The CPSC’s Anchor It guidance recommends securing furniture with drawers, doors, and shelves to help prevent tip-overs.
Dining area: fit the table to the room, not the listing photo
Measure the table and the chair pull-out zone. A cheap table that leaves no walking space is not a bargain. Mixed chairs can work when the seat heights are close and one repeated element—color, wood tone, shape, or upholstery—connects them.
Buy enough everyday seating first. Extra folding chairs, serving furniture, and a full tableware set can wait until you know how often you host and how the room is used.
Home office: protect the body before styling the background
The desk needs to fit the work, but the chair and screen position often decide whether the setup is usable. Spend on support, adjustability, task lighting, and cable control before shelves, plants, or a video-call backdrop.
A plain table can be a better desk than a decorative writing desk if it has the right height, depth, stability, and knee clearance. Add storage only for the materials that need to stay within reach.
Once a room has the pieces it needs, the cheap accents come last — and the DIY home decor ideas hub is where that side lives, room by room.
Thrift Store Furniture Tips: Inspect Before You Transport
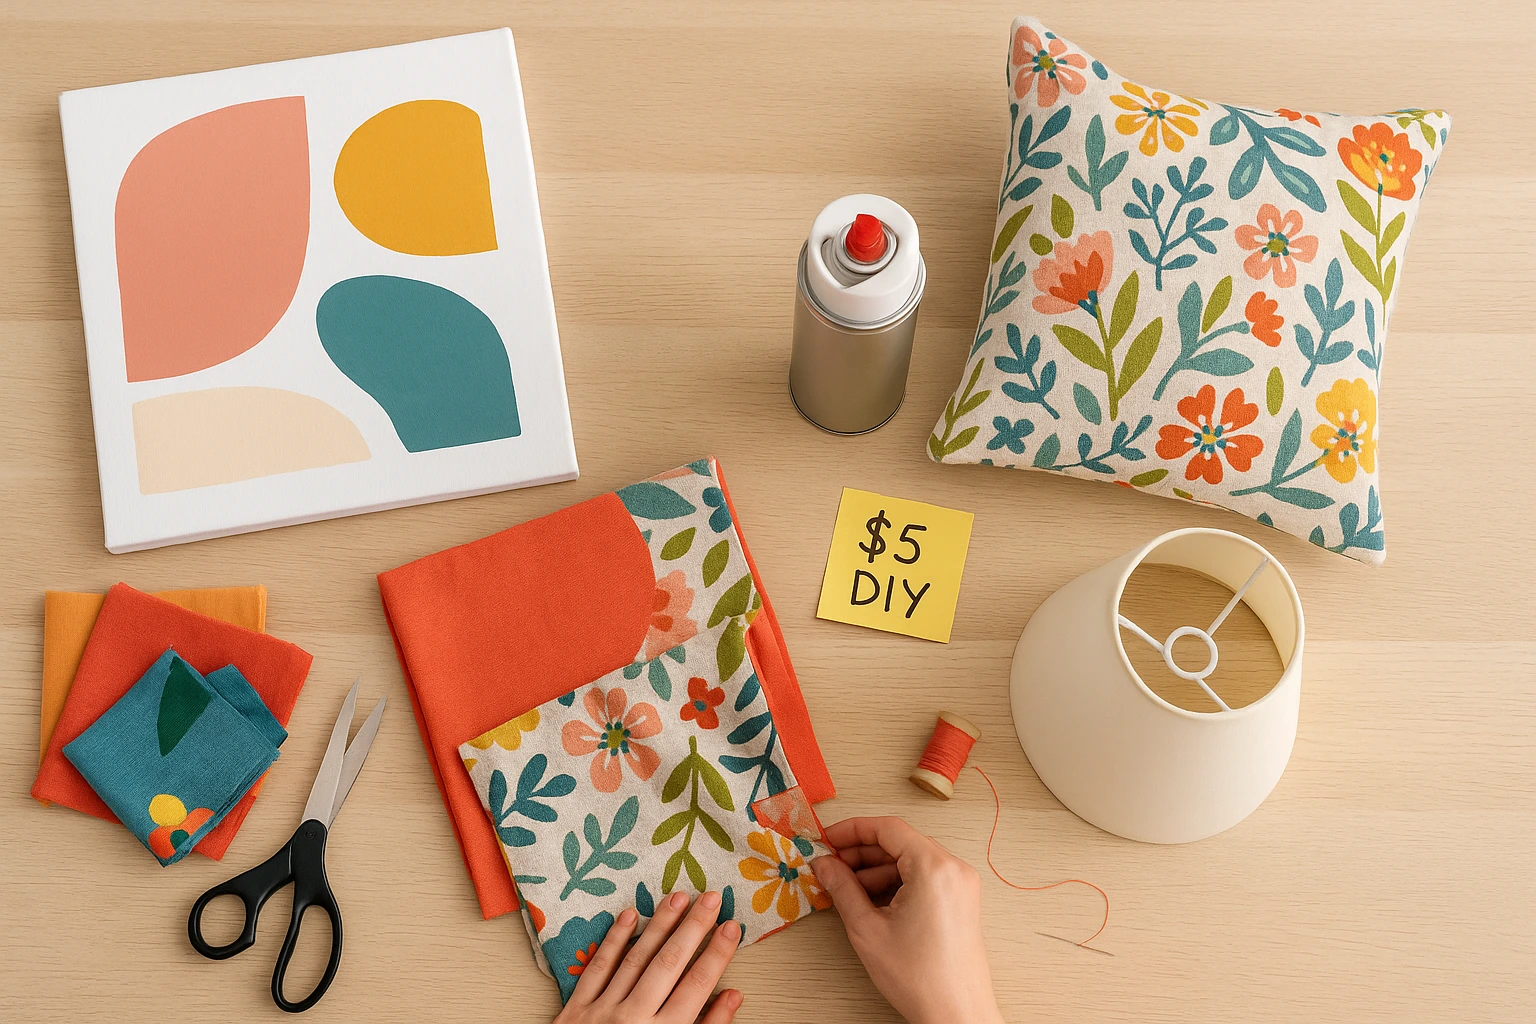
The best thrift store furniture tips are mostly about rejecting bad projects. Inspect in daylight, take a tape measure, and decide what you are willing to clean or repair before the piece creates urgency.
- Rock it gently. Movement at a joint is different from an uneven floor. Loose joinery may be repairable; cracked structural parts may not be worth the risk.
- Open every moving part. Test drawers, doors, hinges, slides, leaves, recliners, and folding mechanisms. Missing specialty hardware can erase the saving.
- Look underneath. The underside often reveals water damage, pest traces, broken supports, rough repairs, or materials hidden by a fresh topcoat.
- Smell before you commit. Smoke, mildew, heavy fragrance, and pet odor can be difficult to remove from porous materials.
- Check for bed bugs. EPA guidance says to inspect secondhand furniture, beds, and couches before bringing them home. Examine seams, tufts, cracks, screw holes, and the underside; skip the item when you cannot inspect it confidently. Read the EPA prevention guidance.
- Plan for older paint. Before sanding or stripping an older painted piece, consider lead risk. Avoid creating uncontrolled dust and follow current EPA lead-safe DIY guidance.
- Price the trip home. Include van hire, fuel, stairs, help, disassembly, and the chance that the piece will not fit through the route.
Once the piece is home, clean it with a method suited to the material rather than the strongest product on the shelf. These frugal cleaning hacks can help with the general low-cost cleaning mindset, but always follow the furniture finish or fabric care instructions.
Repair Before Replacing
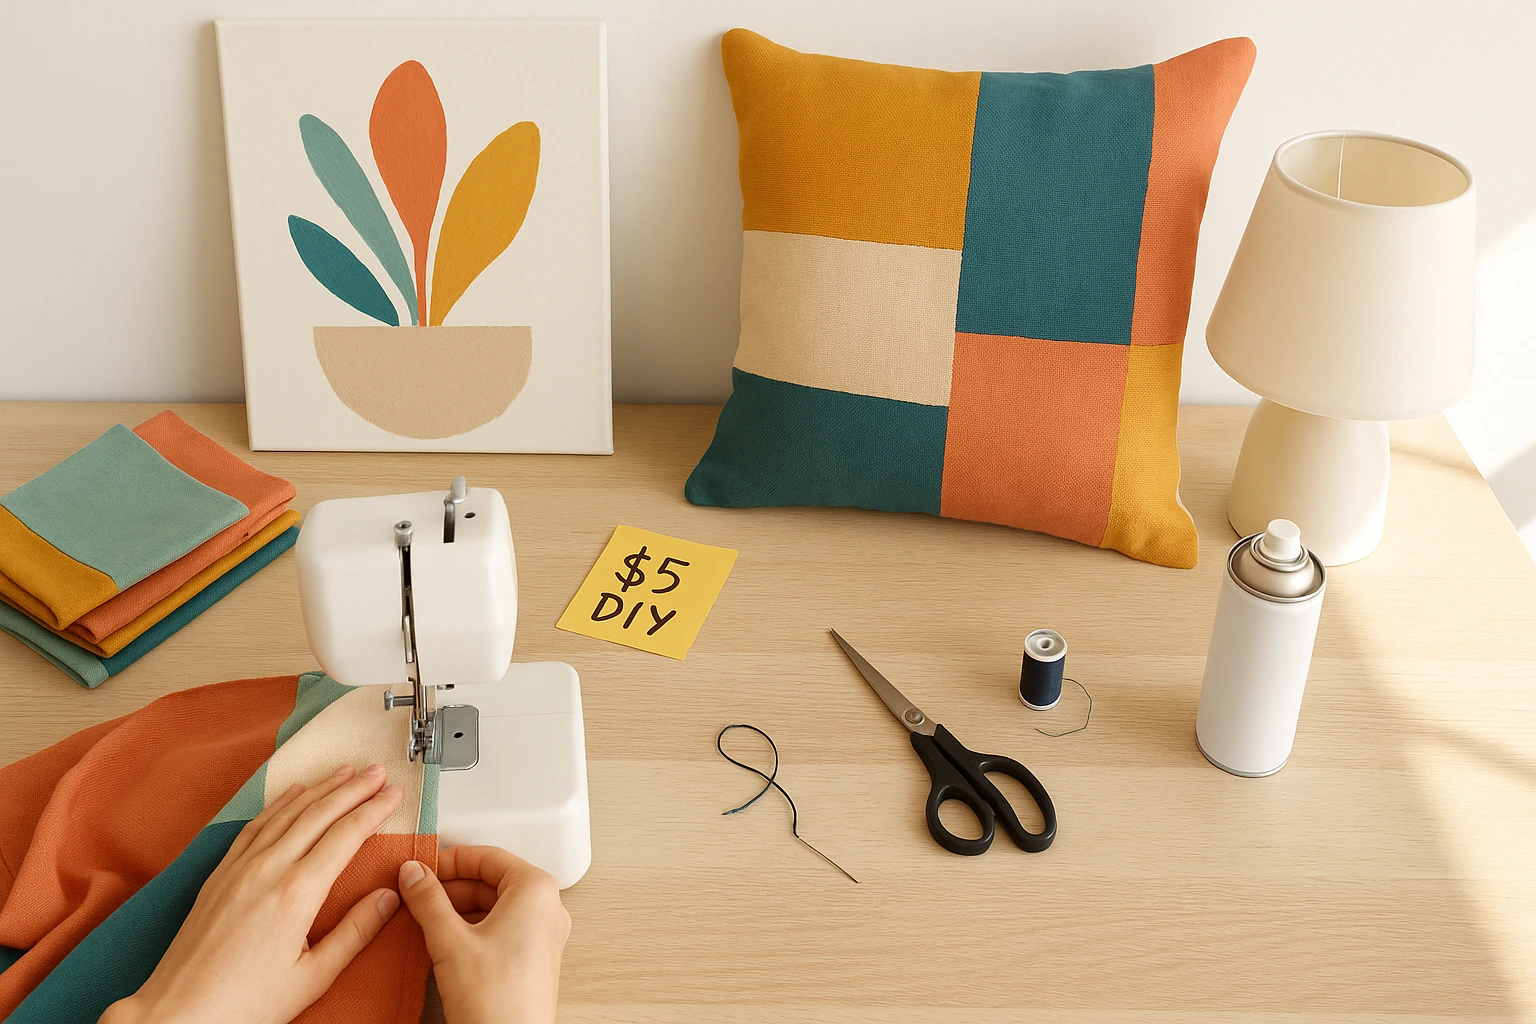
A repair-first pass should start with the least destructive fix. Clean, tighten, level, lubricate, or replace a small part before sanding, painting, or changing the structure.
Level 1: restore function
Tighten accessible fasteners, replace missing shelf pins, add felt pads, correct a dragging drawer, and confirm the piece stands level. These fixes are cheap, reversible, and often enough.
Level 2: update the visible wear
Replace handles, patch a small veneer chip, touch up a compatible finish, re-cover a removable seat pad, or swap a damaged shade. If several new pulls need fresh holes, a Kreg KHI-PULL cabinet hardware jig can keep the spacing consistent. Skip the jig when you are reusing the existing holes or changing only one handle; the tool is useful only when the piece itself is worth keeping.
Dull, scratched, or ring-marked wood is the most common job on that list and the cheapest to solve — but only where a finish still exists to work with. Clean the surface before judging it, because a restorer blends into the finish that is there and cannot do anything through grime, and bare or previously stripped wood needs a different product entirely.
Two things decide whether a touch-up looks right. Work with the grain and wipe the excess off rather than letting it pool. And choose the shade conservatively — going one step lighter than you think is the safer error, because a second pass can deepen the color while nothing lifts it back out. Test a hidden area before you touch the top.
Howard Restor-A-Finish keeps the job at Level 2.
It takes minor scratches, white heat rings, and watermarks back into the finish already on the piece, so there is no stripping and no refinishing to schedule. Nine shades to match your wood. A 16 oz bottle is around $10 and outlasts several pieces, which makes it a supply you own rather than a cost per project.
Level 3: refinish with a safety plan
Sanding, stripping, spraying, and structural repairs create more dust, fumes, and failure points. Confirm the material and finish, work with ventilation and protection suited to the product, and stop when the repair involves uncertain structure, electrical parts, significant mold, pests, or possible lead contamination.
When a piece is sound but tired enough to want more than a touch-up, the DIY furniture makeover guide covers the refinishing side properly.
Make Mixed Furniture Look Intentional
A room does not need a matching set. It needs a few repeated decisions. Choose two or three of these and let them do the connecting:
- One main wood direction: warm, cool, painted, or intentionally mixed with repetition.
- One metal finish: repeat black, brass, chrome, or another finish in at least two places.
- A limited color palette: use the same background neutrals and repeat one or two accent colors.
- Related scale: keep side tables, lamps, and art proportionate to the furniture beside them.
- Breathing space: leave enough empty wall and floor area for the useful pieces to read clearly.
Soft furnishings—rugs, curtains, bedding, cushions, and throws—are useful connectors because they can repeat colors without forcing the furniture itself to match. Reuse inserts, hem panels, or change covers before replacing the whole item.
Where to Shop Without Wasting the Budget
Use different sources for different jobs. Searching every platform for every item creates comparison fatigue and makes impulse buying more likely.
- Local resale listings: best for bulky pieces you can inspect and collect nearby.
- Thrift, charity, and reuse stores: useful for tables, chairs, frames, lamps, mirrors, and small storage when stock can be checked in person.
- Estate and moving sales: useful when several coordinated pieces are available, but inspect condition and transport requirements independently.
- Outlet and clearance floors: useful for new items with cosmetic damage or discontinued finishes; confirm return terms and whether the damage affects function.
- Direct furniture retailers: useful when exact dimensions, replacement parts, delivery, or a warranty matter more than the lowest initial price.
For free or nearly free materials, frames, leftover paint, and project supplies, check the local options in best freebies for frugal living. Treat every free item as a decision, not an automatic yes: it still needs space, transport, cleaning, and a clear job.
Avoid False Savings
Most furnishing waste comes from buying too early, measuring too late, or solving the wrong problem. Run these checks before paying:
- Total-cost check: item + delivery + cleaning + repair materials + missing hardware + disposal of what it replaces.
- Fit check: room dimensions + delivery route + door swing + walking clearance + access to sockets, vents, and storage.
- Use check: who will use it, how often, and what fails if the item is uncomfortable or awkward.
- Condition check: structure first, moving parts second, finish last.
- Pause check: save the listing and wait when the purchase is decorative, duplicates something you own, or depends on an imagined future routine.
Before the next purchase, write the item’s job, maximum total cost, exact dimensions, and one reason to walk away. That four-line note is more useful than a long wish list.
Frequently Asked Questions
Finish the Room, Then Stop Shopping
The goal is not to own the cheapest version of every furniture category. It is to build a room that performs its job without making you buy the same solution twice. Measure first, protect the budget for comfort and safety, inspect secondhand pieces without optimism, and repair what is already sound.
Once the room works, let it be unfinished for a while. The next useful piece will become obvious through daily life; the next decorative purchase usually will not. For the wider home-budget system, return to the Frugal Living Handbook.