
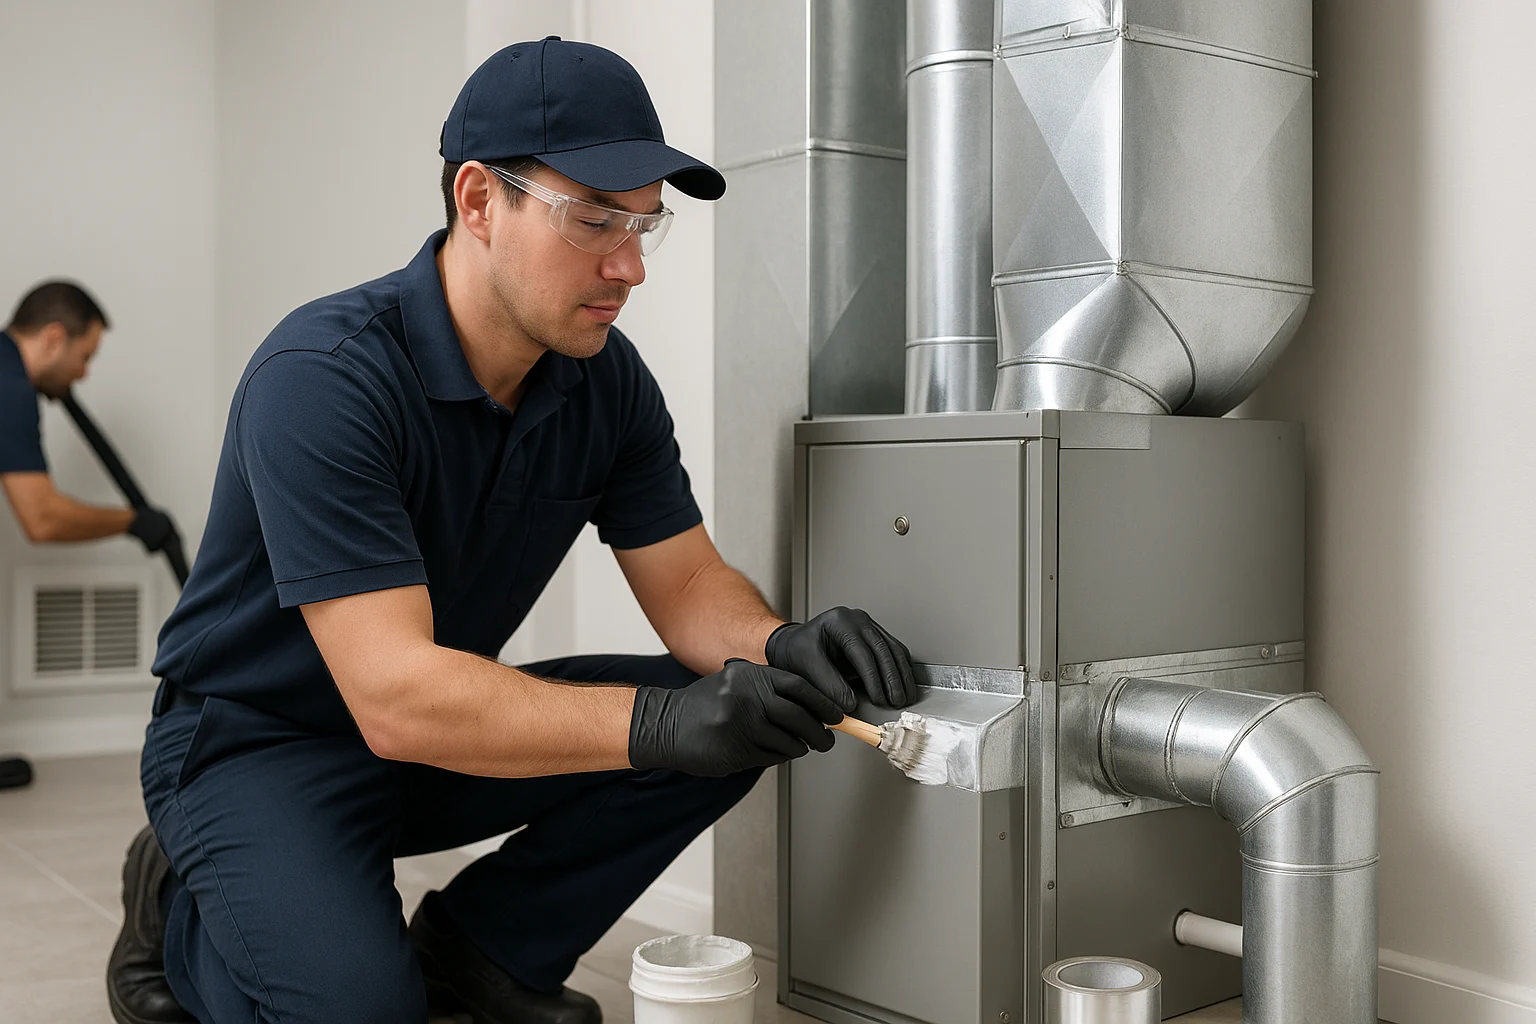
Most people asking how often duct cleaning is needed are not really looking for a date. They are trying to decide whether dust, odors, weak airflow, or rising bills justify paying for a service. The answer is not a calendar—it is evidence. Substantial mold-like growth, vermin, or debris actually entering rooms can justify professional inspection; ordinary dust on a grille usually cannot.
This guide gives you a practical three-way decision: clean when contamination is supported, seal a confirmed accessible leak, or address the filter, moisture source, pests, or HVAC equipment when those are the real cause. By the end, you should know what to inspect, what is safe to do yourself, and when to stop.
This post contains affiliate links. If you buy through our links, we may earn a commission at no extra cost to you. As an Amazon Associate, I earn from qualifying purchases. Learn more.
Table of Contents
- The Short Answer: Clean Only When There’s Evidence
- Start With What You Can Actually See
- Match the Symptom to the Right Fix
- What You Can Safely Clean Yourself
- How to Seal Accessible Duct Leaks
- When to Hire a Professional—and Which One
- What to Do Instead of Routine Duct Cleaning
- Common Duct Cleaning Questions
- Inspect First. Then Choose the Smallest Fix.
The Short Answer: Clean Only When There’s Evidence
Use conditions, not a countdown. The EPA guidance on duct cleaning does not recommend routine cleaning. Consider a professional inspection when you have one of these concrete signs:
- Substantial visible mold-like growth inside hard-surface ducts or on HVAC components.
- Vermin, droppings, nesting material, or insects inside the system.
- Ducts clogged with excessive debris, with particles visibly entering rooms from supply registers.
Dust on a grille, a musty odor, uneven temperatures, weak airflow, high bills, or unexplained symptoms may deserve investigation, but none of them proves that whole-system cleaning is the right fix. Start with the filter, moisture, accessible duct condition, and HVAC equipment.
Before you pay for cleaning, ask to see the contamination, blockage, damage, or leak being used to justify the work. A useful inspection identifies the problem; it does not automatically become a cleaning sale.
The fastest way to decide is to start with the strongest sign you can actually observe. This quick check points you to the most sensible first move; it cannot diagnose hidden ductwork.
Start With What You Can Actually See
Pick the picture that looks most like your situation. You will get the sensible first move—not a sales pitch.
Choose one situation to see the best first move.
If there is moisture, sewage, fire residue, suspect asbestos, or a combustion concern, stop DIY work and use the appropriate professional. Otherwise, use the symptom table below to check the reasoning and avoid paying for the wrong service.
Match the Symptom to the Right Fix
The same complaint can come from contamination, leakage, moisture, a filter problem, or the HVAC equipment itself. Start with the most direct explanation instead of treating every symptom as a cleaning problem.
| What you notice | Best first move | Why |
|---|---|---|
| Ordinary dust on a grille | Clean the grille and inspect the filter | Dust on a return grille is common and does not prove the duct system is heavily contaminated. |
| Particles blowing from supply vents | Arrange an inspection for the source and extent | Visible debris entering rooms is stronger evidence than dust that stays attached to a surface. |
| Visible mold-like growth, droppings, or nesting material | Stop disturbing the area and use the appropriate professional | The source—moisture or pests—must be corrected, and damaged insulation may need replacement rather than cleaning. |
| Musty odor | Look for moisture first | Condensate, plumbing, roof leaks, humidity, wet insulation, and other sources can create odors without visible duct contamination. |
| Weak airflow or uneven rooms | Check the filter, accessible ducts, dampers, and equipment | Disconnected, crushed, blocked, leaking, or poorly balanced ducts are more direct possibilities than ordinary dust. |
| Whistling at an accessible joint or boot | Inspect the seam for an air leak | Escaping air points toward sealing or repair, not cleaning. |
| Water, smoke, fire, or major renovation debris | Inspect the affected system before running it | Damage-related contamination can spread, and the correct response depends on what entered the system and where. |
Duct cleaning has not been shown to prevent health problems, and light dust inside ducts is only one of many possible indoor-air sources. If someone has unusual or unexplained symptoms, discuss them with a health professional rather than assuming the ducts are responsible.
For asthma-sensitive cleaning choices elsewhere in the home, see natural cleaning products for asthmatics. Once the likely cause is clearer, the DIY boundary becomes much easier to set.
What You Can Safely Clean Yourself
This diy ductwork cleaning method is deliberately limited to removable registers and the first short section of dry, intact, bare duct you can see and control. Think of it as surface maintenance—not a substitute for professional whole-system cleaning.
Before You Start
- Shut the system down: Turn the thermostat off and use the identified equipment shutoff or breaker before removing registers. Do not open electrical, refrigerant, burner, heat-exchanger, or combustion compartments.
- Protect yourself: Use eye protection, gloves, and a properly fitted NIOSH-approved N95 or better respirator when disturbing ordinary dust.
- Protect the area: Place a drop cloth below the register and keep screws and parts organized so every grille returns to the same location.
- Stop when the material is uncertain: Do not cut, sand, drill, sweep, or vacuum suspect asbestos-containing material, wet insulation, mold-like growth, pest debris, sewage, or fire residue.
If suspect material is damaged or would be disturbed, leave it alone. EPA recommends using a properly trained and accredited asbestos professional for inspection or sampling. See EPA asbestos guidance.
Four Safe Cleaning Steps
- Remove the register. Photograph its position, remove it carefully, and vacuum loose surface dust.
- Wash the grille if the material allows it. Use mild soap and water, then let the grille dry completely before reinstallation.
- Vacuum only the visible opening. Use a controlled brush attachment around the boot and the first short section of bare, rigid duct. Do not push tools deep into flex duct or fiberglass-lined ductwork.
- Reinstall and check the filter. Secure the dry grille without overtightening, inspect the filter, and follow the equipment and filter manufacturer’s replacement or cleaning instructions.
A DIY duct cleaning kit or longer brush may extend your reach, but reach is not the same as safe access. Do not cut new access holes, soak ductwork, spray disinfectants or fragrances inside it, or use aggressive brushes on flex or lined ducts.
Know What the Job Does Not Include
Leave blower assemblies, coils, heat exchangers, burners, refrigerant components, electrical panels, deep trunk lines, and internally insulated ducts closed. If cleaning is genuinely needed, the service should address the affected HVAC system and the cause of contamination—not only the visible register openings.
If the symptom is escaping air rather than contamination, deeper cleaning will not solve it. Move to sealing only when the leak is visible, reachable, and safe to work around.
How to Seal Accessible Duct Leaks
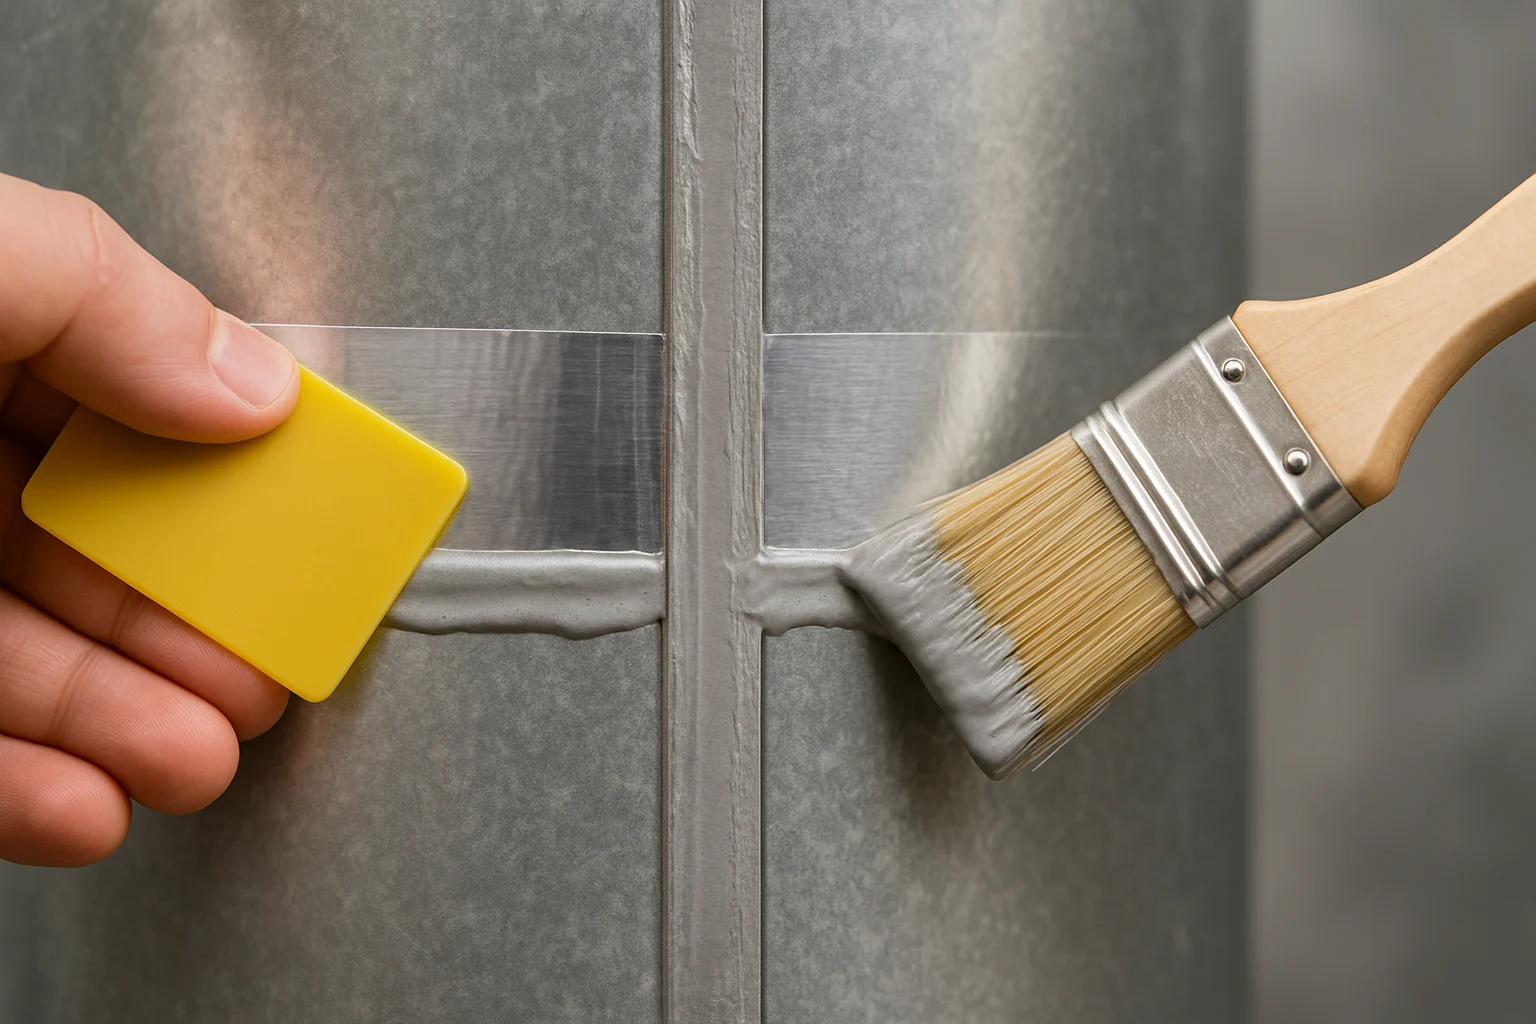
This section is about sealing leaks on the outside of accessible duct joints. It is not about coating contamination or spraying sealant inside dirty ductwork.
ENERGY STAR’s duct-sealing guidance says a typical house can lose roughly 20–30% of the air moving through its duct system because of leaks, holes, and poor connections.
That figure does not predict your savings. It simply explains why a confirmed air leak is a more direct energy problem than ordinary dust attached to a duct surface.
Find Accessible Leaks Without Creating a New Hazard
- Look: Check visible joints, boots, plenums, and connections for gaps, loose metal, damaged seals, torn flex-duct jackets, or disconnected sections.
- Feel: With the system running and the area safe to access, feel around exposed joints for escaping air. Keep clear of moving equipment, hot surfaces, wiring, and combustion appliances.
- Use a tissue: A small tissue held near a seam can reveal airflow without an open flame. Do not use candles, matches, or improvised smoke near HVAC equipment.
How to Seal Air Ducts in Attic Spaces Safely
If you are researching how to seal air ducts in attic spaces, treat the attic itself as part of the job. Heat, ladders, electrical wiring, low clearances, exposed fasteners, and fragile ceilings can make a reachable seam unsafe.
Work only at stable, visible boots, plenums, and joints you can approach without stepping between framing members. For the insulation side of the project, see attic insulation DIY.
Choose Mastic or HVAC Foil Tape for the Joint You Actually Have
Only shop after you confirm one dry, stable, accessible leak. If the joint is hidden, damp, contaminated, disconnected, crushed, or moving, skip both products and use the professional-help section instead.
| Your situation | Exact verified option | Who should skip it | Action |
|---|---|---|---|
| Several irregular or curved, accessible duct joints Duct sealing mastic can follow an uneven joint better than a flat strip of tape. |
Red Devil F-Seal 181 Fiber-Reinforced Duct Sealant, 1 Gallon This is the existing Gear Bank P21 option and the better fit when multiple compatible joints justify a brushable pail. For only one or two small joints, the 10.1 oz F-Seal cartridge is the lower-waste format, but it was temporarily out of stock when checked. |
Skip the gallon for one tiny repair, wet or contaminated surfaces, loose or damaged ductwork, or any material or condition the product label does not approve. | |
| Smooth, clean, stable metal seam A flat metal-backed tape can bridge a narrow seam when the surface is properly prepared. |
Nashua 2.5 in × 60 yd Silver Foil Tape | Skip it when the gap is wide or irregular, the surface is dirty or damp, or the product label does not approve the duct material or conditions. |
The cartridge-versus-pail decision is about waste and job size, not performance hype. Use the smallest compatible package that covers the confirmed repair: wait for the cartridge to return for a very small job, or choose the one-gallon F-Seal pail only when multiple compatible joints justify it. These materials are not diagnostic tools. They do not fix hidden contamination, damaged flex duct, disconnected runs, poor sizing, or an HVAC equipment problem. If you cannot explain exactly which dry, accessible joint you are sealing and why, do not buy a sealing product yet.
Skip ordinary cloth “duct tape” for HVAC sealing. It is not a durable substitute for a compatible mastic or metal-backed HVAC tape.
Apply the Seal Without Hiding a Bigger Problem
- Turn the system off and confirm the joint is dry, intact, compatible, and safely accessible.
- Clean loose dust and oil from the outside of the joint without disturbing suspect material.
- Apply the product exactly as its label directs, including thickness, overlap, temperature, ventilation, protective equipment, and cure time.
- Do not cover service panels, dampers, labels, drain openings, wiring, access points, or combustion-air paths.
- Inspect the repair after curing. Stop if the duct is disconnected, crushed, undersized, badly damaged, or inaccessible.
For cavities and rim joists outside the duct system, see DIY spray foam insulation. Sealing ductwork from the inside with aerosol equipment, repairing hidden runs, and replacing damaged sections are contractor jobs.
A sealed seam will not solve mold, pests, damaged insulation, hidden airflow faults, or combustion concerns. Those problems need the right professional—not simply a more aggressive cleaning.
When to Hire a Professional—and Which One
“Call a pro” is only useful when you call the right kind. Match the professional to the problem instead of hiring a duct cleaner for every symptom.
| Problem | Who to contact first | What the job should solve |
|---|---|---|
| Substantial mold-like growth or wet insulation | A qualified HVAC contractor and, when needed, an appropriate moisture or mold professional | Confirm the affected material, correct the moisture source, and replace insulation that cannot be cleaned effectively. |
| Rodents, insects, droppings, or nesting | A pest-control professional, followed by HVAC repair or cleaning as needed | Remove the infestation, sanitize affected areas, and close entry points before the system returns to normal use. |
| Suspected asbestos-containing material | A properly trained and accredited asbestos professional | Inspect or sample without releasing fibers and define safe repair, enclosure, or removal work. |
| Disconnected, crushed, collapsed, or poorly sized ducts | A qualified HVAC contractor | Restore airflow, support, sizing, insulation, and code-compliant connections. DIY duct replacement is not a sensible beginner shortcut. |
| Fuel-burning equipment, backdrafting, or carbon-monoxide concern | A licensed HVAC or combustion-safety professional | Inspect venting and equipment safely before cleaning or sealing changes airflow around the appliance. |
| Deep contamination in flexible, lined, or inaccessible ducts | A reputable whole-system duct-cleaning provider or HVAC contractor | Show the evidence, clean the full affected system with containment, and correct the source of contamination. |
Before You Agree to Duct Cleaning
- Ask to see the evidence. Request photos or video of the specific contamination, blockage, or damage.
- Get a written scope. It should identify which ducts and HVAC components are included, how debris will be contained, and how the underlying cause will be corrected.
- Ask about chemicals and internal sealants. Do not approve fogging, biocides, fragrances, or encapsulating sealants without a clear reason, compatible duct material, and label-supported use.
- Confirm qualifications and insurance. Match credentials to the actual work—HVAC, pest control, mold, asbestos, or duct cleaning.
- Compare the full price, not the coupon. Be cautious with bargain whole-house offers, surprise add-ons, routine-cleaning claims, or a recommendation made without showing the problem.
If none of those professional triggers is present, the best plan is usually routine filter, moisture, register, and equipment care—not a recurring whole-system cleaning appointment.
What to Do Instead of Routine Duct Cleaning
The best way to reduce duct contamination is to keep water and dirt from entering the system. Use this simple maintenance rhythm instead of booking recurring cleanings:
| When | What to do | What it prevents or reveals |
|---|---|---|
| Monthly during heating or cooling use | Inspect the HVAC filter and follow the equipment and filter manufacturer’s instructions. | A loaded or incorrect filter can restrict airflow and allow more dust to circulate. |
| When dust is visible | Vacuum or wash removable registers and return grilles. | Normal surface dust is handled before it becomes mistaken for a whole-system problem. |
| After leaks, renovations, smoke, or pest activity | Inspect the affected area and accessible ductwork before normal operation. | Damage-related contamination or openings are found before they spread or worsen. |
| Seasonally or after a comfort change | Check accessible joints, flex-duct support, dampers, condensate drainage, and blocked registers. | Leaks, disconnections, moisture, and airflow problems are caught early. |
| According to the equipment manufacturer or when performance changes | Arrange qualified HVAC maintenance for coils, blowers, burners, heat exchangers, refrigerant, and combustion safety. | Equipment problems are serviced directly instead of being mislabeled as dirty ducts. |
Common Duct Cleaning Questions
Inspect First. Then Choose the Smallest Fix.
Before you book a cleaning, take five minutes: inspect the filter and grilles, look for moisture or pest evidence, and photograph any visible debris, damage, or leaking seam. Then choose the smallest response that matches what you found—surface cleaning, accessible sealing, HVAC service, or the appropriate specialist.
If you find only ordinary surface dust, clean it and stop there. If you confirm an accessible leak, use the sealing steps above. If you find contamination or a safety concern, ask the professional to show the evidence and correct the source—not just sell a cleaning.
For a larger efficiency project, use our energy efficient home improvement credits guide before assuming the work qualifies for an incentive.
This guide provides general HVAC and home-maintenance information. It is not professional HVAC, safety, medical, tax, or legal advice. Work safely, follow product instructions and local codes, and consult a qualified professional for mold, asbestos, pests, gas or fuel-burning appliances, damaged or inaccessible ducts, or conditions beyond basic surface-level DIY.