
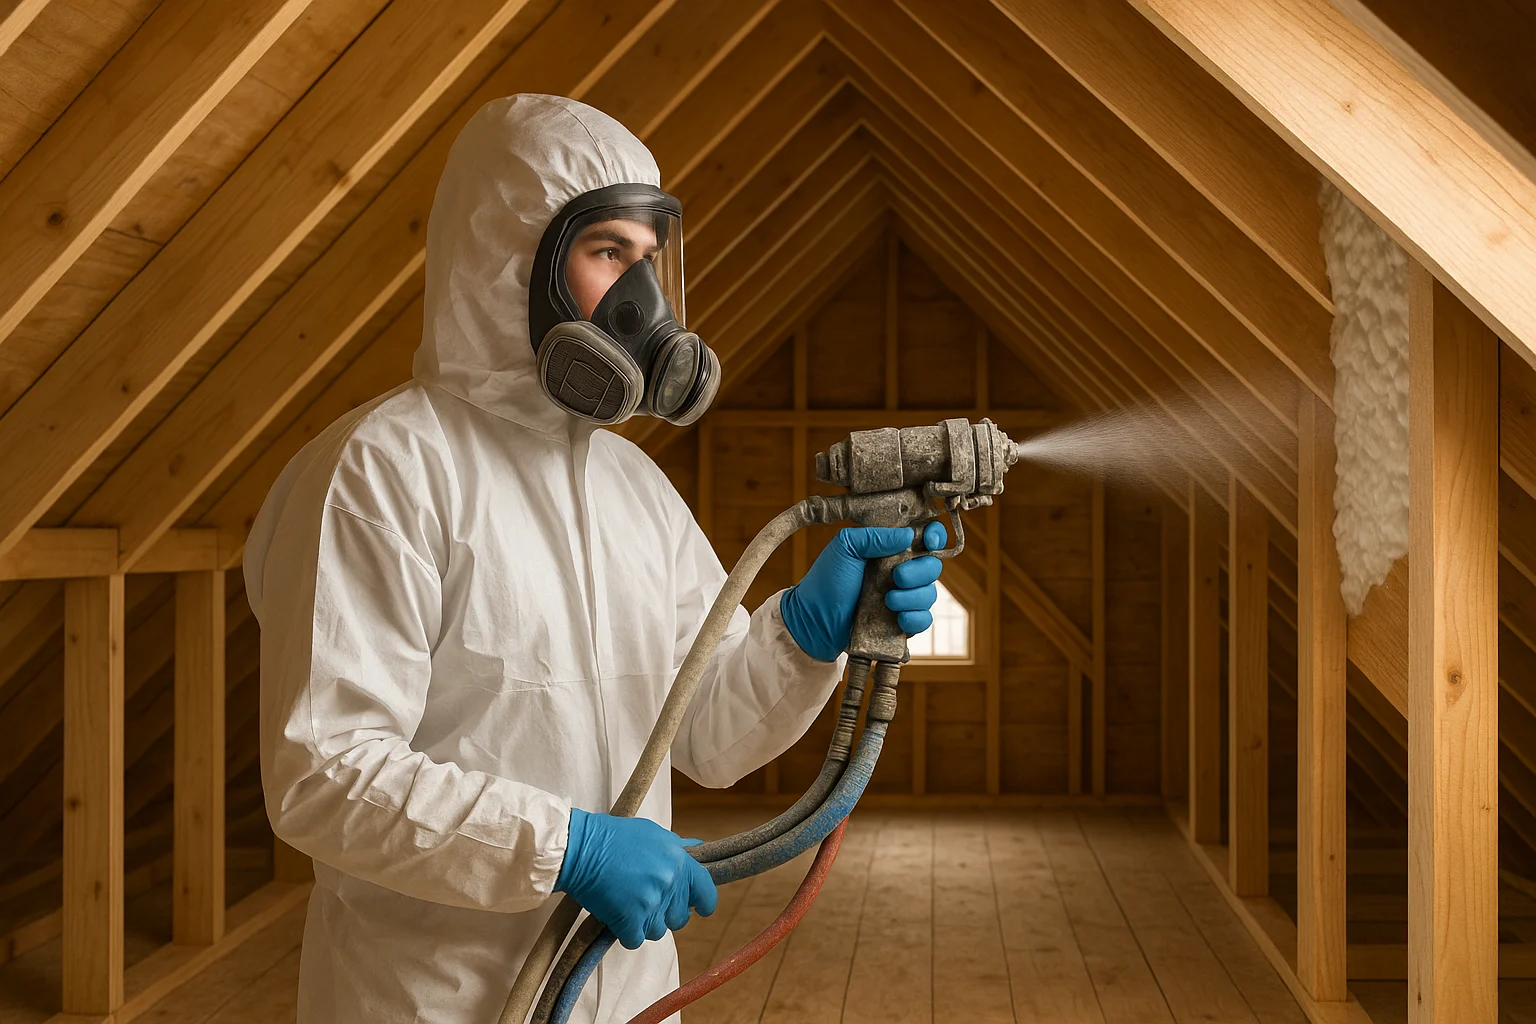
DIY insulation spray foam can stop a draft quickly, but the safest projects are usually small, visible, and boring. A one-component can used in a dry gap is a very different job from spraying a two-component kit across joist bays, a crawl space, a roof deck, or a closed wall. The difference is scope.
This guide helps you identify which job you actually have, choose the right product category, estimate the full cost, and know when to stop. Start with the scope checker, then use the small-gap steps or the two-component decision checklist. For the bigger home-energy picture—including rebates and credits—see our energy efficient home improvement credits guide.
This post contains affiliate links. If you buy through our links, we may earn a commission at no extra cost to you. As an Amazon Associate, I earn from qualifying purchases. Learn more.
Table of Contents
- Can You DIY This Spray Foam Job?
- Choose the Right Spray Foam Product
- Safety and Site Prep: Decide Before You Spray
- Where Spray Foam Fits—and Where It Does Not
- How to Apply Canned Spray Foam in Small Gaps
- Should You Buy a Two-Component Spray Foam Kit?
- DIY Spray Foam Cost: Estimate the Whole Job
- Common Mistakes That Cause Waste or Rework
- After Spray Foam Cures: Inspection and Problems
- Frequently Asked Questions
- Your Next Step: Choose the Smallest Safe Scope
Quick answer: A labeled one-component can can be reasonable for a dry, visible, approved small gap. A two-component kit is a different class of project. Roof decks, closed walls, multiple bays, active moisture, unknown clearances, or occupied spaces should be reviewed before you buy material.
Can You DIY This Spray Foam Job?
Use this 30-second checker to choose the safest next step for the job you can actually see. It sorts the project into a likely small-gap repair, a preparation gap, or a project that needs assembly review. It does not choose foam type or thickness and does not replace the product label, SDS, local code, or an on-site assessment.
1. What are you trying to seal?
Choose the closest description of the area, not the result you hope to get.
2. What can you verify around the area?
Active water, heat-clearance and electrical conditions must be resolved before product selection.
3. Can you control who is exposed during the work?
Think about access, outdoor ventilation, isolation from living space, and keeping other people and pets out for as long as the exact product requires.
Choose the Right Spray Foam Product
Whatever result you received, the next decision is product category—not open cell versus closed cell. First separate a small-gap sealant from a larger two-component system, and keep “no foam yet” available when the site conditions are unresolved.
One-component cans: small-gap air sealing
Canned polyurethane foam is made for limited gaps and cracks that match the label’s size, substrate, temperature, clearance, and exposure limits. It can be useful around approved service penetrations and other visible leaks, but it is not a substitute for cavity insulation or a roof-deck system. Window and door frames need a product specifically labeled for that use so expansion does not distort the frame.
Two-component kits: insulation and air sealing across an area
A do it yourself spray foam insulation kit usually means a low-pressure two-component system that mixes chemicals at the applicator. Retailers may also call it a DIY spray insulation kit or a spray insulation DIY kit.
The word “DIY” describes the package, not the difficulty of the installation. The job still depends on substrate condition, mix quality, temperature, lift limits, ventilation, respiratory protection, cure, re-entry, and the surrounding wall, roof, or floor design.
Open-cell vs. closed-cell: a design choice, not the first choice
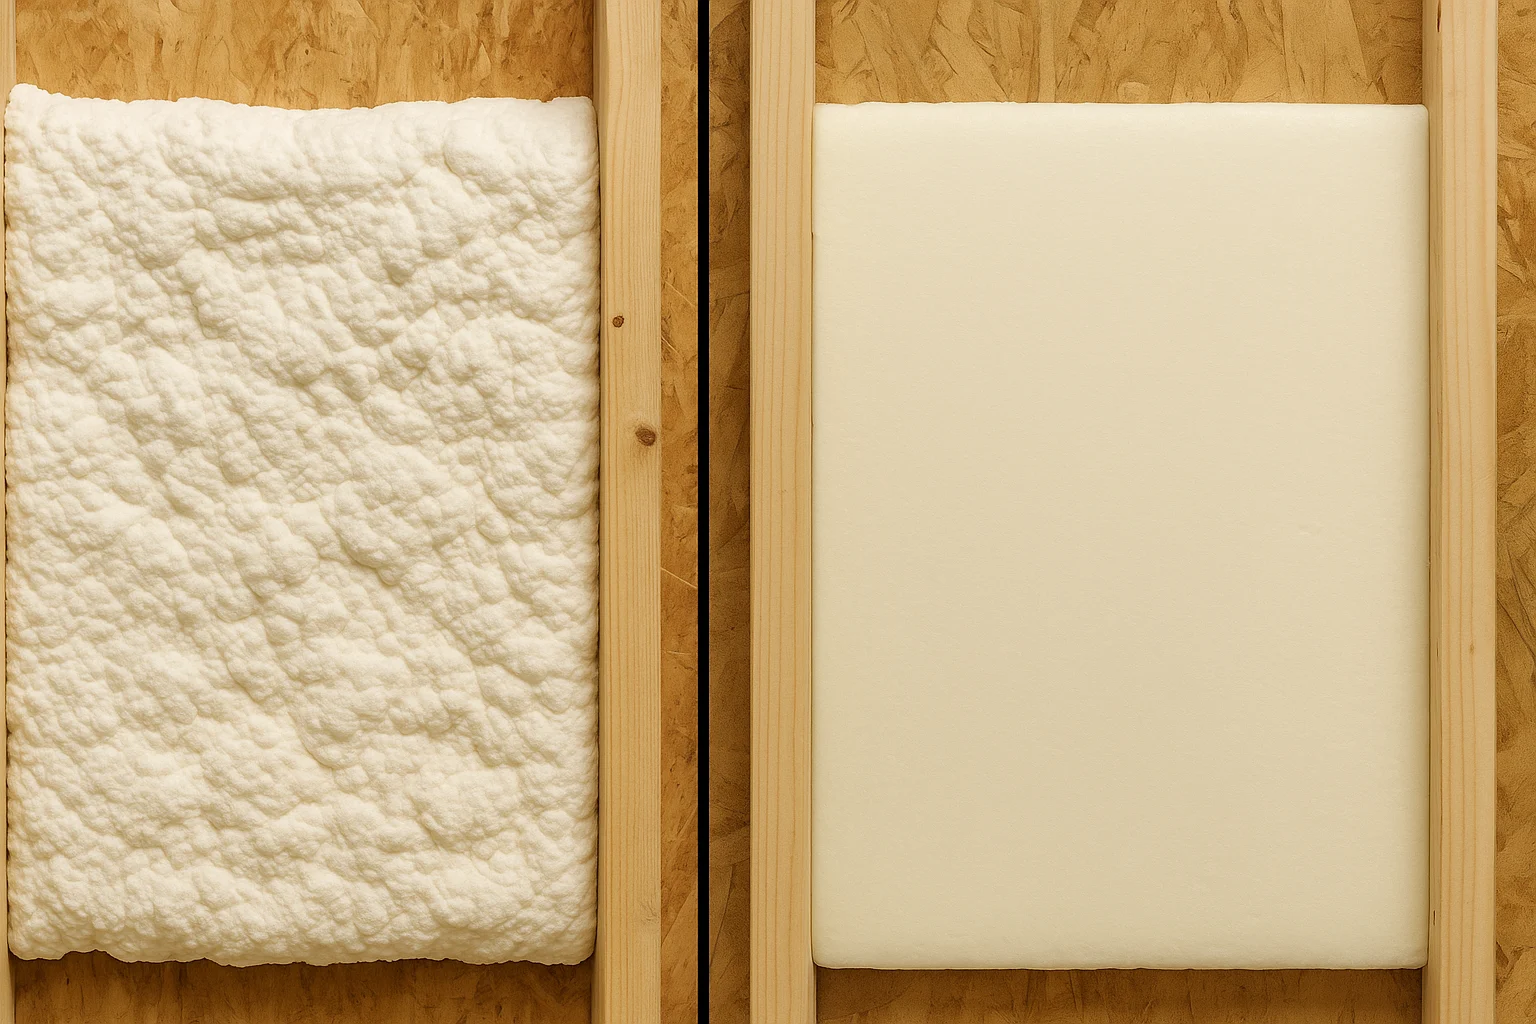
Open-cell and closed-cell products can both insulate and air-seal at tested thicknesses, but they are not interchangeable. Typical values vary by formulation, so use the product data for design rather than treating a generic number as a specification.
| Decision point | Open-cell foam | Closed-cell foam |
|---|---|---|
| Density and feel | Lower-density and softer. | Higher-density and more rigid. |
| Typical R-value per inch | Often about R-3.6 to R-4.5. | Often about R-5.8 to R-6.9. |
| Vapor behavior | More vapor-permeable; some assemblies need a separate vapor-control layer. | Less vapor-permeable at sufficient thickness, but the product and assembly still control the result. |
| Space and thickness | Usually needs more thickness for the same nominal R-value. | Can deliver more R-value where cavity depth is limited. |
| Best decision rule | Choose from the climate, drying direction, roof or wall design, product evaluation, target R-value, fire protection, and installer or application limits—not from a simple “dry versus damp” shortcut. | |
For current industry ranges and terminology, see the Spray Polyurethane Foam Alliance FAQ. Treat those ranges as background; the exact product data remains the design source.
Safety and Site Prep: Decide Before You Spray
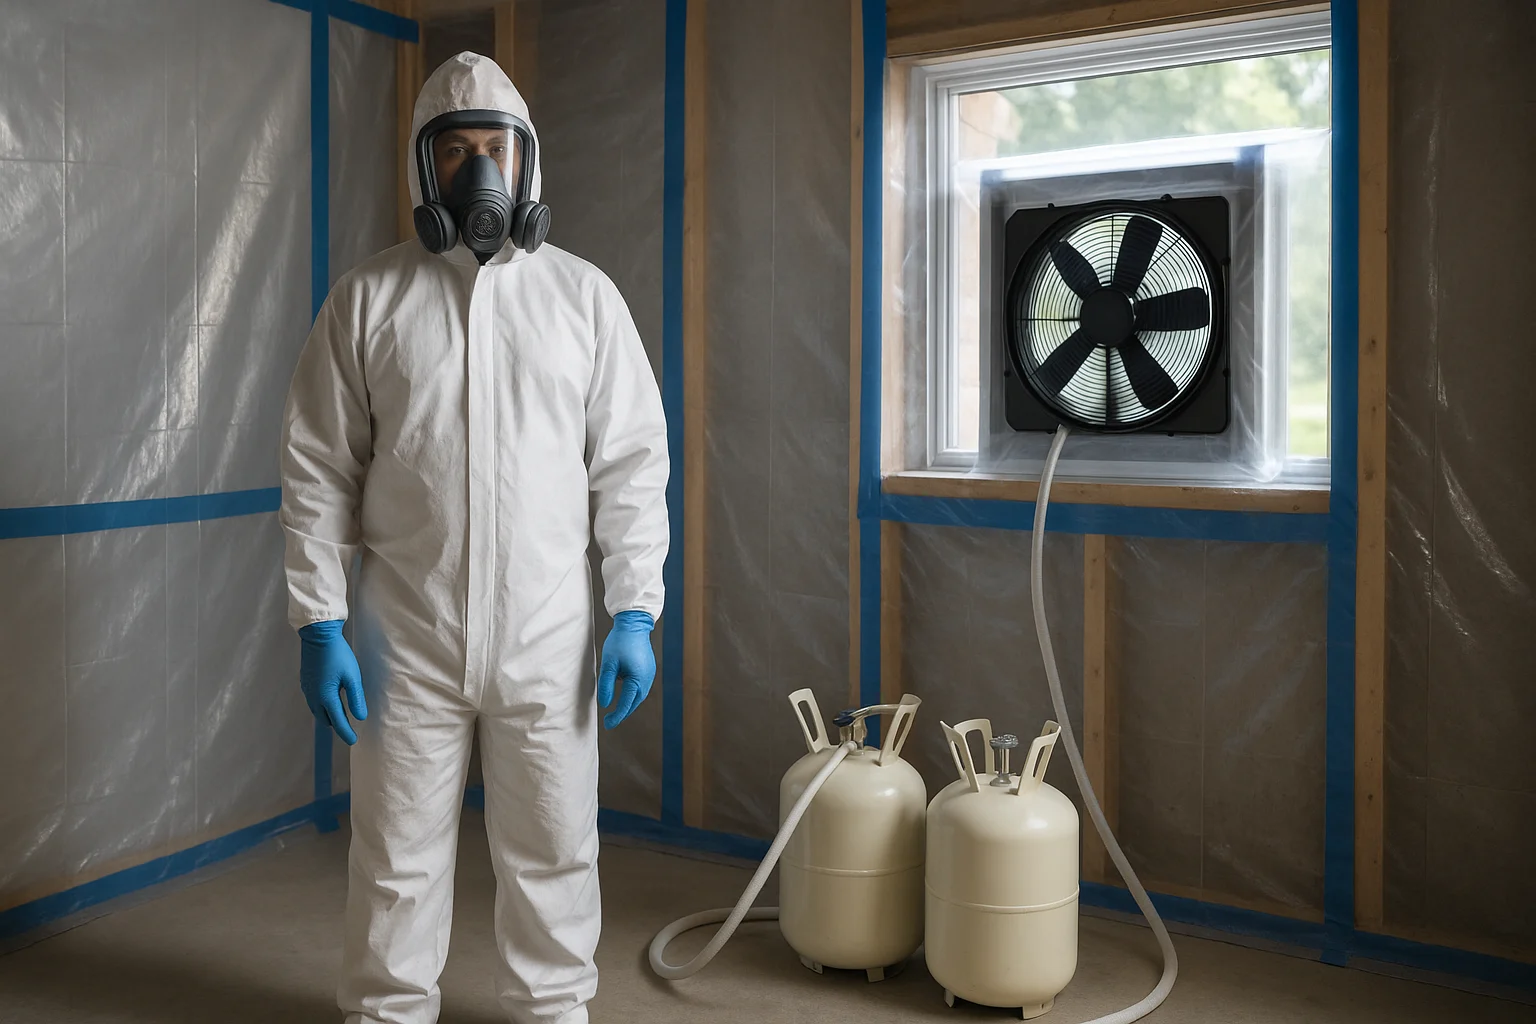
Once you know the product category, decide whether you can control the site. Spray polyurethane products can expose the user to isocyanates and other chemicals before cure, and the risk changes with the product, amount, application method, and ventilation. A dust mask is not a substitute for the respiratory protection specified by the Safety Data Sheet (SDS), and a generic online PPE list should not override the manufacturer’s written requirements.
Before opening the product
- Read the complete label, instructions, and current SDS.
- Confirm the substrate is dry, clean, sound, visible, and within the stated temperature range.
- Identify flues, chimneys, recessed fixtures, electrical boxes, wiring, drains, vents, and inspection points that require clearance or access.
- Set up the required PPE, isolation, exhaust, cleanup, and re-entry plan before anyone starts spraying.
PPE, ventilation, and re-entry
Prevent skin and eye contact with the gloves, clothing, and eye or face protection specified by the SDS. Indoor two-component spraying may require engineering controls and supplied-air respiratory protection; do not improvise around that requirement. OSHA identifies isocyanates as respiratory and skin hazards and a cause of work-related asthma; see OSHA’s isocyanate guidance.
Keep occupants and pets out of the application area, prevent contaminated air from entering the HVAC system, and exhaust outdoors away from doors, windows, and air intakes. There is no universal re-entry time. EPA advises using the manufacturer’s guidance for the specific product and scenario and waiting until the foam has cured and the area has been adequately ventilated and cleaned; see EPA’s re-entry guidance.
Fire protection, heat, electricity, and moisture
Foam does not erase a building problem. Repair active water and damaged materials first. Keep foam out of electrical boxes and away from hot flues, chimneys, fixtures, and other clearance zones unless a listed system specifically permits the application. Exposed foam plastic may require an approved thermal or ignition barrier under the adopted code and product evaluation report.
Stop immediately if the mix looks wrong, the foam stays soft or sticky, the spray pattern changes unexpectedly, ventilation fails, or anyone develops irritation, dizziness, chest tightness, or breathing difficulty. Leave the area and follow the SDS emergency instructions.
Where Spray Foam Fits—and Where It Does Not
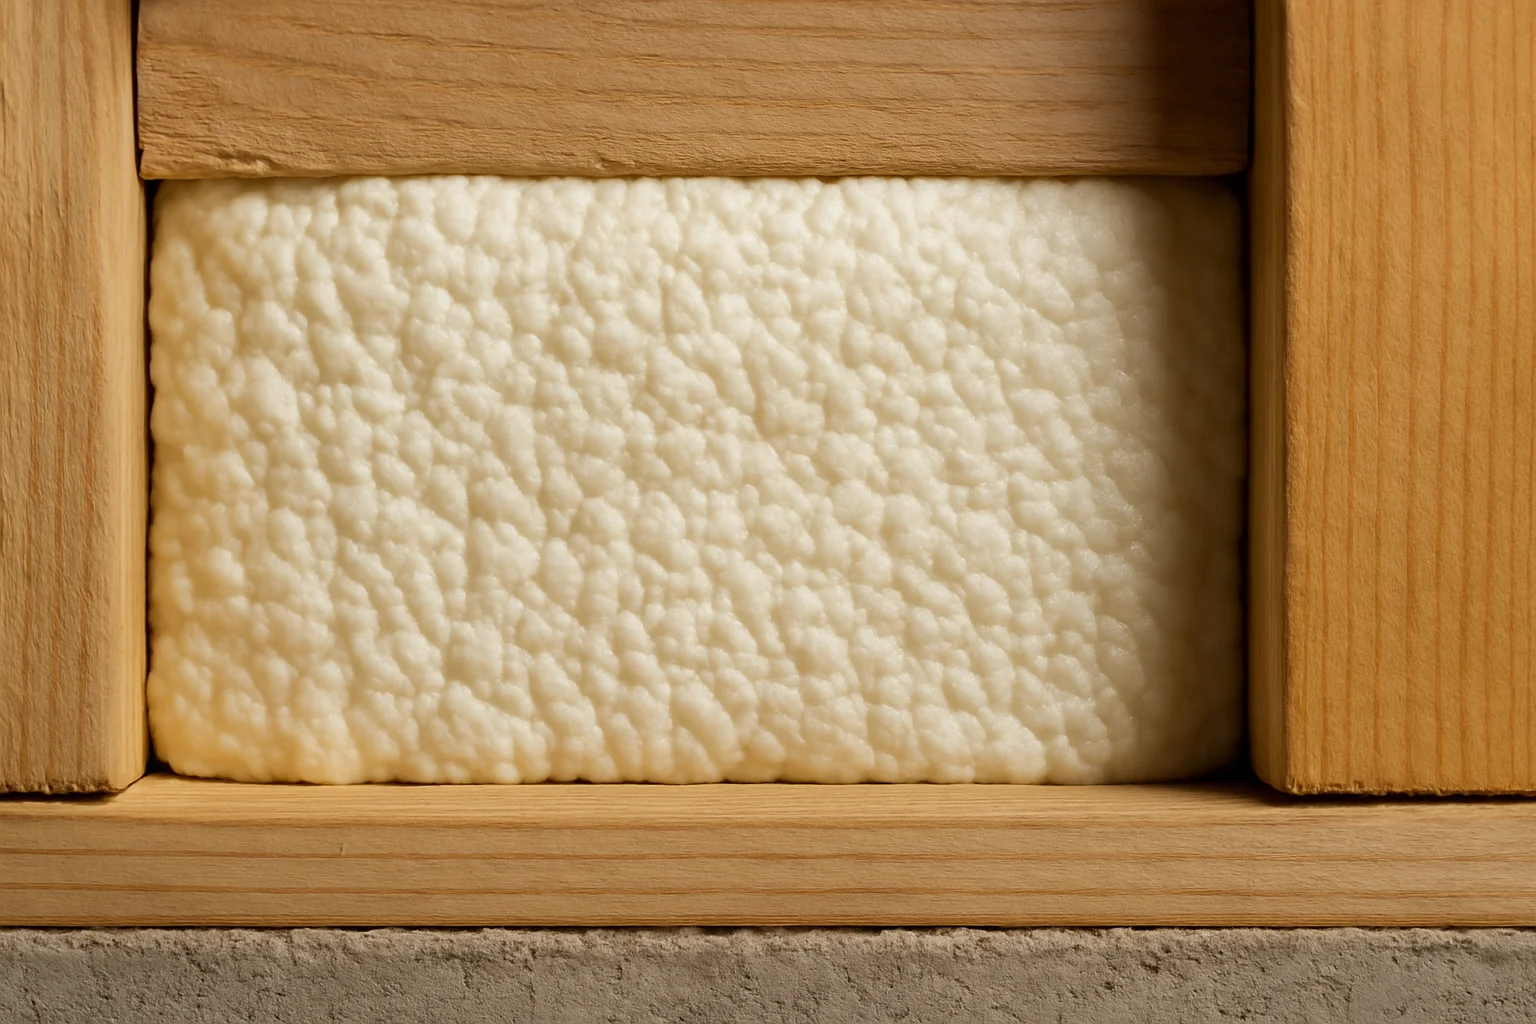
A product can be appropriate in general and still be wrong for a particular location. Use the area-specific guidance below to decide whether foam belongs there—and what has to be fixed first.
Small, accessible gaps
This is the most realistic DIY use. Good candidates are dry, visible gaps that match the product’s approved size, substrate, temperature, clearance, and exposure limits. Examples may include selected plumbing or cable penetrations and cracks at accessible framing joints. Use an approved low-expansion product around window and door frames, approved duct-sealing materials at metal duct joints, and sheet metal plus suitable high-temperature sealant at combustion flues where required.
Small-gap option: Great Stuff Smart Dispenser Gaps & Cracks Foam.
Consider it for one dry, visible gap up to 1 inch when the current label approves the surface, temperature, location, and clearances.
Skip it when: the cavity is hidden or wet; the job covers a roof deck, wall, or crawl space; or the gap is near a hot flue or electrical box. This is a one-component gap sealant—not cavity insulation, an approved duct sealant, or a high-temperature flue seal. Read the manufacturer’s product details, current label, and SDS before use.
Working around a window or door rough opening? Use a low-pressure formula made for that job rather than general gaps-and-cracks foam. Loctite Tite Foam Window & Door is designed for gaps around jambs and is formulated to reduce the risk of bowing or warping frames. If that matches your project, view the Loctite Window & Door option on Amazon. Confirm the current label, gap size, materials, temperature range, and clearances before use.
Skip this option when: the opening is not a window or door jamb, the surrounding materials are wet or damaged, the gap is near heat or flame, or the job requires fire-stopping or a larger insulation assembly. Review the manufacturer’s technical data sheet and current SDS before use.
Rim joists and other small open bays
An exposed rim joist can be a useful air-sealing target when the wood is dry, all wiring and clearances are visible, the moisture strategy is understood, and the required protective covering is practical. The job stops being simple when the area is extensive, partly hidden, wet, near combustion equipment, or tied to a vented-versus-unvented crawl-space decision.
Attics and roof decks
In a vented attic, the practical DIY job is usually air-sealing approved penetrations at the attic floor before adding the main insulation layer. Do not block soffit or ridge ventilation, and keep required clearances around flues and fixtures. See the attic insulation DIY guide for the full attic workflow.
Spraying the underside of a roof deck creates an unvented or conditioned attic assembly. That choice affects moisture, roof drying, HVAC and combustion equipment, required R-value, product approval, and fire protection. Treat it as a designed installation, not an extension of a canned-foam project.
Crawl spaces and basement walls
Fix bulk water, drainage, plumbing leaks, and ground moisture before insulating. Spray foam can be one layer in a crawl-space or foundation-wall system, but it does not replace a ground vapor retarder, exterior water management, or a climate-appropriate wall design. Our DIY basement waterproofing guide covers the moisture work that should come first.
Existing walls
Spray foam in an existing wall is not a generic drill-and-fill project. Closed cavities hide wiring, plumbing, fire blocks, moisture damage, and voids, and the wrong product or injection method can create pressure or drying problems. Use a system evaluated for the assembly and have the cavity assessed before installation.
Stop Conditions: Do Not Spray Yet
- Active water, wet or damaged materials, mold, rot, or an unexplained odor is present.
- A flue, chimney, recessed fixture, electrical box, energized equipment, drain, vent, or required inspection area is involved.
- The substrate, cavity, clearance, or drying path cannot be seen or verified.
- The area cannot be isolated and ventilated exactly as the product requires.
- The project is a roof deck, closed wall, large occupied area, or other assembly that has not been designed and approved for the proposed foam.
How to Apply Canned Spray Foam in Small Gaps
If the job passed the scope, product, and site checks, this is the practical DIY path. It applies only to a one-component product used within its label—not to a two-component cavity or roof-deck installation.
- Match the product to the opening. Confirm the gap size, substrate, location, exposure, and clearance are explicitly allowed. Use a window-and-door formula for frames when the manufacturer calls for it.
- Read the label and SDS. Check temperature, PPE, ventilation, ignition-source, cure, trimming, painting, disposal, and re-entry instructions before setup.
- Fix the cause and prepare the area. Stop water, clean and dry the substrate, protect nearby finishes, and keep required vents, drains, boxes, and clearances open.
- Test the dispenser. Practice on scrap or an inconspicuous area so you understand the flow and expansion. Apply only the amount and pass pattern the instructions allow.
- Let the foam cure undisturbed. Do not trim, touch, cover, or reoccupy the area earlier than the written guidance permits.
- Inspect before trimming. Look for missed edges, unexpected expansion, poor adhesion, softness, discoloration, or an unresolved moisture path. Stop rather than covering a suspicious result.
- Trim and protect as directed. Wear the required PPE for cutting dust, keep the seal continuous, and apply any required finish, UV protection, or fire-protective covering.
Before you buy: Photograph the gap with a ruler in the frame and note the substrate, nearby heat or electrical equipment, and whether the area gets wet. That information makes it much easier to choose the correct product—or recognize that foam is the wrong repair.
Should You Buy a Two-Component Spray Foam Kit?
If the job is larger than a canned repair, slow down before you buy. A two-component kit can look cheaper than a professional quote because the box price is visible and the rest of the project is not. Prove that the assembly, safety controls, verification method, and finish work fit together first.
| Question | Why it matters | Stop if |
|---|---|---|
| What assembly are you building? | “Attic,” “wall,” or “crawl space” is only a location. The venting, drying path, climate, substrate, HVAC, combustion equipment, and finish layers determine the design. | No evaluated or code-compliant assembly has been identified. |
| What exact product and thickness are specified? | The product data controls R-value, vapor permeance, air-barrier thickness, lift limits, temperature, and protective covering. | The plan relies on generic open-cell or closed-cell rules. |
| Can you meet the exposure controls? | Two-component spraying may require isolation, engineered ventilation, respiratory protection, protective clothing, cleanup, and controlled re-entry. | The area is occupied, connected to HVAC, or cannot be isolated and exhausted safely. |
| How will you verify the installation? | Coverage, thickness, adhesion, mix quality, voids, and cure must be checked before the foam is covered. | You cannot inspect the full surface or recognize an off-ratio or incomplete result. |
| What happens after cure? | Trimming, waste, required thermal or ignition protection, framing, drywall, coating, and finish repair can be a large part of the job. | The budget or plan ends when the tanks are empty. |
When a professional is the better buy
Hire or consult a qualified spray-foam contractor when the area is large or overhead, the assembly is closed or moisture-sensitive, occupants cannot be fully separated, combustion equipment is nearby, the project needs code documentation, or a warranty and verified thickness matter.
Ask the quote to state:
- The exact product, evaluation report, target area, and intended thickness.
- How substrate condition and moisture will be checked and corrected.
- The isolation, ventilation, cleanup, and re-entry plan.
- The required fire protection, trimming, coating, framing, or finish work.
- How coverage and thickness will be inspected, plus the written warranty and callback terms.
DIY Spray Foam Cost: Estimate the Whole Job
Only after the scope and system are defined does the price comparison mean anything. If you are asking how much spray foam insulation costs, start with quantity: for area-based systems, board feet equal square feet multiplied by installed thickness in inches. A 200-square-foot area at 2 inches is 400 board feet before field loss. Compare that requirement with the manufacturer’s stated yield; nominal kit yield is not a promise of finished coverage in your exact conditions.
| Cost category | DIY estimate | Professional quote |
|---|---|---|
| Material and yield | Required board feet, extra nozzles, field loss, shipping, and unused material. | Product, installed thickness, target area, and treatment of voids or touch-ups. |
| Safety and containment | SDS-specified PPE, isolation, exhaust, monitoring, coverings, and occupant protection. | Containment, trained crew, ventilation, cleanup, and re-entry instructions. |
| Prep and repair | Moisture correction, cleaning, access, masking, and protection of nearby surfaces. | Substrate preparation, moisture findings, access work, and listed exclusions. |
| Finish and verification | Trimming, inspection, thermal or ignition protection, framing, drywall, coatings, and disposal. | Inspection method, documented thickness, finish work, warranty, and callback terms. |
The kit price is only the starting point. A small canned-foam repair may save a service call; a large two-component job can lose its apparent savings once protection, ventilation, finish work, waste, and correction risk are included. ENERGY STAR estimates average savings from a broader package of air sealing and insulation—not from spray foam alone. See its current savings methodology.
The cheapest option on the shelf is not necessarily the lowest-cost outcome. The mistakes below are the common ways an apparent saving turns into waste or rework.
Common Mistakes That Cause Waste or Rework
The avoidable problems tend to follow the same pattern: wrong product, unresolved site conditions, generic instructions, and incomplete cost planning.
- Wrong product: Using a general gaps-and-cracks product where a window-and-door, fire-rated, pest-resistant, duct-sealing, or high-temperature system is required.
- Unresolved water or clearances: Spraying before fixing water, verifying heat and electrical clearances, or understanding the assembly’s drying path.
- Generic instructions: Following generic temperatures, pass thicknesses, nozzle timing, cure, or re-entry advice instead of the exact product instructions.
- Incomplete cost math: Buying from advertised yield and kit price while ignoring PPE, ventilation, coverings, cleanup, finish work, and field loss.
- Covering too soon: Covering foam before it has cured and been inspected for adhesion, continuity, voids, and abnormal texture or color.
- Treating the symptom: Adding more foam to a defect without diagnosing the moisture, substrate, mix, or compatibility problem first.
After Spray Foam Cures: Inspection, Problems, and Removal
The job is not finished when the surface looks dry. Protect accessible foam from water, heat, ultraviolet exposure, pests, and physical damage. Inspect it after a leak, repair, renovation, pest event, or other change that could disturb the air or thermal barrier. There is no universal 30-day or seasonal schedule; follow the product, warranty, and assembly requirements.
Signs that need investigation
- Persistent odor or irritation after the stated cure, ventilation, and cleaning period.
- Soft, sticky, brittle, unusually dark, shrunken, or poorly adhered foam.
- Visible voids, separation from the substrate, cracks, or newly exposed edges.
- Water staining, condensation, rot, or moisture appearing beside or behind the foam.
- A need to reach hidden wiring, plumbing, framing, termite-inspection areas, or damaged materials.
Do not assume every odor or crack proves an off-ratio installation, and do not start cutting large areas open without a plan. Diagnosis should come before removal because cutting and demolition can create dust, expose hidden damage, and spread contamination. Preserve product records and photographs, then use a qualified inspector or contractor when the cause is uncertain.
Frequently Asked Questions
Your Next Step: Choose the Smallest Safe Scope
You should now be able to choose one of three paths:
- Seal a small approved gap. Use the labeled one-component product and follow the canned-foam steps.
- Collect the missing information. Photograph and measure the area, identify the substrate and nearby hazards, and use the two-component decision checklist to see what is unresolved.
- Stop and get the assembly reviewed. Do this when any stop condition applies or the project involves a kit, multiple bays, a roof deck, a closed wall, an occupied area, active moisture, or unknown clearances.
The win is not using more foam. It is solving the air leak without creating a moisture, fire, electrical, or exposure problem behind the finish.
This guide provides general education, not approval for a specific installation. Follow the exact product label and SDS, the adopted local code, and the manufacturer’s written instructions. Use a qualified installer, building official, or other appropriate professional when the assembly, moisture conditions, heat or electrical clearances, ventilation, or exposure controls are uncertain.