
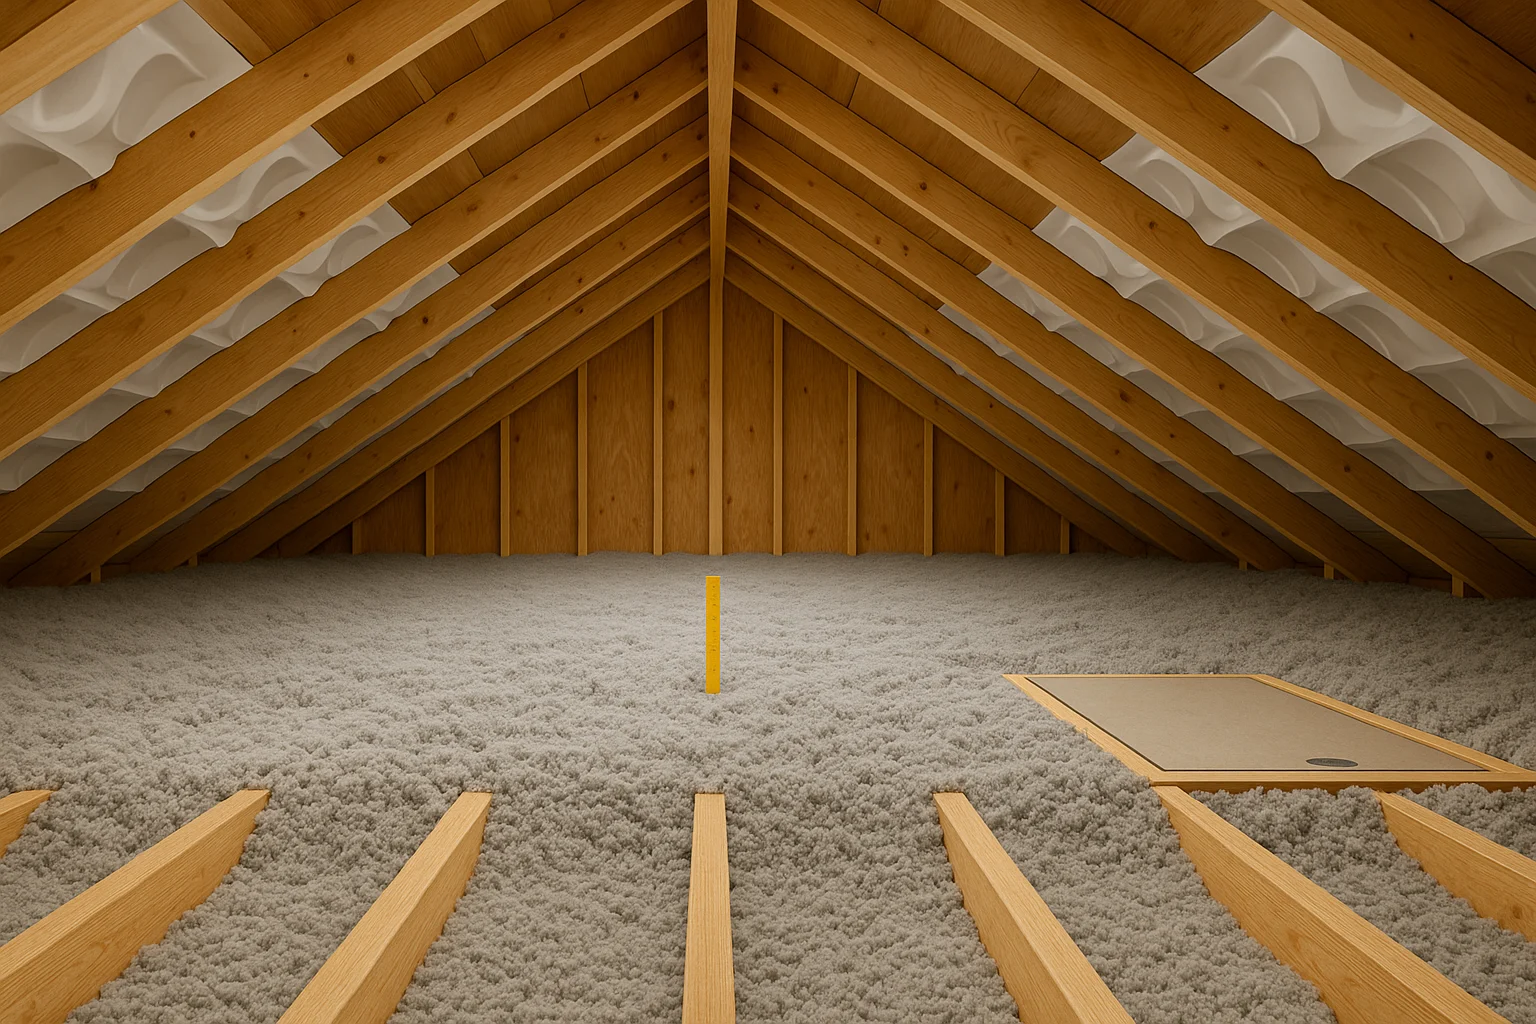
More attic insulation is not automatically the right first move. If the attic is wet, unsafe, already near its target R-value, or leaking air through the ceiling plane, buying more material can waste money or hide a problem that should be fixed first.
Use this attic insulation DIY guide to decide whether the job is safe, measure what you have, choose between unfaced batts and loose fill, estimate the added depth and complete material cost, and install over existing insulation without blocking ventilation or crowding heat sources.
This post contains affiliate links. If you purchase through them, I may earn a commission at no extra cost to you. As an Amazon Associate, I earn from qualifying purchases. Links marked #ad are Amazon affiliate links. Learn more.
Table of Contents
- First, Decide Whether This Is a DIY Job
- Measure What You Have and Set a Target R-Value
- Choose Batts or Loose Fill
- How Much Attic Insulation Should You Add?
- Build a Materials and Cost Plan
- Install Attic Insulation Step by Step
- Common Attic Insulation Mistakes
- Frequently Asked Questions
- Your Next Step: Measure Before You Buy
First, Decide Whether This Is a DIY Job
ENERGY STAR describes attic insulation as a moderate-to-difficult DIY project. It is a reasonable homeowner job when the attic is accessible, you can move safely, the ceiling plane is easy to inspect, and the work is limited to ordinary air sealing plus batt or loose-fill insulation. Review the ENERGY STAR attic-insulation project guide before deciding.
Stop before buying insulation when you find any of the following:
- Lightweight, pebble-like vermiculite insulation. The EPA says to assume it may contain asbestos and leave it undisturbed until it has been properly evaluated.
- Wet, moldy, smelly, or animal-contaminated insulation; roof leaks; or rotted framing.
- Unsafe access, no secure place to stand or crawl, damaged wiring, or structural damage.
- Bathroom, kitchen, or dryer exhaust ending in the attic instead of outdoors.
- A flue, chimney, recessed light, ventilation path, or vapor-control detail you cannot identify confidently.
For vermiculite specifically, follow the EPA’s advice to avoid disturbing the material. For moisture, wiring, structural, or combustion-clearance problems, correct the underlying issue before adding insulation.
Measure What You Have and Set a Target R-Value
Identify the material and check the whole attic
Look across the attic before moving anything. If insulation is level with or below the joists, or if the eaves and corners have low spots, more insulation may be useful. If the joists are already buried under an even layer, measure before assuming that another layer will pay off.
Measure the depth in at least three places: near the center, near the eaves, and in any visibly thin area. Use the R-value printed on existing batts when it is readable. For loose, mixed, compressed, or unidentified material, treat the estimate as approximate and use the calculator’s “unknown or mixed” option.
Set a total R-value target
For a code-aligned reference, the U.S. Department of Energy’s 2021 IECC summary lists R-30 for an uninsulated attic in Climate Zone 1, R-49 in Zones 2–3, and R-60 in Zones 4–8. Existing insulation counts toward the total. The amount to add is the target minus what is already present. Most common attic insulation is roughly R-3 to R-3.5 per inch, but the product label and local code should control the final depth.
Use the DOE climate-zone and R-value table as a starting point, then confirm the requirement for your home and jurisdiction.
Choose Batts or Loose Fill
You do not have to match the insulation already in the attic. ENERGY STAR says loose fill can be installed over fiberglass batts, and unfaced fiberglass can be installed over loose fill. The better choice depends on access, layout, and how evenly you can cover the ceiling plane.
Quick decision: choose loose fill when existing coverage is uneven or the attic has irregular bays and hard-to-reach edges. Choose unfaced batts or rolls when the joist bays are open, regular, and easy to fit without compression. Do not buy either until the safety, moisture, ventilation, and heat-source checks above are clear.
The calculator below models fiberglass batts or rolls and loose-fill cellulose. If you choose loose-fill fiberglass, use the manufacturer’s package coverage chart for the required R-value rather than treating the calculator’s depth estimate as exact.
| Material | Best fit | Main installation check |
|---|---|---|
| Loose-fill cellulose or fiberglass | Uneven existing coverage, irregular bays, and hard-to-reach edges | Use depth markers, keep baffles clear, and follow the bag’s coverage chart at the required R-value. |
| Unfaced fiberglass batts or rolls | Open, regular joist layouts where pieces can be fitted accurately | Do not compress the material. When adding a second layer, lay it perpendicular to the joists and keep it unfaced. |
| Spray foam | Special assemblies that need a designed air and thermal boundary | Do not treat it as the default attic-floor DIY method. Review the limitations in the DIY spray foam insulation guide and use a qualified installer when the assembly or code requires one. |
The ENERGY STAR adding-insulation guide explains the unfaced-batt and mixed-material rules in more detail.
Once you know which material fits the attic, use the calculator to estimate the missing R-value, added depth, and a rough local-material budget.
How Much Attic Insulation Should You Add?
This attic insulation cost calculator estimates the added R-value and depth from your attic size, existing insulation, and planned material. Optional local cost and heating/cooling inputs add a rough budget and an ENERGY STAR benchmark—not a contractor quote or savings guarantee.
Your estimate will appear here
Enter the attic area and current insulation depth to calculate the added R-value and depth.
Use the result as a planning starting point. Before buying, confirm the insulation label’s coverage at the required R-value, your local code, and any ventilation or combustion-clearance details in the attic.
Build a Materials and Cost Plan
Package coverage at your required R-value—not bag price alone—sets the real material budget. Use this sequence:
- Use the calculator to estimate the added depth and total attic area.
- Read the manufacturer’s coverage chart for the exact product and target R-value.
- Divide the attic area by the package coverage and round up to a whole bag, roll, or bundle.
- Add air-sealing materials, baffles, depth markers, protective equipment, delivery, tax, and blower rental when applicable.
A current Home Depot or other local-retailer price can help estimate attic-insulation cost, but compare coverage at the target R-value rather than bag price alone. Enter the resulting full-layer cost per square foot in the calculator above.
ENERGY STAR estimates that air sealing plus insulation can save a typical existing U.S. home an average of about 15% on heating and cooling costs, or about 11% on total energy costs. Your result can be lower or higher, and the estimate does not isolate attic insulation from the air-sealing work. Before purchasing, check whether energy-efficient home improvement credits or local utility incentives apply.
Install Attic Insulation Step by Step
1) Prepare the workspace and protect yourself
Gather everything before entering the attic: a tape measure, headlamp or work light, temporary boards where needed, gloves, eye protection, clothing that covers exposed skin, the protection required by the insulation manufacturer, air-sealing supplies, baffles, depth markers, and the insulation itself. Work during a cooler part of the day, keep water nearby, and watch for roofing nails.
Stand or crawl only on joists, truss chords, or secure temporary boards—never on ceiling drywall or on insulation that hides the framing. Mark a clear route from the hatch to the farthest work area before opening bags or starting a blower.
2) Move insulation aside and air-seal the ceiling plane
Pull existing insulation back from top plates, plumbing stacks, wire penetrations, electrical boxes, and the attic hatch. Seal ordinary small gaps with the appropriate caulk or foam. Use rigid material plus sealant for larger openings when the detail allows it. Do not improvise around flues, chimneys, or heat-producing fixtures.
Air sealing comes first. Fibrous insulation slows heat flow but does little to stop conditioned air moving through holes in the ceiling plane. Replace the moved insulation only after the sealant has cured as directed.
3) Protect ventilation paths and heat sources
Install or repair baffles at soffit vents before adding insulation, and use a wind dam where needed so incoming air cannot push insulation away from the eaves. Maintain the clearance required by the baffle, roof assembly, fixture listing, and local code.
For a non-IC recessed light, use an approved enclosure or dam that maintains the required clearance and leaves the top free of insulation, or have the fixture replaced with an appropriate rated unit. Around a combustion flue or chimney, use sheet metal and fire-rated sealant and follow the vent listing and local code; a common PNNL retrofit detail uses a 3-inch insulation dam. Do not add a new vapor barrier automatically. Over typical existing attic-floor insulation, use unfaced material unless the assembly design or local code calls for something different. See the PNNL flue and chimney guide for the common detail.
4) How to install attic insulation over existing material
For batts or rolls, use unfaced material, fit each piece without gaps or compression, and cut cleanly around obstacles. When adding a second layer over joists, place it perpendicular to the first layer so the framing is covered.
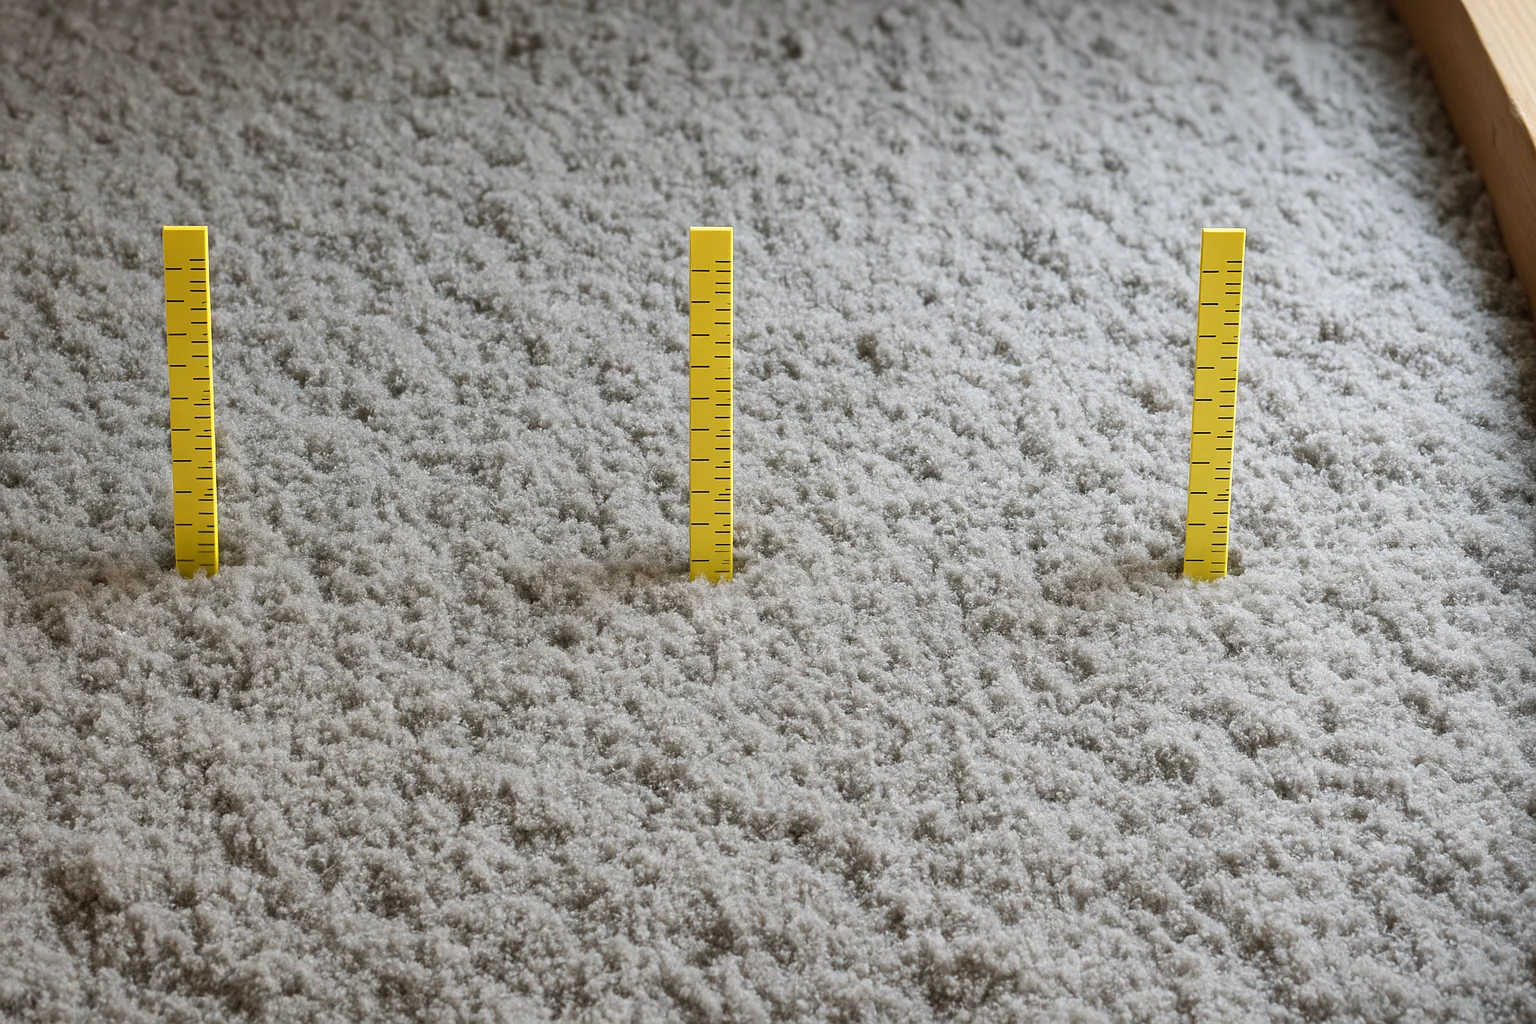
For loose fill, set depth markers before blowing and spread the material evenly to the target height. Commercial cardstock attic rulers are a real installation aid, but a one-off DIY attic usually does not need a contractor-size pack. Marked wood strips, paint stirrers, or inexpensive rulers can do the same job when they are secured upright and clearly marked at the target depth. Place markers at several visible points, then work from the perimeter toward the hatch, check the eaves for low spots, and keep every baffle and dam visible and clear. See Lowe’s blown-in attic installation guide for an illustrated example.
5) Seal and insulate the attic hatch
Weatherstrip the hatch or pull-down stair frame, then add insulation above it without preventing the hatch from opening safely. The hatch should close firmly and remain easy to use after the surrounding insulation reaches full depth.
A ready-made cover is most useful for a pull-down stair assembly or another access opening that must stay usable. Skip it if a rigid insulated lid already seals the hatch well, or if the opening falls outside the product dimensions.
For one standard-size pull-down opening: the Sealcare cover creates a removable zippered insulation layer above the stair frame.
Measure before ordering; this is one 25 × 54 × 11 in cover, not a two-pack.
The cover does not replace air sealing at the hatch frame. Seal and weatherstrip the perimeter first, then use the cover as the removable insulation layer above it.
6) Verify the finished job
Measure the depth again at the center, eaves, and any awkward corners. Confirm that coverage is even, batts are not compressed, baffles remain open, heat-source clearances are visible, and the hatch closes correctly. Remove tools and temporary boards without dragging or flattening the new insulation.
Common Attic Insulation Mistakes—and the Better Move
| Mistake | Better move |
|---|---|
| Adding insulation before sealing air leaks | Expose and seal the ceiling-plane penetrations first, then restore or add insulation. |
| Buying by bag price alone | Compare coverage at the required R-value and calculate the full layer. |
| Blocking soffit vents | Install baffles and dams before filling the eaves. |
| Covering non-IC lights or crowding a flue | Follow the fixture or vent listing and local code; use the correct enclosure or dam. |
| Using faced batts over existing insulation | Use unfaced material unless the assembly specifically calls for another vapor-control layer. |
| Compressing batts or leaving low spots | Fit pieces without compression and verify depth at the eaves as well as the center. |
| Insulating over moisture, contamination, or damage | Correct the source and replace only the affected material before continuing. |
Frequently Asked Questions
Your Next Step: Measure Before You Buy
Take a photo of the attic and record the insulation depth near the center, near the eaves, and in the thinnest visible area. Those three measurements should point to the next move:
- Stop and get qualified help if you find vermiculite, moisture, damaged wiring, unsafe access, structural damage, or an unclear combustion or ventilation detail.
- Plan the added layer if the attic is safe and the measured insulation is below the confirmed target. Choose the material, run the calculator, and price the complete layer from the package coverage chart.
- Look beyond the attic if coverage is even and already near the target. Check window insulation, wall-insulation options, air leaks, ducts, and HVAC performance before buying another layer.
This guide provides general DIY planning information, not an inspection or a code determination. Follow local building codes and manufacturer instructions, wear the protective equipment required for the material, and consult a qualified professional for electrical, structural, moisture, asbestos, or combustion-clearance questions. Actual energy savings vary by climate, home leakage, and HVAC efficiency.