
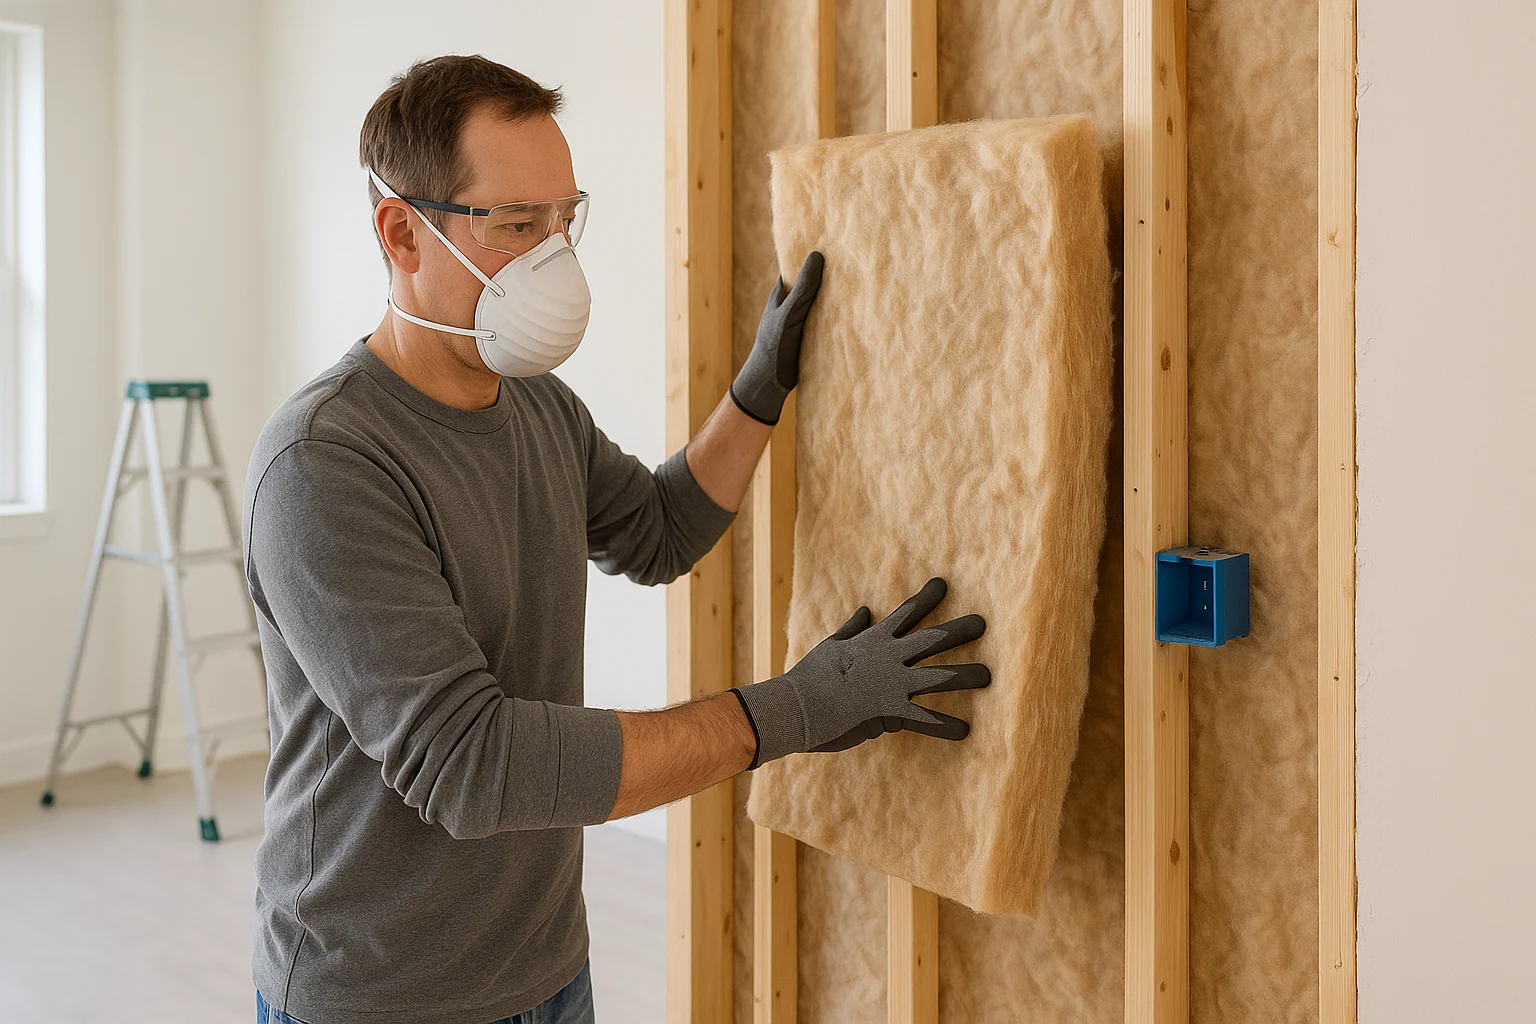
Most DIY insulation mistakes start before the first batt is cut: the project is chosen by material price or promised savings instead of by access. An accessible attic or open stud bay may be a manageable DIY job; a finished wall can hide moisture, wiring, blocking, and existing insulation that turn the same idea into guesswork.
This guide helps you choose the smallest project you can inspect and verify. Start with the selector below, then use the inspection, material, tool, installation, and quality-check sections to build a complete plan before you buy.
Which DIY Insulation Project Should You Start With?
Choose the area you can inspect most clearly, then answer two readiness questions. The result tells you whether to start there, inspect first, or choose a simpler project.
0 of 3 planning steps complete
Your starting point
Answer three questions to choose the best place to start
Select the clearest access point, current condition, and blocker status.
The result will tell you what to inspect or do before buying materials.
This post contains affiliate links. If you buy through our links, we may earn a commission at no extra cost to you. As an Amazon Associate, I earn from qualifying purchases. Learn more.
Table of Contents
- Which DIY Insulation Project Should You Start With?
- What DIY Insulation Can—and Cannot—Fix
- Inspect First: What to Check Before You Insulate
- Match the Method to the Access You Have
- Choose Tools and Safety Gear for the Method
- Install in This Order
- Check the Work Before You Close It Up
- After Installation: Verify Comfort, Moisture, and Energy Use
- Frequently Asked Questions
- Your Next Step: Choose One Project You Can Verify
What DIY Insulation Can—and Cannot—Fix
Start with the problem, not the product
Insulation and air sealing solve different problems. Insulation slows heat flow through the surfaces it covers; air sealing stops uncontrolled airflow through gaps and penetrations. Neither repairs a roof leak, removes mold, balances an HVAC system, or fixes a duct problem.
If one room is uncomfortable and the cause is unclear, investigate air leaks, moisture, ventilation, ducts, and equipment before buying insulation. A home performance assessment can help when the symptoms do not point to one obvious assembly.
Set the target for the exact assembly
Insulation targets vary by climate zone and assembly. The U.S. Department of Energy’s current summary of the 2021 International Energy Conservation Code lists uninsulated-attic ceiling targets from R-30 in climate zone 1 to R-60 in zones 4–8, while wall options vary by framing and continuous-insulation design. Use the target for your exact assembly—not a single national rule of thumb. For an accessible attic project, see our attic insulation DIY guide.
Build the budget from measurable work
Price the net area, required R-value, product coverage, equipment rental, access-hole patching, protective gear, disposal, and any inspection or moisture repair. This produces a project budget you can check instead of a generic cost per square foot.
For incentive research, our guide to energy-efficient home improvement credits explains the earlier federal program and how to check current state, utility, and local options.
Treat savings percentages as context, not a quote. ENERGY STAR’s 15% heating-and-cooling average applies to a modeled package of air sealing plus insulation in attics, floors over crawl spaces, and accessible basement rim joists—not to one wall project.
Inspect First: What to Check Before You Insulate
Material choice comes after the assembly check. You need to know where the air barrier is, how the cavity is built, whether it is dry, what already fills it, and whether utilities or heat-producing equipment change the plan.
Confirm the access you actually have
A wall insulation DIY project is simplest when the stud bays are open and visible. An accessible attic can also be measured, air-sealed, and checked before and after a top-up.
Finished walls hide blocking, wiring, plumbing, moisture, and existing insulation, so drill-and-fill is an advanced retrofit rather than a blind weekend shortcut. Exterior walls opened during siding work may support continuous insulation, but flashing and water management become part of the job.
Stop for these conditions
- Wet or damp insulation, roof or plumbing leaks, moldy materials, or rotted framing. Correct the water source first; for below-grade water entry, start with our basement waterproofing guide.
- Vermiculite insulation. EPA says to assume it may contain asbestos and leave it undisturbed; do not drill, rake, vacuum, or remove it yourself. See the EPA vermiculite guidance.
- Knob-and-tube wiring, damaged or unidentified wiring, combustion clearances, recessed fixtures, or flues you cannot verify.
- Pest activity, blocked soffit vents, little attic ventilation, or kitchen, bath, or dryer exhaust terminating in the attic.
- Access so tight that you cannot move safely, see the work, protect the ceiling below, or inspect the finished result.
Check what is already there
Use accessible edges, building plans, depth markers, or a carefully chosen inspection point. A borescope can help only when drilling the inspection hole is itself safe. Do not open walls merely to hunt for vermiculite.
If you cannot confirm that a cavity is dry, suitable, and free of hazards, get a home energy assessment or on-site inspection before buying insulation.
Map the bay before you choose an access hole
Only after the wall appears suitable for drill-and-fill—and the chosen method actually requires an opening—map the framing from the finished surface. The Zircon StudSensor A100 wall scanner is a useful framing-location aid when its surface and depth limits match the wall.
Skip the tool and stop the project when you cannot identify utilities, the wall surface falls outside the scanner’s instructions, or the result conflicts with plans or visible evidence. A scanner helps locate framing; it does not prove that wiring, plumbing, blocking, moisture, or existing insulation is absent.
Do not drill yet unless you can answer three questions: What is in the cavity? Is it dry? Where are the utilities?
Match the Method to the Access You Have
Start with access, not brand or R-value per inch. The material must fit the cavity without gaps, stay dry, and work with the wall, attic, floor, or rim-joist assembly.
| Project and access | Likely approach | DIY fit | Check before buying |
|---|---|---|---|
| Accessible attic top-up | Loose-fill or unfaced batts/rolls | Moderate | Air-seal first; identify vermiculite; protect vents, fixtures, and clearances; use a climate-based target. |
| Open stud walls | Fiberglass or mineral wool batts | Moderate | Confirm cavity depth, utilities, vapor-control requirements, fire protection, and full access around obstructions. |
| Finished, empty framed walls | Dense-pack cellulose through planned access holes | Advanced or conditional | Confirm dry cavities, wiring, plumbing, blocking, installed density, access route, and patching plan. |
| Rim joists or small approved gaps | Compatible foam or rigid foam plus sealant | Conditional | Check moisture, material compatibility, exposure controls, fire-cover requirements, and product limits. |
| Exterior renovation | Continuous rigid foam or mineral wool board | Usually advanced | Coordinate flashing, drainage, attachment, window/door details, cladding, and local code. |
Batts: best when framing is open
Fiberglass and mineral wool batts can work in open, regular cavities when they are cut around boxes, wires, and pipes without compression or voids. Choose the labeled R-value and thickness that fit the cavity. Facings and vapor retarders depend on climate and assembly, so do not assume the paper face belongs on the same side everywhere.
Loose-fill and dense-pack: useful when cavities are hard to reach
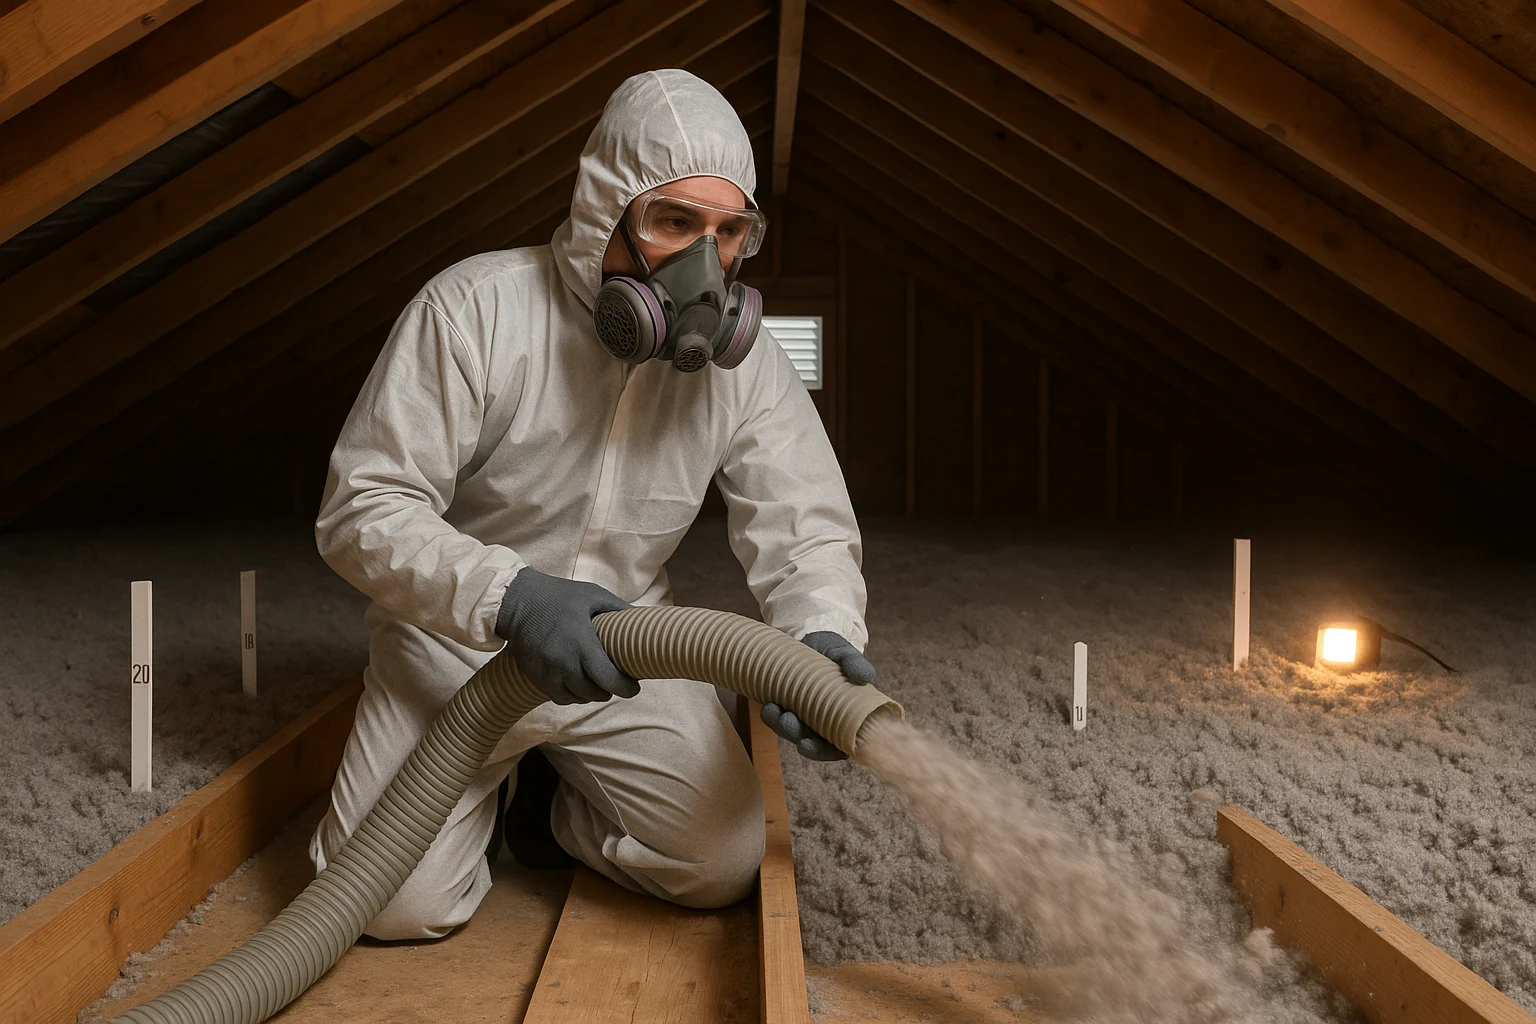
Loose-fill can top up an accessible attic; dense-pack cellulose can retrofit some finished, empty wall cavities through access holes. Both depend on equipment settings, installed density, uniform coverage, and a plan for obstructions and patching. Rental equipment can make an attic project possible for a careful DIYer, while finished-wall work is much harder to verify.
Foam and rigid board: detail tools, not universal answers
DIY foam insulation in existing walls should be treated as a narrow, product-approved detail—not a blind full-cavity fill. Canned foam is intended for compatible accessible gaps, while two-component kits require greater exposure controls.
Rigid foam or mineral wool board can add continuous exterior insulation during a larger retrofit, but water management and fastening details matter. For product scope and safety limits, see our spray foam insulation guide and the EPA spray-foam safety guidance.
Choose Tools and Safety Gear for the Method
The tool list changes with the method. Buy or rent only after you know the assembly and have read the manufacturer’s installation and safety instructions.
- Open-cavity batts: tape measure, straightedge, utility knife, support wire or stapler when required, vacuum, lighting, and product-specified eye, skin, and respiratory protection.
- Attic loose-fill: blower, depth markers, blocking or baffles, lighting, safe walking boards, head protection, and specified protective equipment. Air-seal first and keep vents, fixtures, and clearances open.
- Finished-wall drill-and-fill: wall scanner, suitable drill or hole saw, blower and hose, patching materials, vacuum, and a verified layout for every bay.
- Foam details: masking and containment, ventilation, product-specific gloves, clothing, eye and respiratory protection, and a re-entry plan based on the label and safety data sheet.
Before you shop, write down four numbers: net area, target R-value, required installed depth, and package coverage or bag count. If one is missing, the shopping list is not ready.
Install in This Order
Use the same sequence for every method: diagnose, dry, air-seal, install, inspect, then close. Adding insulation first can hide leaks and make later repairs harder.
1. Measure and plan the assembly
Measure the net cavity or attic area, confirm the required R-value and installed thickness, and calculate material from the manufacturer’s coverage. Mark utilities, vents, fixtures, access holes, and no-cover zones before opening packages.
2. Air-seal before you add insulation
Seal verified air-leak paths with a material suited to the gap size and surface. Fibrous insulation is not an air seal. In attics, protect soffit ventilation and required clearances around heat-producing fixtures and flues; do not improvise around a detail you cannot identify.
For a small, dry, accessible gap that the label allows, Great Stuff Smart Dispenser Gaps & Cracks Foam is a controllable canned option. Use it only after confirming the gap size, surrounding materials, ventilation, clearance, and any required fire protection. Skip it for wall cavities, wet assemblies, unidentified openings, or any detail where heat-source clearances are uncertain.
3. Fit batts without gaps or compression
Cut batts to fill each open cavity completely. Split the batt around wires and pipes instead of stuffing it behind them, and fit around boxes without leaving voids. Use the faced or unfaced product and fastening method required by the assembly and manufacturer.
4. Use loose-fill only with a coverage and depth plan
For an attic, install depth markers, keep vents and openings clear, and spread material to the product’s stated depth and bag count.
For finished walls, plan every access hole and bay, verify hidden obstructions, follow the specified density settings, fill consistently, and patch the openings. If the process depends on guessing what is behind the wall, stop.
Finished-wall stop rule: If you cannot map each bay, identify utilities, confirm cavity conditions, and follow a density and patching plan, do not drill-and-fill from guesswork. Get an on-site assessment.
5. Keep spray foam to compatible, accessible details
For a product-approved gap, isolate the work area, follow lift-thickness and temperature limits, ventilate as directed, keep unprotected people out, and wait for the manufacturer’s cure and re-entry time before trimming or covering the foam.
DIY injection foam insulation for existing walls is not the default route because expansion, hidden utilities, moisture, and complete fill are difficult to verify.
Check the Work Before You Close It Up
A finished surface can hide a poor installation. Inspect while the cavity, attic, or rim area is still accessible.
- Coverage: no visible gaps, thin spots, compression, or unfilled sections.
- Air and ventilation: verified leaks are sealed, while soffit vents, intended airflow paths, fixtures, and required clearances remain open.
- Moisture: the assembly is dry, with no unresolved leak, condensation pattern, or damp material hidden behind the new insulation.
- Installed amount: thickness, bag count, or fill density matches the product instructions for the area covered.
- Documentation: take photos and record depths, product labels, and bag counts before the work disappears behind finishes or loose fill.
Do not close a wall bay you cannot verify. Material going in is not proof that the cavity was filled evenly or safely.
After Installation: Verify Comfort, Moisture, and Energy Use
Check the immediate outcome: drafts at treated penetrations, room-to-room temperature differences, and any new moisture or odor problem. Reinspect accessible areas after a major weather change, especially where loose fill could shift or a leak could reappear.
Compare like with like. For bills, compare similar seasons or utility-provided weather-normalized usage when available; one bill can be distorted by weather and thermostat changes.
If comfort does not improve, investigate air leakage, ducts or HVAC balance, windows, and moisture instead of adding more insulation blindly. For broader no-cost and low-cost steps, see our guide to lowering your electric bill.
Frequently Asked Questions
Still unsure whether a finished wall is safe to drill or fill? Before opening it, ask a home-improvement expert to help you organize the risks and decide whether an on-site inspection is the better next step. Remote advice cannot verify hidden wiring, moisture, blocking, or insulation.
Your Next Step: Choose One Project You Can Verify
Return to the project selector with the area you can actually access—not the area with the biggest promised savings. If it points to an attic or open cavity, measure the assembly and build the shopping list. If it flags moisture, unknown conditions, finished-wall obstructions, or foam controls, resolve that uncertainty before you buy.
Start with one area you can inspect, dry, air-seal, fill to the required depth, and check before it disappears behind drywall or loose fill. A good DIY insulation job is not the one with the most material—it is the one you can explain, inspect, and finish without hiding a new problem.
This guide is educational and general in nature. It is not building, safety, tax, or legal advice. Building codes and incentives change and vary by location; consult local code officials and qualified pros for your specific conditions, and a tax professional for credit eligibility.