
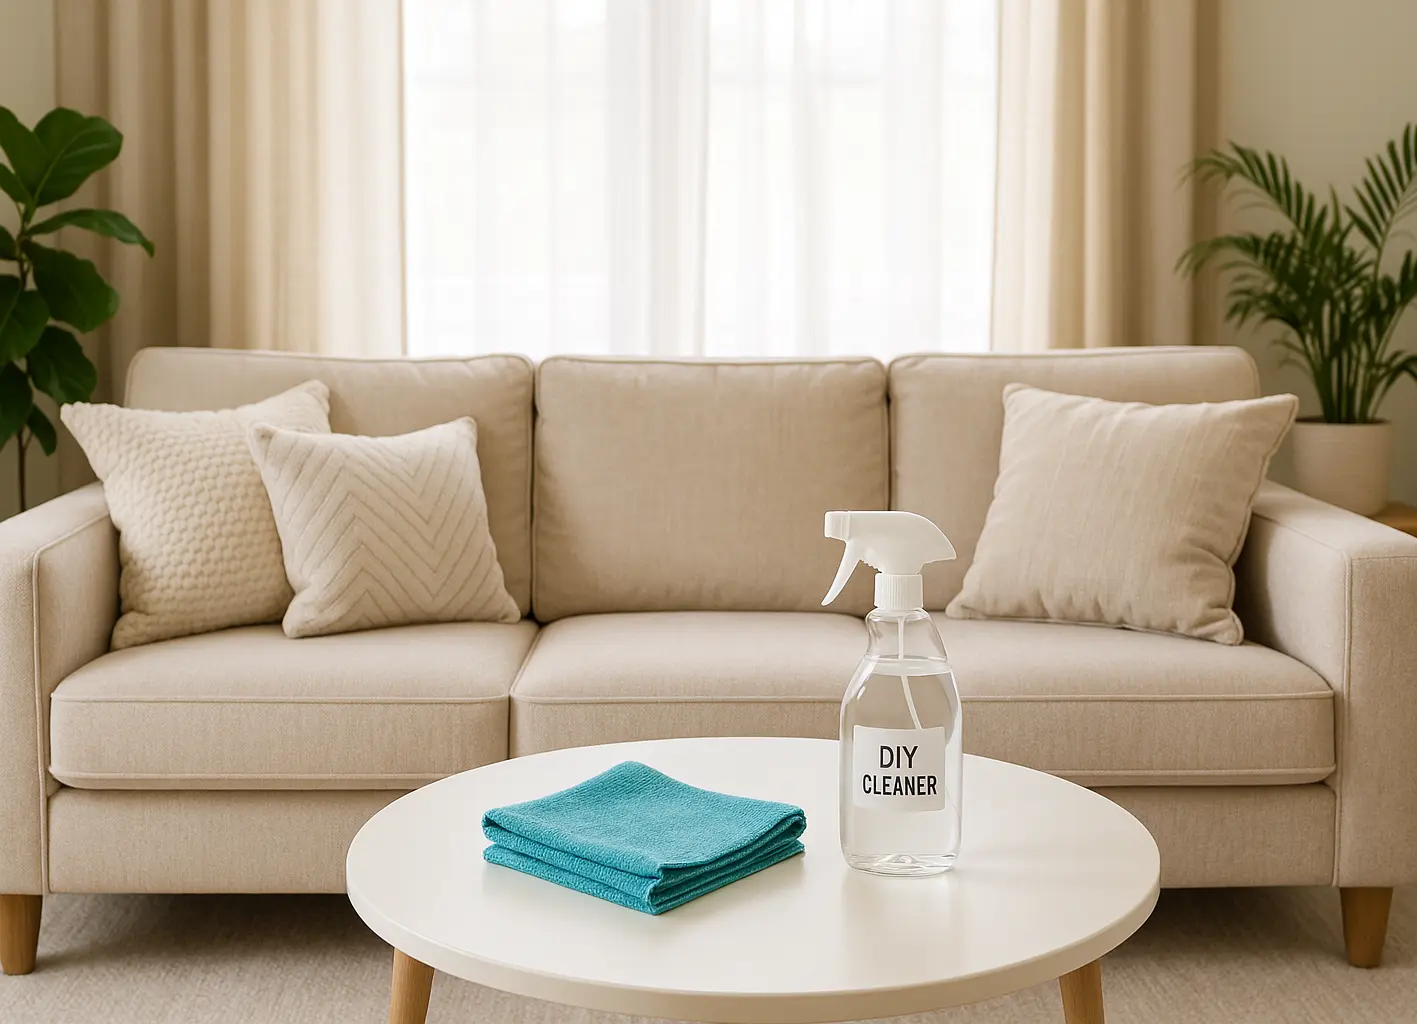
Spills, paw prints, and mystery smudges don’t have to mean a pricey store run. With two pantry staples and five minutes, you can lift odors, loosen grime, and make your sofa look “company ready” again—our Homemade Cleaning Solution for Upholstery: 2-Ingredient Formula That Works uses vinegar and clear dish soap—simple, cheap, and effective. Ready to try a DIY upholstery cleaner today? For the full house-wide playbook, see our homemade cleaning solutions guide—it’s the hub that ties every room together.
Try Our Fabric Checker!Table of Contents
- Key Takeaways for a Cleaner Sofa (Fast)
- Why Choose a DIY Upholstery Cleaner?
- Know Your Upholstery: Fabric Types and Care
- Two Simple Upholstery Cleaner Recipes (At Home)
- Essential Tools for This Upholstery Cleaner
- Spot Test: A Must-Do Step
- Step-by-Step Upholstery Cleaning
- Troubleshooting Upholstery Cleaning Challenges
- Homemade vs. Store-Bought Cleaners
- Upholstery Fabric Checker Tool
- Maintaining Your Upholstery’s Freshness
- Frequently Asked Questions
- Final Thoughts on a Cleaner Home
Key Takeaways for a Cleaner Sofa (Fast)
- Simple & Effective: Mix a simple two-ingredient upholstery cleaner (vinegar + clear dish soap), or use baking soda for deodorizing.
- Fabric First: Identify your upholstery fabric (e.g., microfiber, linen) and spot-test in a hidden area before cleaning.
- Essential Tools: Use a microfiber cloth, spray bottle, and a soft-bristle brush for effective upholstery care.
- Cost & Safety: Homemade solutions use common household ingredients and can be budget-friendly.
- Patience Pays Off: Let upholstery air dry completely to avoid water rings or musty odors.
This post contains affiliate links. If you buy through our links, we may earn a commission at no extra cost to you. Learn more.
Why Choose a DIY Upholstery Cleaner?
Before grabbing a store-bought spray, consider why a DIY upholstery cleaner recipe is often the better pick. For instance, it’s super cost-effective. I love that my DIY sofa cleaner uses stuff I already have in my pantry, like vinegar and dish soap, saving me a ton of cash over time. You can explore budget-friendly cleaning tips to stretch your dollar further.
Moreover, you control the ingredients that touch your couch. Store-bought cleaners often have weird, unpronounceable chemicals that make me nervous, especially with my dog and kids around. With a natural sofa cleaner like vinegar and dish soap, you know exactly what’s going on your furniture, keeping things easy to understand and use. This is especially handy if you’re trying to keep pet care costs low while keeping your home comfortable. For more cleaning basics, see Real Simple’s guide to upholstery cleaning.
Using ingredients you trust can make cleaning feel simpler and calmer.
Plus, these solutions are versatile. They handle everyday dirt and pet messes, and you can adjust the mix based on the stain. This natural cleaning method is affordable, approachable, and works well for day-to-day messes.
Know Your Upholstery: Fabric Types and Care
Before you whip up your DIY upholstery cleaner, you’ve got to know your furniture’s fabric. Using the wrong cleaner can mess up your sofa with stains or damage, so always check the care tag, usually tucked under a cushion or on the frame. This is key whether you’re cleaning or decorating on a budget.
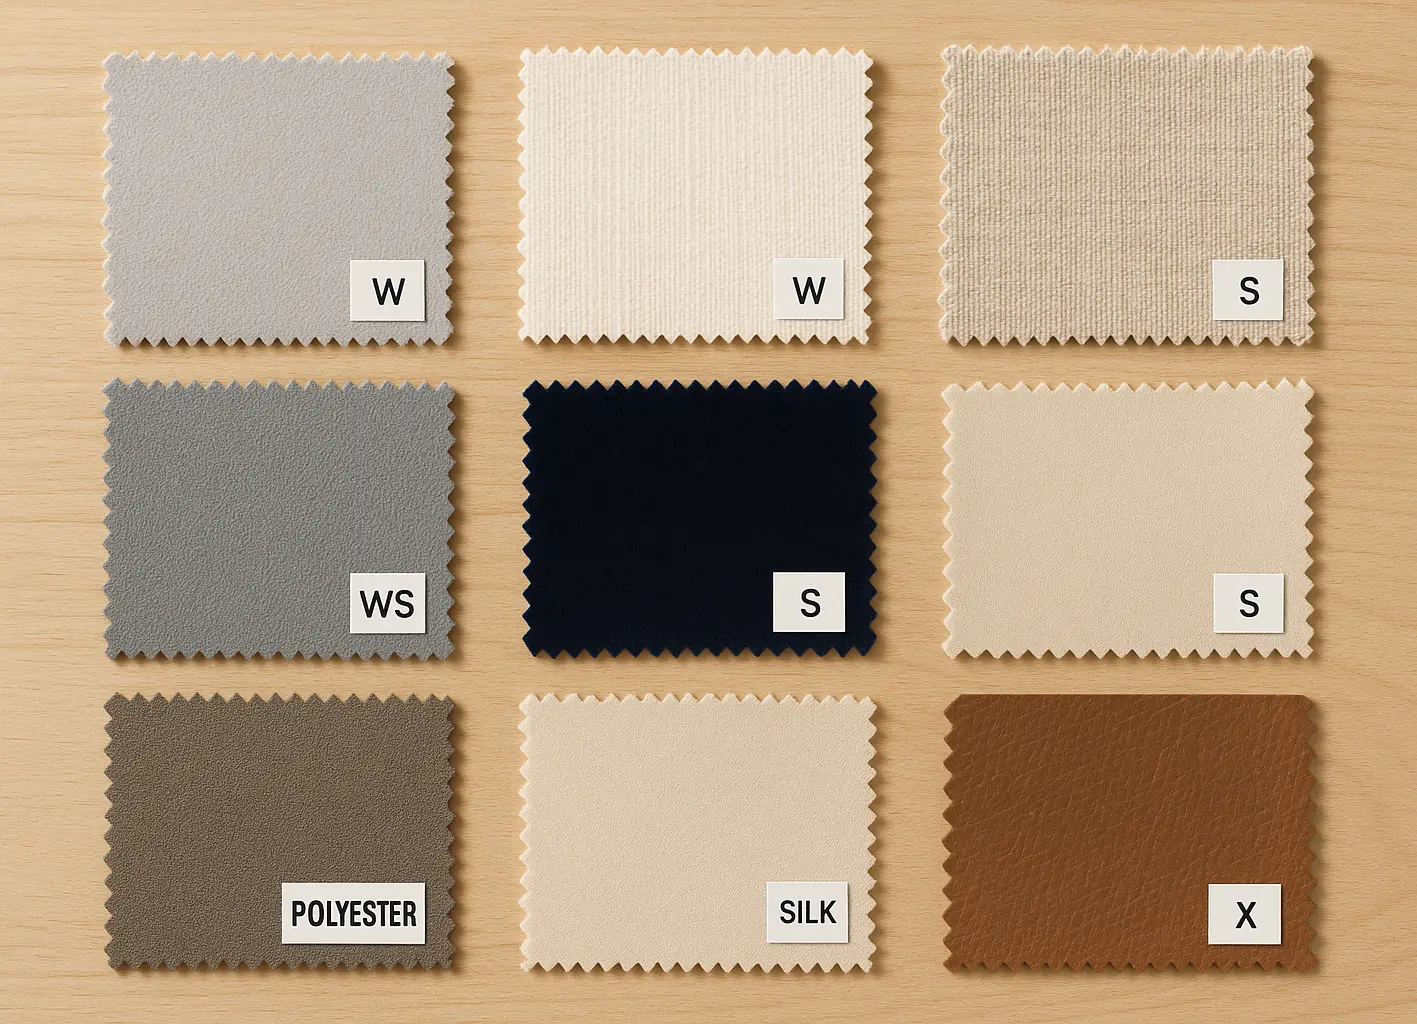
Fabric Care Codes
- W: Water-based cleaners (like our DIY recipe) are generally safe.
- S: Solvent-based cleaners only; avoid homemade water-based solutions.
- WS: Water or solvent-based cleaners can work—spot-test first.
- X: Vacuum only; no liquids allowed.
Upholstery Fabric Checker Tool
Not sure if your furniture can handle this upholstery cleaner? This quick tool checks compatibility in seconds.
Common Upholstery Fabrics
- Microfiber: Tough, stain-resistant, usually “W” or “WS.” Perfect for our natural upholstery cleaning solution.
- Linen/Cotton: Comfy but can get water rings; use just a little moisture and spot-test.
- Synthetics (Polyester, Nylon): Strong, often “W” or “WS,” great for DIY cleaning.
- Velvet/Chenille: Synthetic velvet might be water-safe; natural velvet usually needs a pro.
- Silk/Rayon: Super delicate, often “S” or “X”; skip homemade cleaners.
- Leather/Suede: Needs special cleaners, not our solution.
- Antique Furniture: Tricky and delicate; I’d call a professional to keep it safe.
If you can’t find the tag, take it slow and do a spot test.
Safety first: Always check your care tag (W/S/WS/X) and spot-test. What works on one fabric may mark another.
Two Simple Recipes for a Homemade Cleaning Solution for Upholstery
Now that you’ve got a handle on your fabric, let’s jump into two easy ways to mix a two-ingredient couch cleaner. Both take only a few minutes, lift real grime, and won’t blow your budget.
Recipe 1: Vinegar & Dish Soap Cleaner
This quick mix is my go-to for daily spills on water-safe fabrics such as microfiber or most synthetics.
Ingredients:
- White vinegar: its mild acidity may help loosen residue and odors.
- Clear dish soap: lifts oils and sticky spills (I use Dawn).
- Warm water: thins the mix so it sprays evenly.
- Spray bottle: lets you mist instead of soaking the fabric.
Instructions:
- Pour warm water into a clean spray bottle until it’s about two-thirds full.
- Stir in 1/4 cup white vinegar.
- Add 1 tablespoon clear dish soap.
- Swirl gently to combine—no hard shaking, or you’ll make foam.
Why It Works: Vinegar’s acidity may help loosen residue, and the soap breaks up oils so messes wipe away instead of smearing.
Best For: Everyday spills, snack drips, pet funk, and quick all-over freshening.
Recipe 2: Baking Soda Odor Eliminator
When the couch smells off, this two-ingredient upholstery refresher is my go-to—simple to use and it clears light odors fast.
Ingredients:
- Baking soda: helps absorb surface odors and loosens light soil.
- Vacuum cleaner: use the upholstery tool for better pickup.
- Optional essential oil: a few drops for scent (I like lavender).
Instructions:
- Dust a light layer of baking soda over the fabric.
- Optional: stir 5–10 drops of essential oil into 1 cup of baking soda first.
- Let it sit 30 minutes (overnight for tougher odors).
- Vacuum thoroughly to pull up the powder and trapped smells.
Why It Works: Baking soda helps freshen surface odors and can gently lift light stains—then the vacuum carries it away.
For set-in or pet-urine odors, enzyme cleaners or a certified pro may be more effective than baking soda alone.
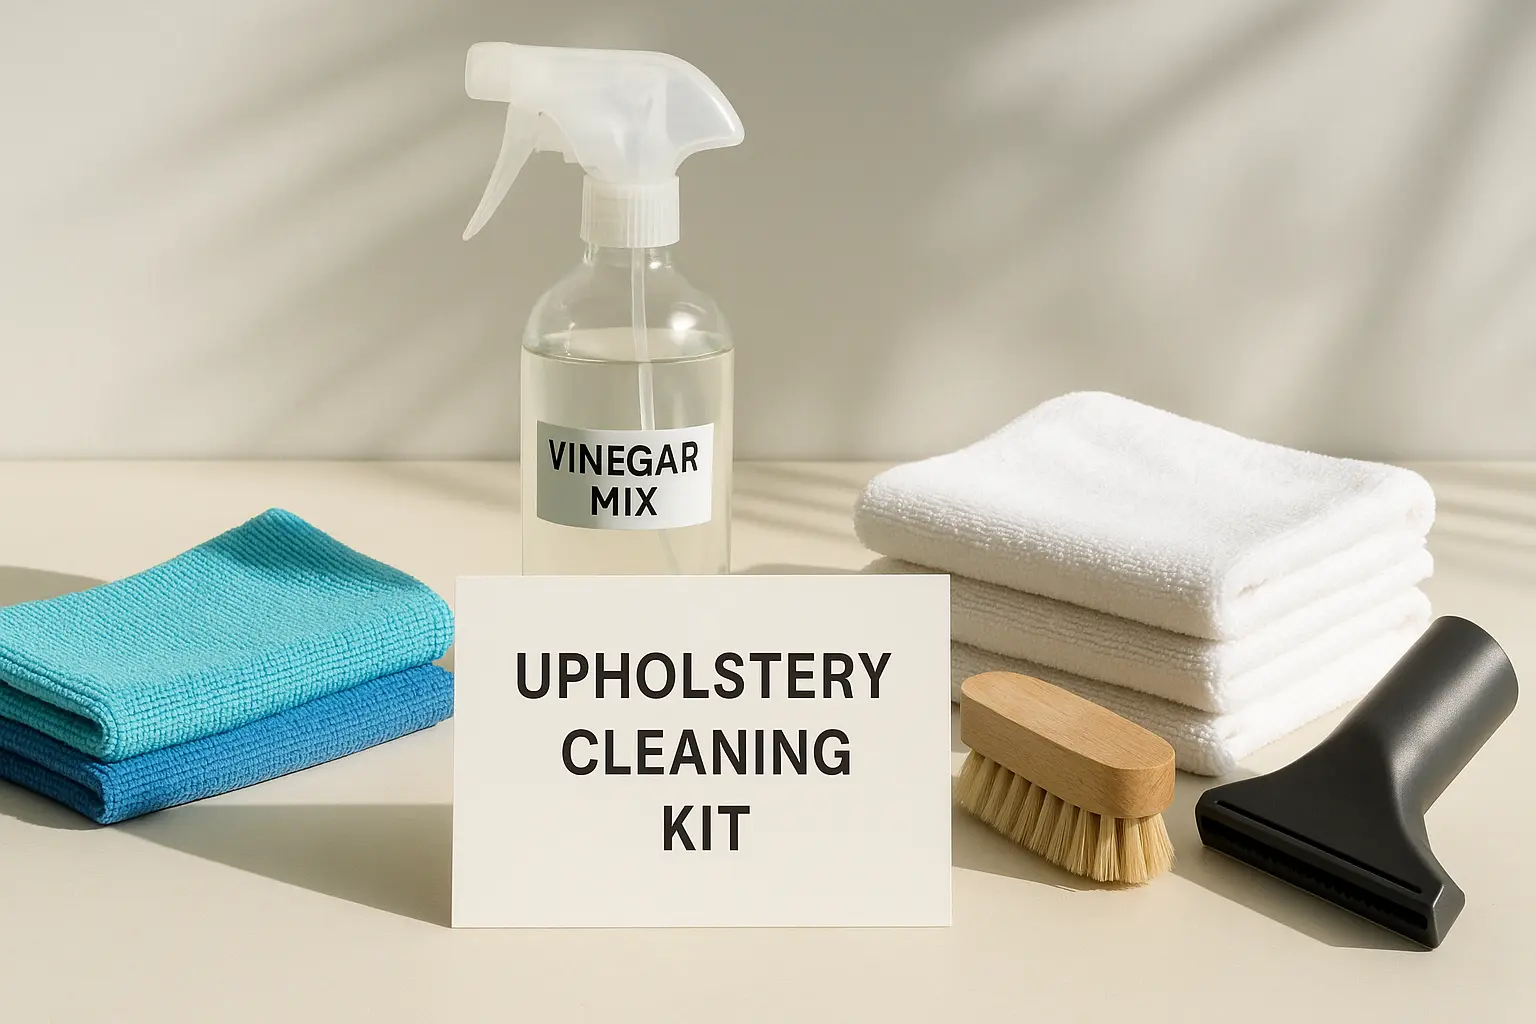
Essential Tools for This Upholstery Cleaner
The right tools do most of the work for DIY upholstery cleaning—here’s the short list I actually reach for—it keeps costs low and results high, much like any good budget-friendly family routine:
- Microfiber cloths: grab a few—great for blotting, lifting dust, and gentle scrubbing with your natural upholstery cleaner.
- Spray bottle: helps you mist the solution evenly instead of soaking areas.
- Soft-bristle brush: lifts stubborn dirt without roughing up the fabric.
- Vacuum with upholstery attachment: clears away loose debris first.
- White towels: for blotting and checking if colors bleed.
With the right tools, your DIY approach works like the pros—without the price tag.
Spot Test: A Must-Do Step
Before you spray your DIY cleaner, a quick spot test is essential to avoid any surprises. Here’s the deal:
- Choose a hidden spot: think under cushions or behind the frame.
- Apply solution: dampen a white microfiber cloth with the solution and dab gently.
- Check for issues: look for color transfer or any texture change after drying.
- Wait: let the spot dry fully (a few hours) to be sure no water rings appear.
Use distilled water if you have hard water—this helps prevent mineral rings.
Never mix vinegar with bleach. Combining acids and bleach releases harmful chlorine gas.
Measurements: 1/4 cup ≈ 60 ml; 1 tablespoon ≈ 15 ml.
If you see color transfer or a texture change, pause. Calling a pro usually costs less than fixing damage later—and you can always double-check with a small batch of your homemade sofa cleaner on a second hidden spot.
Oxidizers like hydrogen peroxide can lighten dyes. Use 3% only on colorfast light fabrics after a successful spot test; avoid silk and S/X-coded pieces.
DIY Upholstery Cleaning: Step-by-Step Guide
Once the test spot dries clean, grab your mix and get going. Follow this simple flow for reliable results:
Step 1: Pre-Clean
- Vacuum slowly with the upholstery tool, getting into seams and crevices.
- Remove cushions so you can clean all sides and the frame.
Step 2: Optional Baking Soda Treatment
- Sprinkle baking soda lightly, let it sit for 30 minutes, then vacuum.
Step 3: Apply Your Upholstery Cleaning Mix
- Mist a small section lightly with the vinegar-based upholstery cleaner.
- Blot with a microfiber cloth or gently scrub stains with a soft brush, working from outside to center.
Step 4: Blot and Rinse
- Blot with a dry microfiber cloth to lift dirt.
- Optional: blot with a water-dampened cloth to remove soap residue.
- Work in sections, swapping out dirty cloths as needed.
Step 5: Dry Thoroughly
- Let it air dry completely (several hours) to avoid mildew.
- Use fans or open windows to speed things up.
- Brush dry fabric to restore softness.
Troubleshooting Upholstery Cleaning Challenges
Run into trouble? Here’s how to fix common issues when you use this upholstery cleaner:
- Stubborn stains: reapply the DIY cleaner or try a baking soda paste. For colorfast light fabrics, consider 3% hydrogen peroxide very sparingly; spot-test first and avoid silk or S/X-coded items.
- Water rings: mist the whole area with water, blot well, and dry evenly with fans.
- Odors: sprinkle more baking soda overnight or place activated charcoal nearby.
- Stiff fabric: gently brush or vacuum to soften it up.
Homemade vs. Store-Bought Cleaners
| Feature | DIY Upholstery Cleaner (Homemade) | Store-Bought Spray |
|---|---|---|
| Cost | Low; uses pantry staples. | Moderate to high. |
| Ingredients | Common household ingredients (e.g., vinegar, mild dish soap). | Often synthetic chemicals. |
| Effectiveness | Great for common stains on water-safe fabrics. | Varies by brand; some target specific stains. |
| Safety | Low-odor; typically gentler than strong solvents when used correctly. | May irritate skin or lungs. |
| Environmental Impact | Low waste, fewer single-use plastics. | More packaging; less eco-friendly overall. |
Maintaining Your Upholstery’s Freshness
To keep your furniture looking fresh using a simple DIY upholstery cleaner, adopt these habits, much like sticking to a budget with affordable meal planning:
- Regular Vacuuming: Weekly vacuuming stops dirt from settling in.
- Quick Spill Response: Blot spills right away to prevent stains.
- Rotate Cushions: Flip them to even out wear.
- Protect from Sunlight: Use curtains to avoid fading.
- Use Throws: Washable covers make cleaning easier.
- Avoid Moisture: Use minimal liquid and dry thoroughly.
- Professional Cleaning: Schedule every 1–3 years for a deep clean.
Frequently Asked Questions
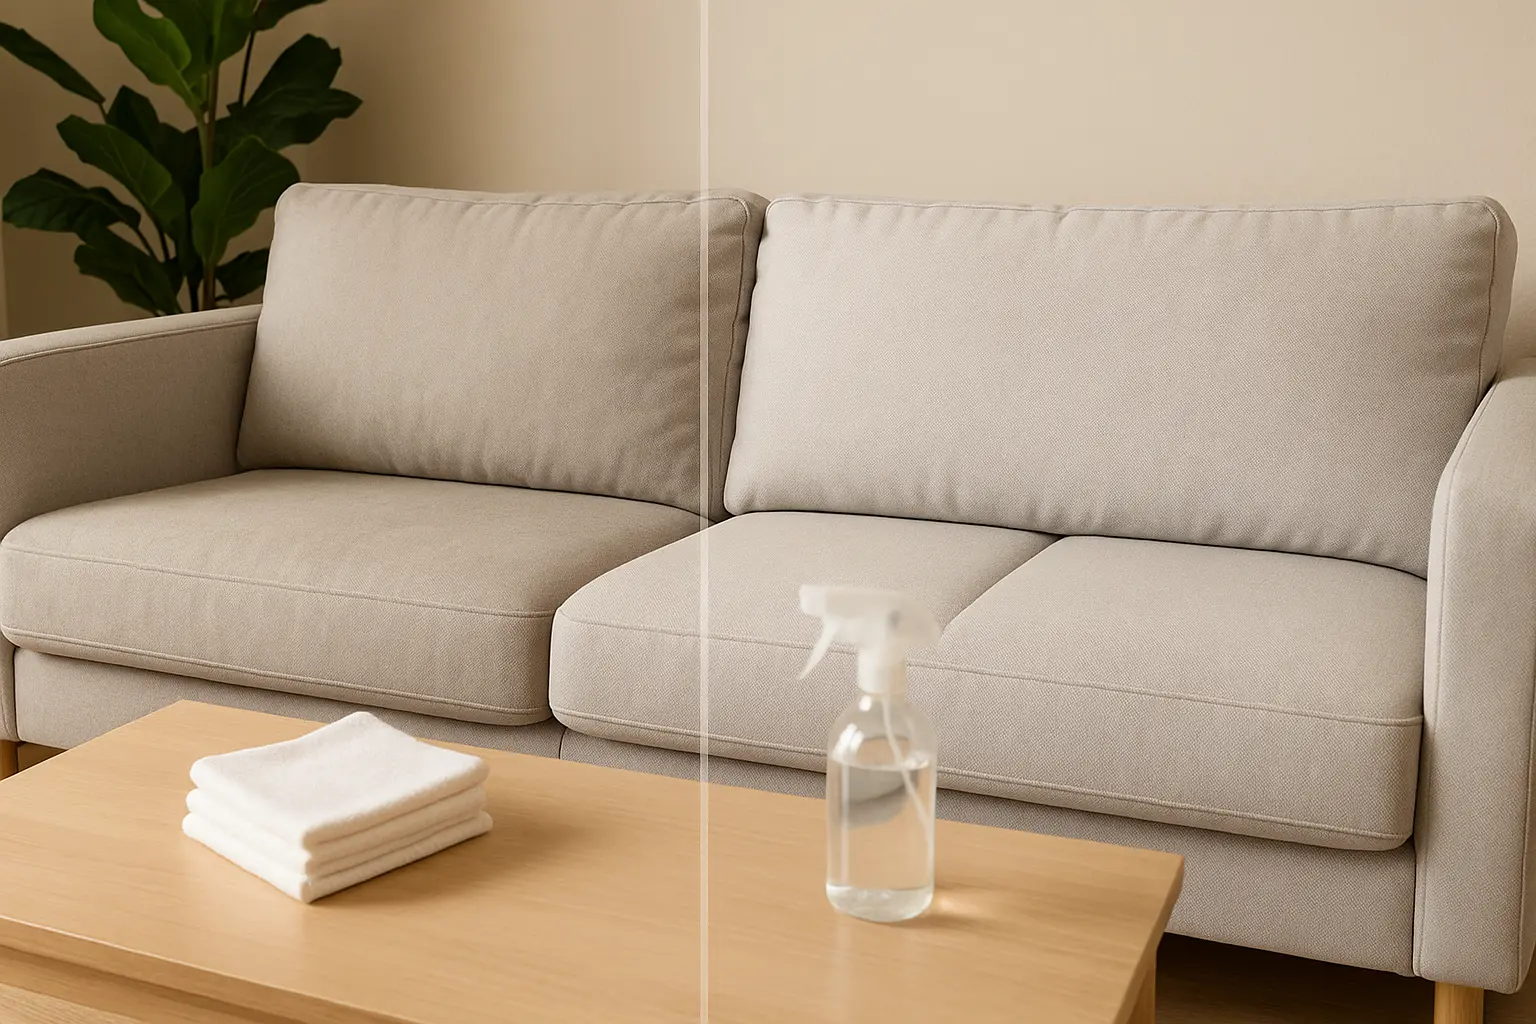
Final Thoughts on a Cleaner Home
DIY upholstery care can be surprisingly satisfying. A simple 2-ingredient mix and a microfiber cloth go a long way without harsh chemicals or a big bill. Know your fabric, spot-test, and blot gently with your DIY cleaner—you’ll end up with a fresher, cozier sofa.
For more eco-friendly cleaning ideas, dive into our foundational resource, the Guide to Homemade Cleaning Solutions, to keep your entire home sparkling on a budget.
Disclaimer: This guide shares general home-cleaning tips only. Always check manufacturer care codes (W/S/WS/X) and spot-test. Avoid homemade solutions on delicate materials like silk, rayon, leather/suede, antiques, or S/X-coded upholstery—consult a certified professional for those items.