
Picture this: You’re cruising down the highway, music on, sun shining… and suddenly, your furry co-pilot decides it’s time for a head boop or a leap into your lap. Adorable, right? But this can be dangerous! Pets roaming free in the car can distract you while driving, which might lead to accidents and put everyone at risk. Plus, if you have to slam on the brakes, an unrestrained pet could get hurt or hurt others by flying forward. The good news? A DIY pet barrier for car can keep your furry friend safe and secure in their own space. Store-bought barriers can cost a pretty penny, but don’t worry, pet parents on a budget! You can whip up a DIY pet barrier for car with everyday items for under $10. Let’s jump into these wallet-friendly ideas to make car trips safe and fun for you and your pet! For more budget-conscious pet care tips, check out our guide on saving money on dog and cat care.
Find Your Perfect DIY Barrier!Table of Contents
- Why You Need a DIY Pet Barrier for Car
- Before You Start: Key Considerations
- 5 Budget-Friendly DIY Pet Barrier for Car Ideas
- Backseat vs. Cargo Area for DIY Pet Barrier
- General Pet Travel Safety Tips
- Which DIY Pet Barrier for Car is Best?
- Maintaining Your DIY Barrier
- Frequently Asked Questions
- When DIY Might Not Be Enough
- Conclusion
Why You Need a DIY Pet Barrier for Car
Before exploring DIY projects, let’s understand why a pet barrier is essential for pet travel safety. A DIY pet barrier for car isn’t just convenient—it’s a critical tool for any pet owner driving with their companion.
The Danger of Distraction
Looking away from the road for just a second at highway speeds is like driving blind for way too long. If your pet’s not restrained, they might:
- Leap into the front seat, messing with your view or the wheel.
- Snuggle onto your lap, making quick turns or stops super risky.
- Block mirrors or windows, so you can’t see other cars.
- Chomp on wires or stuff, wrecking your car’s insides. For tips on protecting cables, see our DIY pet cord protector guide.
A DIY pet barrier for car keeps your furry friend where they belong, so you can keep your eyes on the road.
Protection During Sudden Stops
More importantly, in a crash or sudden brake, an unrestrained pet can get thrown around with scary force. For example, a 60-pound dog at 30 mph turns into a 2,700-pound missile, which could:
- Hurt your pet badly, like causing broken bones or worse.
- Injure you or other passengers if they slam into you.
- Smash up your car even more.
A DIY pet barrier for car, paired with a harness or crate, helps keep everyone safer. Check out this AVMA article on traveling with your pet for more tips.
Keeping Your Car Clean
Additionally, pets can be messy with fur, muddy paws, or car sickness. A DIY pet barrier for car confines the mess to one area, simplifying cleanup after trips. For more ways to keep your home tidy on a budget, explore our frugal cleaning hacks.
Legal Considerations
In some places, letting your pet roam free in the car can get you in trouble with distracted driving laws, especially if they’re bugging you while you drive. A DIY pet barrier for car helps you stay on the right side of the law and keeps things safe.
Before You Start: Key Considerations
Before you start building your DIY pet barrier for car, think about what’ll work best for you and your pup. Here’s what to keep in mind:
- Pet Size and Temperament: Little, chill dogs are fine with simple barriers, but big, bouncy ones need something tough to stop them from jumping or chewing through.
- Vehicle Type: Sedans usually need backseat barriers, while SUVs or hatchbacks are great for cargo area setups.
- Backseat vs. Cargo Area: Backseats work for smaller pets, but cargo areas give bigger dogs more room to stretch out.
- Visibility: Make sure your barrier doesn’t block your rearview mirror—mesh ones let you see through better.
- Installation Ease: Decide if you want something you can pop in and out quickly.
- Materials: Hit up Dollar Tree or Walmart for cheap stuff like tension rods or mesh bags. You can also find affordable supplies for other pet projects, like our DIY dog collar accessories.
- Edge Cases: Got an anxious pup? Try calming treats on short drives to ease them in. For tiny cars like coupes, a hammock-style barrier saves space.
Just a heads-up: DIY barriers are awesome for keeping pets in place, but they’re not built for crash protection. So, always use a harness or crate too for max safety.
5 Budget-Friendly DIY Pet Barrier for Car Ideas
Here are five clever, wallet-friendly DIY pet barrier for car ideas, all under $10. Each comes with materials, steps, and the good and bad to help you pick.
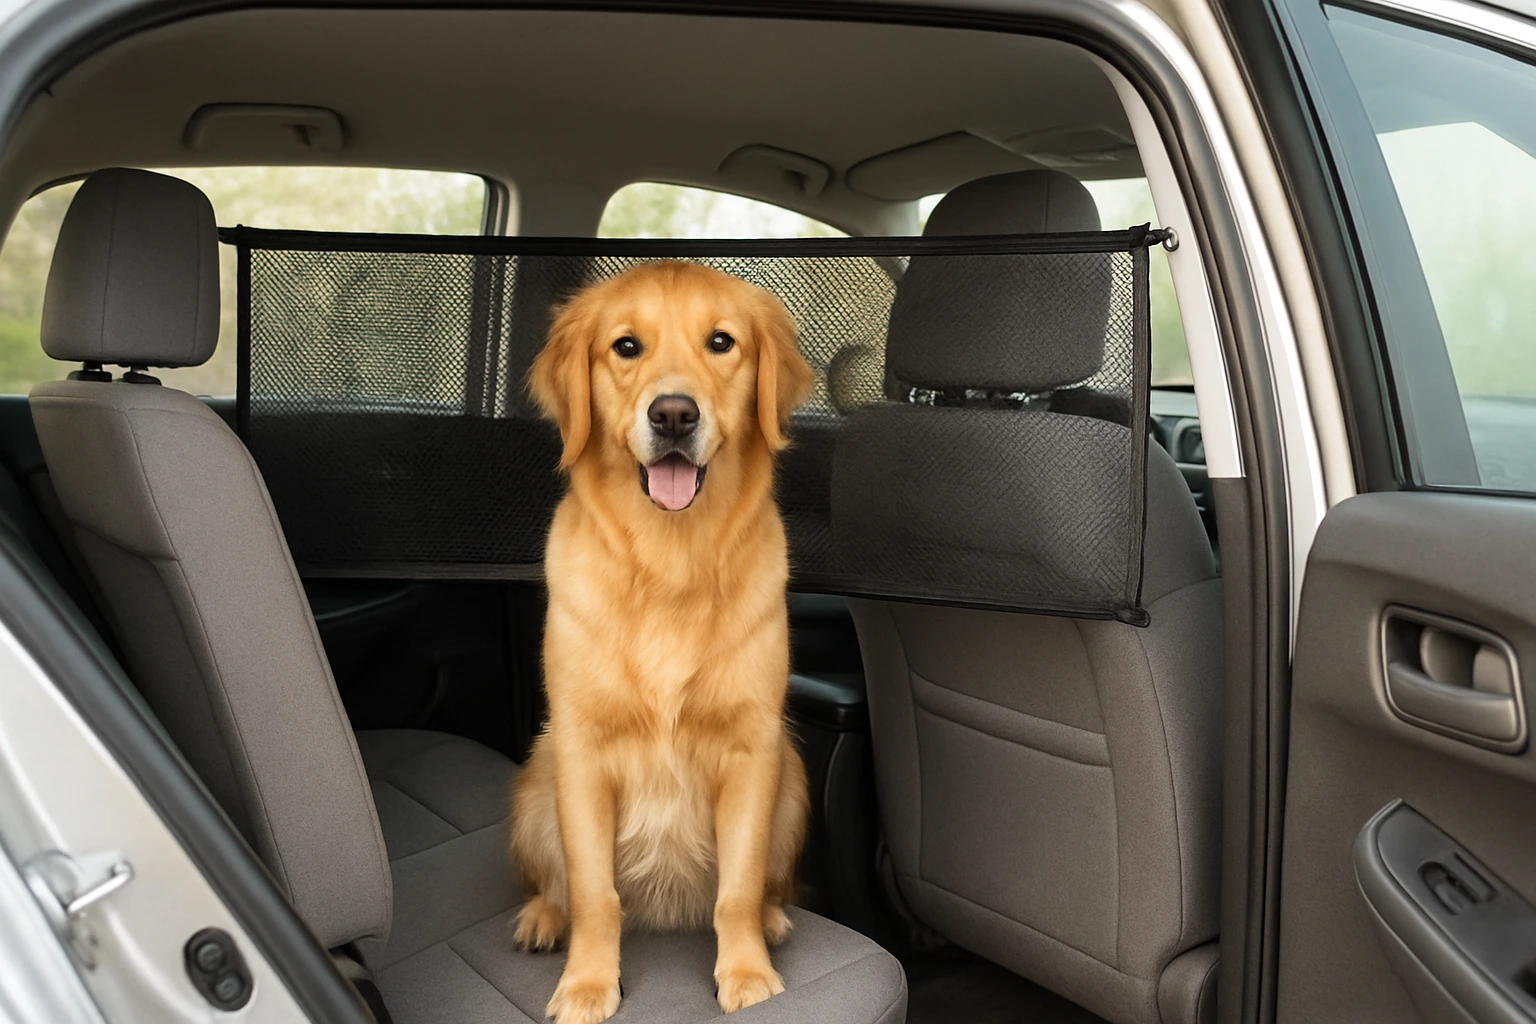
Tension Rod & Mesh Curtain Combo
This simple DIY pet barrier for car uses tension rods and mesh for a lightweight, see-through solution.
Best For: Small to medium, calm pets in backseats.
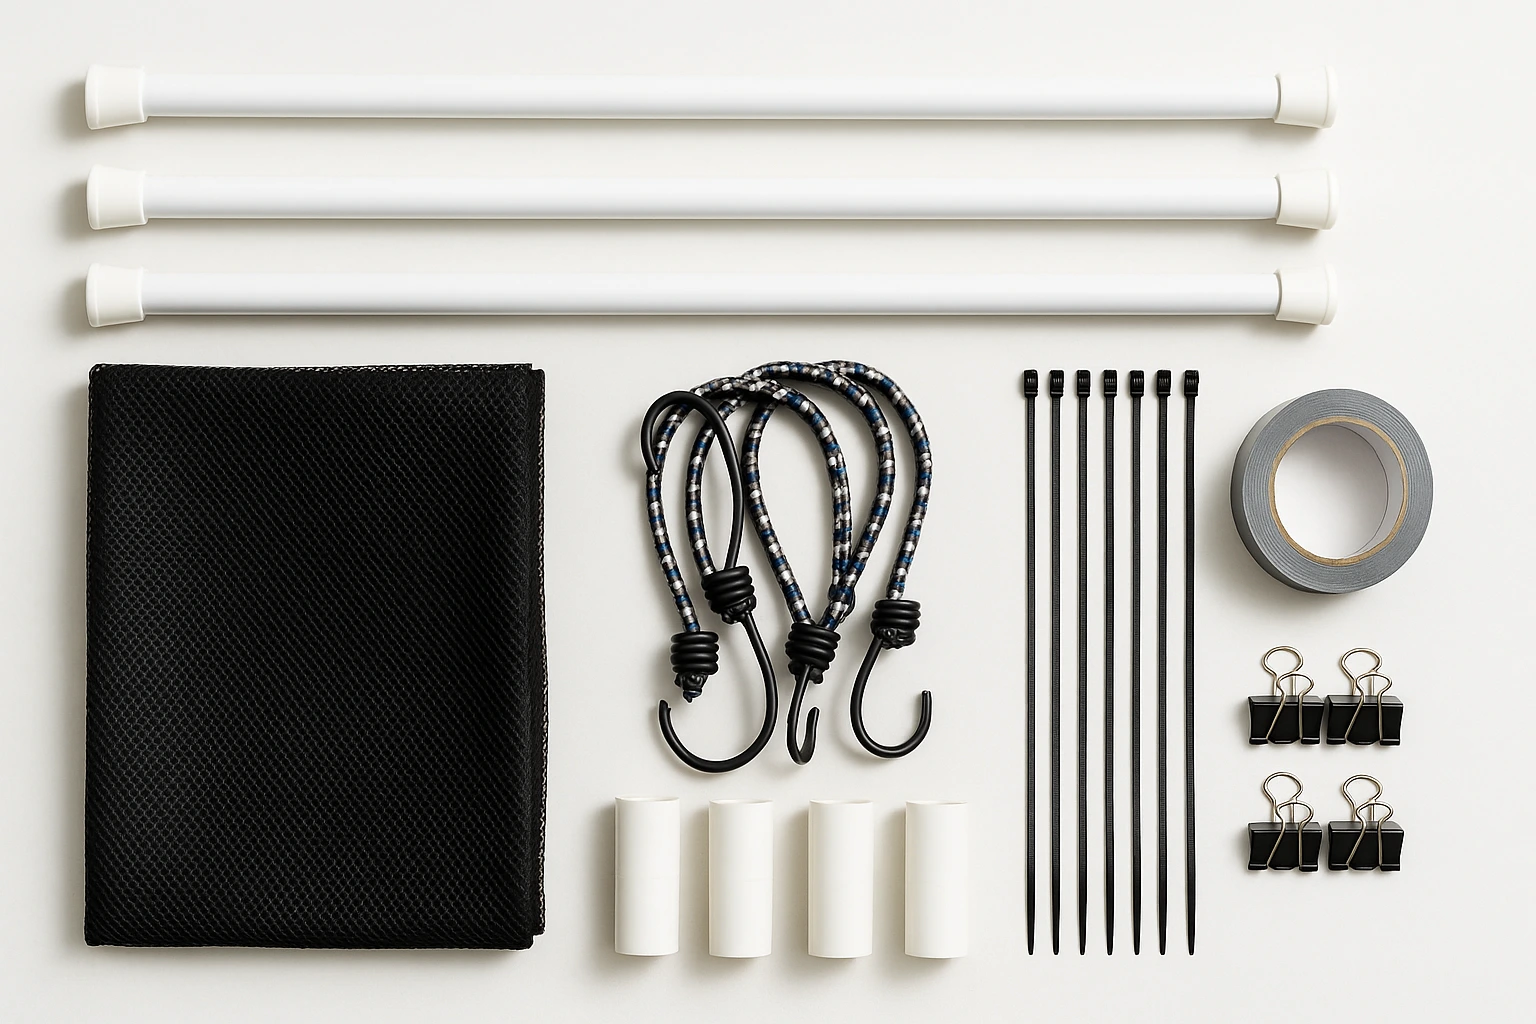
Materials Needed:
- 2-3 small tension rods ($1-$3 each at Dollar Tree).
- 1 large mesh laundry bag or fabric ($1-$5 at Walmart).
- Optional: Zip ties or binder clips ($0-$1).
How to Build:
- Extend a tension rod between door frames behind front seats.
- Add vertical rods to grab handles for stability, if needed.
- Drape mesh over the horizontal rod and secure with zip ties.
- Anchor the bottom to seat anchors or use another rod.
Pros: Cheap, easy to install, good visibility.
Cons: Not for strong pets, minimal crash protection.
Bungee Cord & Cargo Net System
This flexible DIY pet barrier for car uses bungee cords and a net or blanket for versatility.
Best For: Medium to large pets in backseats or cargo areas.
Materials Needed:
- 4-6 bungee cords ($3-$7 at Walmart).
- 1 cargo net ($5-$9) or old blanket ($0).
How to Build:
- Hook bungee cords to top corners of the net/blanket and front headrests.
- Secure sides to door handles or seatbelt anchors.
- For cargo areas, anchor the bottom to floor hooks.
- Check for gaps to ensure containment.
Pros: Versatile, strong tension, quick setup.
Cons: Blankets block visibility, bungee hooks may snag.
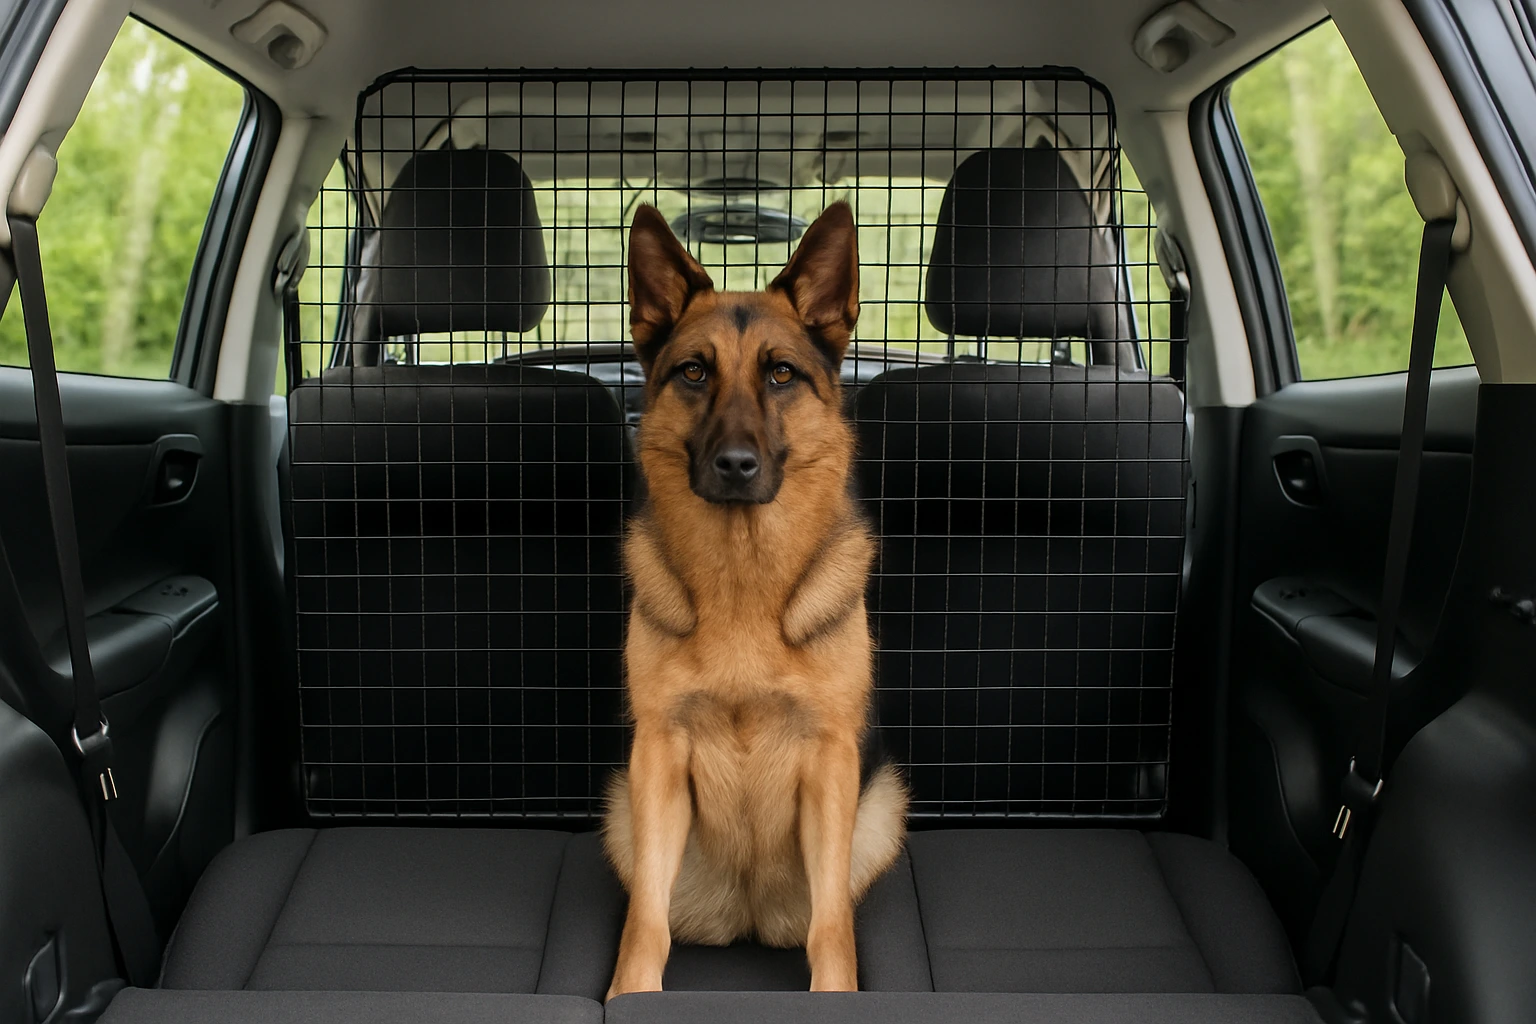
PVC Pipe Frame for DIY Pet Barrier
This rigid DIY pet barrier for car uses PVC pipes for a custom-fit solution.
Best For: Medium to large pets in cargo areas.
Materials Needed:
- 1/2-inch PVC pipes ($3-$7 at Home Depot).
- PVC elbows/T-connectors ($2-$5).
- PVC cutter or saw ($0-$5).
- Mesh or tarp ($1-$5).
- Zip ties or duct tape ($0-$1).
How to Build:
- Measure and cut pipes for a frame fitting your car.
- Assemble with elbows/T-connectors.
- Attach mesh to the frame with zip ties.
- Place in car, securing with bungee cords if needed.
Pros: Sturdy, custom-fit, durable.
Cons: More effort, less portable, may block visibility.
Repurposed Laundry Hamper Barrier
This quick DIY pet barrier for car uses a pop-up mesh hamper for small spaces.
Best For: Small to medium pets in backseats or cargo areas.
Materials Needed:
- 1 pop-up mesh hamper ($3-$7 at Dollar Tree).
- Optional: Zip ties or carabiners ($0-$1).
How to Build:
- Place hamper behind front seats or in cargo area.
- Secure top corners to headrests with zip ties.
- Anchor sides/bottom to prevent tipping.
Pros: Fast setup, cheap, collapsible.
Cons: Less durable, not for large pets.
Sheet/Blanket Hammock Setup
This hammock-style setup contains pets in the backseat, preventing falls.
Best For: Small to medium pets in backseats.
Materials Needed:
- 1 old sheet or blanket ($0-$5 at thrift stores).
- 4 carabiners ($2-$6 at Walmart).
How to Build:
- Spread sheet across backseat, covering footwells.
- Loop front corners around front headrests and clip with carabiners.
- Secure back corners to rear headrests or seatbelt anchors.
- Adjust for a taut hammock.
Pros: Cheap, protects seats, prevents falls.
Cons: Not a true barrier, blocks rearview, minimal crash protection.

Backseat vs. Cargo Area for DIY Pet Barrier
Choosing the right location for your DIY pet barrier for car depends on your vehicle and pet. Here’s a breakdown:
Backseat Setups
Best For: Smaller pets or sedans without cargo space.
Recommended Methods: Tension rod, bungee net, laundry hamper, hammock.
Tips:
- Secure to headrests for stability.
- Avoid blocking rearview mirrors.
- Use a harness with the barrier for safety.
Cargo Area Setups
Best For: Larger dogs or SUVs/hatchbacks.
Recommended Methods: Bungee net, PVC frame, laundry hamper.
Tips:
- Use floor hooks or D-rings for anchoring.
- Ensure ventilation in cargo areas.
- Consider a crate for maximum safety.
General Pet Travel Safety Tips
While a DIY pet barrier for car is a great start, additional measures ensure pet travel safety. Consider these tips:
- Use a Harness or Crate: A crash-tested harness or crate is crucial for crash protection.
- Avoid Leaving Pets Alone: Cars can overheat quickly, even with cracked windows.
- Plan Breaks: Stop every 2-3 hours for water, exercise, and relief.
- Provide Water: Use a spill-proof travel bowl.
- Ensure Ventilation: Keep air flowing, avoiding full window exposure.
- Acclimate Pets: Start with short trips, using treats for positive reinforcement.
- Avoid Pre-Trip Meals: Prevent car sickness by feeding hours before travel.
- Pack a Kit: Include food, water, leash, waste bags, and comfort items. For more pet accessory ideas, see our pet accessories business guide.
Which DIY Pet Barrier for Car is Best?
Choose the best DIY pet barrier for car with this interactive tool:
Maintaining Your DIY Barrier
Even budget-friendly DIY pet barriers for cars can last with proper care. Follow these tips:
- Inspect Regularly: Before trips, check for loose connections or torn fabric.
- Clean Often: Wash mesh or fabric per instructions; wipe PVC pipes. For cleaning inspiration, try our 3-ingredient jewelry cleaner recipe for pet-related gear.
- Store Properly: Stow tension rods or disassemble PVC frames when not in use.
- Reinforce as Needed: Add zip ties or extra rods if your pet pushes or jumps.
Frequently Asked Questions
When DIY Might Not Be Enough
While a DIY pet barrier for car is a great budget option, it’s not perfect for every situation. Here’s when you might need more:
- Big, Rowdy Dogs: Strong chewers or jumpers might bust through. Go for a crash-tested commercial barrier or crate instead.
- Crash Safety: These barriers keep pets in place but aren’t built for accidents. Always use a harness or crate for real protection.
- Daily Use: If you’re driving with your pet every day, a store-bought barrier might hold up better over time.
For the safest rides, combine your DIY barrier with a good harness or crate.
Conclusion
You don’t need to spend a ton to keep your dog safe on car trips. With these five DIY pet barrier for car ideas, you can whip up something awesome for under $10. Pick your favorite—whether it’s a tension rod setup, a stretchy bungee net, or a solid PVC frame—and make every drive safer for your pup and you. Grab your supplies, get creative, and hit the road with your furry sidekick worry-free!