
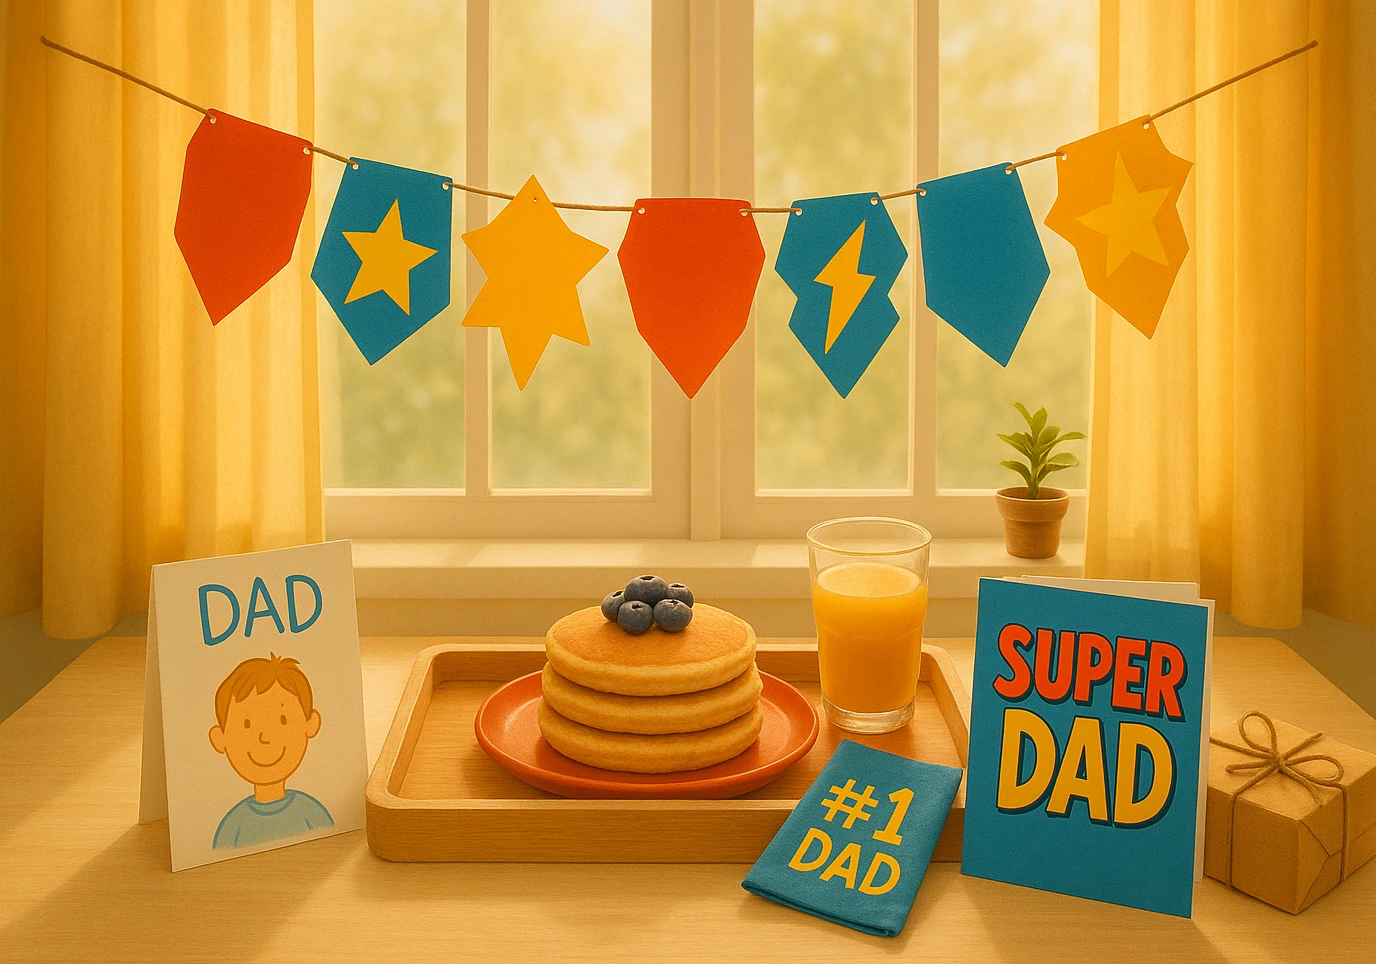
A handmade Father’s Day decoration does not need complicated supplies to feel personal. With this banner, the decorating can become part of the gift: children can choose the colors, arrange the symbols, and add their own message before it goes up.
The free four-page PDF includes a finished superhero-color version and a matching low-ink version to decorate by hand. Two pages are ready to hang; two pages are made for kids to color.
Download the Super Dad Banner PDF
Table of Contents
- What the Printable Includes
- Print the Banner at the Correct Size
- Cut, Punch, and Thread the Pennants
- Arrange and Hang the Banner
- Let Kids Personalize It
- Fix Common Problems
- Frequently Asked Questions
What the Super Dad Banner Printable Includes
| PDF page | What you get |
|---|---|
| Page 1 | Full-color S-U-P-E-R pennants plus a lightning-bolt accent |
| Page 2 | Full-color D-A-D pennants plus two stars and one heart |
| Page 3 | Low-ink S-U-P-E-R pennants and lightning bolt for coloring |
| Page 4 | Low-ink D-A-D pennants, stars, and heart for coloring |
| Total | Eight letter pennants and four accent pennants |
| Page setup | US Letter, portrait orientation, with dashed cutting lines and two punch marks per pennant |
The PDF contains banner pieces only. It does not include editable digital text, gift tags, greeting cards, or table cards. Print pages 1–2 for the finished red, blue, gold, and navy version, or pages 3–4 when children want to create the color scheme themselves.
Print the Banner at the Correct Size
Cardstock gives the pointed pennants enough structure to hang flat. Use a paper weight approved for your printer, and make the first copy on plain paper if you are unsure how it will feed.
- Open the downloaded PDF. Print the PDF itself rather than the webpage or display image.
- Select US Letter and portrait orientation. All four pages use the same setup.
- Choose 100% or Actual Size. Turn off “Fit to page,” shrinking, and automatic enlargement.
- Select a version. Print pages 1–2 for full color or pages 3–4 for the low-ink coloring version.
- Print one test page. Check the cut lines, hole marks, and color before using the final cardstock.
Cut, Punch, and Thread the Pennants
- Color first if using the outline pages. A full sheet is easier for children to decorate than separate pointed pieces.
- Let the ink or marker dry. This prevents smears during cutting and stacking.
- Cut along each dashed outer edge. Keep the pointed bottom attached to the pennant.
- Punch the two marked circles. Test the first pennant to make sure the punch reaches both guides cleanly.
- Thread ribbon, twine, or string through both holes. Keeping the string behind each letter helps the word stay readable.
- Slide the pieces into order. Leave them loose until you have checked the complete arrangement.
Arrange and Hang the Super Dad Banner
| Display space | Useful arrangement | Where accents can go |
|---|---|---|
| Wide wall or mantel | SUPER DAD on one line | One symbol at each end; extras between the words |
| Door or narrow wall | SUPER above DAD | Lightning beside SUPER and stars or heart beside DAD |
| Breakfast table | One line across the front edge | Use only the accents that fit without crowding plates |
| Photo area | Two slightly curved rows | Balance one accent on each outside edge |
| Dad’s chair | SUPER on the chair back and DAD above or below | Use the heart as the final piece |
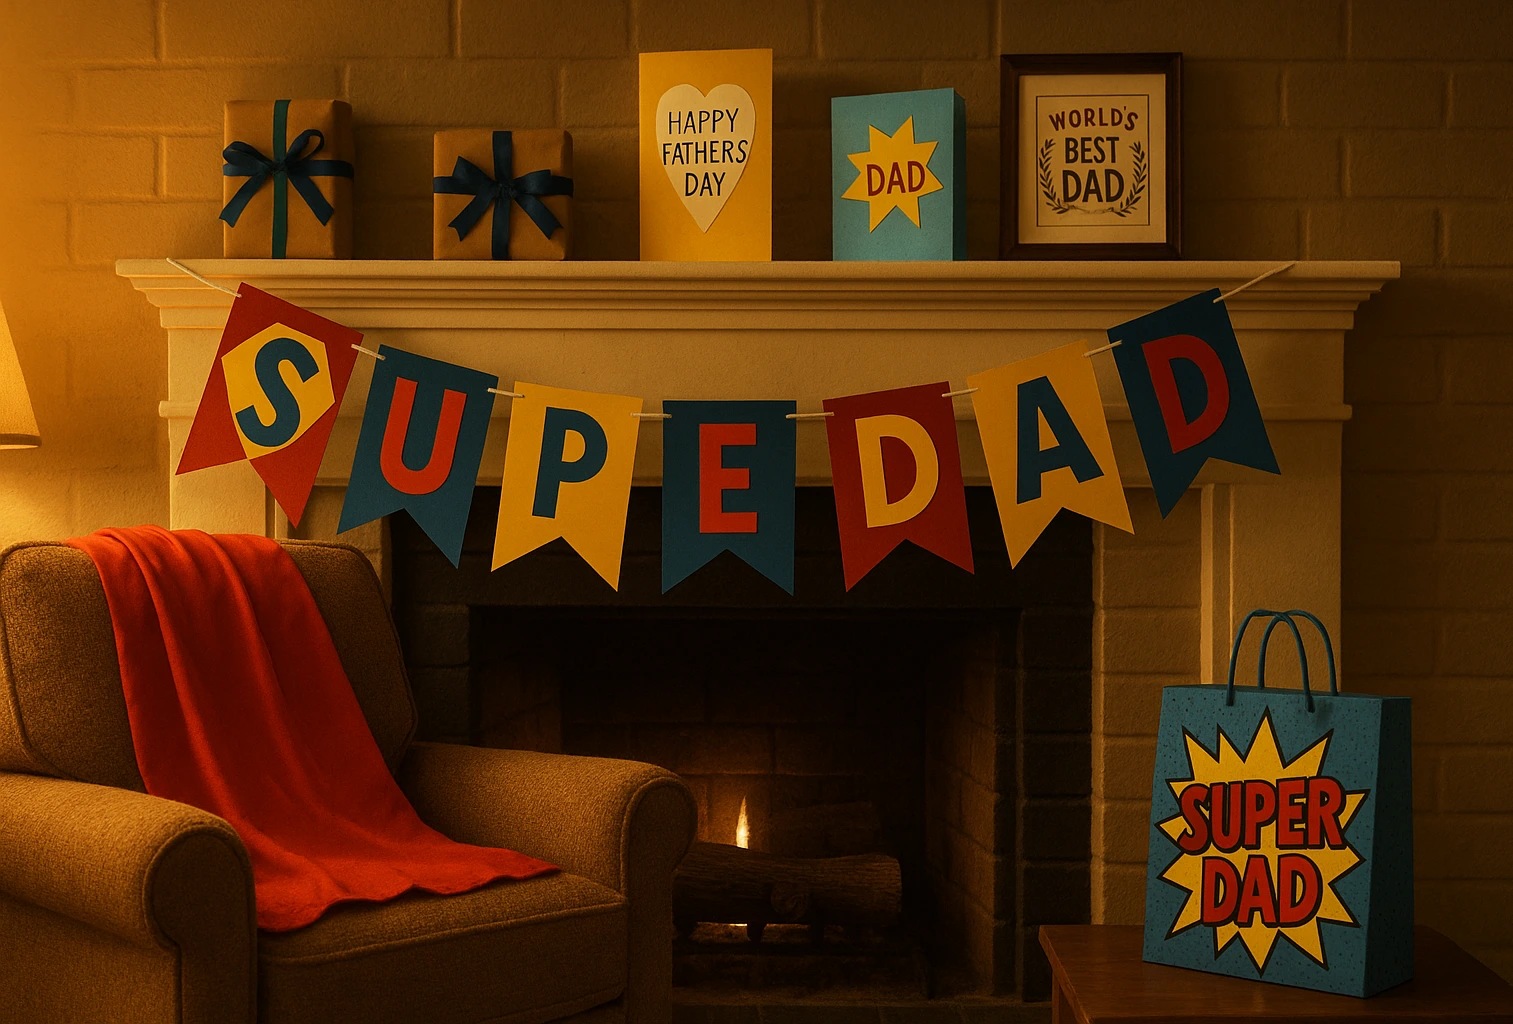
Attach the string to secure hooks or removable tape suited to the surface. Do not tape the pennants themselves until the spacing looks right; sliding them along the string is easier than peeling tape from printed cardstock.
Let Kids Personalize the Banner
The outline version is useful when the making matters as much as the finished decoration. Limit the choices enough that the banner still reads clearly from across the room.
- Pick a small color palette: two main colors plus one accent color are easier to repeat across twelve pennants.
- Decorate the symbols differently: use the stars, heart, and lightning bolt for patterns while keeping the letters easy to read.
- Add messages on the back: each child can write one short reason Dad feels “super.”
- Use pencils for younger artists: they are less likely to bleed through the paper than heavy markers.
- Test extras on a trimmed scrap: check stickers, pens, or glue before adding them to a finished letter.
Fix Common Banner Problems
- The pennants print too small: select 100% or Actual Size and disable “Fit to page.”
- The pointed edge is clipped: confirm US Letter paper, portrait orientation, and no borderless enlargement.
- The cardstock curls: let the pages cool and dry flat before cutting, then store finished pieces under a light book until assembly.
- The holes tear: punch only after the cardstock is dry, and pull the string gently rather than tightening it against the paper.
- The letters bunch together: widen the hanging points or shorten the number of accent pennants used in that space.
- The pennants slide to the center: add a small removable piece of tape to the back of the string behind the outside pennants.
- The banner hangs backward: thread the string behind each pennant and check the full phrase on the floor before hanging it.