
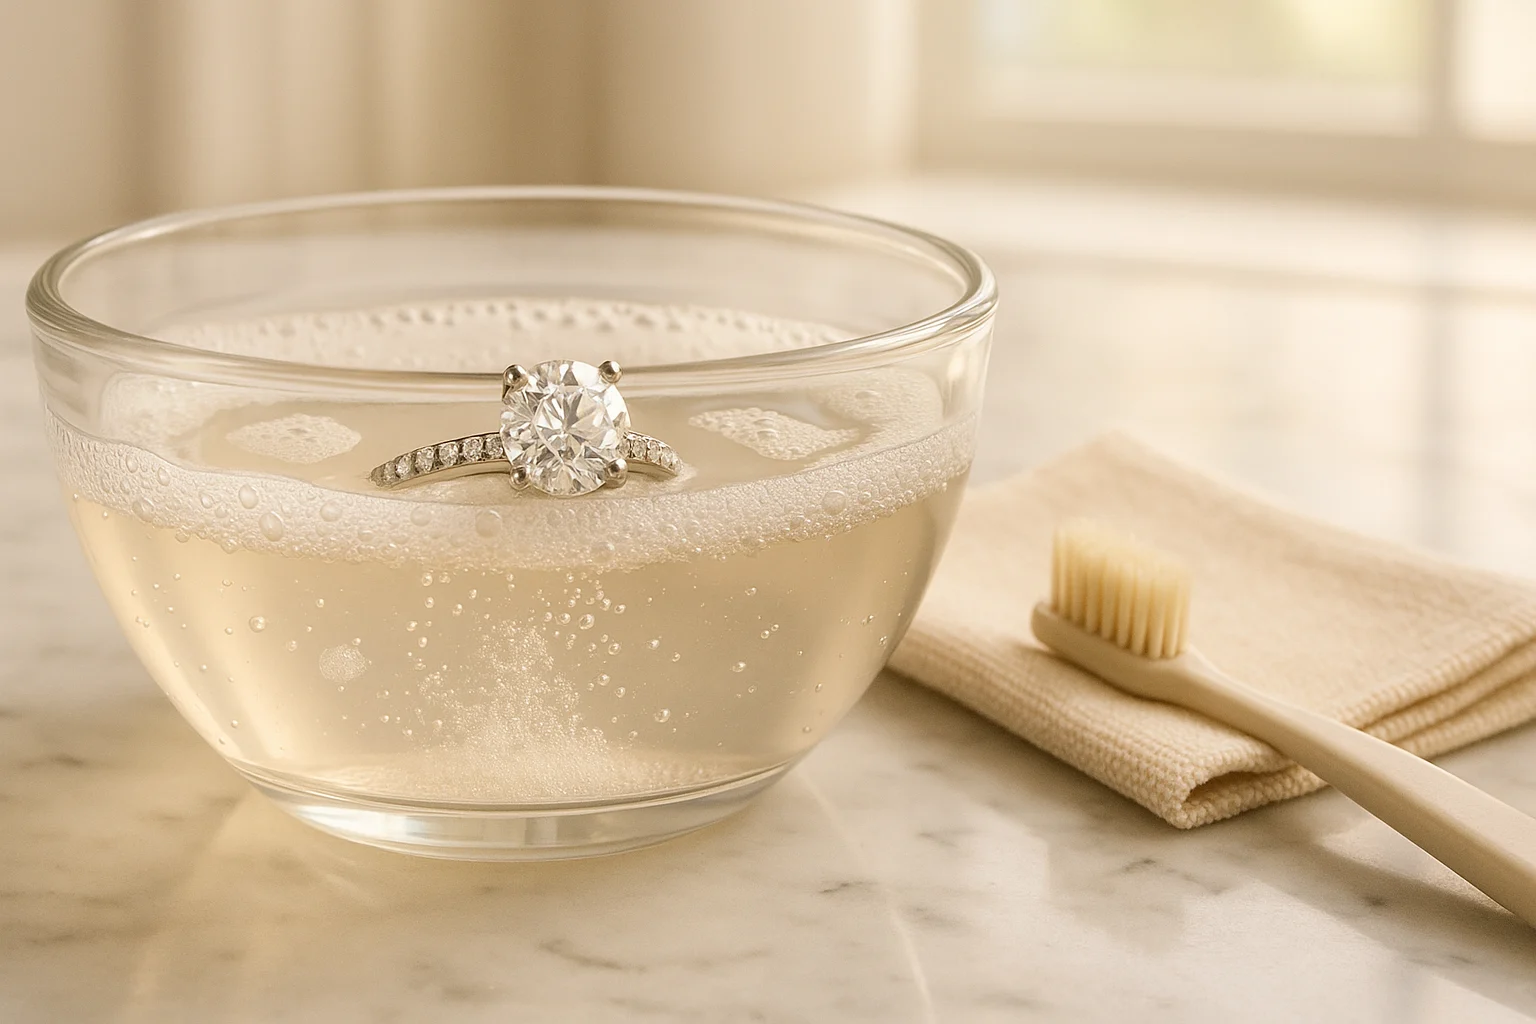
The recipe is simple; choosing the right route is the important part. For most sturdy, securely set pieces, a homemade cleaning solution for jewelry is just warm water and a few drops of mild dish soap. Before anything goes into the bowl, check the material, treatment, plating, glue, and setting so you know whether to soak, wipe, or stop.
Use the quick answer for routine oils and grime, then check the material guide or safety checker before cleaning anything delicate, valuable, or unfamiliar. For other low-cost household recipes, see our guide to homemade cleaning solutions.
- Mix: 1 cup warm water with a few drops of mild dish soap.
- Use it for: routine oils and grime on sturdy, securely set pieces that are compatible with soap and water.
- Clean: soak for 5–10 minutes when appropriate, brush softly, rinse in a bowl or plugged sink, and pat dry.
- Do not soak: glued, plated, costume, porous, treated, loose, damaged, antique, or unidentified pieces.
For tarnish: use a silver-care product made for the piece or ask a jeweler; do not add baking soda, toothpaste, vinegar, or lemon.
Time: about 5–15 minutes · Cost: pennies
This post may contain affiliate links. As an Amazon Associate, I earn from qualifying purchases. If you buy through a link, we may earn a commission at no extra cost to you.
Table of Contents
- The Gentle Soap-and-Water Jewelry Cleaner
- Choose the Right Cleaning Method for Your Jewelry
- Jewelry Cleaning Safety Checker
- How to Use This Homemade Cleaning Solution for Jewelry
- How Often to Clean Jewelry—and Keep It Cleaner
- When an Ultrasonic Cleaner May Make Sense
- Frequently Asked Questions
- Before You Clean: Choose Soak, Wipe, or Stop
The Gentle Soap-and-Water Jewelry Cleaner
This method is inexpensive and easy to control: use a brief soak for compatible pieces, a damp cloth for pieces that should not soak, and no DIY cleaning when the material or setting is uncertain. It is meant for surface oils and grime—not tarnish, loose stones, or damaged settings.
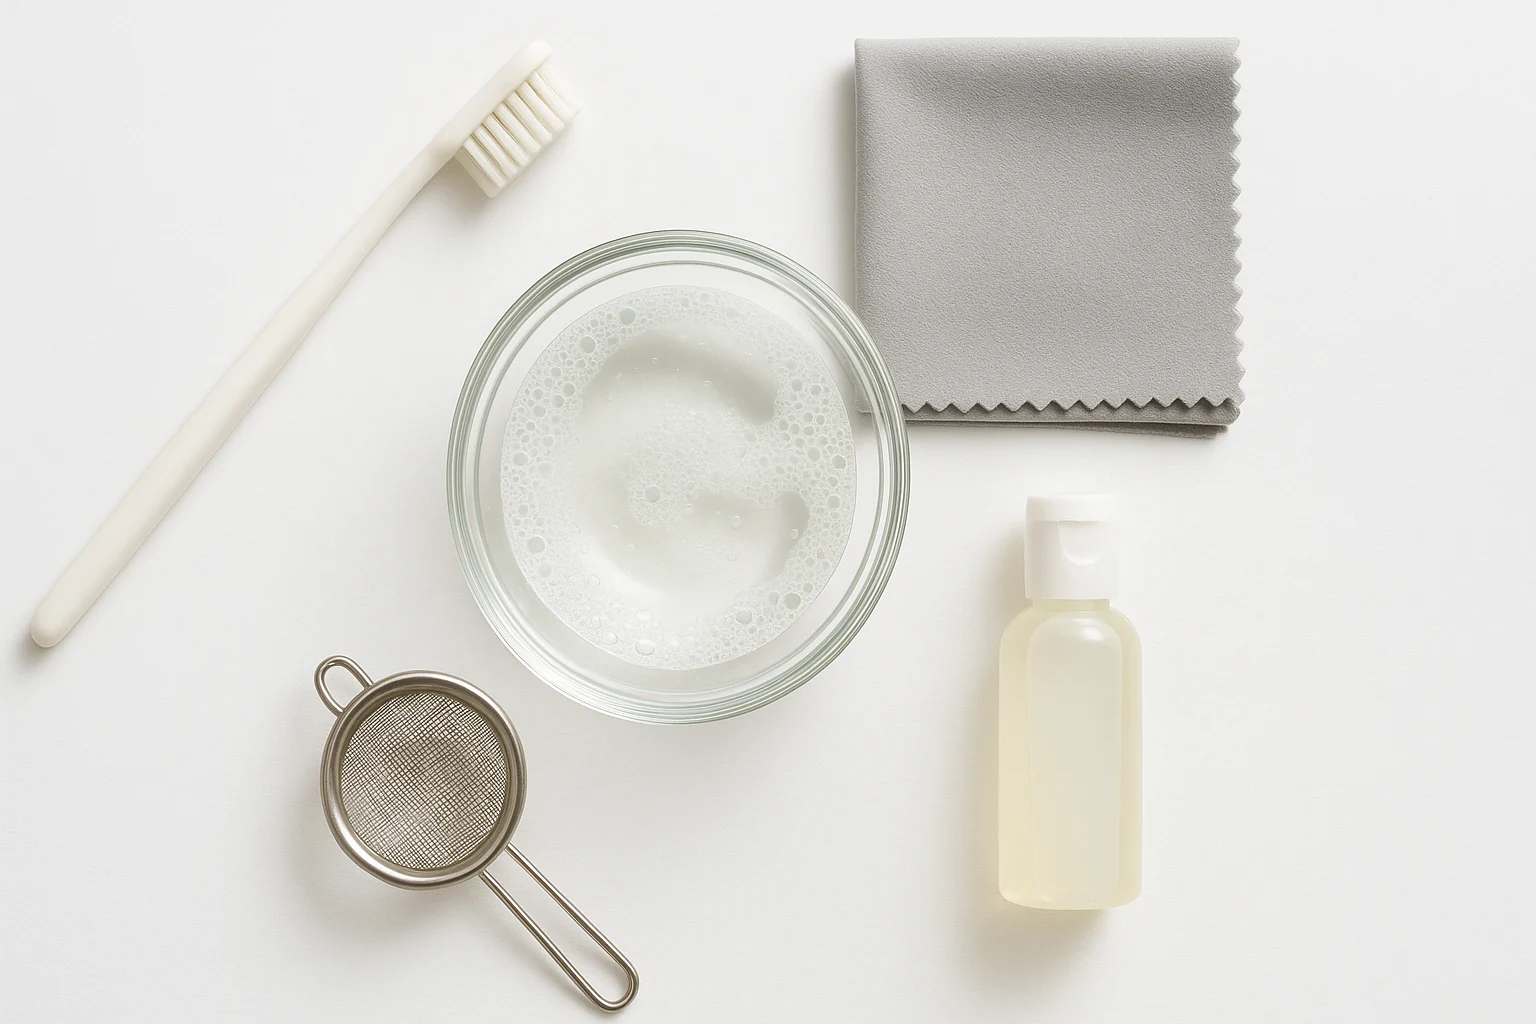
Ingredients and tools
- Warm water: loosens residue without the shock of very hot or cold water.
- Mild dish soap: lifts skin oils and everyday grime without an abrasive powder.
- Small bowl: keeps the piece away from an open drain.
- Soft-bristle brush: reaches around secure prongs and crevices with light pressure.
- Lint-free microfiber cloth: dries the piece without leaving fibers behind.
- Strainer or sink plug: adds a second layer of protection during rinsing.
Choose the Right Cleaning Method for Your Jewelry
The safest route depends on the whole piece, not only the gemstone name. Identify the metal, treatment, coating, glue, and setting condition. For current care guidance, see GIA’s jewelry-care overview, Jewelers of America’s gemstone-treatment guide, and Tiffany’s general care guidance.
| Piece or condition | Safer starting point | Stop or avoid |
|---|---|---|
| Sturdy gold, platinum, or hard gems in a secure setting | Brief soap-and-water soak, soft brushing, careful rinse, and thorough drying. | Stop if the piece is filled, coated, treated, glued, cracked, or loose. |
| Sterling silver with surface grime | Use the gentle soap-and-water method, then dry completely. | For tarnish, use silver care made for the piece; skip baking soda and toothpaste. |
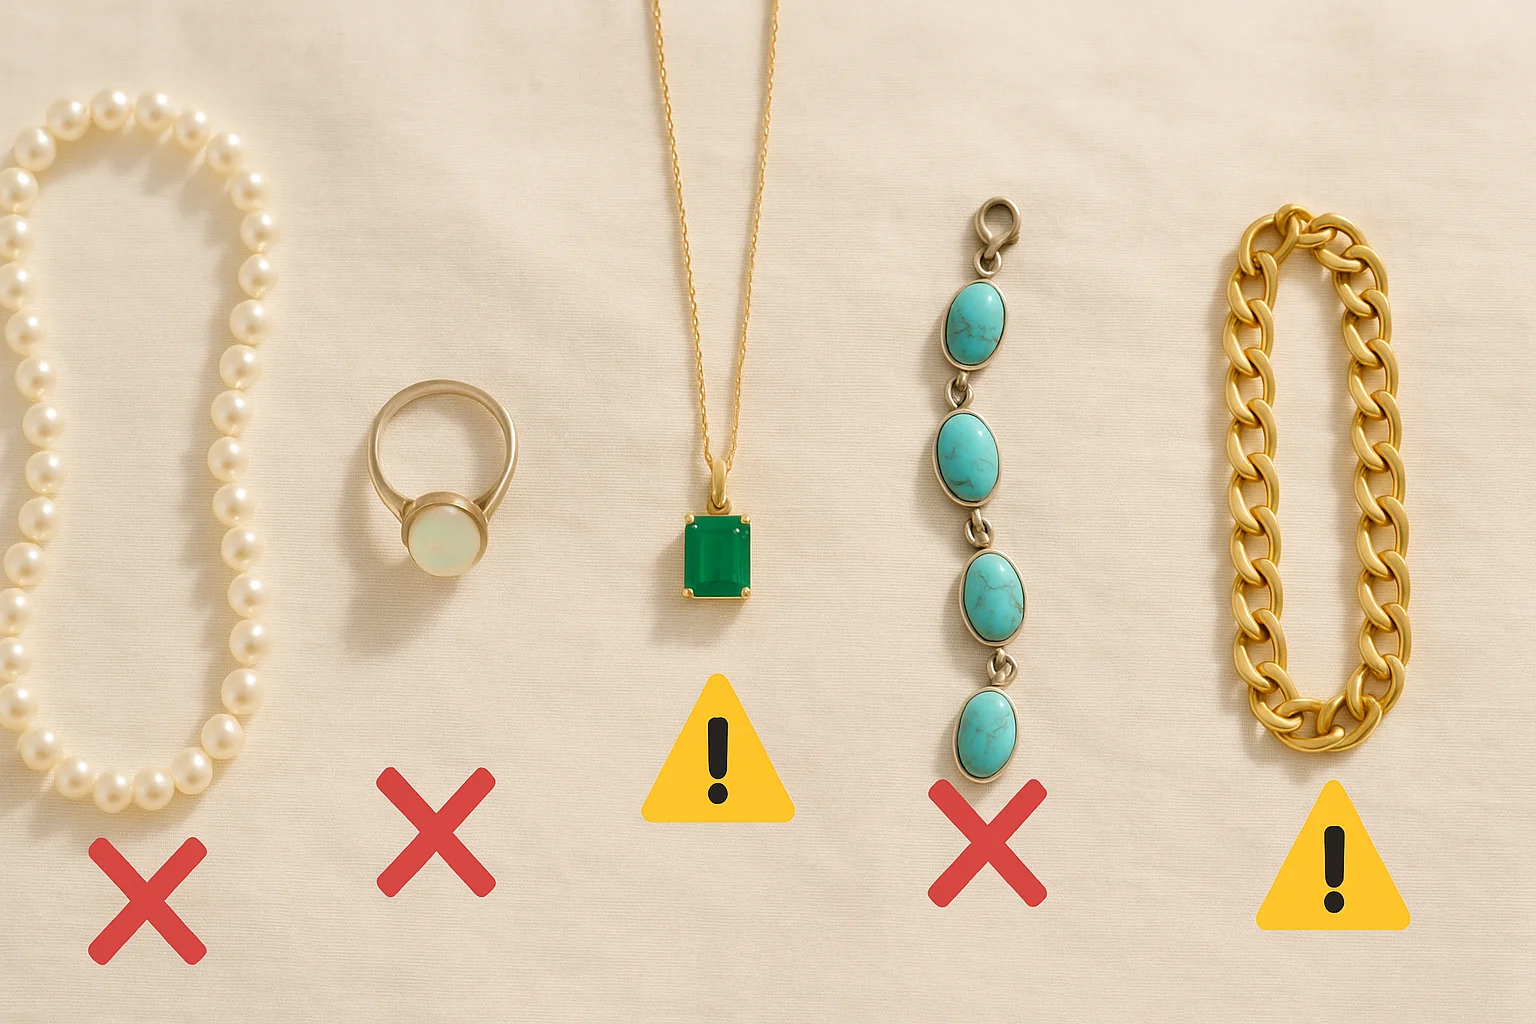
| Pearls, opals, or oil-treated emeralds | Use material-specific gentle hand care: wiping for pearls, mild soapy water and a soft cloth for opals, and a brief hand clean for known emerald treatments. | Avoid prolonged soaking, steam, ultrasonic cleaning, and sudden temperature changes. |
| Turquoise, lapis, malachite, coral, or amber | Use a soft, barely damp cloth. | Do not soak porous or organic materials. |
| Plated, costume, or glued jewelry | Use minimal moisture and almost no pressure. | Avoid soaking, abrasive powders, and vigorous brushing. |
| Antique, valuable, damaged, loose, or unidentified pieces | Ask a professional jeweler to identify the safest method. | Do not experiment with soaking, polishing, steam, or vibration. |
The table covers common cases. Use the checker when a piece combines materials, when treatment or setting details change the answer, or when you are unsure which rule should control the decision.
If your result recommends a brief soak or gentle hand clean, use the steps below. If it says wipe only or stop, follow that result instead and skip the general soak.
How to Use This Homemade Cleaning Solution for Jewelry
This DIY jewelry cleaning routine starts with inspection, so you can stop before a gentle-looking method becomes the wrong method for the piece.
- Identify and inspect the piece: Check the metal, gemstone, treatment, plating, glue, and setting. Do not continue if a stone is loose, a prong is damaged, the finish is lifting, or the material is unknown.
- Mix the solution: Add a few drops of mild dish soap to 1 cup of warm water. You need light suds, not a concentrated bath.
- Choose soak or wipe: Soak sturdy, securely set, compatible pieces for about 5–10 minutes. Use a barely damp cloth instead for plated, glued, costume, porous, or delicate pieces.
- Brush only where appropriate: Use a soft brush and light pressure around secure prongs and crevices. Skip brushing fragile surfaces or loose settings.
- Rinse safely: Rinse in a bowl of clean lukewarm water or over a plugged sink with a strainer. Remove all soap residue.
- Dry and inspect again: Pat dry with a microfiber cloth, let crevices air-dry, and check the piece under good light before wearing or storing it.
If grime remains after gentle cleaning, stop. Stubborn residue, tarnish, a loose stone, damaged plating, or an unfamiliar treatment needs a material-specific product or professional care—not more scrubbing.
How Often to Clean Jewelry—and Keep It Cleaner
Clean by condition, not a rigid calendar. Wipe a piece when it picks up lotion or skin oils, use the material-appropriate method when visible buildup appears, and inspect the setting before every deeper clean. Frequently worn pieces may need cleaning sooner, while rarely worn pieces may only need a wipe before storage.
Habits That Reduce Buildup
- Wipe after wear: Use a soft cloth on pearls, plated pieces, and delicate surfaces.
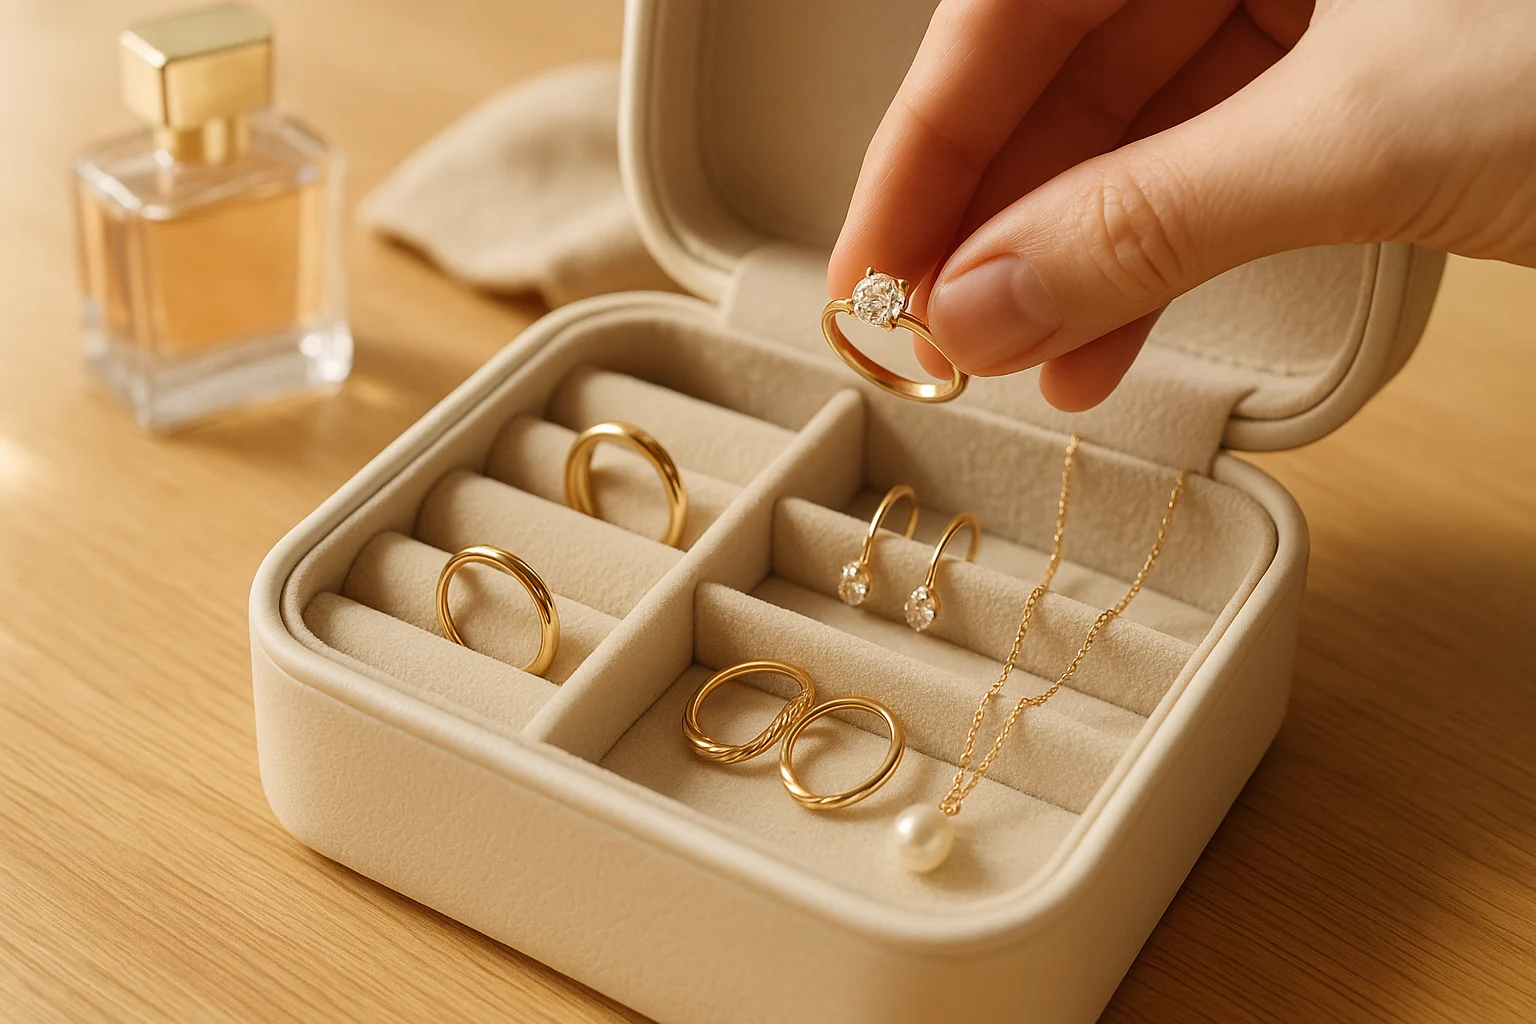
- Put jewelry on last: Apply makeup, perfume, sunscreen, and lotions before putting it on.
- Take it off for wet or rough work: Remove jewelry before showering, swimming, cleaning, exercise, or yard work.
- Store pieces separately: Use a jewelry box or soft pouches, and store silver with an anti-tarnish bag or cloth.
- Check the setting: Have frequently worn fine jewelry inspected at least yearly and more often when prongs or settings take daily wear.
When an Ultrasonic Cleaner May Make Sense
An ultrasonic cleaner is not a stronger version of the homemade method. It is a different tool for pieces that have already been confirmed compatible. Vibration can loosen stones, and many treated, organic, porous, fractured, glued, or heat-sensitive materials should not go in one.
- Consider it for: sturdy, securely set pieces that the maker or jeweler confirms are ultrasonic-compatible.
- Skip it for: pearls, opals, turquoise, lapis, malachite, coral, amber, oil-treated emeralds, glued settings, antique pieces, damaged prongs, or anything of unknown treatment.
- Ask a jeweler first when: the piece is valuable, plated, vintage, loose, cracked, filled, coated, or difficult to identify.
For several compatible pieces you clean regularly: Magnasonic CD2800.
Choose it only after confirming the whole piece is ultrasonic-compatible. Skip it if occasional soap-and-water cleaning already handles the job.
Frequently Asked Questions
Before You Clean: Choose Soak, Wipe, or Stop
Look at the piece one more time. Sturdy, securely set pieces that are compatible with soap and water can follow the six-step method. Plated, glued, porous, treated, damaged, antique, or uncertain pieces need the material-specific route above or a jeweler rather than the general soak.
Once you can name the safe route—soak, wipe, or stop—you have the answer this guide is meant to give. For other low-cost household recipes, continue with our Complete Guide to Homemade Cleaning Solutions.
Disclaimer: This article offers general DIY cleaning guidance and is not professional jewelry-care or appraisal advice. Identify the metal, gemstone, treatment, coating, glue, and setting condition before cleaning. Avoid bleach, chlorine, abrasive household powders, and ultrasonic cleaning unless the material and setting are confirmed suitable. For valuable, antique, damaged, plated, treated, or uncertain pieces, consult a professional jeweler.