
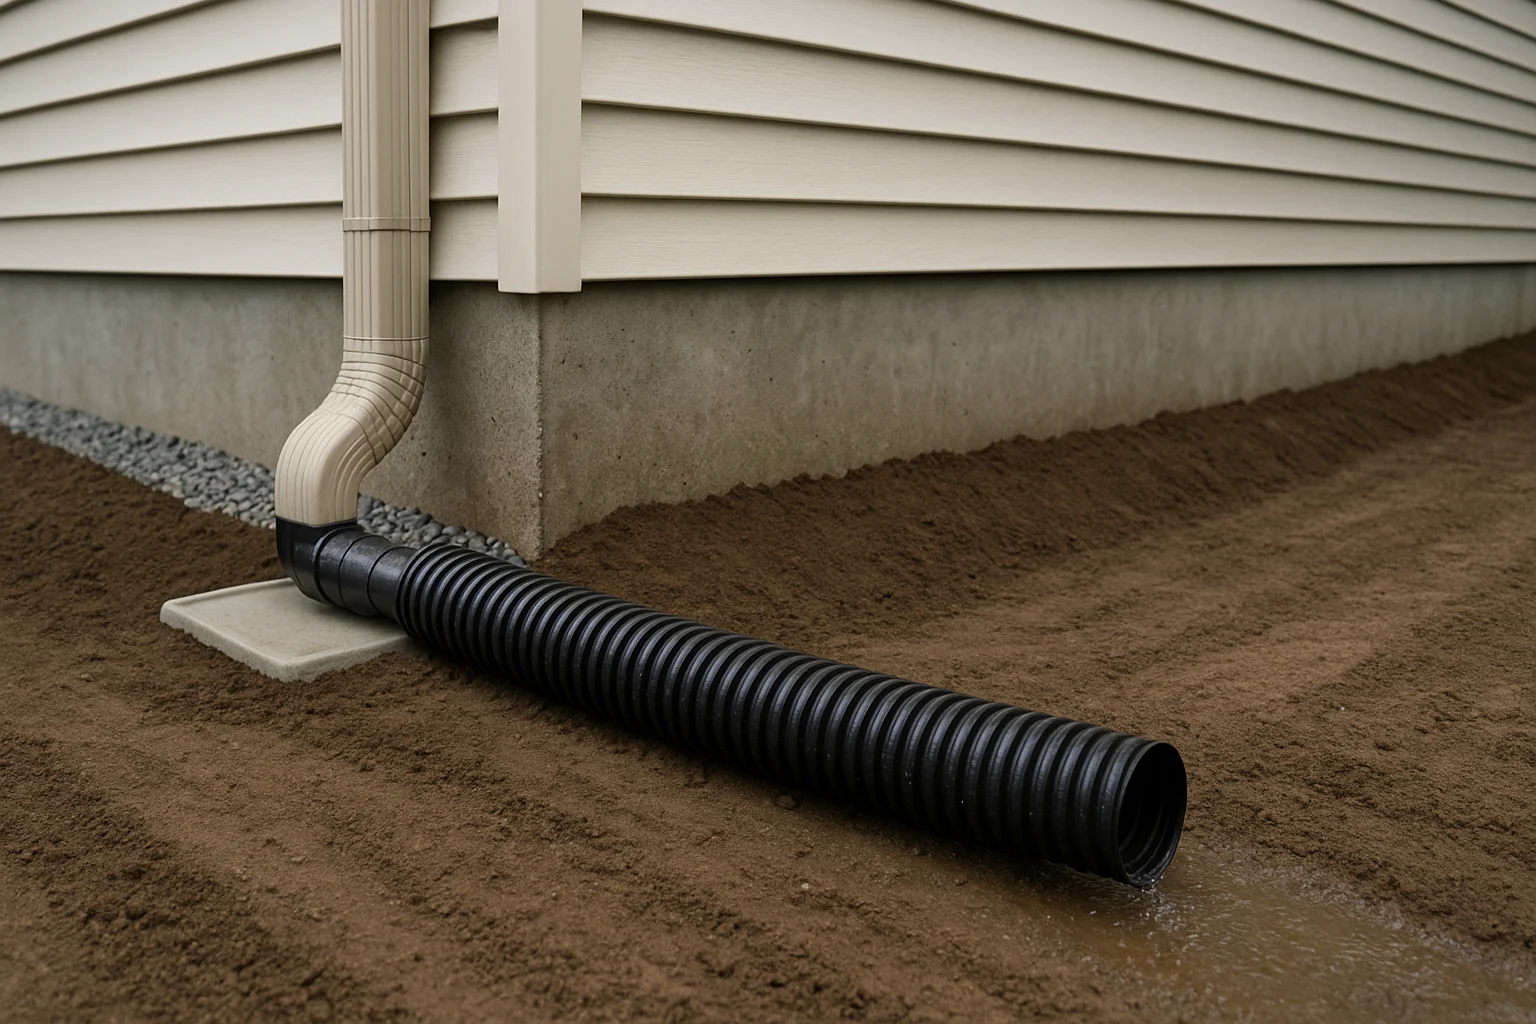
Before you buy waterproof paint or a crack-repair kit, trace the water path. A wall that turns damp after rain, condensation on a cool surface, and seepage at the wall-floor joint can look similar—but they need different fixes, and the wrong product can hide evidence while moisture keeps moving.
This DIY basement waterproofing guide helps you identify the pattern, choose the smallest safe first step, estimate the likely project scope, and know when DIY should stop. Start with the Basement Fix Finder below. If the project later expands into insulation, windows, or other efficiency upgrades, review our guide to energy efficient home improvement credits after the water problem is controlled.
Stop before troubleshooting: If standing water is near electrical equipment, do not enter or use electrical tools while standing in water. If the water may contain sewage or other contamination, avoid contact and follow CDC flooded-home safety guidance before cleanup.
Basement Fix Finder
Pick the moisture pattern that best matches what you see. The finder asks only the relevant follow-up questions, then gives you a safe first step and a link to the matching section. It does not diagnose structural damage.
This post contains affiliate links. If you buy through our links, we may earn a commission at no extra cost to you. As an Amazon Associate, I earn from qualifying purchases. Learn more.
Table of Contents
- Basement Fix Finder
- Find the Water Source Before You Waterproof
- Choose the Right Waterproofing Strategy
- When DIY Basement Waterproofing Should Stop
- DIY Basement Waterproofing, Step by Step
- Estimate Cost by Repair Scope
- A One-Rain Basement Waterproofing Checklist
- DIY Basement Waterproofing FAQ
- Fix One Cause, Then Test It
Find the Water Source Before You Waterproof
Basement moisture usually reaches the room by one of four paths: roof or surface runoff, groundwater pressure, an indoor plumbing leak, or condensation. The stain alone cannot tell you which one is responsible. Record the timing, location, weather, and nearby plumbing activity so you can match the repair to the pattern.
Match the Moisture Pattern to the First Check
| What you notice | Likely starting point | Check first |
|---|---|---|
| Dampness appears after rain, especially near corners, windows, or the upper wall | Roof runoff, window-well drainage, or surface water collecting beside the foundation | Gutters, downspouts, grading, window-well drains, and where water lands outside |
| Water enters at the wall-floor joint or returns during long wet periods | Groundwater pressure or an overwhelmed drainage and sump system | Exterior drainage, sump operation and discharge, and whether standing water keeps returning |
| A localized wet area sits below a pipe, appliance, or plumbing fixture | Supply, drain, condensate, or appliance leakage | Repair or isolate the plumbing source before buying a waterproofing product |
| Cool surfaces feel damp in humid weather without a clear rain connection | Condensation | Indoor relative humidity, air leaks, ventilation, and cold surfaces |
| White mineral deposits appear on masonry | Moisture has moved through or across the masonry, but the deposits do not identify the source | Whether the deposits change after rain, during humid weather, or near a known leak |
| A crack is horizontal, widening, repeatedly moving, or paired with a bowing wall | Possible structural movement | Stop cosmetic repair and arrange an assessment |
For example, if one corner becomes damp only after storms and the nearest downspout empties beside that wall, start with runoff control and recheck the marked indoor spot after the next rain. Coating the wall first would hide evidence before testing the most likely cause.
If moisture is concentrated around basement windows during humid or cold weather, sealing air leaks and improving window insulation may reduce condensation. Do not use insulation to hide rainwater seepage or an active crack.
Choose the Right Waterproofing Strategy
Basement waterproofing is not one product or one inside-versus-outside choice. Most projects fall into four jobs. Choose the job that matches your evidence, then verify the result before adding another layer.
- Control water outside: Repair gutter overflow, extend or reroute downspouts, improve grading, and correct window-well drainage when the problem follows rain.
- Repair a localized entry point: Use a condition-specific crack or joint repair only when the opening is stable, accessible, and nonstructural.
- Manage water inside: An interior perimeter drain and sump can control recurring cove-joint seepage, but the system manages incoming water rather than removing the exterior source.
- Build a moisture-safe finished wall: Coordinate waterproofing, insulation, air sealing, and vapor control so the assembly can dry as intended.
A masonry waterproofer may be part of a repair after the source and substrate are understood. It is not a substitute for drainage, structural repair, or a leaking plumbing line. A prepackaged basement system is useful only when its instructions match the wall material, water path, and local code.
DIY exterior basement waterproofing is realistic only for shallow, uncomplicated drainage work that can be completed without undermining the foundation or entering an unsafe trench. Exterior membranes and footing drains involve excavation, wall preparation, utilities, spoil placement, and trench stability. In the U.S., contact 811 before digging, and follow local permit and excavation-safety requirements.
When DIY Basement Waterproofing Should Stop
- Structural movement: Horizontal, widening, or bowing cracks need assessment before waterproofing or cosmetic repair.
- Repeated standing water or a high water table: A qualified drainage or waterproofing professional can evaluate the system capacity and safe discharge route.
- Deep or unstable excavation: Exterior membranes and footing drains can require engineered shoring, equipment access, permits, and foundation protection.
- Extensive mold or water damage: EPA says areas larger than about 10 sq ft, sewage-contaminated water, or substantial water damage warrant additional remediation guidance and may require an experienced professional. See EPA mold-cleanup guidance.
- An unresolved source: If drainage, plumbing, humidity, and visible entry points do not explain the pattern, get a qualified inspection before opening walls or installing a permanent system.
If none of these stop signs applies, use the sequence below and stop as soon as the moisture pattern improves. More products do not make a better repair when the first source-control step worked.
DIY Basement Waterproofing, Step by Step
Work in this order and skip any step that does not match the evidence. The sequence starts with documentation and source control, then moves to localized repairs and larger water-management systems.
1) Document the Moisture Pattern
- Photograph or mark the damp area and note the date, weather, and recent plumbing or appliance use.
- Record indoor relative humidity and compare dry-weather conditions with what happens after rain.
- Inspect gutters, downspouts, grading, window wells, the sump pump, and the discharge route before opening a wall.
Choose the Measurement That Matches the Question
Do not buy both by default. Use a hygrometer only when the question is room humidity; use a pin meter only when repeat readings in the same accessible wood or drywall spot can change your next decision. If neither question matches, skip this section.
| Question | Best fit and action | Skip it when |
|---|---|---|
| Is humid room air contributing to damp, cool surfaces? |
Govee H5075 Bluetooth Hygrometer Thermometer
Track room relative humidity and changes over time while you compare humid days with the same cool surfaces. |
The problem clearly follows rain, plumbing use, standing water, or one localized wet material. |
| Are the same accessible wood or drywall spots getting drier? |
General Tools MMD4E Pin-Type Moisture Meter
Compare the same marked spots before and after source control or drying work. |
There is standing water, an obvious active plumbing leak, or masonry-only seepage where pin readings cannot answer the source question. |
A hygrometer tracks room air, while a pin meter compares accessible materials. Keep recording weather, plumbing use, and where the moisture appears; neither tool diagnoses the source, waterproofs the basement, or proves that hidden framing is dry.
2) Fix Exterior Drainage First
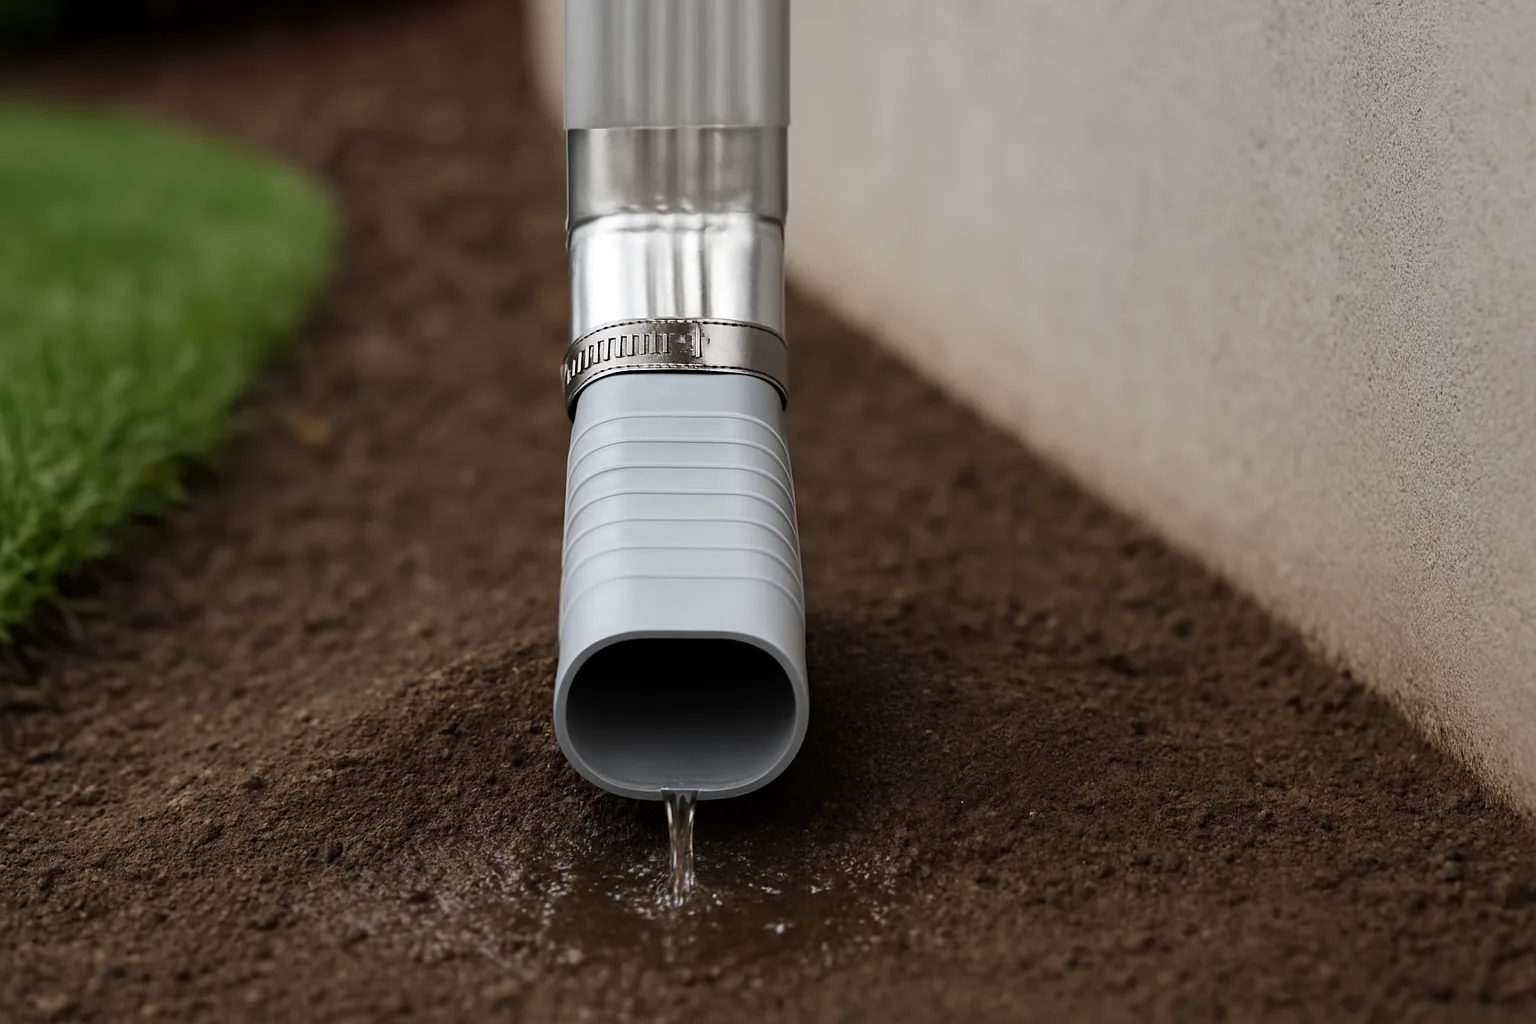
- Clean gutters, repair leaks, and route downspout discharge about 10 feet away or to a safe drainage point.
- Where feasible, shape the ground to fall roughly 6 inches over the first 10 feet, or use an approved swale or drain where space is limited.
- Keep required foundation exposure clear, avoid covering sill plates or brick weeps, and maintain window-well drains and covers.
Recheck the same indoor locations during the next meaningful rain before buying interior coatings or opening the slab. If the moisture pattern improves, keep working on source control rather than adding a second system automatically.
3) Repair a Stable Crack or Joint
A DIY basement leak repair is reasonable only when the crack or joint is stable, accessible, and within the repair product’s stated use. Hydraulic water-stop cement, epoxy, and polyurethane injection solve different conditions; do not choose by width alone. Stop and get an assessment for horizontal, widening, repeatedly moving, or bowing cracks, and repair loose mortar or spalled masonry before applying a finish coating.
4) Use a Masonry Waterproofer Only When It Fits
Use a masonry waterproofer only on the substrate and moisture condition it is rated for. Clean and patch the surface as directed, confirm ventilation and coverage, and follow the specified coats and cure time. A coating can be one layer of a basement waterproofing system, but it is not a shortcut around an active joint leak, poor drainage, or structural movement.
Do not cover the wall until the moisture source is controlled and the planned finish assembly can dry as intended. Follow the manufacturer’s compatibility and recoat instructions rather than assuming every “waterproof paint” works the same way.
5) Plan a Moisture-Safe Interior Wall
Do not automatically staple 6-mil polyethylene behind a framed basement wall. In many below-grade assemblies, interior poly can trap moisture and prevent inward drying. Choose a code- and climate-appropriate wall system, and make the insulation, air-sealing, and vapor-control layers work together. Where spray foam is suitable at a rim joist, our DIY spray foam insulation guide covers preparation and limits.
6) Add an Interior Drain or Sump When Water Still Reaches the Slab
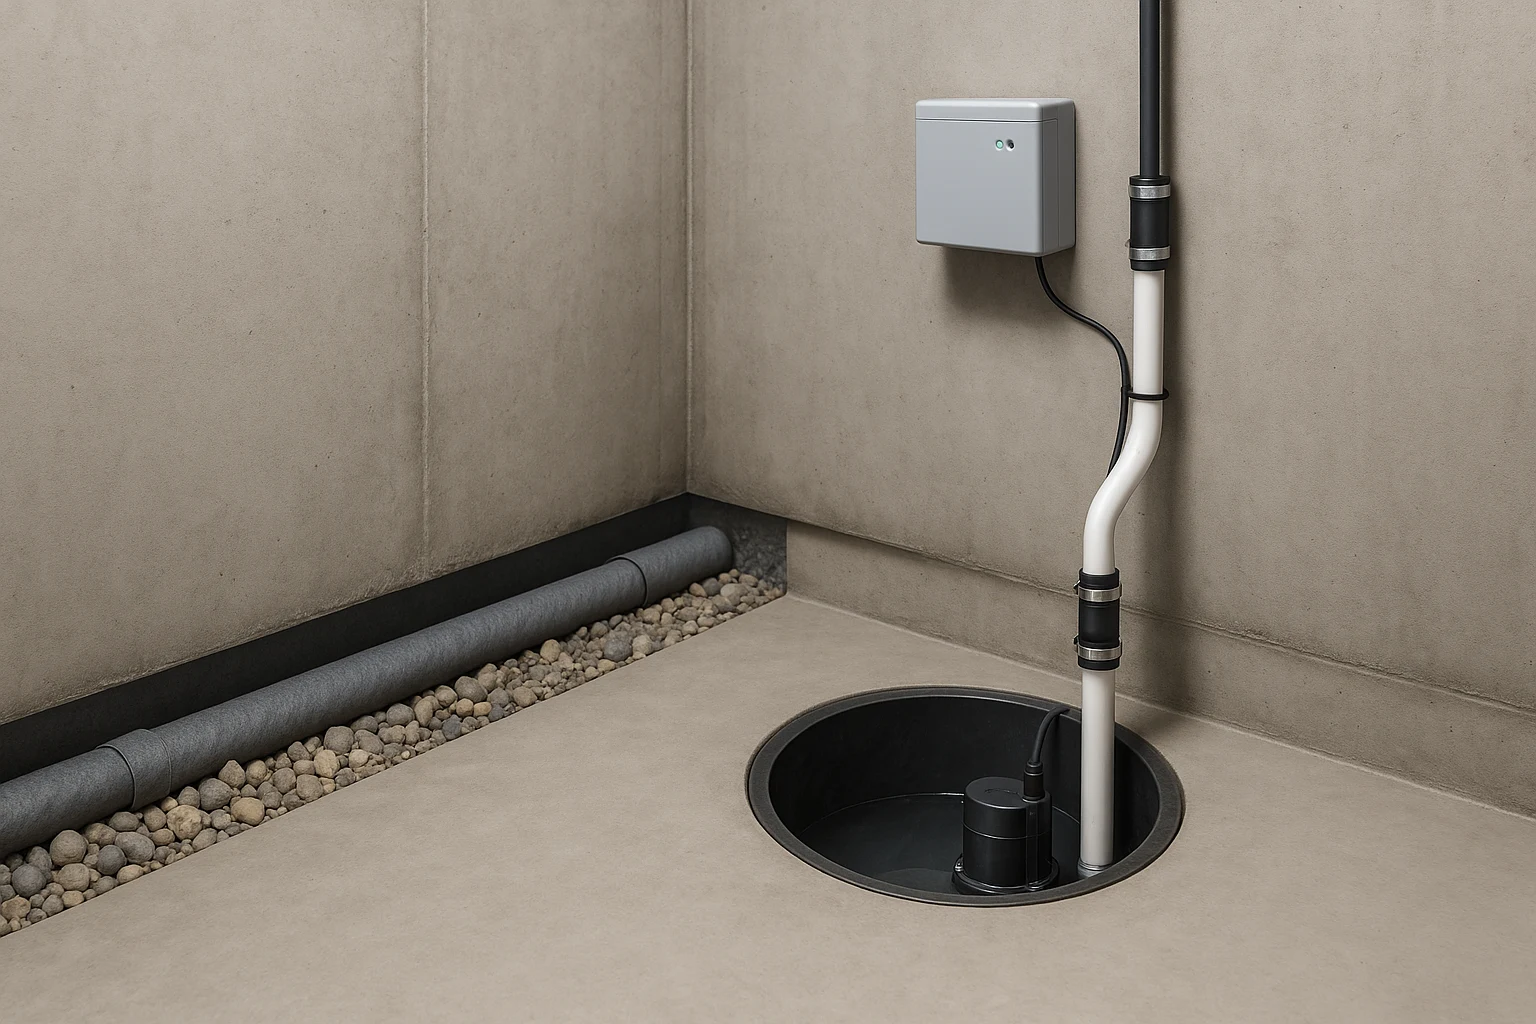
For recurring cove-joint seepage or pooling, an interior perimeter drain can carry water to a sump pit for discharge. The system needs a tested pump, a safe discharge route, a check valve, regular maintenance, and—where outages are a risk—a battery backup or other approved backup plan. It manages incoming water; it does not repair a structural crack or remove the exterior source.
Estimate Basement Waterproofing Cost by Repair Scope
If your question is “How much does it cost to waterproof a basement?”, identify the repair scope before looking for a total. Material prices, product coverage, labor, access, demolition, and finish restoration vary too much for one useful national total, but the items you need to price are predictable.
| Repair scope | Price these items | DIY reality |
|---|---|---|
| Drainage tune-up | Gutter or downspout parts, extensions, splash blocks, soil or gravel, delivery, and disposal. | Often the best first DIY project when access is safe and the grading change is simple. |
| Localized crack or joint repair | Cleaner, preparation tools, the repair product labeled for the condition, PPE, and any finish repair. | Reasonable for a stable, nonstructural condition; not for widening, horizontal, or bowing cracks. |
| Masonry waterproofer | Wall area, stated coverage per coat, required coats, patching materials, brushes or rollers, ventilation, and PPE. | DIY-friendly only after the source is controlled and the wall meets the product’s preparation limits. |
| Interior drain and sump | Demolition, drainage channel, stone, sump basin, pump, check valve, discharge piping, backup power, electrical work, and floor restoration. | A larger system with code, electrical, discharge, and flood-risk consequences; compare detailed quotes before committing. |
| Exterior excavation and membrane | Utility locating, excavation, trench protection, wall preparation, membrane, protection board, footing drain, backfill, grading, and landscaping repair. | Usually professional work when the trench is deep, access is tight, or the foundation could be undermined. |
For a coating project, divide the measured wall area by the product’s stated coverage per container, multiply by the required coats, and round up to whole containers. Add the preparation, crack repair, tools, protective equipment, ventilation, and disposal required by the instructions. Price source-control work before cosmetic repair so you do not pay twice to cover the same stain.
A One-Rain Basement Waterproofing Checklist
- Document: Mark the damp area and record rain, humidity, plumbing use, and sump operation.
- Screen: Stop for standing water near electrical equipment, structural movement, contaminated water, unsafe excavation, or an unexplained source.
- Control the source: Rule out plumbing leaks and correct gutters, downspouts, grading, and window-well drainage before buying interior products.
- Match the repair: Use only a crack repair, masonry waterproofer, wall assembly, or drain system suited to the actual water path and substrate.
- Verify: Reinspect the same marked area after the next meaningful rain—or after several humid days when condensation is the suspected cause.
- Escalate: If the pattern is unchanged or worse, stop layering products and reassess the source or bring in a qualified professional.
DIY Basement Waterproofing FAQ
Fix One Cause, Then Test It
Use the Fix Finder or moisture-pattern table to choose one starting action. Mark the damp area, make the smallest repair supported by the evidence, and write down exactly what you changed.
After the next meaningful rain—or after several humid days if condensation is the suspected cause—inspect the same spot. If it is drier, continue only with the layer the basement still needs. If it is unchanged or worse, stop adding products and reassess the source or bring in a qualified professional. A successful repair changes the moisture pattern, not just the appearance of the wall.
This guide is educational and general in nature. It is not engineering, building-code, tax, or legal advice. Always follow local codes and safety practices, use appropriate PPE, and consult qualified pros for structural issues, persistent flooding, or extensive mold, sewage-contaminated water, or water damage beyond a small cleanup.