
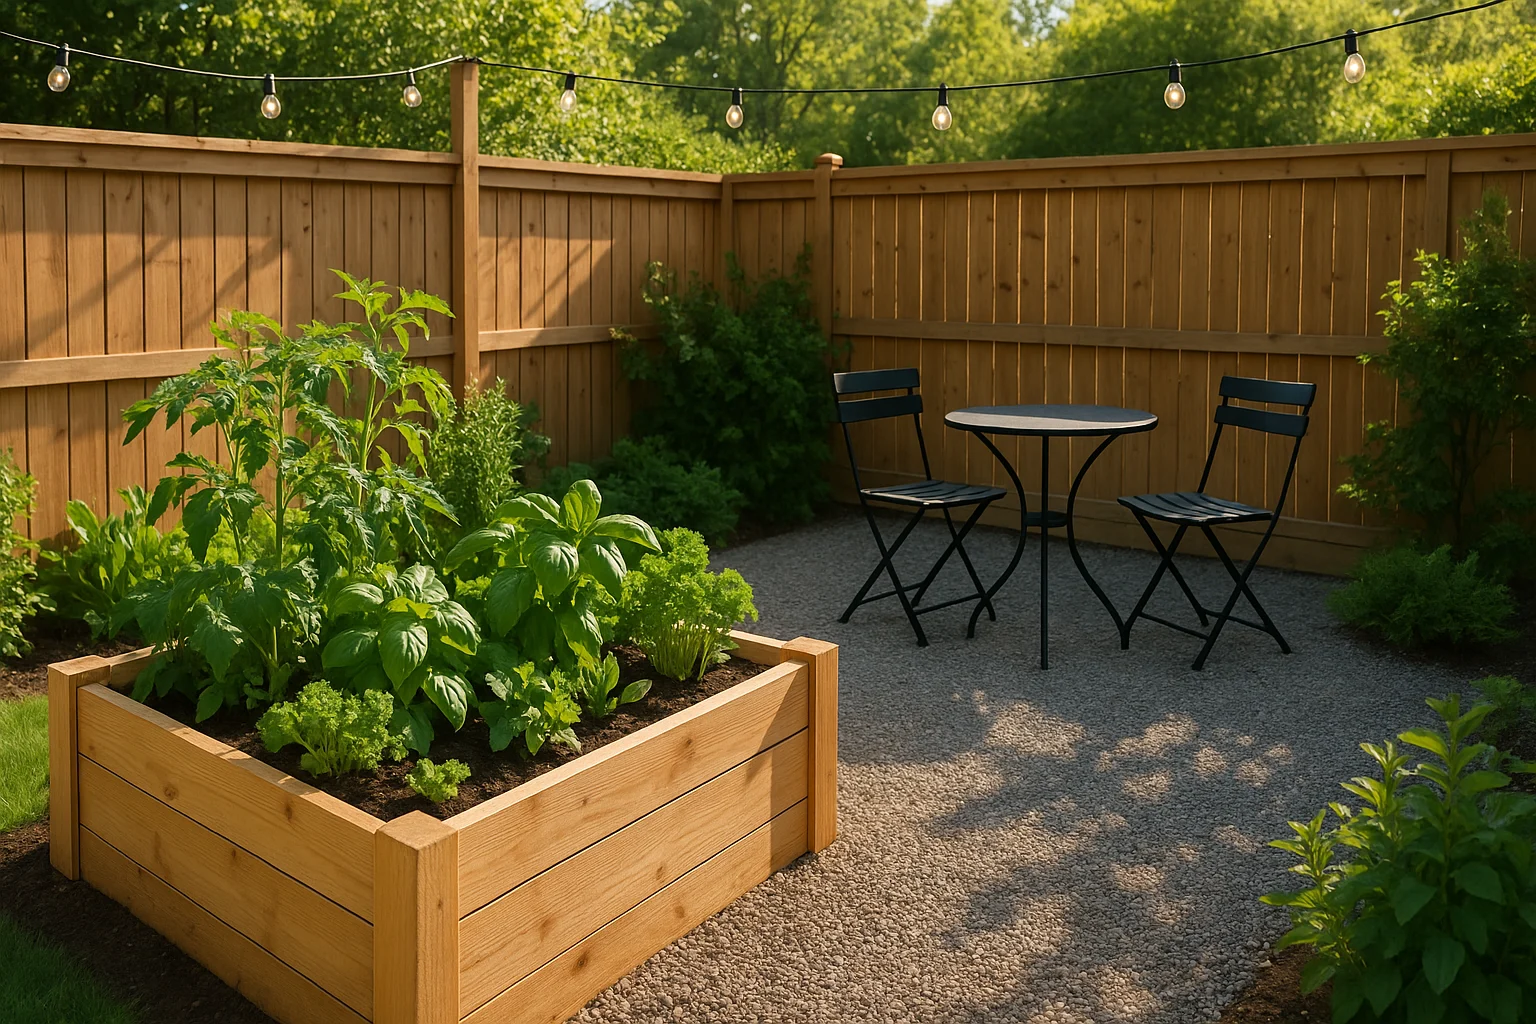
You have one free weekend—not a renovation crew, a workshop full of tools, or an unlimited budget. The right backyard project is the one that fixes a problem you notice often and reaches a clean stopping point before Monday: a muddy route, nowhere to sit, too little growing space, dark steps, or a sunny wall going unused.
These five easy DIY backyard projects solve those exact jobs, but each asks for a different mix of time, lifting, cutting, digging, and money. Use the comparison table for a fast answer and the project checker when two ideas still fit. For a quick backyard DIY with almost no construction, start with solar lights. For more low-cost ideas inside and out, see the broader budget DIY home projects guide.
This post contains affiliate links. If you buy through our links, we may earn a commission at no extra cost to you. As an Amazon Associate, I earn from qualifying purchases. Learn more.
Table of Contents
- Compare the Five Projects
- Before You Buy: Check the Site, Safety, and Scope
- Which Backyard Project Fits Your Weekend?
- Project 1: Build a Raised Garden Bed
- Project 2: Make Pallet Outdoor Furniture
- Project 3: Create a Gravel Patio or Path
- Project 4: Add Solar Path or Feature Lights
- Project 5: Build a Vertical Herb Garden
- Frequently Asked Questions
- Turn Your Choice Into a Weekend Plan
Compare the Five Projects
| Project | Best when | Hands-on time | Main work | Budget |
|---|---|---|---|---|
| Raised garden bed | You want a contained food-growing area | Half to full day | Cutting, assembly, leveling, and moving soil | Moderate–high |
| Pallet furniture | You have clean pallets and need a simple seat or table | Half to full day, plus drying time | Inspection, sanding, cutting, and bracing | Low–moderate |
| Gravel patio or path | You need a drier route or small seating pad | One full weekend | Excavation, hauling, edging, and compaction | Moderate–high |
| Solar lights | You want a fast visibility or ambience upgrade | 30 minutes–2 hours, plus first charge | Placement, assembly, and a night check | Low |
| Vertical herb garden | You have a sunny wall but little floor space | Half to full day | Mounting, potting, and drainage planning | Low–moderate |
Use the table for a fast comparison. Before asking the checker whether the full version fits, run the five-point preflight so your answers reflect the actual site, delivery route, mounting surface, and hidden time—not only the project you hope to do.
Before You Buy: Check the Site, Safety, and Scope
A project is only “weekend-sized” after the site and the finish line are clear. Do this short preflight before shopping so a missing measurement, mounting issue, or delivery problem does not stop the job halfway through.
- Define the finished result: Mark the exact bed, path, seating area, lighting route, or wall space you intend to complete.
- Measure and inspect: Check dimensions, access, slope, sunlight, drainage, and the strength of any mounting surface.
- Clear the safety blockers: Confirm utility marks, permits, HOA limits, tool instructions, and whether any wiring needs a licensed electrician.
- Price the whole job: Include soil or gravel delivery, fasteners, finish, plants, replacement boards, tool rental, and disposal—not only the headline material.
- Schedule the hidden time: Allow for cleaning, drying, charging, curing, weather delays, and cleanup.
Before any digging, contact 811 or your state 811 center, wait for utilities to respond, and confirm the marks before you start. Also review local permit, building-code, and HOA requirements. If a project involves permanent wiring, use a licensed electrician.
With those constraints clear, use the checker next. It keeps your intended result fixed, identifies the main mismatch, and gives you a weekend-sized scope before sending you to the exact project plan.
Which Backyard Project Fits Your Weekend?
Choose the change you want, then enter the time, physical work, and budget you can actually commit. The checker will not swap in an unrelated easier project; it will show whether your chosen goal fits as planned, needs a smaller version, or belongs on a longer weekend.
Your project fit appears here once all four questions are answered.
Your project fit
Use the result as a scope decision, not a promise. Open the matched plan, confirm the materials and common problems, and shrink the dimensions before you shrink any safety step.
Project 1: Build a Raised Garden Bed
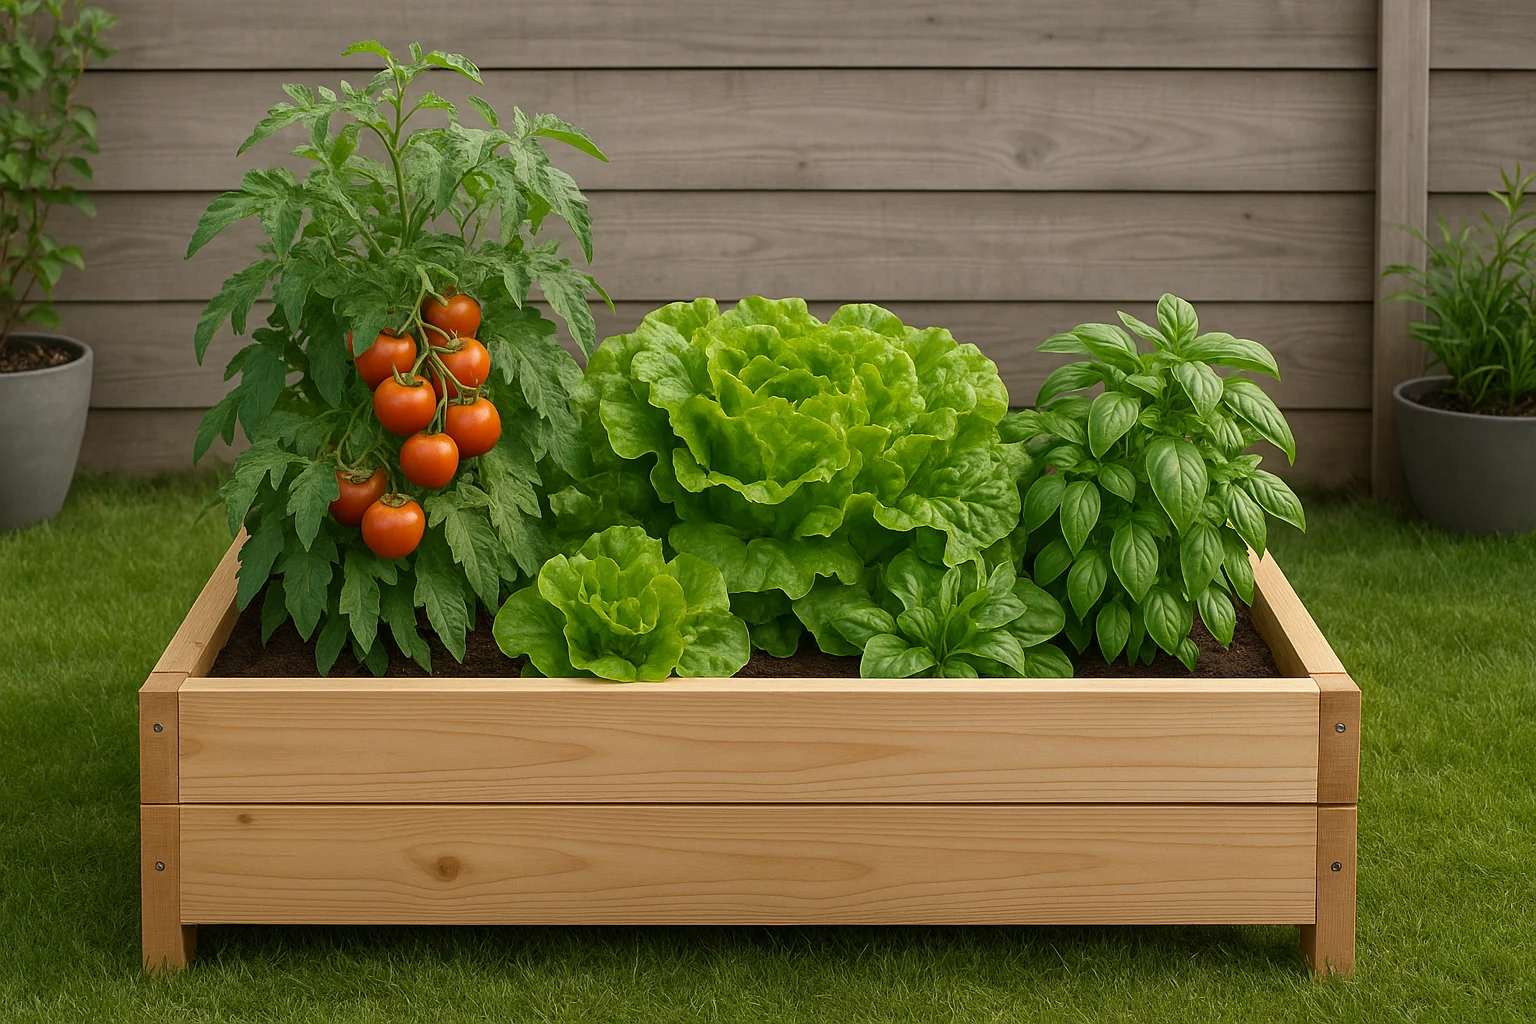
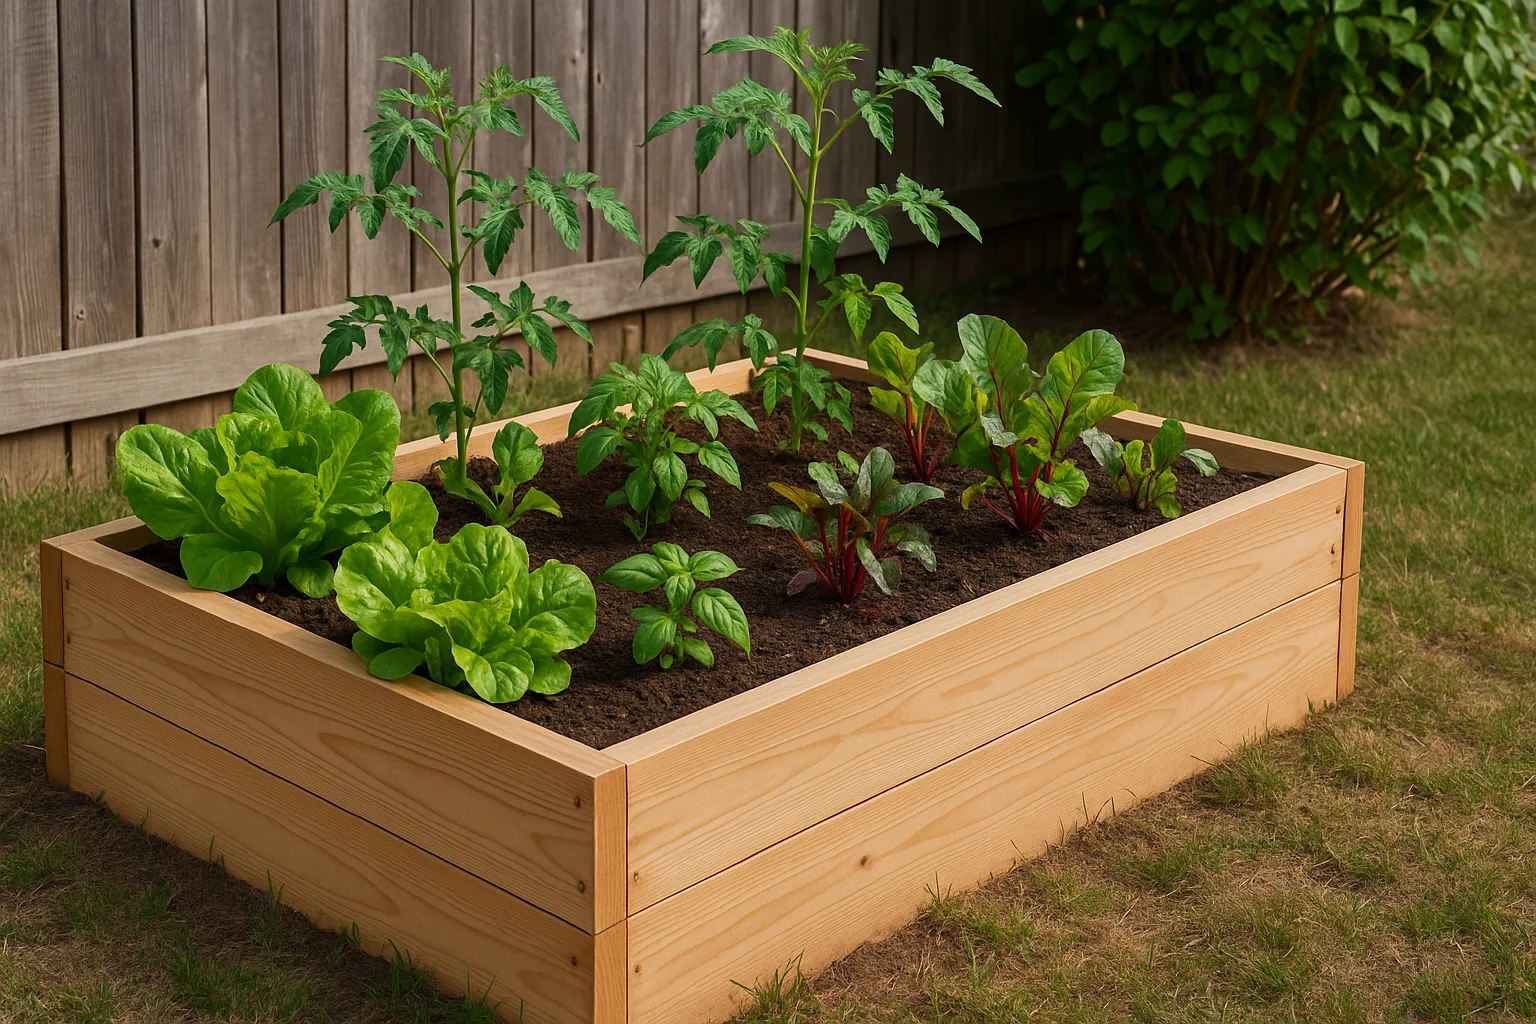
Choose this project when you want a contained growing area and can handle basic cuts, fastening, leveling, and a substantial amount of soil. Scale it down when access is tight, the site is uneven, or the soil volume would make delivery and filling unrealistic for one day.
Materials
- Lumber: For an 8-by-4-foot single-layer bed, use two 8-foot side boards and two 4-foot end boards. Three 8-foot boards provide that cut list: keep two full length and cut the third in half. A 6-by-3-foot single-layer bed can be cut from three 6-foot boards in the same way.
- Outdoor fasteners: Exterior-rated deck screws or suitable corner brackets. Pre-drilling reduces splitting near board ends.
- Soil: Multiply length × width × soil depth to estimate cubic feet. An 8 × 4 × 0.5-foot bed holds about 16 cubic feet before settling.
- Optional ground layer: Use landscape fabric only when it suits the site and does not block drainage.
- Plants and mulch: Choose them for the available sun, season, and finished soil depth.
Using pressure-treated lumber? Choose material labeled for residential ground-contact use and avoid old treated lumber, railroad ties, or wood with an unknown history. Cedar, redwood, stone, and concrete blocks are alternatives. See the current Oregon State University Extension guidance below.
Tools
- Measuring tape, square, and pencil: For the cut list and final frame check.
- Circular saw or hand saw: For cutting the boards.
- Drill/driver and bits: For pilot holes and fasteners.
- Level, shovel, and rake: For preparing the site and checking the frame.
- Staple gun: Only when you use a ground fabric that needs securing.
Borrow for one build, own it for several:
DEWALT DCD771C2 20V MAX Drill/Driver Kit
Worth owning when the raised bed is the first of several projects and you do not already have a dependable drill/driver. Borrow instead for a one-off build.
Build the Bed
- Choose the footprint: Pick a sunny, accessible spot and a width you can reach across without stepping into the bed.
- Calculate the fill: Confirm the soil volume and how it will reach the site before cutting lumber.
- Cut and dry-fit: Lay the boards on a flat surface, label the sides and ends, and check every dimension.
- Pre-drill and fasten: Assemble one corner at a time. Compare the diagonal measurements before fully tightening; equal diagonals indicate a square frame.
- Prepare the site: Clear debris, remove high spots, and set the frame level so soil pressure is not concentrated on one corner.
- Add the optional ground layer: Fit it without sealing the bottom or obstructing drainage.
- Fill in stages: Add soil evenly, recheck the frame, and avoid packing the mix so tightly that drainage suffers.
- Plant and finish: Leave a little room below the top edge, water the soil, and add mulch when appropriate for the plants.
Time and Cost Drivers
Plan on roughly 4–6 hours for a simple single-layer frame, plus any soil delivery, planting, and cleanup time. Lumber type and soil volume drive most of the budget; hardware and an optional ground layer are smaller costs. Price the exact dimensions locally before buying.
Build note: Confirm the frame is square before filling it. Add drip irrigation only after the layout is final; The Home Depot’s installation guide explains the basic layout. For lumber choices, review Oregon State University Extension’s raised-bed guidance.
Common Problems
- The frame rocks: Correct the site, not the symptom. Remove high spots and support the whole perimeter evenly.
- The corners split: Pre-drill farther from the edge and replace badly split boards rather than relying on filler.
- The bed is hard to use: Reduce the width or add access on both sides before filling it.
Project 2: Make Pallet Outdoor Furniture
Choose this project when you can source clean, sound pallets and want a simple coffee table or low bench. Skip the pallet when its history is unknown, the slats are rotten or deeply stained, or repairing it would cost more time than starting with ordinary lumber. For more low-cost furnishing ideas, see the frugal home furnishing guide.
Materials
- Clean pallets: Use structurally sound pallets with an IPPC mark showing “HT” for heat treatment, and still reject wood with spills, strong odors, rot, or an unknown use history.
- Outdoor screws and brackets: Size them for the actual joints and replace weak pallet fasteners.
- Sandpaper and exterior finish: Use several grits and a finish suited to outdoor wood.
- Optional additions: Exterior-rated casters, replacement slats, or outdoor cushions.
Tools
- Pry bar, hammer, and nail puller: For dismantling and removing hidden fasteners.
- Drill/driver: For pilot holes, screws, and brackets.
- Saw, measuring tape, square, and pencil: For trimming and alignment.
- Hand sander or detail sander: For edges, slats, and touch surfaces.
For rough corners that make hand sanding drag:
BLACK+DECKER BDEMS600 Mouse Detail Sander
Consider it only after the pallet passes the safety inspection above. Its compact detail finger reaches narrow corners, slat edges, and touch surfaces that would be slow to smooth by hand. Skip it when a sanding block handles those areas quickly. It cannot make stained, rotten, contaminated, or badly split wood safe to use.
Build a Coffee Table or Low Bench
- Inspect every surface: Reject contaminated, cracked, rotten, or badly twisted pallets before investing time in them.
- Clean and dry: Scrub off dirt and let the wood dry completely before sanding or finishing.
- Choose the simplest design: A stacked coffee table is easier to brace than a tall bench with a back. For adult seating, follow a proven load-bearing plan instead of relying on a few screws through thin slats.
- Remove hazards: Pull protruding nails, cut damaged ends, and replace weak slats.
- Sand the touch surfaces: Work from coarser to finer grit and round sharp edges without thinning the slats excessively.
- Assemble and brace: Fasten through sound wood, add brackets or blocking where the design needs lateral support, and keep water from collecting between trapped boards.
- Test before finishing: Set the piece on level ground, check for movement, and load it gradually. Apply the exterior finish only after the structure passes that check.
Time and Cost Drivers
Allow 4–6 hours for cleaning, sanding, and assembly, plus drying and curing time. This stays inexpensive when the pallets are free and the tools are already on hand. Cushions, finish, replacement boards, casters, or a purchased sander move it into a moderate budget tier.
Finish note: Sand every surface a hand, arm, or leg may touch. Fill large gaps only when the added boards can be secured without trapping water, then use an exterior finish suited to the wood and local weather.
Common Problems
- The piece wobbles: Put it on level ground, identify the moving joint, and reinforce the structure rather than adding random screws.
- Splinters remain: Mark rough areas with chalk, sand again, and inspect from several directions in bright light.
- Water sits in the frame: Open trapped pockets or change the board layout before applying finish.
Project 3: Create a Gravel Patio or Path
Choose this project when mud, worn grass, or an undefined route is the actual problem and you can excavate, haul, edge, and compact the area. Pause first when water already pools near the foundation or the site has no safe outlet; gravel does not repair a larger drainage problem by itself.
Materials
- Gravel: Choose the stone for the job and calculate volume before ordering. Length × width × depth in feet ÷ 27 gives cubic yards. A 10-by-10-foot area at 3 inches deep is about 0.93 cubic yard before compaction and waste.
- Base material: Use the type and depth appropriate to the soil, drainage, and expected traffic.
- Edging: Metal, plastic, pavers, or suitable lumber keeps the aggregate from spreading.
- Optional separator fabric: Use it when it suits the soil and base design; it does not replace excavation, drainage, or compaction.
Tools
- Stakes, string, tape, and marking paint: For the outline and finished elevations.
- Shovel, rake, and wheelbarrow: For excavation and material movement.
- Hand tamper or plate compactor: For the subgrade, base, and final surface as appropriate.
- Utility knife and landscape staples: Only when a separator fabric is used.
Build the Patio or Path
- Watch the water first: Check the area after rain and confirm the finished surface can drain away from buildings.
- Mark and calculate: Lay out the exact shape, decide the finished depth, and order enough material for the measured volume and expected compaction.
- Excavate carefully: Remove soil to the planned depth while maintaining the required fall away from structures.
- Prepare the subgrade: Correct soft spots and compact the ground. Add and compact base material when the site or intended use requires it.
- Install edging: Set it to the finished height and anchor it before the loose aggregate arrives.
- Add separator fabric if appropriate: Overlap and secure it without using it to hide an unstable base.
- Spread in even lifts: Rake and compact the material gradually instead of dumping the full depth at once.
- Test and top off: Walk the path or place the intended furniture, correct low spots, and add material after the first settling period.
Time and Cost Drivers
A small path or seating pad can take 8–12 hands-on hours. Area, excavation depth, aggregate volume, edging, delivery, and compactor rental drive the budget. Measure first and compare delivered bulk material with bagged material before committing.
Drainage note: Set the finished surface so water moves away from buildings, and test a small section before spreading the full load. Stepping stones can make a frequently used pea-gravel path feel steadier underfoot.
Common Problems
- Water pools: Stop adding gravel and correct the grade or underlying drainage route.
- The surface shifts: Check aggregate choice, base preparation, compaction, and edging before topping it up.
- Gravel escapes: Reset or strengthen the edging at the failure point.
Project 4: Add Solar Path or Feature Lights
Choose this project when you want the fastest low-tool upgrade in the guide. It can mark path edges, steps, or one landscape feature without household wiring. Do not treat decorative solar fixtures as a substitute for code-required or security lighting. For decorative variations built around inexpensive fixtures, see the dedicated Dollar Tree DIY solar light projects guide.
Materials and Tools
- Solar path lights: Choose weather-resistant fixtures for the route you need to mark.
- Solar spotlights: Use them only for a feature that needs directional light.
- Trowel or soil probe: Loosen hard ground instead of forcing or hammering a plastic stake.
- Temporary markers: Small flags or chalk help you test spacing before committing.
Place and Test the Lights
- Read the product instructions: Follow the first-charge, switch, battery, and placement guidance for the exact fixture.
- Walk the route after dark: Mark the steps, turns, edges, and obstacles that actually need visibility.
- Test a temporary layout: Place a few fixtures without fully seating the stakes and check the pattern at night.
- Assemble and prepare the ground: Loosen compacted soil with a trowel so the stake can enter without bending or cracking.
- Stake and aim: Face the panel toward useful daylight and aim spotlights at the feature rather than toward windows or eye level.
- Return after dark: Correct bright gaps, dim zones, and glare before making every location final.
Time and Cost Drivers
Installation usually takes 30 minutes–2 hours, plus the product’s recommended first-charge period. The total depends on fixture count, weather rating, brightness, battery replaceability, and whether you add separate spotlights.
Maintenance note: Wipe the solar panels when dust, pollen, or debris builds up. If a light stops working, check the manual before replacing the battery so the chemistry, size, and installation match the product.
Common Problems
- The lights are dim: Check sun exposure, panel cleanliness, the power switch, and the product’s charging instructions.
- The pattern looks uneven: Recheck it after dark and adjust for actual obstacles, not equal spacing alone.
- Stakes bend or crack: Remove the fixture and loosen the ground before trying again.
Project 5: Build a Vertical Herb Garden
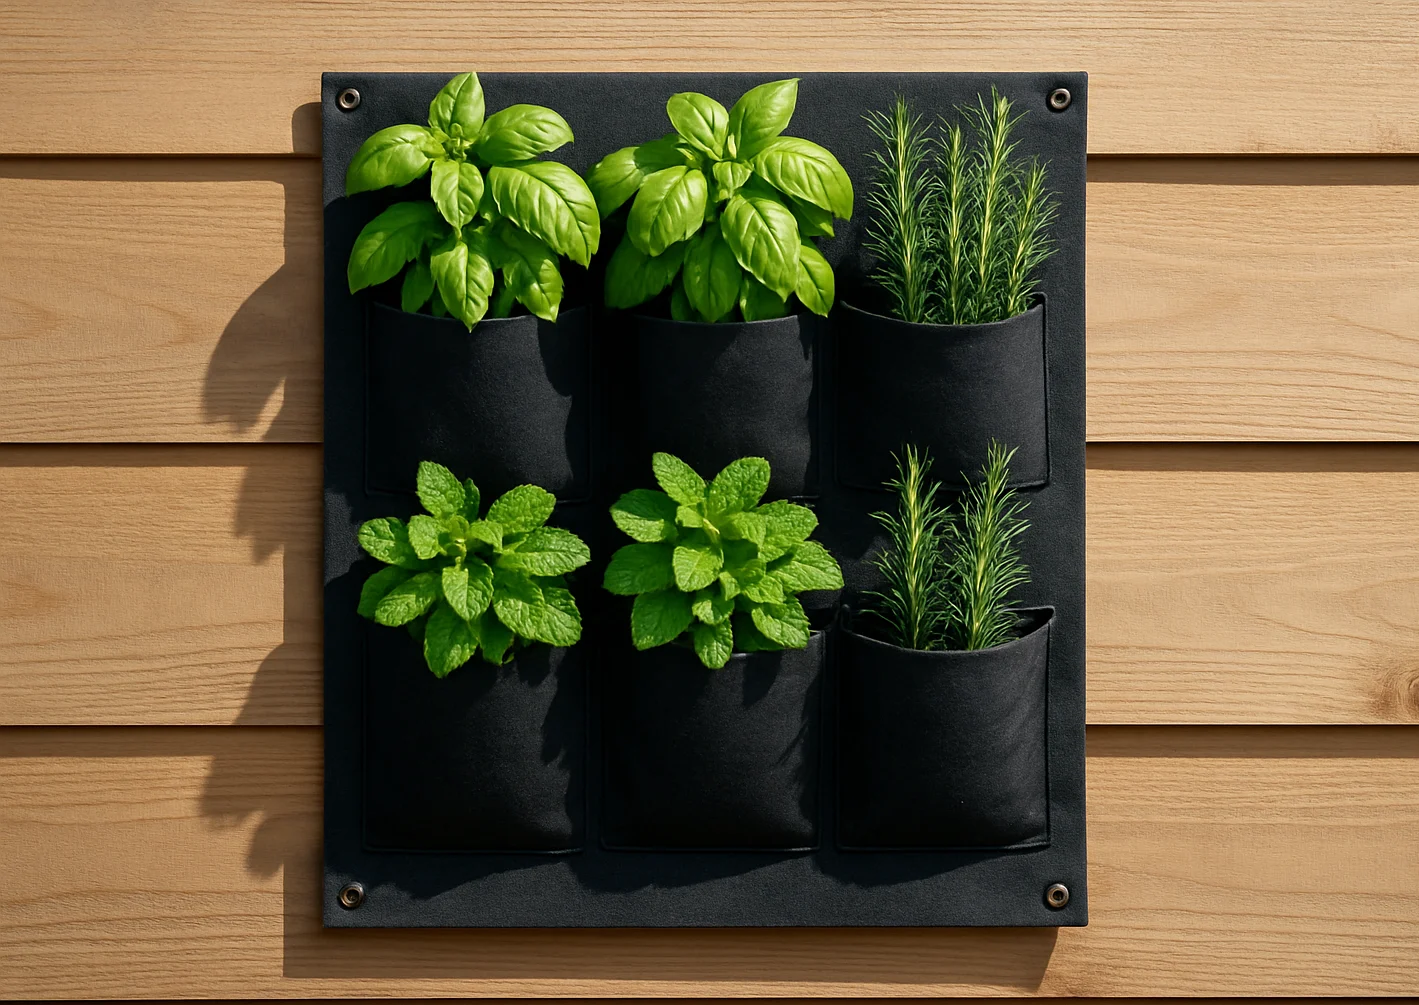
Choose this project when floor space is limited but a wall, fence, or freestanding frame gets enough useful light. Reconsider the location when the mounting surface cannot support wet soil or water would drain onto siding, a doorway, or a neighbor’s space. Growing herbs you use often can also support a practical frugal meal plan.
Choose the Format
| Format | Choose it when | Main trade-off |
|---|---|---|
| Pocket planter | You want the fastest, lightest setup | Small pockets can dry quickly and the wet load still needs secure support |
| Pallet with separate pots | You want removable containers and a more rigid display | The frame is heavier and takes more inspection, finishing, and mounting work |
Materials and Tools
For a pocket system: A vertical planter, suitable hooks or screws, lightweight potting mix, herbs, and a way to protect the wall from drainage.
For a pallet-and-pot system: One clean heat-treated pallet or another sound frame, individual pots, hooks or brackets, exterior finish if needed, potting mix, and herbs.
Tools: Measuring tape, level, pencil, drill/driver, the correct wall anchors or freestanding supports, and gloves.
Build and Plant It
- Check light and drainage: Observe the location before choosing herbs. Most culinary herbs grow best with at least six hours of direct sun, but plant requirements vary.
- Confirm the wet load: Add the weight of the frame, containers, saturated potting mix, and plants before choosing the mounting method.
- Prepare the system: Seal a pallet if needed, arrange removable pots, or inspect every pocket and hanging point on a ready-made planter.
- Install the support: Level the frame and fasten it to suitable structure, or use a stable freestanding design when wall mounting is not appropriate.
- Test the water path: Run water through the empty or lightly filled system and confirm it drains without soaking the wall or the pots below.
- Fill and plant: Group herbs with similar light and moisture needs and leave enough room to water each container.
- Watch the first week: Check moisture daily, adjust the watering rhythm, and move any herb that shows the location is a poor fit.
Time and Cost Drivers
Allow 4–6 hours for planning, mounting, potting, and cleanup. A ready-made pocket planter is faster; a pallet-and-pot version may cost less when the frame and tools are already available. Soil, mature plants, and secure mounting hardware are the main cost drivers.
Planting note: Group herbs with similar light and moisture needs. The University of Minnesota Extension herb guide notes that most herbs need at least six hours of direct sun.
Common Problems
- The top dries while the bottom stays wet: Water each level deliberately instead of treating the wall as one large pot.
- The frame pulls away: Remove the load and correct the mounting system before reusing it.
- The herbs struggle: Recheck light, drainage, pot size, and whether the plants share compatible needs.
Frequently Asked Questions
Turn Your Choice Into a Weekend Plan
Choose one project and write a one-sentence finish line. “By Sunday afternoon, the six-foot path is edged, compacted, and ready to walk on” is more useful than “work on the yard” because it tells you what to buy, what to skip, and when to stop.
Before you close this page, schedule the first hour and stage what it needs. If the finish line does not fit your weekend, shrink the dimensions or choose the lower-friction project—never the safety steps. One finished improvement is more useful than a yard full of half-started ideas.