
Has your rabbit’s wild zoomies ever made a store-bought cage seem way too cramped? Or maybe you’ve gasped at the insane prices of pet enclosures that just don’t fit your furry or scaly pal’s vibe? Trust me, I’ve been there, watching my guinea pig, Pippin, crave more room to romp. The answer? Whip up your own DIY pet cages! They’re super budget-friendly, and you get to create a cozy, custom sanctuary that’s just right for your pet’s one-of-a-kind personality. Whether it’s a playful kitty, a curious bunny, or a slinky reptile, this guide’s got you covered with all the tools, materials, and tips to build a pet enclosure they’ll adore. Ready? Let’s get crafting!
Build a Safe Pet Cage Now!Table of Contents
Key Takeaways
- Tailored & Thrifty: DIY pet cages save you cash while letting you design a special space your pet will love.
- Safety’s #1: Stick to non-toxic materials, block any escape routes, and make sure there’s plenty of fresh air.
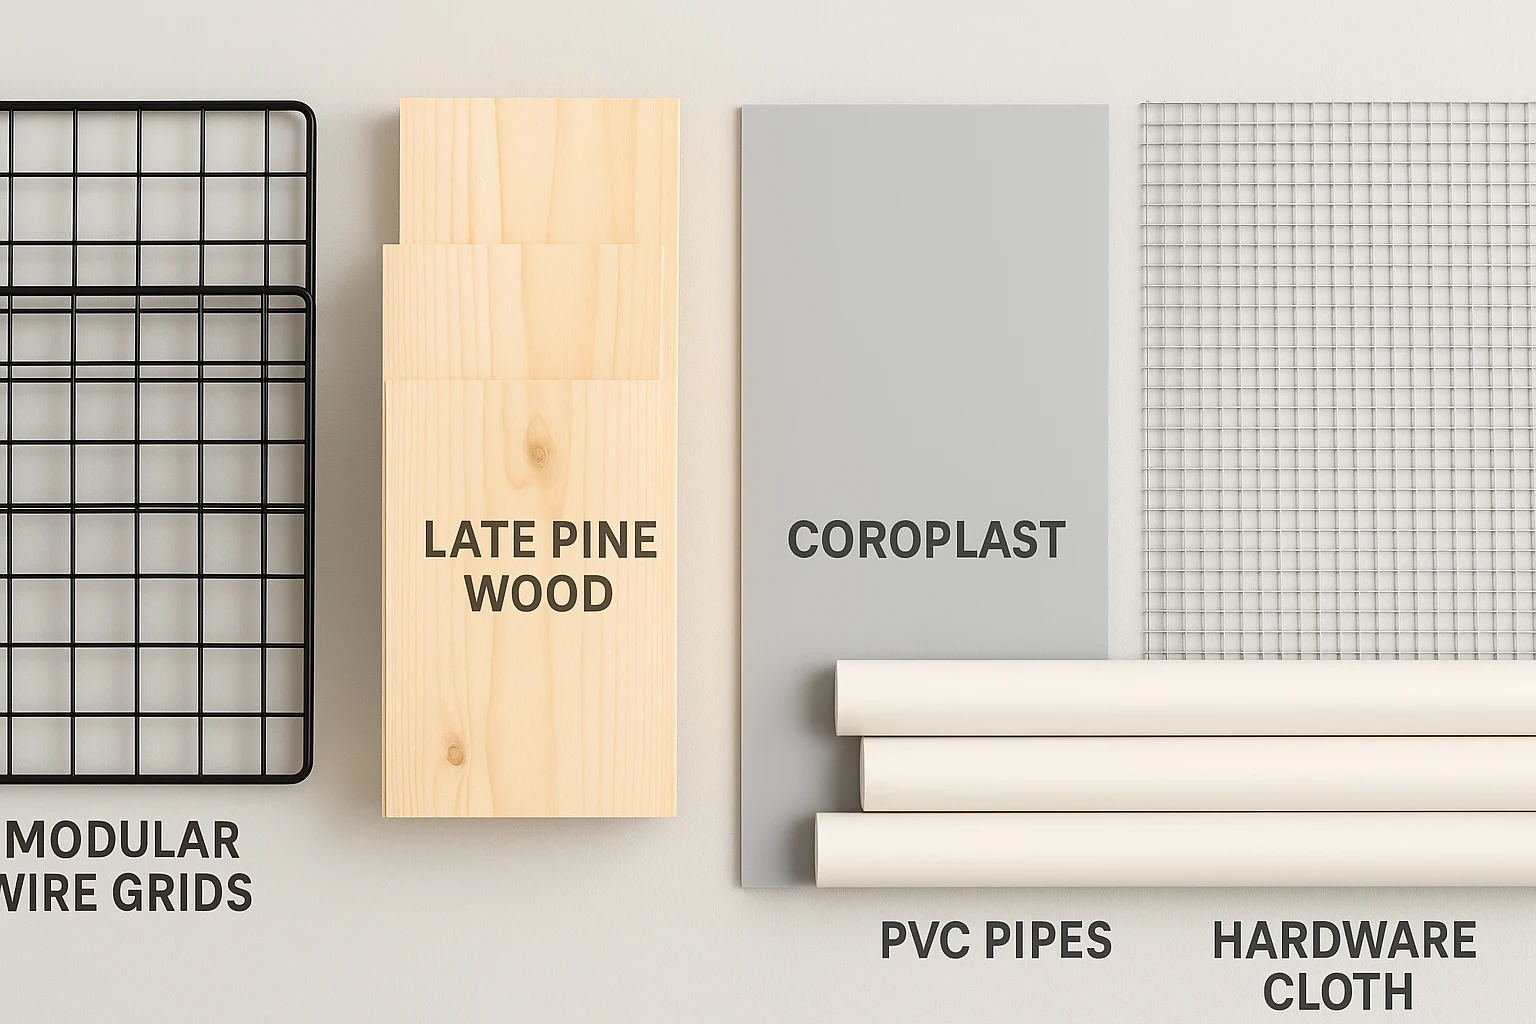
- So Many Options: From modular wire grids to sturdy wood frames or lightweight PVC pipes, there’s a material for every pet and skill level.
- Simple Tools: All you need are basics like a measuring tape, cutting tools, and some fasteners to get started.
- Pet-Perfect Design: Build a cage that matches your pet’s size, quirks, and energy for ultimate comfort.
Why Build DIY Pet Cages? The Benefits Are Pawsome!
Before we jump into the how-to, let’s chat about why DIY pet cages are such a fantastic idea. Here’s the scoop:
- Save Big: Store-bought cages, especially the fancy or big ones, can cost a fortune. DIY pet cages use affordable stuff, so you can keep more money in your pocket.
- Totally You: Want extra height for your climbing cat? Or a bigger floor for your bunny’s zoomies? With DIY, you call the shots and make it perfect.
- All About Your Pet: Every pet’s got their own quirks. DIY pet cages let you plan for chewing habits, energy levels, or even their need for a breezy spot.
- Bragging Rights: There’s nothing like the pride of building something awesome for your pet!
- Renter-Friendly: Modular designs are easy to move and won’t mess up your place—perfect if you’re renting.
Building DIY pet cages isn’t just about saving a few bucks; it’s about crafting a special, safe spot your furry friend will call home.
Planning Your DIY Pet Cage: No Rushing Allowed!
Before you grab your toolbox, a little planning goes a long way to make sure your DIY pet cages are safe and awesome. Here’s how to kick things off:
Get to Know Your Pet’s Needs
Start by thinking about what makes your pet tick to shape your design:
- Size & Growth: Make sure there’s enough room for your pet to stretch out and move, with space to grow if they’re still a little one.
- Chewing Champs: Bunnies and some pups love to nibble, so go for chew-proof materials like metal or protected wood.
- Climbers & Leapers: Cats and ferrets need tall cages with super secure tops to keep them safe.
- Personality: High-energy pets love extras like ramps or shelves to keep them happy.
- Mess Makers: Pick flooring that’s a breeze to clean based on how messy your pet gets.
Choose the Right Spot
Next, figure out where your DIY pet cage will hang out. If it’s for a car, check out pet barriers for cars instead:
- Indoors: Think about temperature, drafts, and how it fits with your decor. Make sure it’s easy to slide out for cleaning.
- Outdoors: Use weather-proof materials and keep predators and the elements at bay.
Pick Pet-Safe Materials
Safety is everything. Always go for non-toxic materials:
- Wood: Stick to untreated lumber and pet-safe paints or stains, like those recommended by the ASPCA.
- Wire/Mesh: Choose sturdy galvanized hardware cloth, not flimsy chicken wire.
- PVC: Make sure it’s free of chemicals.
- Fasteners: Use stainless steel screws or heavy-duty zip ties.
- Flooring: Go for non-slip, easy-to-clean options like Coroplast or linoleum.
Stop Escapes
Pets can be sneaky escape artists, so design with security in mind:
- Solid Latches: Use tough, pet-proof latches they can’t nudge open.
- No Gaps: Check that seams and wire spacing are too tight for a getaway.
- Right Height: Add a secure lid for pets that love to climb.
Keep It Breezy
Good airflow is a must for your pet’s health, so add mesh panels or open sides and steer clear of fully enclosed designs.
Essential Tools for DIY Pet Cages
You don’t need a fancy workshop to build DIY pet cages. Here are the four must-have tools:
- Measuring Tape: Ensure accuracy with a retractable tape ([Affiliate Link: Measuring Tape]).
- Cutting Tool: Choose based on material:
- Wire Grids: Heavy-duty wire cutters ([Affiliate Link: Wire Cutters]).
- Wood: Hand saw or circular saw ([Affiliate Link: Hand Saw]).
- PVC: PVC pipe cutter ([Affiliate Link: PVC Pipe Cutter]).
- Fasteners & Joining Tools: Use zip ties ([Affiliate Link: Heavy-Duty Zip Ties]), screws, a drill ([Affiliate Link: Cordless Drill]), clamps, or connectors.
- Safety Gear: Wear gloves and safety glasses ([Affiliate Link: Safety Glasses]).
Popular Materials for DIY Pet Cages
Let’s explore the top materials for DIY pet cages and how to use them. For cats, you might also consider a DIY cat gate.
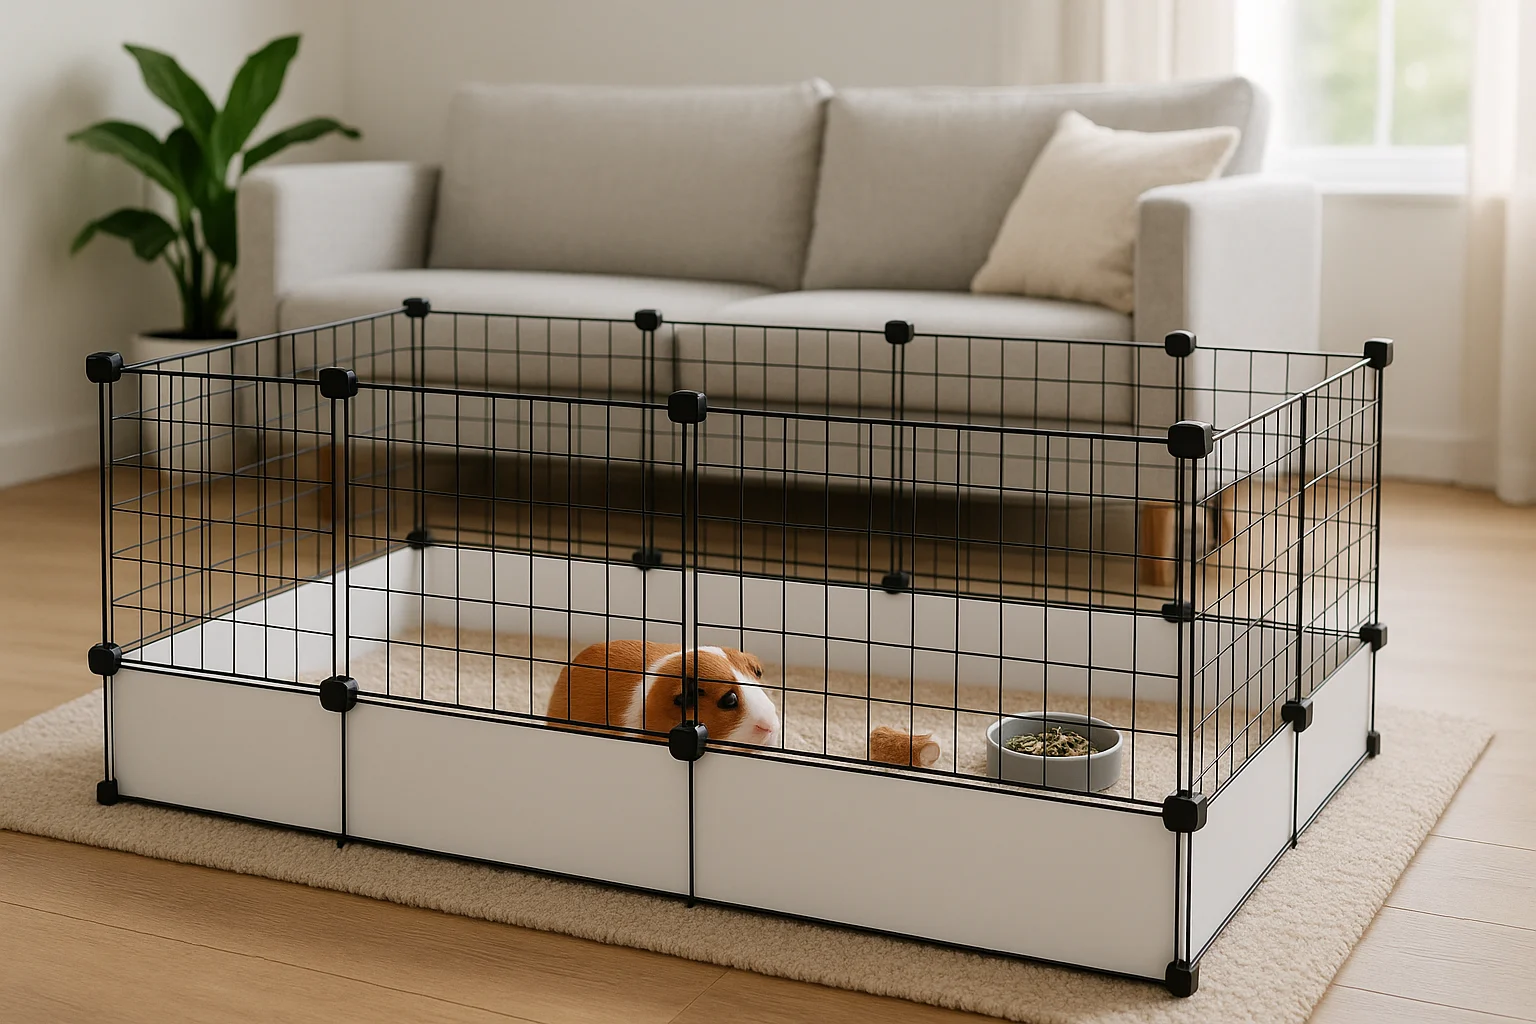
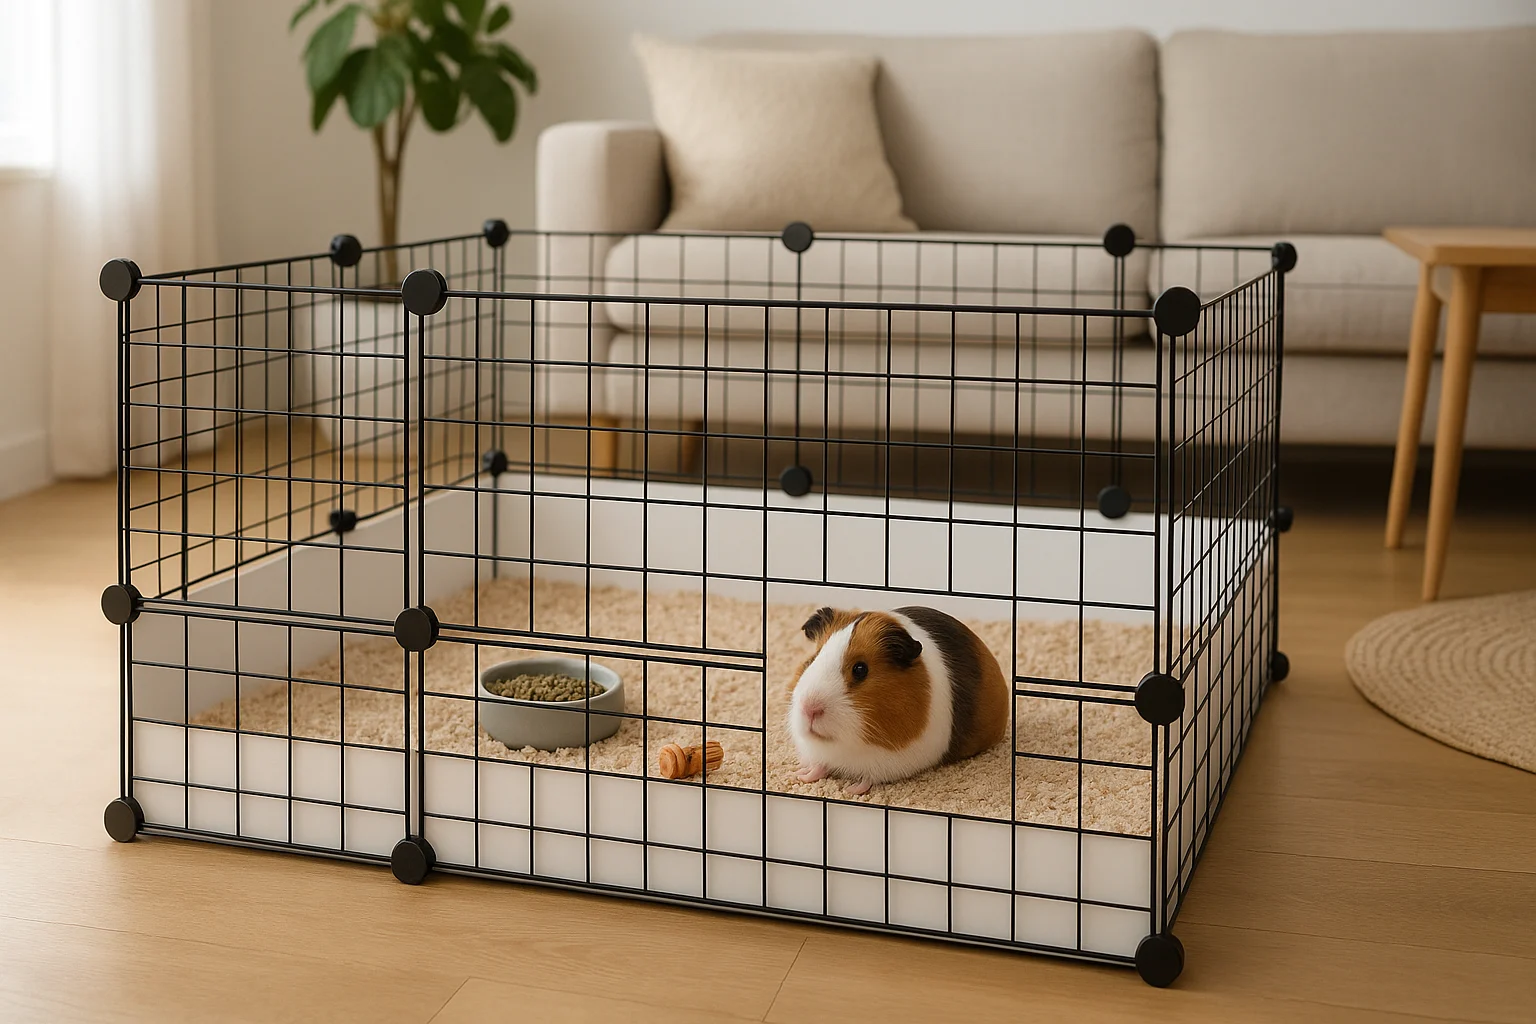
Modular Wire Grids (C&C Cages)
These 14″x14″ wire panels, often paired with Coroplast bases, are beginner-friendly.
- Pros: Easy to assemble, customizable, affordable, great ventilation.
- Cons: Not for heavy chewers or climbers without reinforcement.
- Tools: Wire grids, zip ties, wire cutters, Coroplast, box cutter.
Steps:
- Plan the layout, including the Coroplast base.
- Connect panels with zip ties or connectors.
- Cut and fold Coroplast into a shallow box for the base.
- Secure the base inside the walls.
- Add a lid for jumpers.
- Include ramps, shelves, and bedding.
Example: For a 2×3-foot guinea pig cage, use 12 wire grids and a 30″x50″ Coroplast sheet.
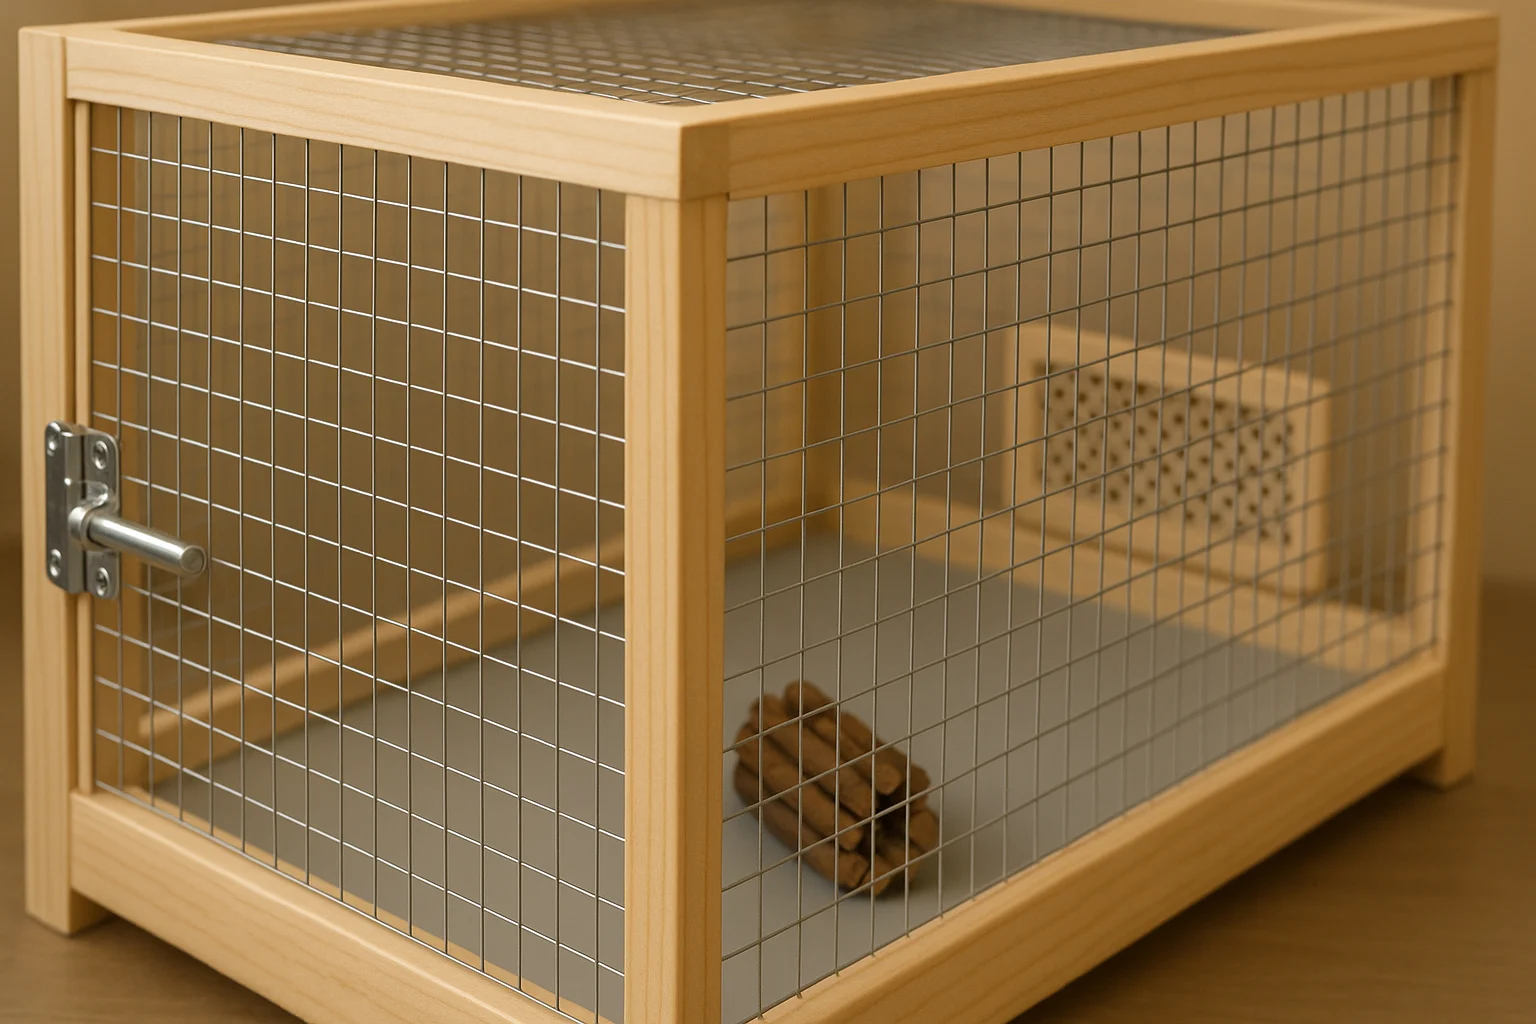
Wood Frames
Wood frames with mesh or solid panels offer durability and a classic look.
- Pros: Sturdy, customizable, aesthetically pleasing.
- Cons: Requires woodworking skills, heavier, chewable.
- Tools: Measuring tape, saw, drill, screws, wood glue, sandpaper, staple gun, hardware cloth.
Steps:
- Design with precise measurements.
- Cut and label wood pieces.
- Assemble the frame with screws and glue.
- Attach mesh or panels with a staple gun or screws.
- Build and hinge a secure door.
- Sand and apply pet-safe stain.
PVC Pipe Frames
PVC pipes create lightweight, water-resistant DIY pet cages.
- Pros: Portable, easy to clean, affordable.
- Cons: Less sturdy, chewable, less aesthetic.
- Tools: PVC pipes, fittings, pipe cutter, PVC cement, mesh, zip ties.
Steps:
- Plan and measure pipe segments.
- Cut pipes to size.
- Assemble the frame with fittings, using cement for permanence.
- Attach mesh or fabric with zip ties.
- Add a hinged or zippered door.
Combination Builds
For advanced DIY pet cages, combine materials:
- Wood & Wire: Sturdy and ventilated for rabbits or guinea pigs.
- Grids & Wood Base: Chew-proof base with flexible walls.
- Multi-Level: Add shelves for climbing pets like cats or ferrets.
- Outdoor Runs: Use wood frames with buried mesh for predator-proofing.
Material Comparison for DIY Pet Cages
| Material | Cost | Durability | Ease of Assembly | Best For |
|---|---|---|---|---|
| Modular Wire Grids | Low ($20–$50) | Moderate | Very Easy | Guinea pigs, rabbits, beginners |
| Wood Frames | Moderate ($50–$100) | High | Moderate | Larger pets, permanent setups |
| PVC Pipe Frames | Low ($30–$60) | Moderate | Easy | Outdoor use, small pets |
Safety Tips for DIY Pet Cages
Safety is non-negotiable when building DIY pet cages. Here’s how to ensure your pet’s well-being:
- Chew-Proofing: Protect wood with metal guards and use heavy-duty zip ties. Offer safe chew toys to redirect chewing.
- No Escapes: Check for gaps, use strong latches, and secure lids for climbers.
- Ventilation: Include mesh panels for airflow to prevent respiratory issues.
- Safe Flooring: Use non-slip, easy-to-clean materials like Coroplast or linoleum.
- Non-Toxic Materials: Verify all materials are pet-safe before use.
Example: When I built a cage for my rabbit, Fluffy, I used metal corner guards to protect wooden edges, preventing chewing mishaps.
Interactive DIY Pet Cage Safety Checker
Evaluate your cage plan’s safety with this tool:
DIY Pet Cage Safety Checker
Answer these questions to assess how safe your DIY pet cage will be.
Maintaining Your DIY Pet Cage
Keeping your DIY pet cages clean and durable ensures your pet’s health. Use non-toxic cleaning products for safety:
- Regular Cleaning: Spot clean daily and deep clean weekly with pet-safe cleaners.
- Inspect Wear: Check for loose connections, frayed wires, or splintering wood.
- Reinforce Connections: Tighten zip ties or screws as needed.
- Outdoor Pest Control: Use barriers to protect against insects or predators.
FAQs About DIY Pet Cages
Get Started with Your DIY Pet Cage
Building a DIY pet cage is a fun, rewarding project that’s a win-win for you and your furry friend. You get to flex your creative muscles, save some cash, and—best of all—create a safe, custom space where your pet can thrive. Whether you go for simple wire grids or a sturdy wooden frame, there’s a DIY option for every skill level and pet parent. So, grab your measuring tape, round up your materials, and start building! Your pet’s going to love their new home, and you’ll feel amazing knowing you made it happen. Share your awesome DIY pet cage creations with us—we can’t wait to see them! Happy building!