
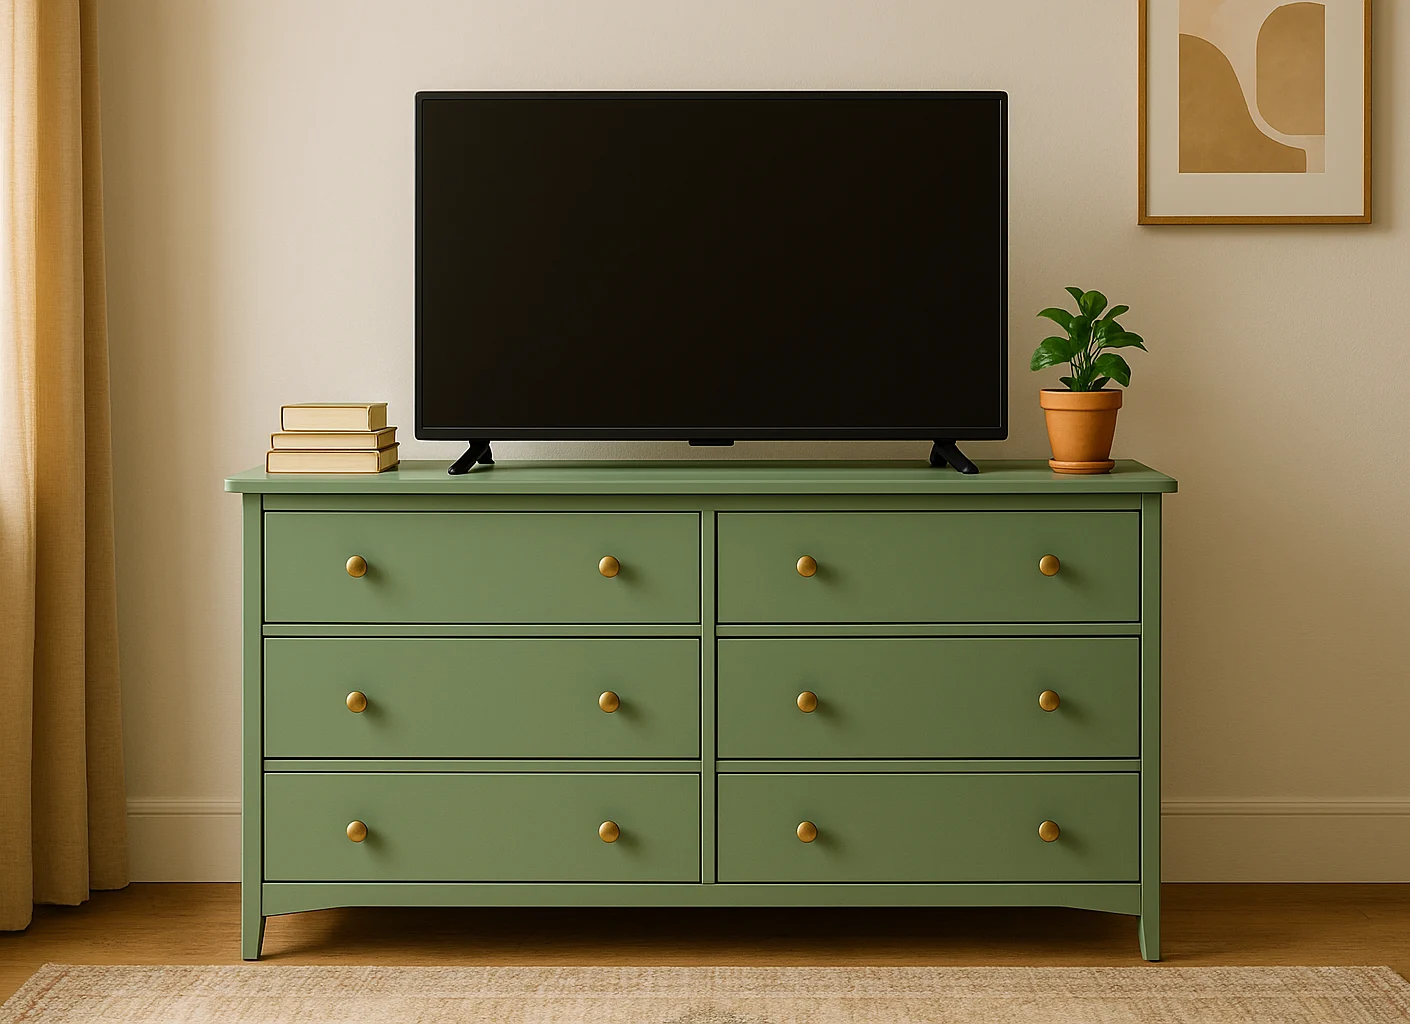
The most useful budget DIY home projects usually begin with a small annoyance: a drawer that never stays organized, house numbers that are hard to read, a blank wall, or an entry that feels unfinished. Solve one specific problem and you are far more likely to finish than if you start with a whole-room makeover.
Use this guide to choose one realistic win rather than collect ideas. The project picker below narrows 12 projects by goal, spending cap, and available time, and every guide gives you a short plan and a clear stop point. Drawer dividers, house numbers, and a gallery wall are low-friction starts; a painted front door or furniture flip creates a bigger visible change. Costs and times are planning estimates—not local quotes—and the safest choice is sometimes to pause or hire help.
Find a project that fitsThis post contains affiliate links. If you purchase through them, we may earn a commission at no extra cost to you. As an Amazon Associate, I earn from qualifying purchases. Learn more
Table of Contents
- Choose the Right Project Before You Shop
- Find One Budget DIY Project Worth Starting
- Indoor Projects With a Visible Payoff
- Outdoor Projects for an Affordable Garden Makeover
- Know When to DIY, Pause, or Call a Pro
- Keep a Small Project From Becoming an Expensive One
- Explore the Focused DIY Guides
- Budget DIY Project Questions
- Start With the Smallest Useful Version
Choose the Right Project Before You Shop
A good budget project begins with the problem, not the supplies. Before buying paint, hardware, or a new tool, write one sentence describing what should be different when the project is finished.
- Pick one result: “This drawer opens without a pile falling over” is clearer than “organize the kitchen.”
- Set a hard boundary: Decide the maximum spend, work area, and stopping time before you begin.
- Use the lightest fix: Clean, rearrange, repair, paint, or add simple storage before replacing a whole item.
- Check the hidden risk: Old paint, fixed wiring, gas, plumbing inside walls, structural cuts, and heavy wall loads change the job.
The most frugal option is not always doing everything yourself. A small, reversible surface project is a sensible DIY. A repair that can create water, electrical, fire, or structural damage needs a different standard.
Find One Budget DIY Project Worth Starting
Answer three questions and the list below narrows to the projects that fit your goal, your spending cap, and the time you can protect.
Indoor Projects With a Visible Payoff
If you are starting indoors, these DIY home decor ideas focus on changes you can see or use every day. The best starting point is usually a tired piece of furniture, one cluttered storage area, or one unfinished wall—not an entire room.
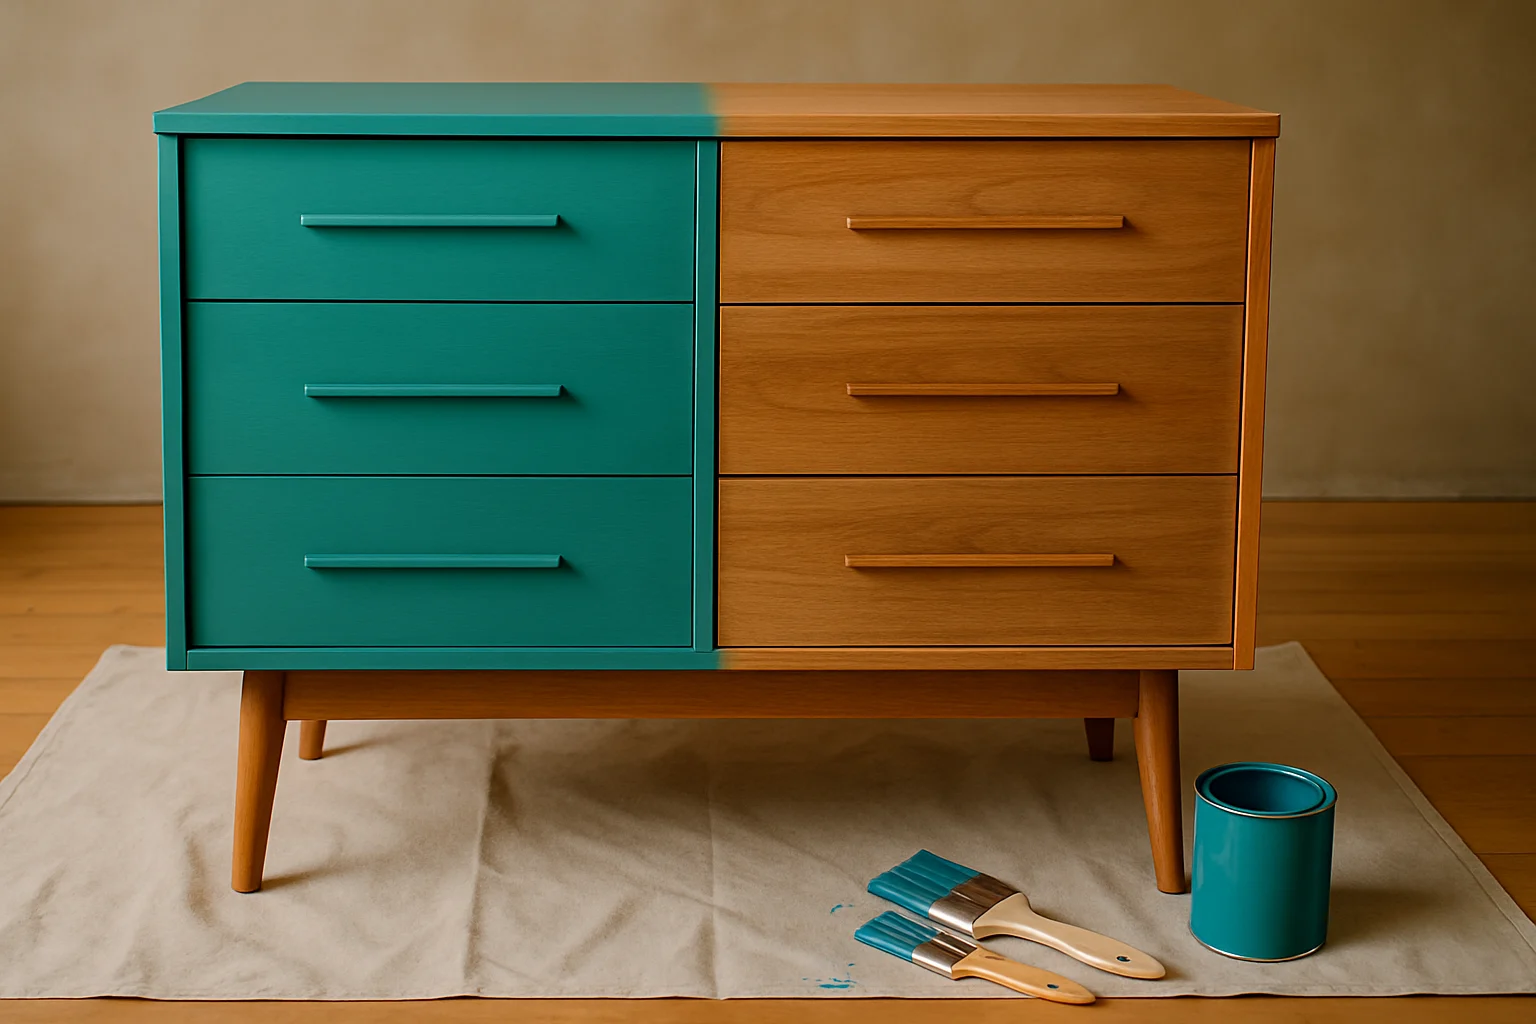
1. Turn a Dresser Into a Media Console
Project fit: $25–$60 · a weekend · beginner
Choose a solid dresser with drawers that move smoothly and no major water damage. The low-cost version is a careful clean, light surface prep, paint, and reused hardware. Removing one or two upper drawers can create open media shelves, but only when the remaining frame stays rigid.
- Clean the piece, remove hardware, and label every drawer.
- Repair small dents, prepare the finish, and apply thin coats rather than one heavy coat.
- Reassemble only after the finish has cured enough to resist sticking and fingerprints.
Skip a piece with a strong chemical odor, crumbling composite board, serious wobble, or old paint you cannot assess safely.
2. Build a Thrifted Gallery Wall
Project fit: under $25 · about 2 hours · beginner
A gallery wall works because the arrangement creates impact, not because every frame matches. Start with art, photos, postcards, fabric, or prints you already own, then buy only the missing frame sizes.
- Lay the full arrangement on the floor and choose one visual anchor.
- Trace the frames onto paper and test the layout on the wall.
- Use the right hanging method for the frame weight and wall surface.
Keep spacing consistent enough to make mixed frames feel intentional. In a rental, confirm the wall and adhesive limits before relying on removable strips.
3. Add a Peel-and-Stick Accent
Project fit: $25–$60 · half a day · beginner
Use peel-and-stick material on a small wall, shelf back, stair riser, or cabinet interior before committing to a full room. A small test area reveals whether the surface is smooth enough and whether removal affects the finish.
- Clean and dry the surface, then test one offcut in a discreet spot.
- Mark a level starting line and apply a short section at a time.
- Smooth from the center outward and trim with a fresh blade.
Pattern matching increases waste, so measure repeats before ordering. Avoid damp, textured, or flaking surfaces.
4. Make Custom Drawer Dividers
Project fit: under $25 · about 2 hours · beginner
This is one of the most useful low-cost DIY home accessories because the dimensions match your actual drawer. Cardboard, thin wood, or corrugated plastic can work depending on moisture and wear.
- Empty the drawer and group items by the way you use them.
- Measure the interior at more than one point; older drawers may not be square.
- Dry-fit a removable grid before gluing or covering anything.
Make sections slightly larger than the objects they hold. Dividers fail when every compartment is measured too tightly.
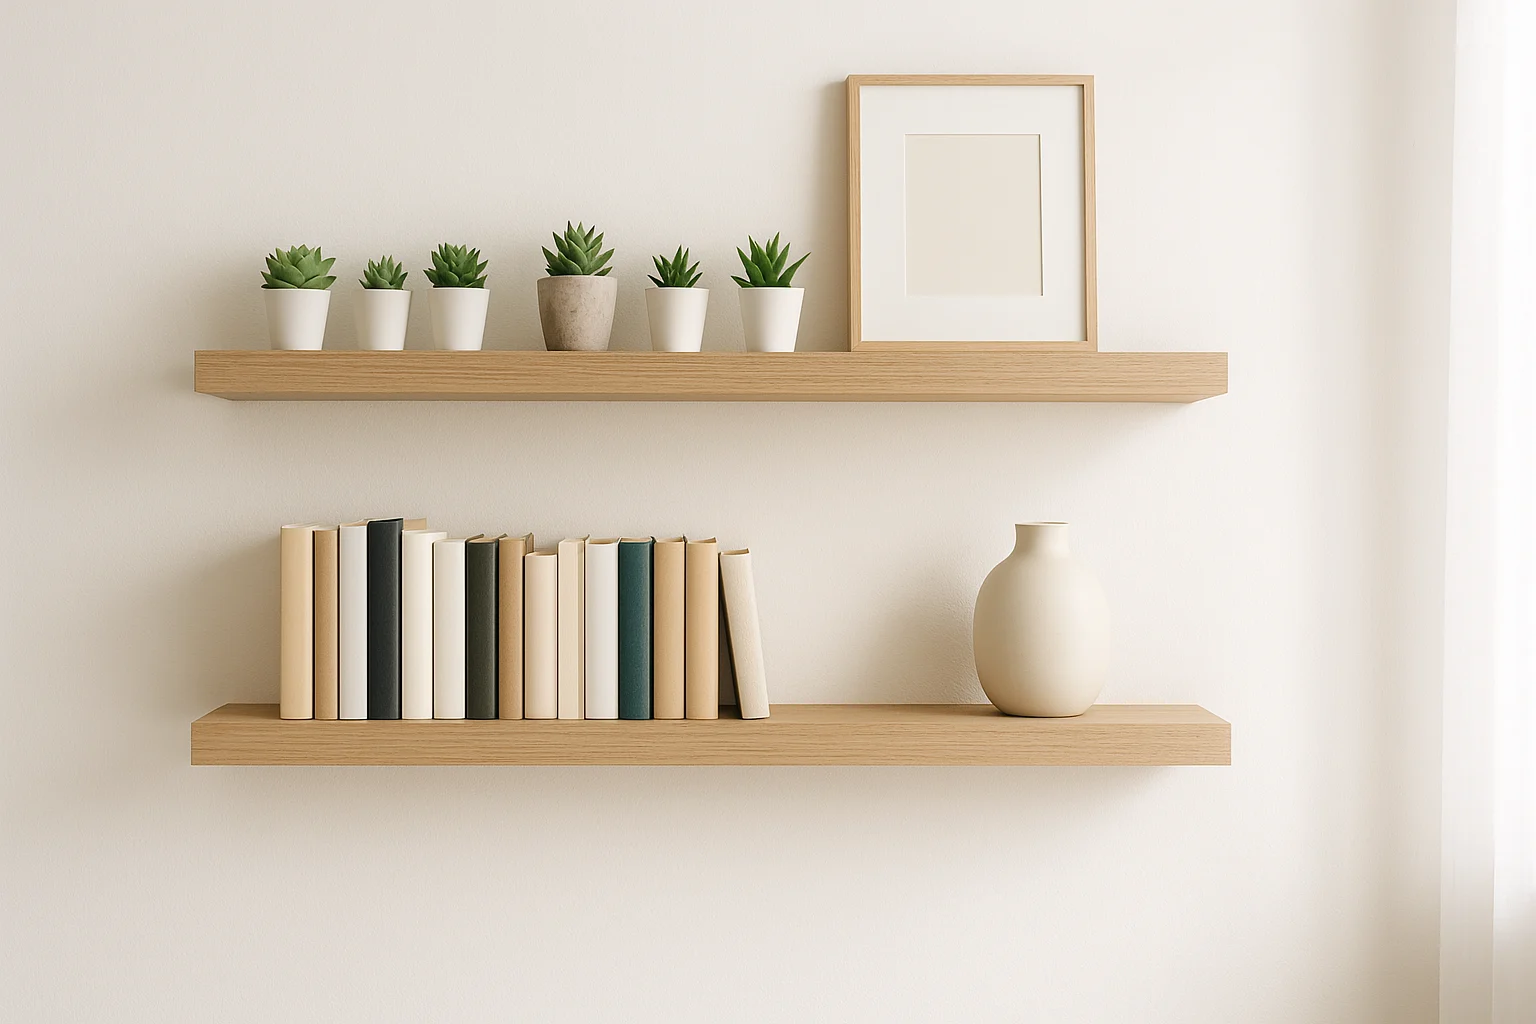
5. Install Simple Bracket Shelves
Project fit: $25–$60 · half a day · intermediate
Simple visible brackets are usually easier to install and inspect than a hidden floating system. Decide what the shelf must hold before choosing the board, bracket spacing, and fasteners.
- Locate studs or identify the wall type and the correct rated anchors.
- Mark bracket positions with a level and verify the shelf will clear doors and switches.
- Mount the brackets, test the board fit, then secure the shelf.
Do not guess about hidden wiring or plumbing. When the load is heavy or the wall condition is uncertain, stop before drilling.
6. Refresh Cabinets With Paint
Project fit: $60–$200 · a weekend or more · intermediate
Cabinet painting is one of the larger DIY home improvement projects in this guide. The result depends more on cleaning, labeling, surface preparation, and curing than on decorative extras.
- Photograph the layout, label doors and hardware, and degrease thoroughly.
- Test the preparation and coating system on one inconspicuous door.
- Apply thin coats and allow enough cure time before reinstalling or stacking doors.
Start with a bathroom vanity or a small bank of cabinets if you have never painted a high-use surface. A whole kitchen is not a useful “quick weekend” promise.
Outdoor Projects for an Affordable Garden Makeover
If you are working outside, improve one boundary, path, entrance, planting area, or evening-use zone. If heat and usable shade are the real problem, compare these budget DIY backyard shade ideas before choosing a decorative project. An affordable garden makeover also needs drainage, weather, and ground stability considered before decoration.
7. Start a Container Garden
Project fit: under $25 · about 2 hours · beginner
Reuse sound containers when they are clean, suitable for the plant, and able to drain. Match the location first: sunlight, access to water, and the mature plant size matter more than the decorative pot.
- Choose one sunny or shaded location and plants that suit it.
- Add or confirm drainage holes and use an appropriate potting mix.
- Group containers by watering need so care stays simple.
Begin with one herb or flower group rather than buying a mixed collection that needs different conditions.
8. Refresh the House Numbers
Project fit: under $25 · about 2 hours · beginner
This project has a clear finish line: readable numbers mounted straight and visible from the approach to the home. Repainting a backing plaque can be cheaper than replacing the numbers.
- Photograph and measure the current spacing before removal.
- Patch or clean the mounting surface and mark a level baseline.
- Install with exterior-rated hardware and confirm visibility from the street.
Avoid placing numbers where plants, glare, or an open door will hide them.
9. Paint the Front Door
Project fit: $25–$60 · half a day · beginner
A front-door refresh creates more impact than scattering small decorations across the entry. Check the weather window, door material, existing finish, and drying time before choosing a coating.
- Clean the door and repair minor surface defects.
- Mask hardware or remove it, then test the coating in a small area.
- Apply thin coats and keep the door usable and protected while it dries.
If sanding may disturb old paint, follow current lead-safe guidance before starting.
10. Build a Reclaimed Garden Border
Project fit: under $25 · half a day · beginner
Salvaged brick or stone can define a bed without turning the project into a major hardscape job. Use intact material with no sharp breaks or unknown contamination.
- Lay out the curve with a hose or string and check how it affects mowing and drainage.
- Dig a shallow, consistent trench and compact the base.
- Set and level the material, then backfill both sides.
Keep the border low enough that it does not become a trip edge or trap water against a structure.
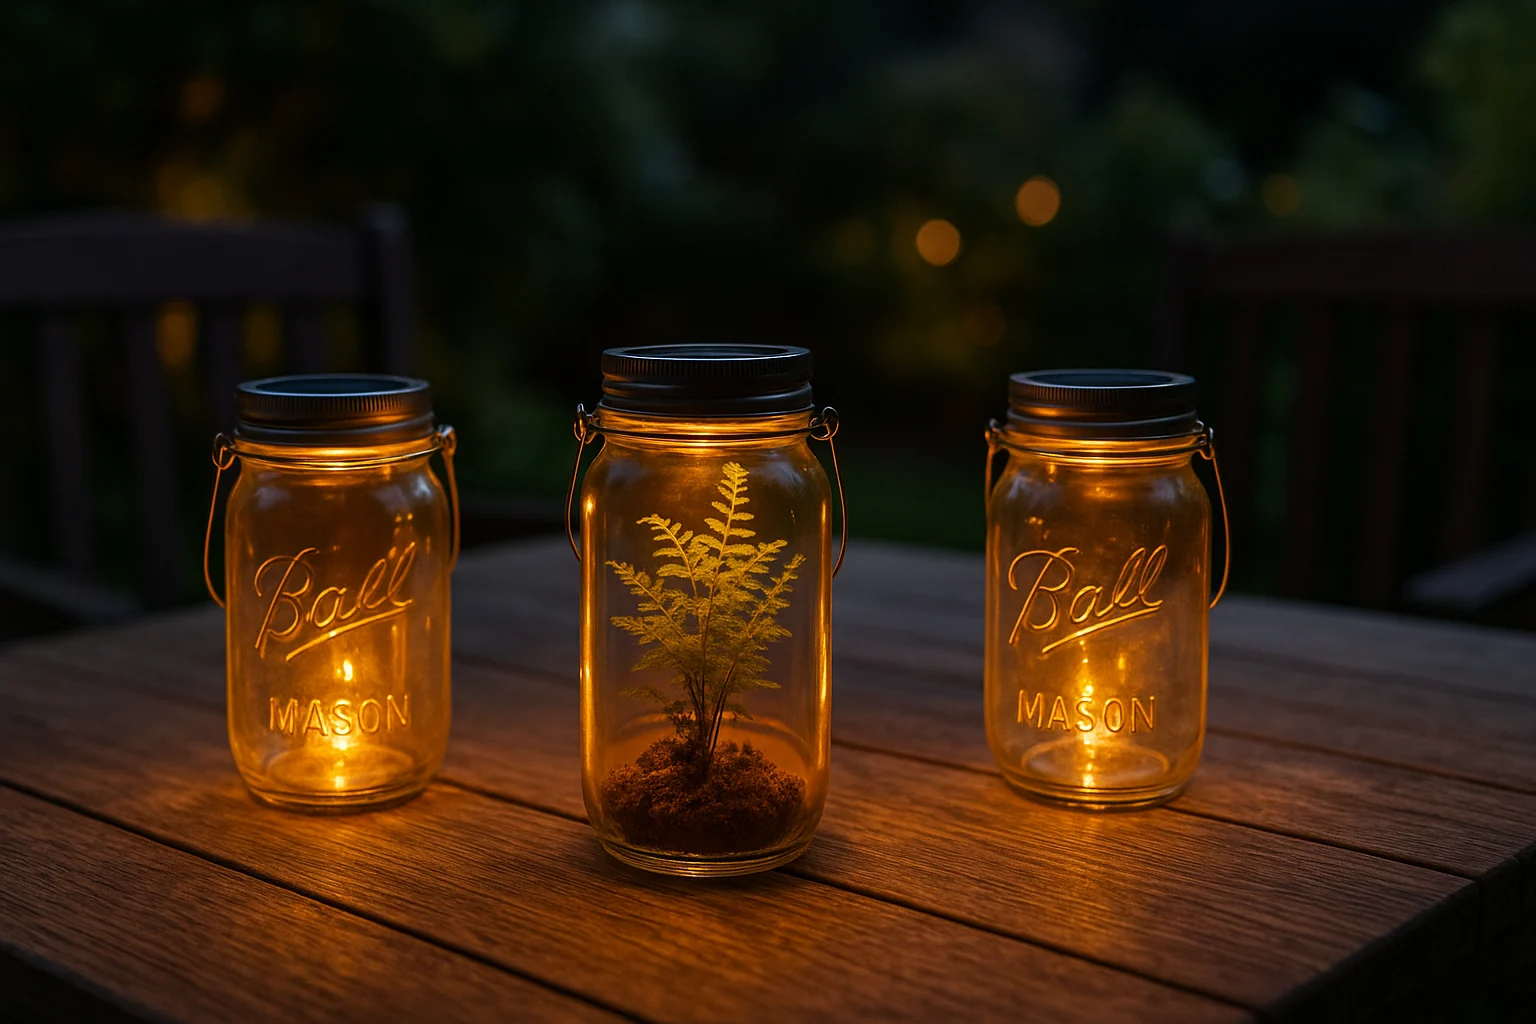
11. Make Solar Jar Lanterns
Project fit: under $25 · about 2 hours · beginner
Use purpose-made solar lids or self-contained low-voltage lights rather than improvising mains-powered wiring. The jar or shade should protect the light without sealing in water.
- Clean the container and test the solar unit in direct light.
- Fit the lid or light without crushing wires or blocking the panel.
- Place the lantern where it can charge and where it will not obstruct a path.
Bring decorative units inside during severe weather unless their product instructions clearly allow permanent outdoor use. For five more low-voltage variations, see these Dollar Tree DIY solar light projects.
12. Cast Decorative Stepping Stones
Project fit: $25–$60 · a weekend including curing · beginner
The active work is short, but curing is not. Use gloves and eye protection, follow the concrete product instructions, and keep the mold on a level surface.
- Prepare the mold and arrange decorations before mixing.
- Mix only the amount you can place promptly and fill the mold evenly.
- Allow the stone to cure as directed before demolding or walking on it.
Decorative stones are not automatically suitable for structural steps or areas that must carry vehicles. For a broader yard plan built around one manageable weekend, continue with these easy DIY backyard projects.
Know When to DIY, Pause, or Call a Pro
Use the project’s failure cost—not your enthusiasm—to set the boundary.
- DIY: cleaning, painting sound surfaces, removable organization, light decorating, and straightforward assembly.
- Pause and verify: drilling into walls, mounting heavy items, sanding older finishes, cutting masonry, or using unfamiliar power tools.
- Use qualified help: structural changes, fixed electrical wiring, gas, roofing or risky ladder work, suspected asbestos, or water damage inside walls.
For painted surfaces in homes built before 1978, review the EPA’s lead-safe renovation steps before sanding or scraping. For electrical hazards and home checks, use the CPSC electrical safety guide.
Stuck on a specific repair step?
HomeFix.Expert offers online troubleshooting guidance before you continue. It is not a substitute for a licensed professional when the work involves structural changes, fixed wiring, gas, asbestos, or another high-risk condition.
Keep a Small Project From Becoming an Expensive One
Budget drift usually begins before the first purchase. The project grows, the finish standard changes, or optional upgrades get treated as required materials.
- Define done: Write the exact result and the area included.
- Inventory first: Check paint, fasteners, brushes, containers, scrap wood, and usable hardware you already own.
- Separate repair from decoration: Fix wobble, damage, or moisture before spending on color and accessories.
- Test the smallest version: Try one drawer, door, shelf, pot, or sample area before scaling up.
- Keep optional upgrades optional: New knobs, trim, labels, and decorative extras should not decide whether the basic project can be finished.
- Set a stop rule: Pause when the job exposes hidden damage, requires a different trade, or exceeds the spending cap.
Do this before shopping: photograph the problem, write the finish line, list the five or fewer materials required for the basic version, and set the maximum spend.
Buy a Tool Only When It Earns Repeat Use
Count the projects you are likely to complete before buying a power tool or specialty tool. The project route comes first because it determines whether the tool solves a real problem; for one isolated job, borrowing, renting, or using a hand-tool alternative is usually the more frugal choice.
| Task | Start with this project | Tool decision |
|---|---|---|
| Drill and fasten | Read Install Simple Bracket Shelves and confirm the wall type, load, fasteners, and drilling path first. |
Consider the DEWALT DCD771C2 20V MAX drill/driver kit only when two or more planned projects need drilling or screw-driving. Skip the purchase for one shelf or one set of house numbers; borrow or rent instead. |
| Glue lightweight crafts | Use it only when you already have several lightweight decorative projects planned; one isolated craft does not justify a dedicated tool. |
The Surebonder Mini Fine-Tip Hot Glue Gun fits repeated lightweight decorative assembly. Skip it for furniture joints, repairs, outdoor load-bearing work, or anything that must resist heat or carry weight. |
| Locate studs before mounting | Start with the bracket-shelf plan, including the expected load and the wall construction. |
The Zircon StudSensor A100 wall scanner can support repeated wall-mounting jobs. It does not prove that wiring or plumbing is absent, so stop and verify when the scan or wall condition is unclear. |
| Sand and refinish | Read the dresser preparation steps and the cabinet test-area guidance before choosing a sanding method. | For one small sound surface, start with a sanding block or borrow a tool. A powered detail sander is not a safe default for unknown coatings or painted surfaces in pre-1978 homes, so no product is recommended in this pillar row. |
A tool is not a bargain when its cost, storage, learning curve, or safety requirements exceed the value of the projects you will actually finish.
Explore the Focused DIY Guides
This pillar gives you the decision framework. Continue with the home-and-garden guides when you want a larger practical upgrade, or use the craft guides for a smaller decorative or gift project.
Home and Garden Projects
- Budget DIY backyard shade ideas — compare three low-cost shade approaches and their limits.
- Easy DIY backyard projects — choose a manageable weekend upgrade for the yard.
- Dollar Tree DIY solar light projects — five low-voltage ideas for paths and outdoor seating areas.
Small Craft and Gift Projects
- Cheap homemade gifts for coworkers — five practical gift projects with a workplace-friendly finish.
- Cheap homemade gift basket ideas — build a more polished basket without filling it with random extras.
- Roxy Epoxy DIY candle-making kit review — decide whether a bundled candle kit fits your craft plan.
Budget DIY Project Questions
Start With the Smallest Useful Version
Choose one project from the guides above, photograph the problem, and write a one-sentence finish line plus a hard spending cap. Complete the basic version before buying decorative extras.
The win is not changing the whole house. It is finishing one safe, useful project, seeing the difference immediately, and knowing exactly why you stopped.
DIY involves risk. Use appropriate protective equipment and follow manufacturer instructions. Electricity, ladders, concrete, power tools, and disturbed older paint can create serious hazards. Follow local building and electrical requirements, and use qualified professional help when the scope is uncertain.