
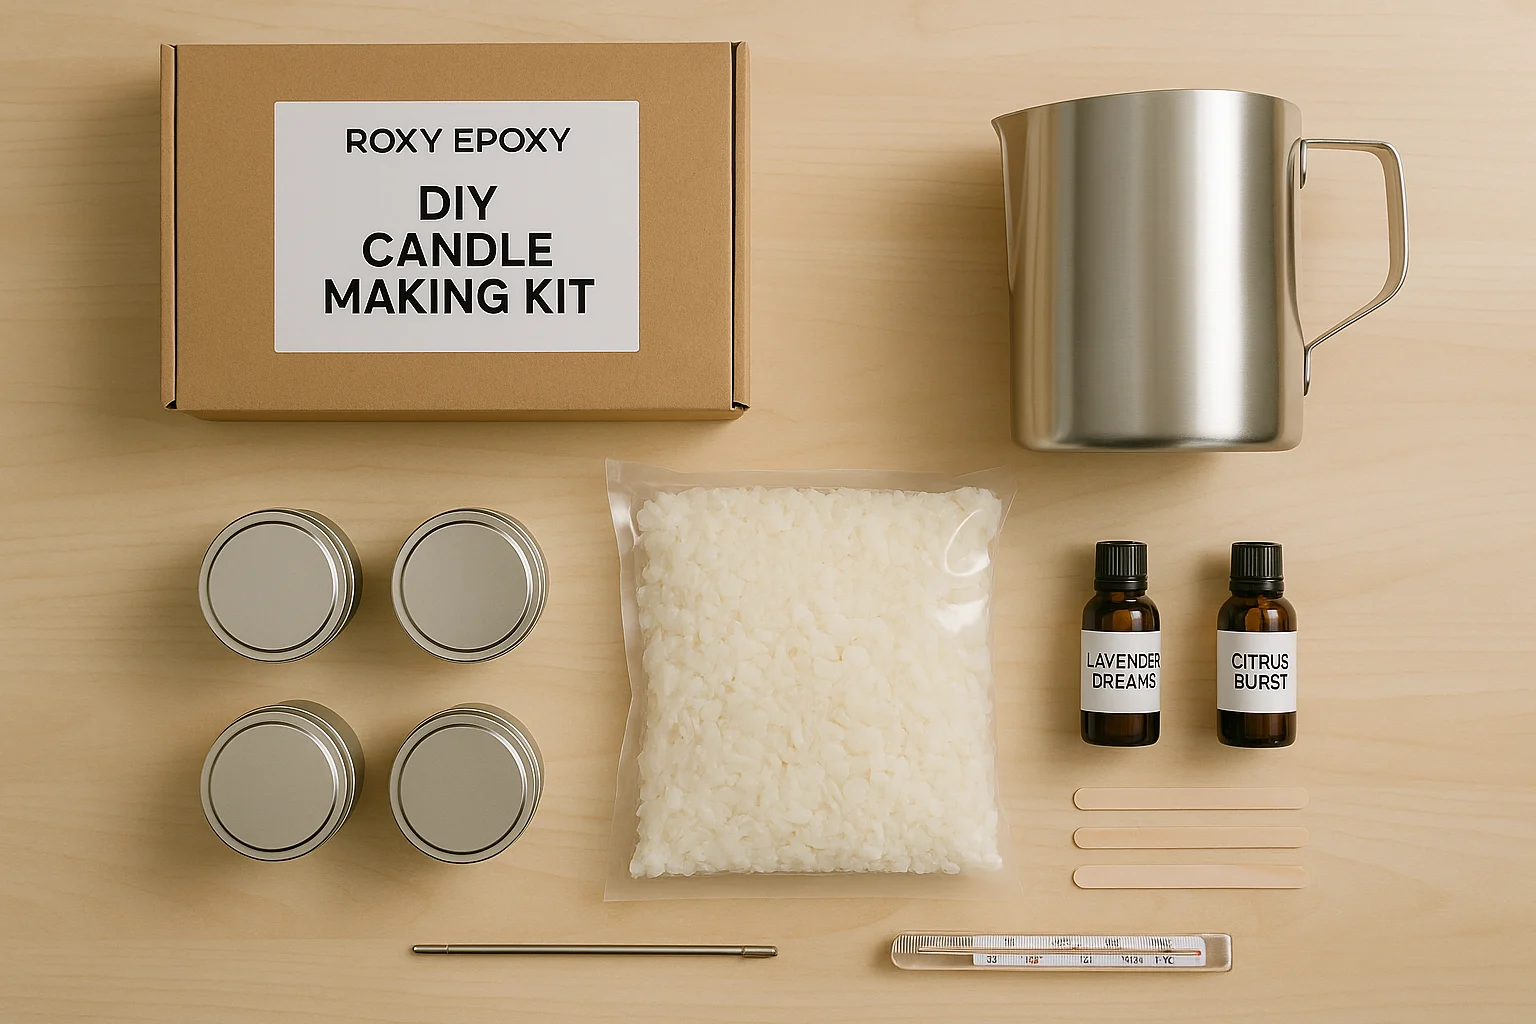
The Roxy Epoxy DIY Candle Making Kit is no longer an easy option to buy. But the reason people wanted it still makes sense: getting the wax, containers, scents, and basic tools together is much easier than building a candle setup piece by piece.
If you want to make candles now, skip the hunt for an old listing. This guide shows you how to spot a genuinely complete kit, when separate supplies are worth the extra work, and how to avoid paying for a box that still leaves you missing essential tools. It follows the practical approach in our Budget DIY Home Projects guide: pay for convenience only when it replaces real purchases and reduces waste.
This page contains Amazon affiliate links. As an Amazon Associate, I earn from qualifying purchases at no extra cost to you. Learn more.
Prefer one complete box? Jump to the complete-kit option if you would rather avoid matching wax, wicks, containers, a heat source, and temperature tools separately.
Table of Contents
- What to choose instead of the Roxy Epoxy kit
- How to choose a complete candle-making kit
- Check whether a candle kit looks complete
- Candle kit versus separate supplies
- Plan a safer first batch
- Frequently asked questions
- Take the best next step
What to Choose Instead of the Roxy Epoxy Kit
The original Roxy Epoxy kit is not currently available, so choose the replacement route that matches how much of the setup you want to handle yourself.
- Choose a complete kit when you want one coordinated first batch with fewer separate purchases and fewer compatibility decisions.
- Use a hybrid setup when you already own safe heating, pouring, or measuring tools and only need the candle materials.
- Buy separate supplies when you expect to make candles repeatedly or want full control over the wax, wick, fragrance, and containers.
For most first-time or occasional makers, a complete kit is the easiest place to start. The catch is that some “complete” kits still leave out a thermometer, scale, heat source, usable instructions, or enough information to match the materials correctly.
The next checklist helps you tell the difference between a genuinely useful starter kit and a box that only looks complete in the photos.
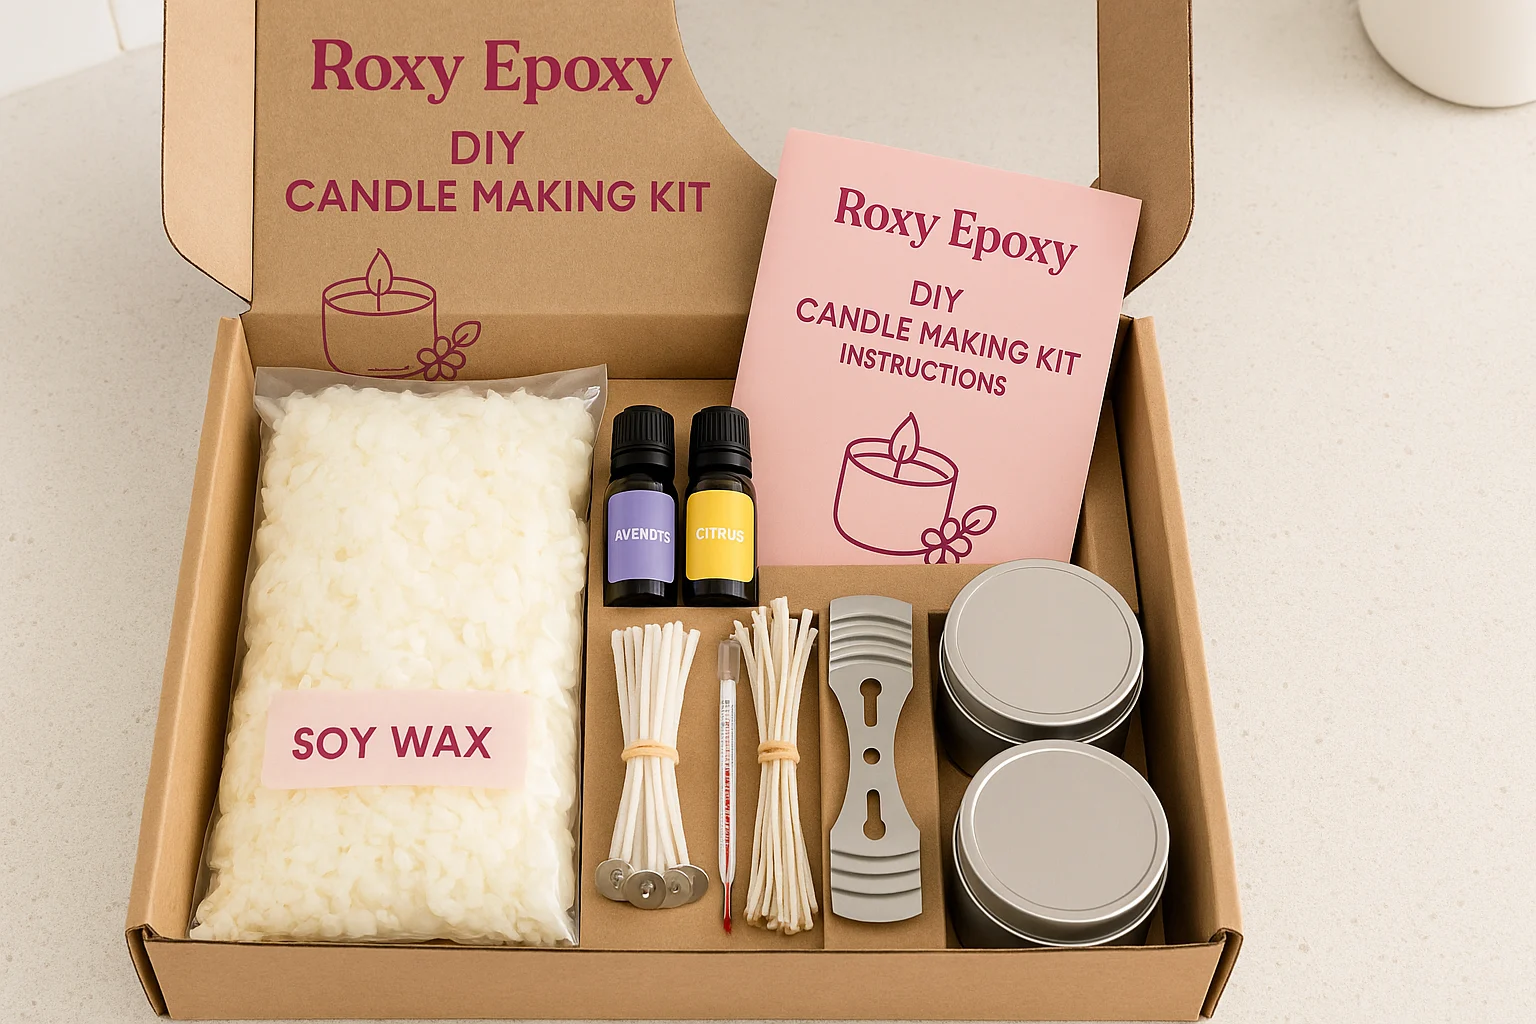
How to Choose a Complete Candle-Making Kit
The word “complete” is used loosely. Before buying any beginner kit, check whether the box truly covers one safe, usable first batch:
- Clear contents and quantities: look for the wax weight, container count and size, wick count, fragrance amount, and the exact tools included.
- One compatible candle system: the wax, wicks, containers, and fragrance guidance should work together rather than simply appear in the same box.
- No surprise equipment gap: check whether you still need a heat source, pouring pot, thermometer, scale, or wick-centering tools.
- Usable first-batch instructions: the directions should cover measuring, melting, mixing, pouring, curing, trimming, burn testing, and warning labels.
- A sensible refill path: compare the amount of wax with the included containers, then check what the second batch would cost once the starter materials are gone.
The best beginner kit is not the box with the most pieces. It is the one that removes decisions without hiding missing tools, incompatible materials, or an expensive refill path.
Before comparing prices, use this 30-second check. Product photos can make a kit look complete even when the quantities, required tools, or compatibility details are missing.
Does This Candle Kit Look Complete?
Use this 30-second check before buying. It shows whether the product page gives you enough information to make a sensible choice.
Missing or unclear:
Even when a kit clears all three checks, make and burn-test one candle before using the whole batch.
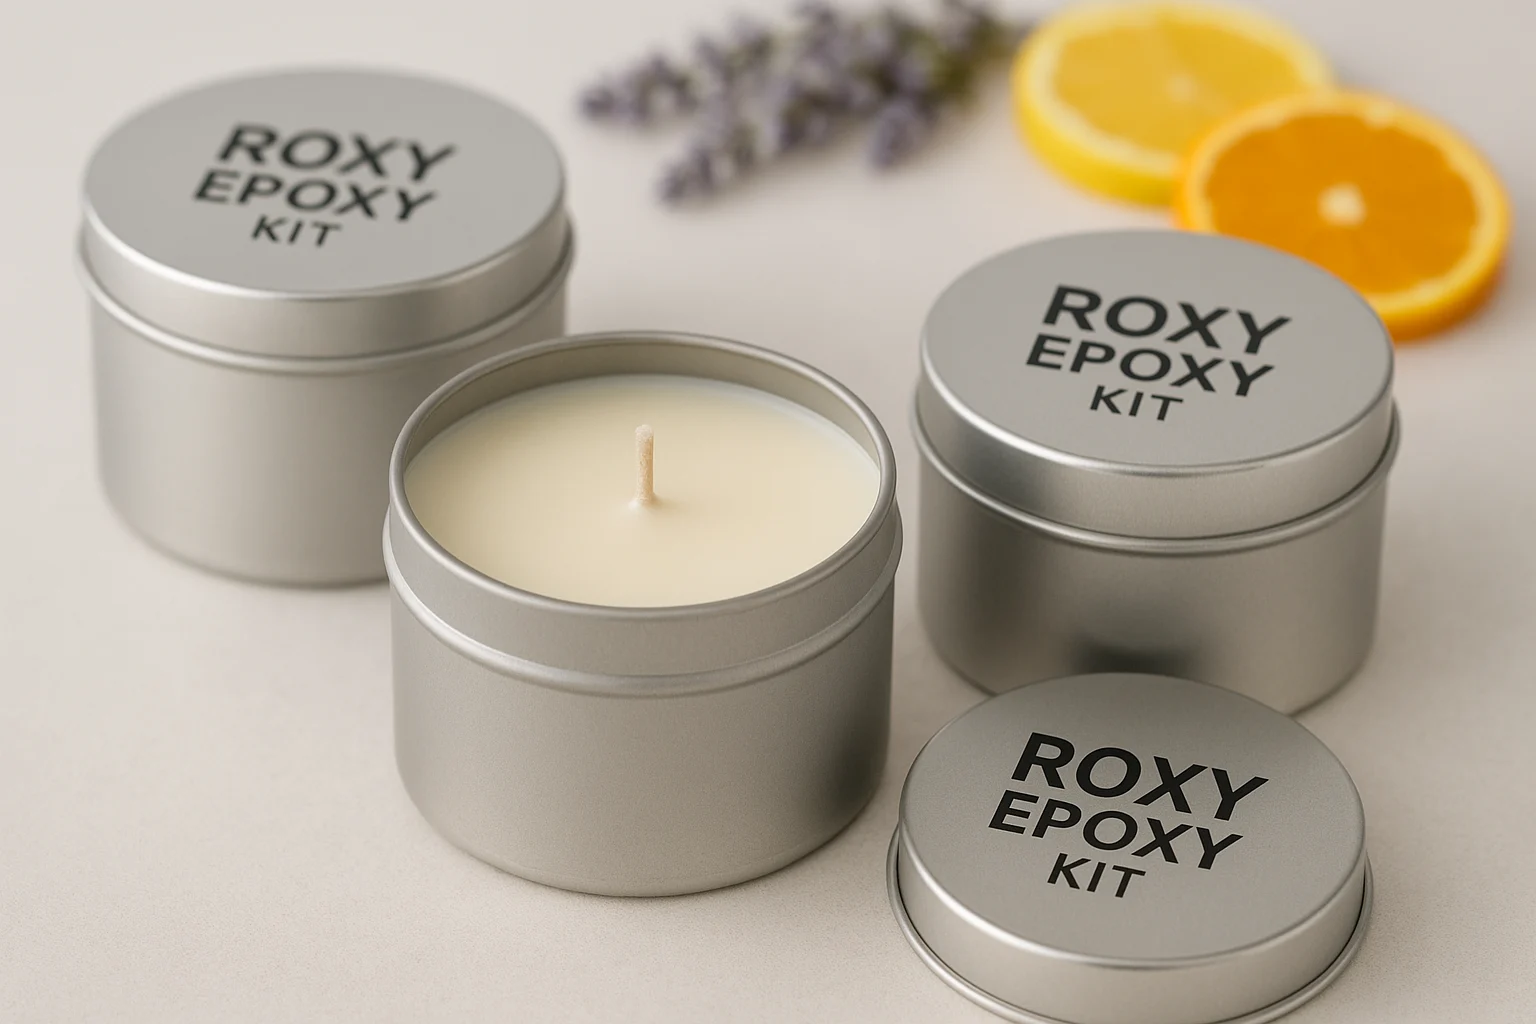
Candle Kit Versus Separate Supplies
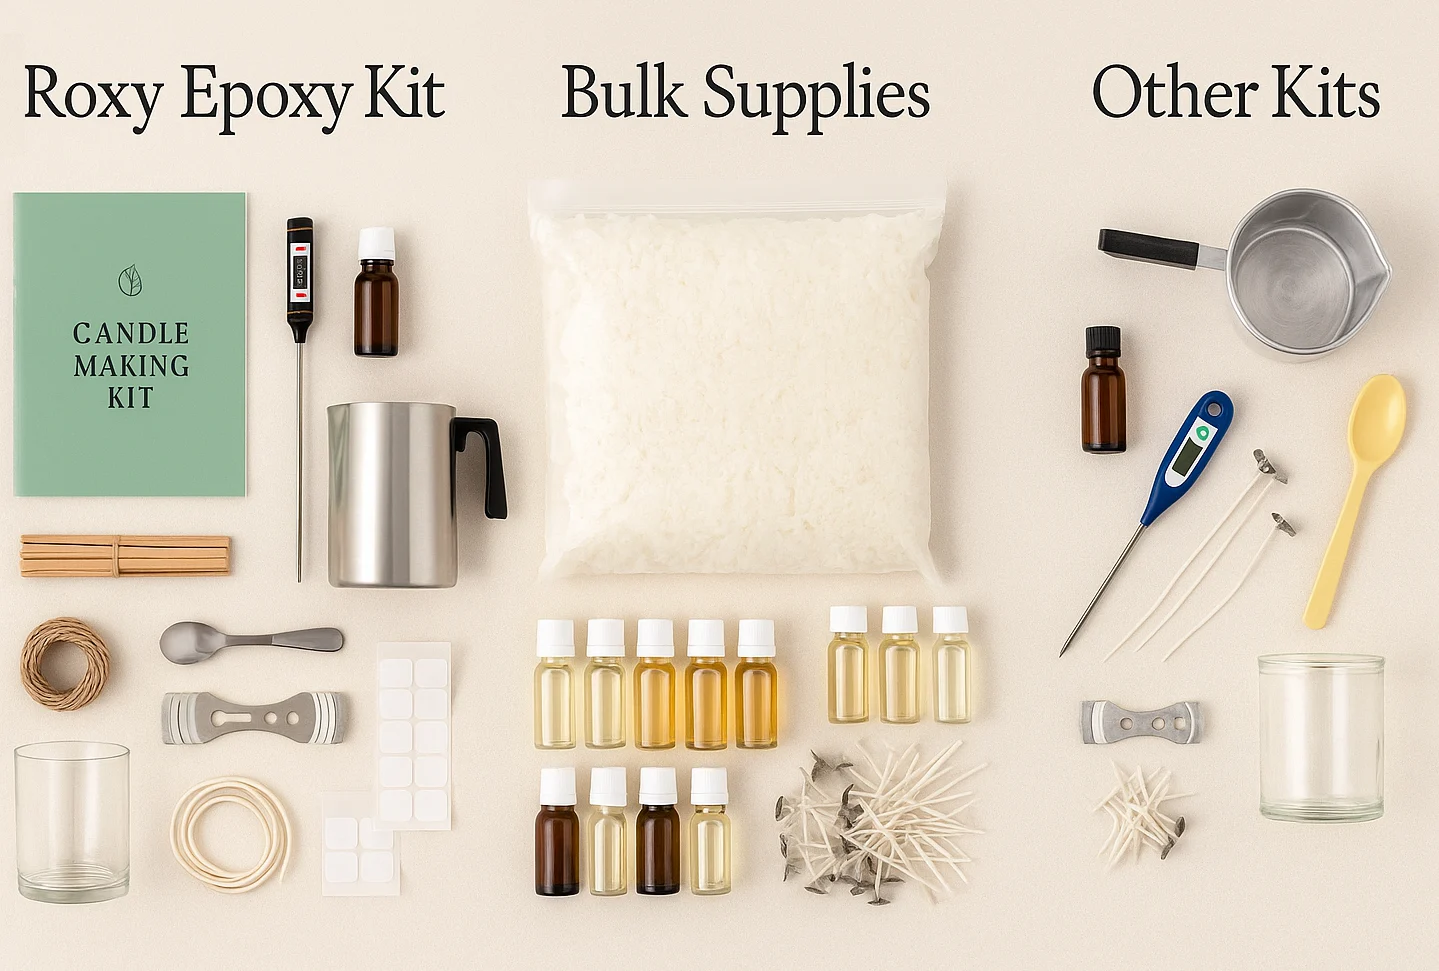
The real trade-off is fewer decisions now versus more control later. Use the table to decide whether you want one coordinated starting box or the freedom—and extra work—of building the system yourself.
| Decision | Complete kit | Separate supplies |
|---|---|---|
| Best for | One low-friction trial | Repeat batches or greater control |
| Up-front decisions | Fewer, when the bundle is genuinely complete | More: wax, wick, container, fragrance, and tools |
| Customization | Limited to the included system | You choose each material and container |
| Cost test | Compare current price with usable contents and missing tools | Spread reusable-tool costs across the batches you expect to make |
| Main risk | Weak, missing, or poorly matched components | Buying incompatible materials or too much inventory |
| Good stopping rule | Skip it when contents or instructions are vague | Start small and change one variable at a time |
For one occasional batch, a genuinely complete kit usually wins on simplicity. It is not automatically cheaper, but it can replace several separate purchases and compatibility decisions. Separate supplies usually win when you already own safe equipment, expect repeat batches, or care about choosing the exact wax, scent, and container. A hybrid setup—keeping your tools and buying modest amounts of compatible materials—often avoids the biggest weaknesses of both routes.
Prefer One Complete Box? Start Here
Buying every component separately gives you more control, but it also creates a chain of small decisions: which wax suits which wick, whether the containers are appropriate, how you will melt and monitor the wax, and how much of each supply to buy.
For someone making candles once, seasonally, or as a first experiment, that setup work can become the biggest barrier. A complete kit can be the more practical—and sometimes more frugal—route when it replaces several separate purchases and reduces the chance of buying oversized packs that remain unused. It is not automatically cheaper, and repeat makers may outgrow it quickly.
FAIRYELF Candle Making Kit
A complete one-box setup for an occasional first batch.
It includes the hot plate, melting pot, soy wax, tins, thermometer, scents, dyes, wicks, centering tools, labels, and instructions.
Choose it: when convenience matters more than customizing every component.
Skip it: if you already own the heating and pouring equipment.
Even with a complete kit, make one candle first and complete a proper burn test before using the remaining materials or gifting the batch.
Once you choose a route, start with one small, testable batch rather than using every supply at once.
Plan a Safer, More Repeatable First Batch
There is no universal soy-candle temperature or fragrance percentage. Follow the instructions for the exact wax and fragrance you buy.
At minimum, you need compatible wax, correctly sized wicks, candle-safe containers, candle-safe fragrance if you want scent, a safe melting setup, a pouring pitcher, measuring equipment, wick holders, and warning labels. A thermometer is necessary when the wax instructions call for one.
Weigh wax and fragrance rather than measuring them by cups or spoons. Use tare and gram readings so you can subtract the container and record the actual batch.
A practical starter scale for ordinary wax batches: Etekcity EK6015.
Its 1 g readings, tare function, and 11 lb capacity suit typical home batches. Skip it if you already own a dependable gram scale; choose 0.1 g precision for very small fragrance tests.
Work in this order
- Choose one compatible system. Start with one wax, one wick series, one container size, and one fragrance or an unscented test.
- Record the batch. Write down weights, wick size, container, temperatures, mixing time, pour conditions, and date.
- Prepare before heating. Secure and center the wicks, protect the work surface, and keep children and pets out of the hot-wax area.
- Follow supplier instructions. Melt, add fragrance, stir, cool, and pour according to the exact materials—not a generic temperature copied from another recipe.
- Cool and cure undisturbed. CandleScience recommends at least one week for soy candles and up to two weeks for stronger hot throw.
- Trim, label, and burn-test. Trim the wick to about 1/4 inch, add the finished warning label, and test the candle before gifting it or making a larger batch.
Troubleshoot the system, not just the symptom
- Tunneling: recheck wick sizing, container diameter, and the burn-test method before assuming the wax is bad.
- Weak scent: verify fragrance compatibility, allowed load, weighing, mixing, and cure time.
- Mushrooming, soot, or an unstable flame: extinguish the candle, let it cool, trim the wick, remove drafts, and stop using a combination that continues to burn poorly.
- Sinkholes or rough tops: follow the wax supplier’s cooling and pour guidance before changing several variables at once.
For a beginner soy-candle process, see CandleScience’s step-by-step guide. For use and fire safety, follow the National Candle Association’s candle safety guidance.
Never leave a burning candle unattended. Keep it on a stable, heat-resistant surface away from drafts, children, pets, and anything flammable, and do not move it while the wax is liquid.
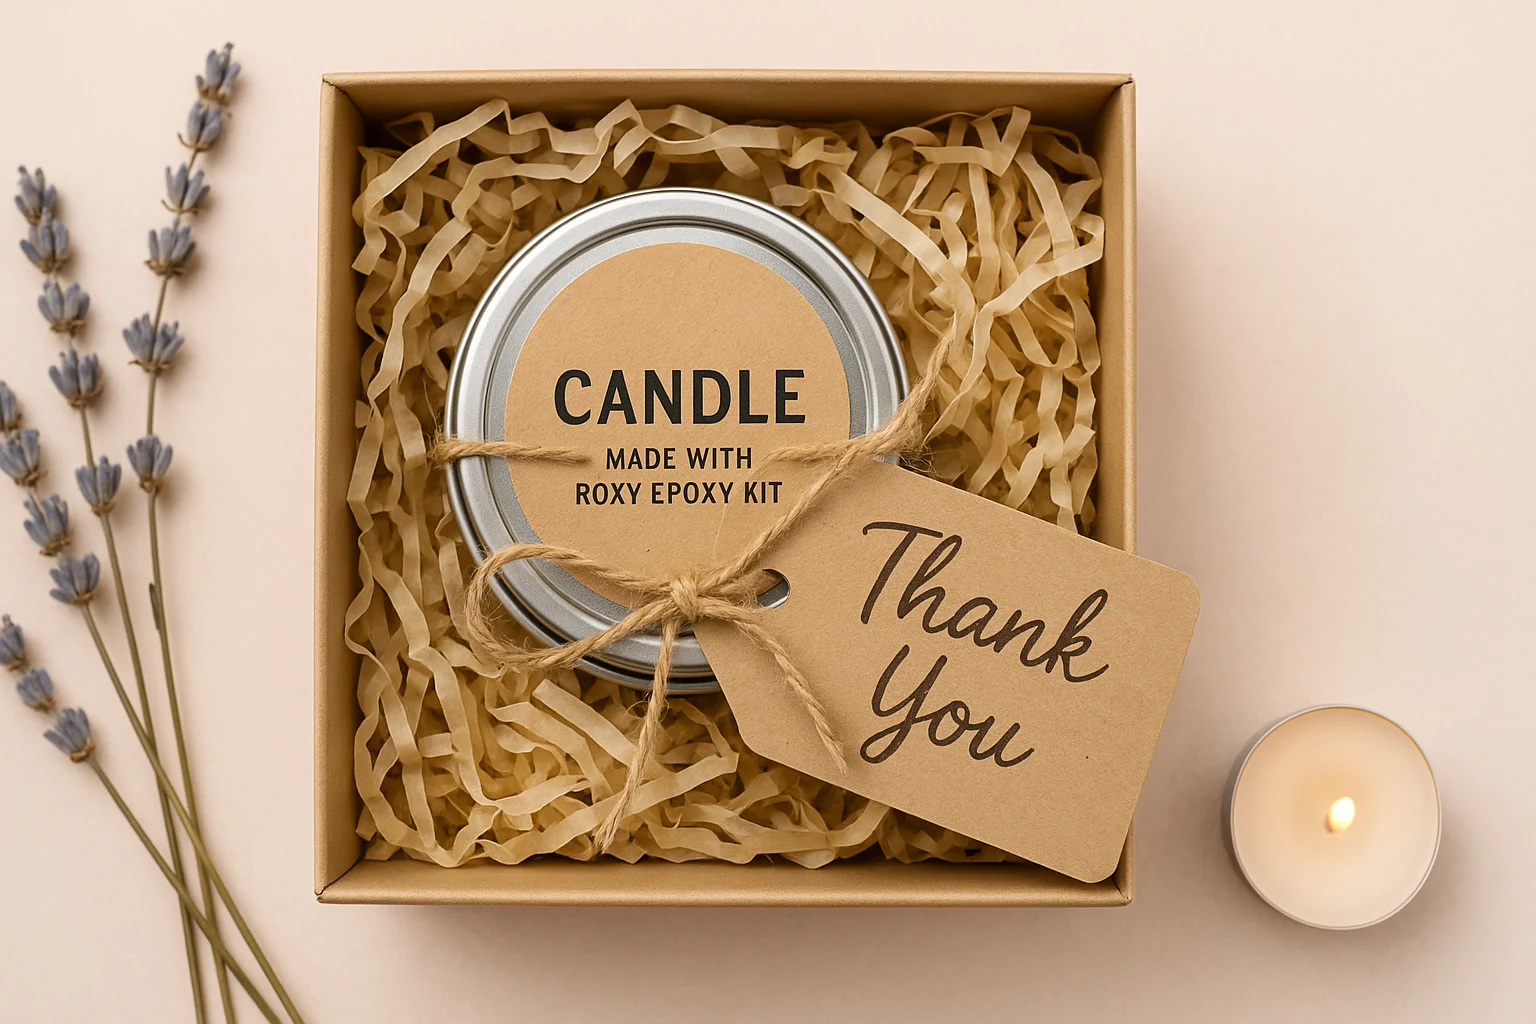
Presentation comes after performance. Once a test batch burns reliably and carries the right warning label, the finished candles can become part of a low-cost homemade gift basket without turning an untested craft into a gift.
Frequently Asked Questions
The Best Next Step Is One Small Test Batch
If your goal is to start making candles now, do not wait on the old Roxy Epoxy DIY Candle Making Kit listing. Choose the route that matches how often you expect to make candles and how much equipment you already own.
If you expect to make candles only once or occasionally—and do not want to source and match every component—the complete-kit route may be the more frugal shortcut. It can reduce leftover materials, duplicate tools, and compatibility mistakes, but only when the listing clearly includes compatible wax, wicks, containers, instructions, and the equipment you do not already own.
Whichever route you choose, keep the first purchase deliberately small: one compatible wax-and-wick system, enough containers for a test batch, and only the tools you are missing. Record the batch, allow the full cure time, and burn-test it before buying refills or giving candles away.
For more projects that weigh real material costs against do-it-yourself limits, continue with the Budget DIY Home Projects guide. The frugal win is not the biggest kit; it is a setup you can verify, use safely, and repeat.
Candle making involves hot wax, heated tools, and open flame. Follow the wax, fragrance, wick, container, and equipment manufacturers’ instructions; burn-test each finished combination; and never leave a burning candle unattended. This article is general information, not professional safety certification.