DIY pet cages let you skip cramped store options and wild price tags. Want a roomy, budget-friendly home that actually fits your pet’s quirks? Borrow smart ideas from our collection of diy pet projects. Ready to craft a safe setup your pal will actually love?
Build a Safe Pet Cage Now!Table of Contents
- Key Takeaways
- Why Build a DIY Cage?
- Planning Your Custom Pet Enclosure
- Essential Tools to Build a Safe Pet Cage
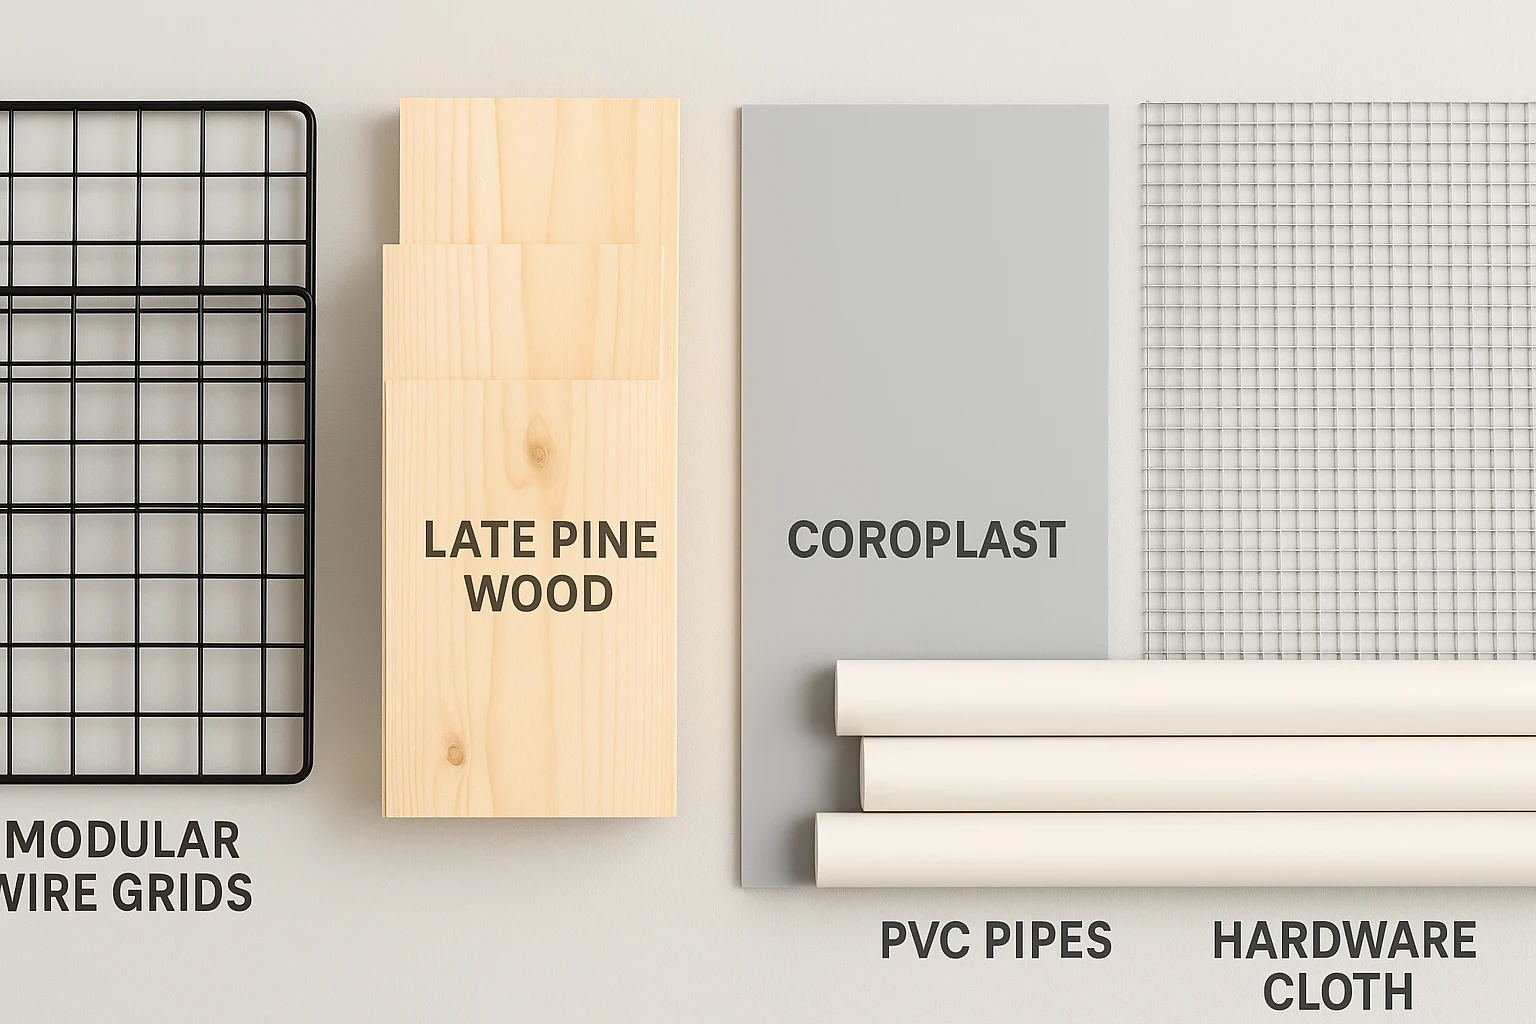
- Popular Materials & Creative Enclosure Ideas
- Comparing Materials for Pet Cages
- Safety Tips for Custom Pet Enclosures
- DIY Pet Cage Safety Checker
- Maintaining Your Custom Pet Habitat
- DIY Pet Cage FAQs
- Build a Safe Pet Cage + Creative Habitat Ideas
Key Takeaways
- Tailored & Thrifty: DIY cages save you cash while letting you design a special space your pet will love.
- Safety’s #1: Stick to non-toxic materials, block any escape routes, and make sure there’s plenty of fresh air.
- So Many Options: From modular wire grids to sturdy wood frames or lightweight PVC pipes, there’s a material for every pet and skill level.
- Simple Tools: All you need are basics like a measuring tape, cutting tools, and some fasteners to get started.
- Pet-Perfect Design: Build an enclosure that matches your pet’s size, quirks, and energy for ultimate comfort.
This post contains affiliate links. If you buy through our links, we may earn a commission at no extra cost to you. Learn more.
Have a Quick Pet-Safety Question?
Chat with a licensed vet to sanity-check materials, ventilation, or escape risks before you build.

Why Build DIY Pet Cages? The Benefits Are Pawsome!
Before we jump into the how-to, let’s chat about why a DIY cage works so well. Here’s the scoop on building a custom pet enclosure that actually fits your pet:
- Save Big: Store-bought cages, especially the fancy or big ones, can cost a fortune. DIY builds use affordable materials, so you can keep more money in your pocket.
- Totally You: Want extra height for your climbing cat? Or a bigger floor for your bunny’s zoomies? With custom enclosures, you call the shots and make it perfect.
- All About Your Pet: Every pet’s got their own quirks. DIY setups let you plan for chewing habits, energy levels, or even their need for a breezy spot.
- Bragging Rights: There’s nothing like the pride of building something awesome for your pet!
- Renter-Friendly: Modular designs move with you and won’t mark up walls—perfect if you’re renting.
Building a DIY cage isn’t just about saving a few bucks; it’s about crafting a special, safe spot your furry friend will call home.
Planning Your Custom Pet Enclosure
Before you grab your toolbox, spend a minute planning. It’ll save mistakes and money—and make your custom pet cage safer and easier to live with. Here’s a quick way to start:
Get to Know Your Pet’s Needs
Jot down how your pet actually behaves day to day—that’s what should drive your design:
- Size & Growth: Leave room to stretch, turn, and do a few steps—plus extra space if they’re still growing.
- Chewing Champs: Bunnies and some pups love to nibble, so go for chew-proof materials like metal or protected wood.
- Climbers & Leapers: Cats and ferrets need tall cages with super secure tops to keep them safe.
- Personality: High-energy pets love extras like ramps or shelves to keep them happy.
- Mess Makers: Pick flooring that’s a breeze to clean based on how messy your pet gets.
Choose the Right Spot
Next, figure out where your DIY pet cage will hang out. If it’s for a car, check out pet barriers for cars instead:
- Indoors: Think about temperature, drafts, and how it fits with your decor. Make sure it’s easy to slide out for cleaning.
- Outdoors: Use weather-proof materials and keep predators and the elements at bay.
Pick Pet-Safe Materials
Safety is everything. Always go for non-toxic materials:
- Wood: Stick to untreated lumber and choose pet-safe, low-VOC paints or stains (check the ASPCA Poison Control guidance for toxic ingredients).
- Wire/Mesh: Choose sturdy galvanized hardware cloth, not flimsy chicken wire.
- PVC: Use furniture-grade or food-contact PVC when possible and low-VOC cement; allow 24–48 hours to cure before use.
- Fasteners: Use stainless steel screws or heavy-duty zip ties (trim tails flush).
- Flooring: Go for non-slip, easy-to-clean options like Coroplast or linoleum.
Not sure a finish or adhesive is pet-safe? A quick vet chat can flag risks fast—ask your veterinarian or contact the ASPCA Animal Poison Control Center at (888) 426-4435 (a consultation fee may apply).
Stop Escapes
Pets are sneaky escape artists—so build with security in mind:
- Solid Latches: Use tough, pet-proof latches they can’t nudge open.
- No Gaps: Check that seams and wire spacing are too tight for a getaway.
- Right Height: Add a secure lid for pets that love to climb.
Keep It Breezy
Airflow matters: add mesh panels or open sides and skip fully enclosed boxes so fresh air can do its job. If you’ve used paints, stains, or adhesives, give the enclosure time to air out and fully cure before use—good ventilation may help reduce lingering fumes.

Essential Tools to Build a Safe Pet Cage
No workshop required. Grab these four basics and you’re set:
- Measuring Tape: A simple retractable tape keeps cuts honest ([Affiliate Link: Measuring Tape]).
- Cutting Tool: Pick the cutter that matches your material:
- Wire grids: Heavy-duty cutters ([Affiliate Link: Wire Cutters]).
- Wood: Hand saw or circular saw ([Affiliate Link: Hand Saw]).
- PVC: A pipe cutter makes clean, square cuts ([Affiliate Link: PVC Pipe Cutter]).
- Fasteners & Joining Tools: Use zip ties (trim tails flush), screws, a drill ([Affiliate Link: Cordless Drill]), clamps, or connectors.
- Safety Gear: Gloves and safety glasses—put them on before you start ([Affiliate Link: Safety Glasses]).
Popular Materials & Pet Enclosure Ideas
Let’s explore the top materials and creative enclosure ideas to help you design the perfect home for your pet. For cats, especially those who love sneaking into rooms they shouldn’t, you might also consider a DIY cat gate.
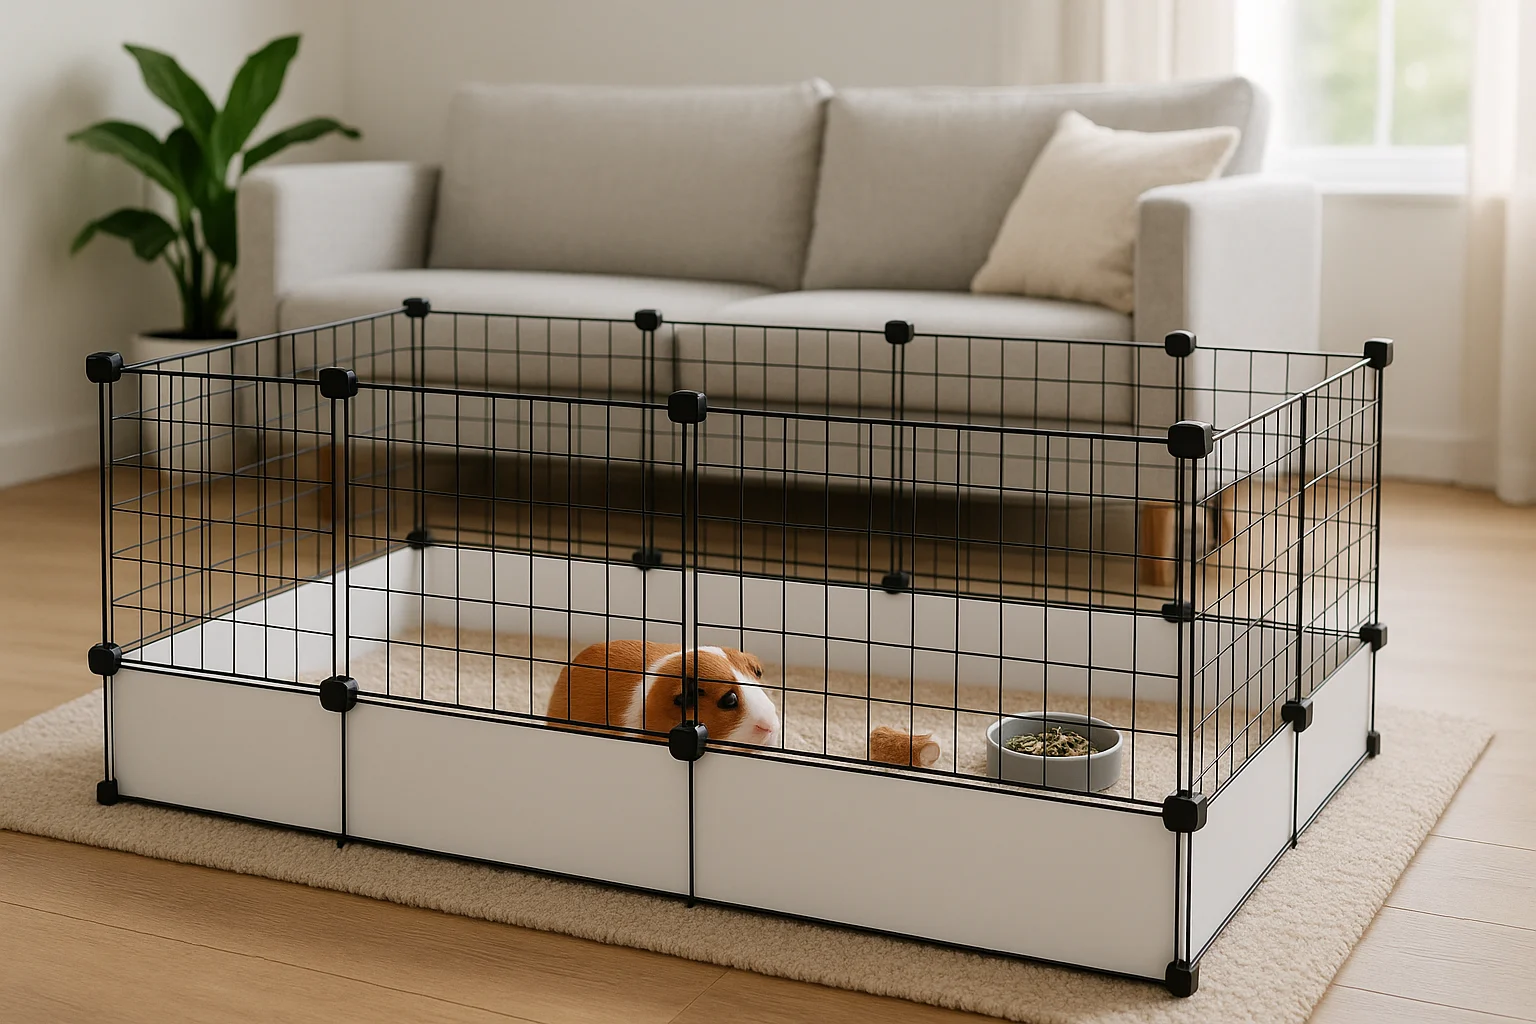
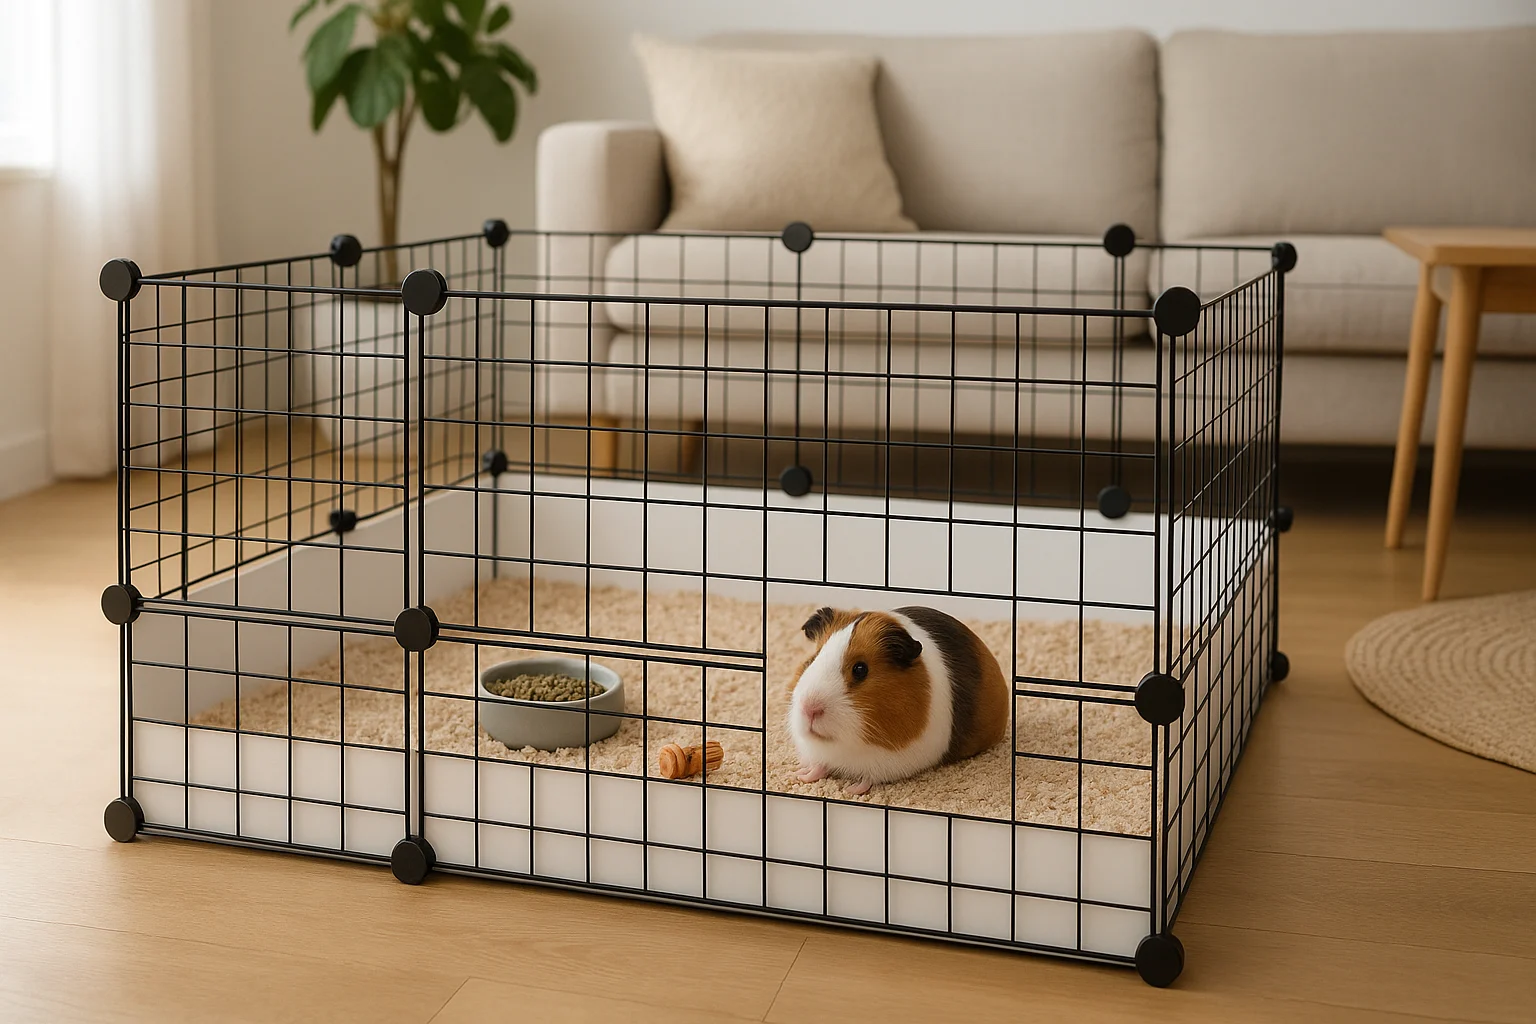
Modular Wire Grids (C&C Cages)
These 14"x14" wire panels, often paired with Coroplast bases, are beginner-friendly.
- Pros: Easy to assemble, customizable, affordable, great ventilation.
- Cons: Not for heavy chewers or climbers without reinforcement.
- Tools: Wire grids, zip ties, wire cutters, Coroplast, box cutter.
Steps:
- Sketch the layout (and the Coroplast base) to scale.
- Join panels with tight zip ties or metal connectors.
- Score, fold, and tape the Coroplast into a shallow box.
- Set the base inside and tie it to the walls in a few spots.
- Add a secure lid if your pet jumps or climbs.
- Finish with ramps, a shelf, and bedding.
Example: A 2×3-foot guinea pig setup uses 12 grids and roughly a 30″×50″ Coroplast sheet.
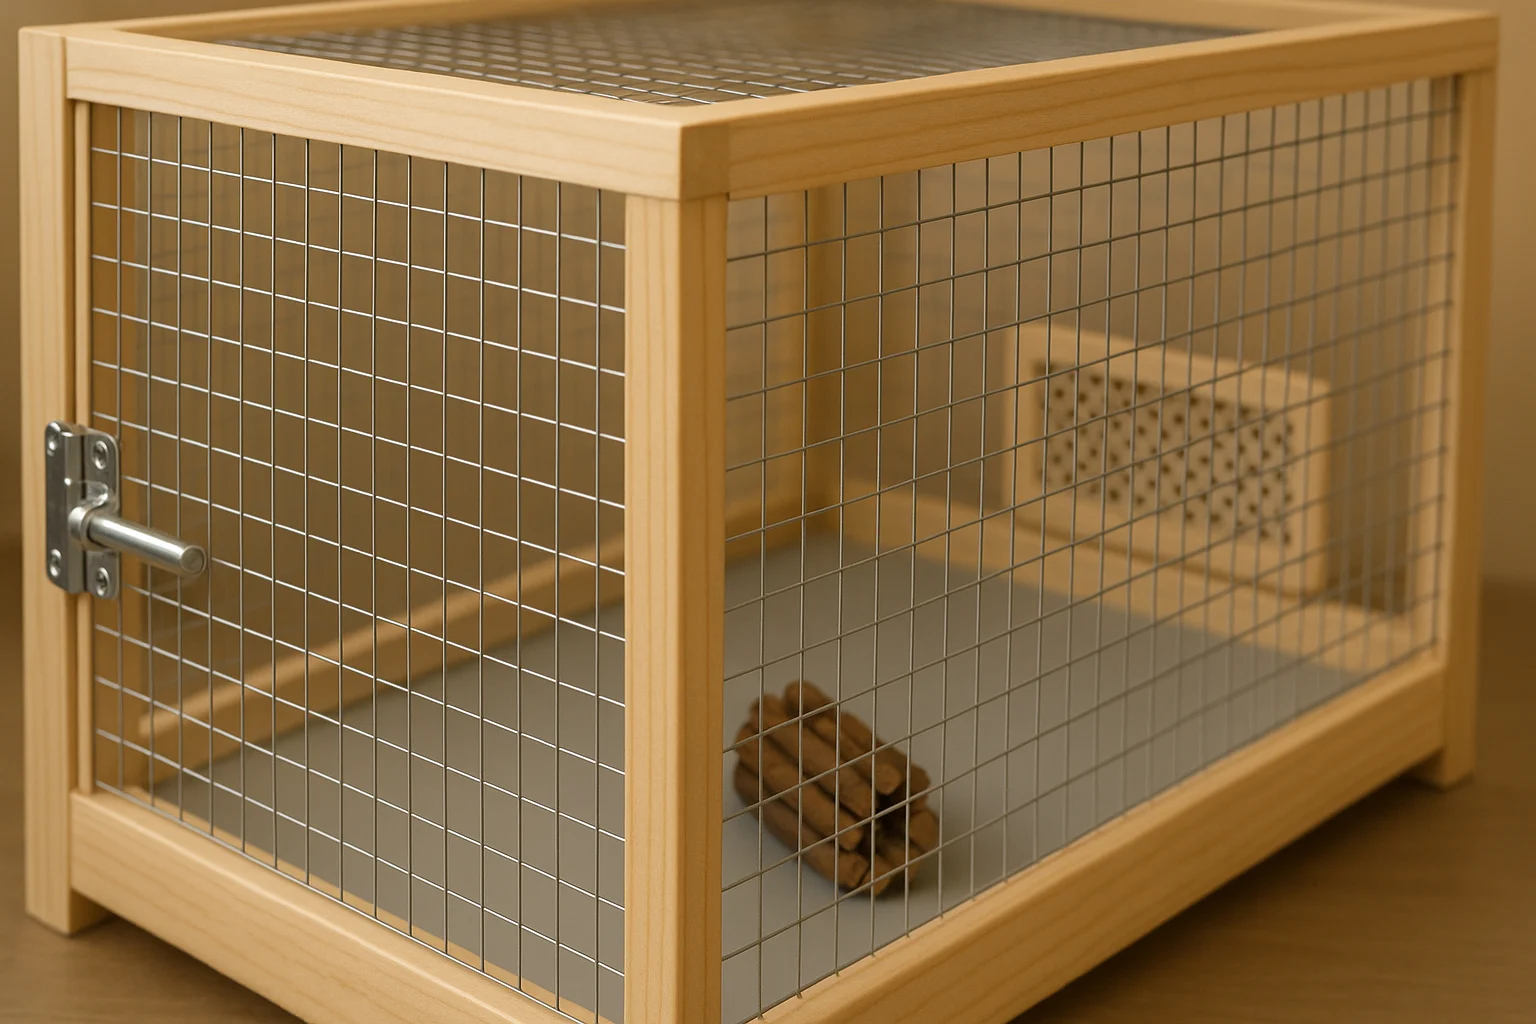
Wood Frames
A wood frame with mesh or solid panels is sturdy and tends to match living-room furniture.
- Pros: Strong, easy to tweak, blends with most rooms.
- Cons: Heavier; edges can invite chewing; basic woodworking helps.
- Tools: Measuring tape, saw, drill, screws, wood glue, sandpaper, staple gun, hardware cloth.
Steps:
- Measure twice and sketch your cut list.
- Cut the pieces and label them with painter’s tape.
- Dry-fit, then glue and screw the frame square.
- Pull the mesh tight and staple it on; attach solid panels with screws.
- Add a door on simple hinges and a latch.
- Sand and apply a pet-safe, low-VOC stain.
PVC Pipe Frames
PVC pipes create lightweight, water-resistant homemade pet enclosures.
- Pros: Light, quick to assemble, easy to hose down.
- Cons: Less rigid, chewable, and has a plain look.
- Tools: PVC pipes and fittings, a pipe cutter, PVC cement, mesh, and zip ties.
Steps:
- Sketch the frame and measure each segment.
- Cut the pipes to length with square ends.
- Dry-fit the joints, then cement them in a well-ventilated spot; let them cure 24–48 hours.
- Zip-tie the mesh or fabric to the frame; clip any sharp ends.
- Add a hinged or zippered door.
Combination Builds: Pet Enclosure Ideas
For advanced pet cage DIY projects, combine materials:
- Wood & Wire: Sturdy and ventilated for rabbits or guinea pigs.
- Grids & Wood Base: Chew-proof base with flexible walls.
- Multi-Level Pet Enclosure Idea: Add shelves for climbing pets like cats or ferrets.
- Outdoor Runs: Use wood frames with buried mesh for predator-proofing.
These flexible builds unlock all kinds of creative habitat ideas—perfect for playful or energetic pets.
Comparing Materials for Pet Cages
| Material | Cost | Durability | Ease of Assembly | Best For |
|---|---|---|---|---|
| Modular Wire Grids | Low ($20–$50) | Moderate | Very Easy | Guinea pigs, rabbits, beginners |
| Wood Frames | Moderate ($50–$100) | High | Moderate | Larger pets, permanent setups |
| PVC Pipe Frames | Low ($30–$60) | Moderate | Easy | Outdoor use, small pets |

Safety Tips for Custom Pet Enclosures
Safety comes first. Use this quick check to keep your pet comfy, secure, and breathing easy:
- Chew-proofing: Cap wood edges with metal guards. Use heavy-duty zip ties (trim tails flush) and offer chew toys so the cage isn’t the target.
- Escape checks: Run a fingertip along seams; if you can slip a finger through, it’s too big. Use solid latches and add a lid for climbers.
- Ventilation: Keep at least two open sides or mesh panels so air moves freely.
- Flooring: Choose non-slip, easy-to-clean bases like Coroplast or linoleum.
- Materials: Verify everything touching the pet is non-toxic.
- Seams test: run a fingertip across every seam; if a finger fits, it’s too big.
- Latch pulls: tug the door 3×; if it shifts, upgrade hardware.
- Top test: press each corner; add a solid lid for climbers.
Not Sure Your Setup Is Safe?
Ask a vet about chew-proofing, latch choices, and airflow. Get calm, practical guidance in minutes.
Example: When I built a cage for my rabbit, Fluffy, she tried to chew everything! Adding metal corner guards to the wooden edges saved the day and kept her safe.
DIY Pet Cage Safety Checker
Use this quick tool to rate your setup and spot easy wins—results can highlight areas that may need attention to help keep your pet safe and comfortable.
Maintaining Your Custom Pet Habitat
Keeping your custom-built pet enclosure clean and durable ensures your pet’s health. Do a ‘safety sniff test’ each week—check for loose screws, frayed mesh, or suspicious nibbled corners before your pet does. Use non-toxic cleaning products for safety:
- Regular Cleaning: Spot clean daily and deep clean weekly with pet-safe cleaners.
- Inspect Wear: Check for loose connections, frayed wires, or splintering wood.
- Reinforce Connections: Tighten zip ties or screws as needed.
- Outdoor Pest Control: Use barriers to protect against insects or predators.
DIY Pet Cage FAQs
Vet-Check Your DIY Plan?
A quick review can prevent escapes or irritants — peace of mind before you introduce your pet.
Get Started: Build a Safe Pet Cage + Creative Habitat Ideas
Building a custom habitat is surprisingly fun—and your pet will notice the difference. You save money, learn a couple of useful skills, and end up with a safe space your buddy actually enjoys. Start simple: wire grids or a solid wood frame—go with the tools you already have. Use these pet habitat ideas as a starting point, then tweak the details for your pet’s quirks. Want more? Dive into our Ultimate Guide to DIY Pet Projects. If you build one, share your DIY pet cage—we’d love to see it.
Disclaimer: This guide is for informational purposes only and is not a substitute for professional veterinary or pet safety advice. Consult a licensed veterinarian for guidance tailored to your pet. If you suspect exposure to a toxic substance, contact your veterinarian or the ASPCA Animal Poison Control Center at (888) 426-4435. Always ensure finishes/adhesives cure fully and work in well-ventilated areas as directed by the product label.