
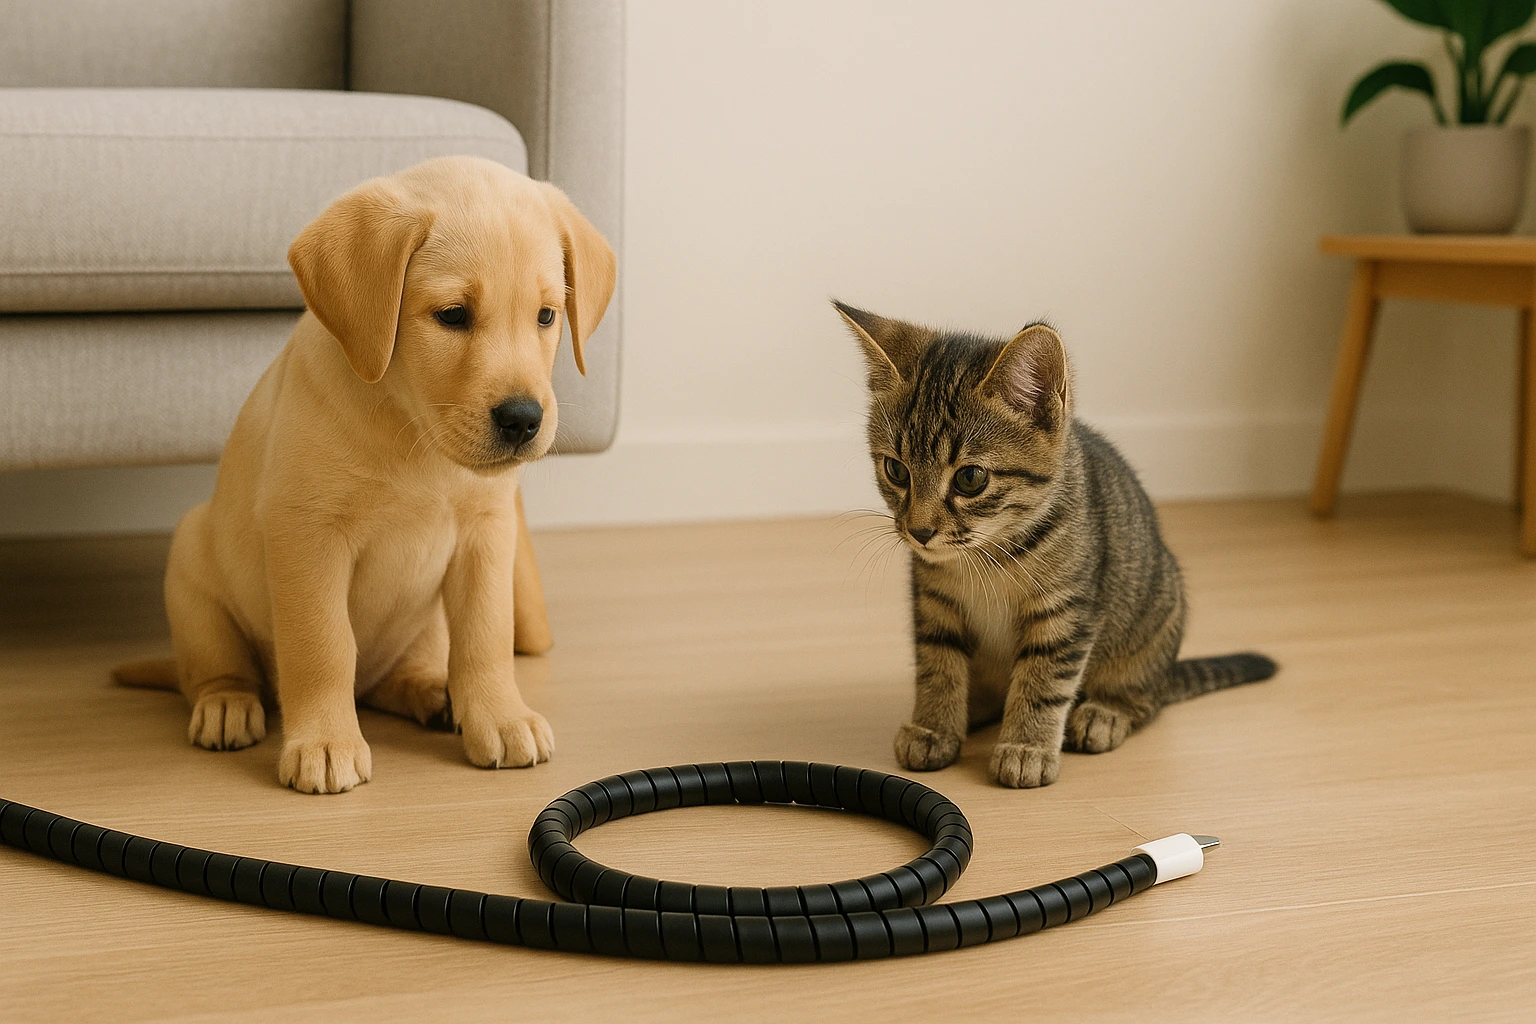
Damaged cord: replace it. Intact cord: reroute first, cover second. A DIY pet cord protector can reduce access to a sound cable, but it cannot repair cracked insulation or make a live-cord bite safe.
First, unplug and inspect the cord. Then use the selector to decide whether the next step is replacement, rerouting, or a fitted cover. If the cord is intact, compare the three budget approaches below. For practical pet cable safety, access control matters more than the toughest-looking sleeve.
Check This Cord FirstThis post contains affiliate links. If you purchase through them, we may earn a commission at no extra cost to you. As an Amazon Associate, I earn from qualifying purchases. Learn more.
Table of Contents
- Check the Cord Before You Cover It
- Replace, Reroute, or Cover the Cord?
- Three Budget Ways to Protect an Intact Cord
- Install a Sleeve Without Creating a New Hazard
- Reduce Repeat Cord Chewing
- Inspect the Cover, Cord, and Route
- DIY Pet Cord Protector FAQ
- The Best Fix Is the One Your Pet Cannot Reach
Check the Cord Before You Cover It
Unplug the cord and inspect the entire reachable run, including both connectors and the strain-relief points. The decision is simple: a cover is for an intact cord; damage changes the job from “protect” to “replace.”
| What you find | What to do | Why |
|---|---|---|
| Cracks, fraying, exposed wire, heat, sparking, or a loose plug | Keep it disconnected and replace the cord, appliance lead, or damaged equipment. Use a qualified electrician for fixed wiring or outlet damage. | A sleeve cannot restore electrical insulation. The U.S. Consumer Product Safety Commission advises replacing damaged cords. |
| An intact cord that is easy for the pet to reach | Move it behind furniture, into a closed channel, or above reach. Add a fitted sleeve only where exposure remains. | The American Veterinary Medical Association recommends cord covers and blocking access to wires. |
| A pet has bitten a live cord | Disconnect power only when it is safe to do so and contact a veterinarian promptly. Seek urgent care for breathing difficulty, collapse, or severe burns. | Electrical injury can cause oral burns and delayed respiratory problems; the Merck Veterinary Manual describes those risks. |
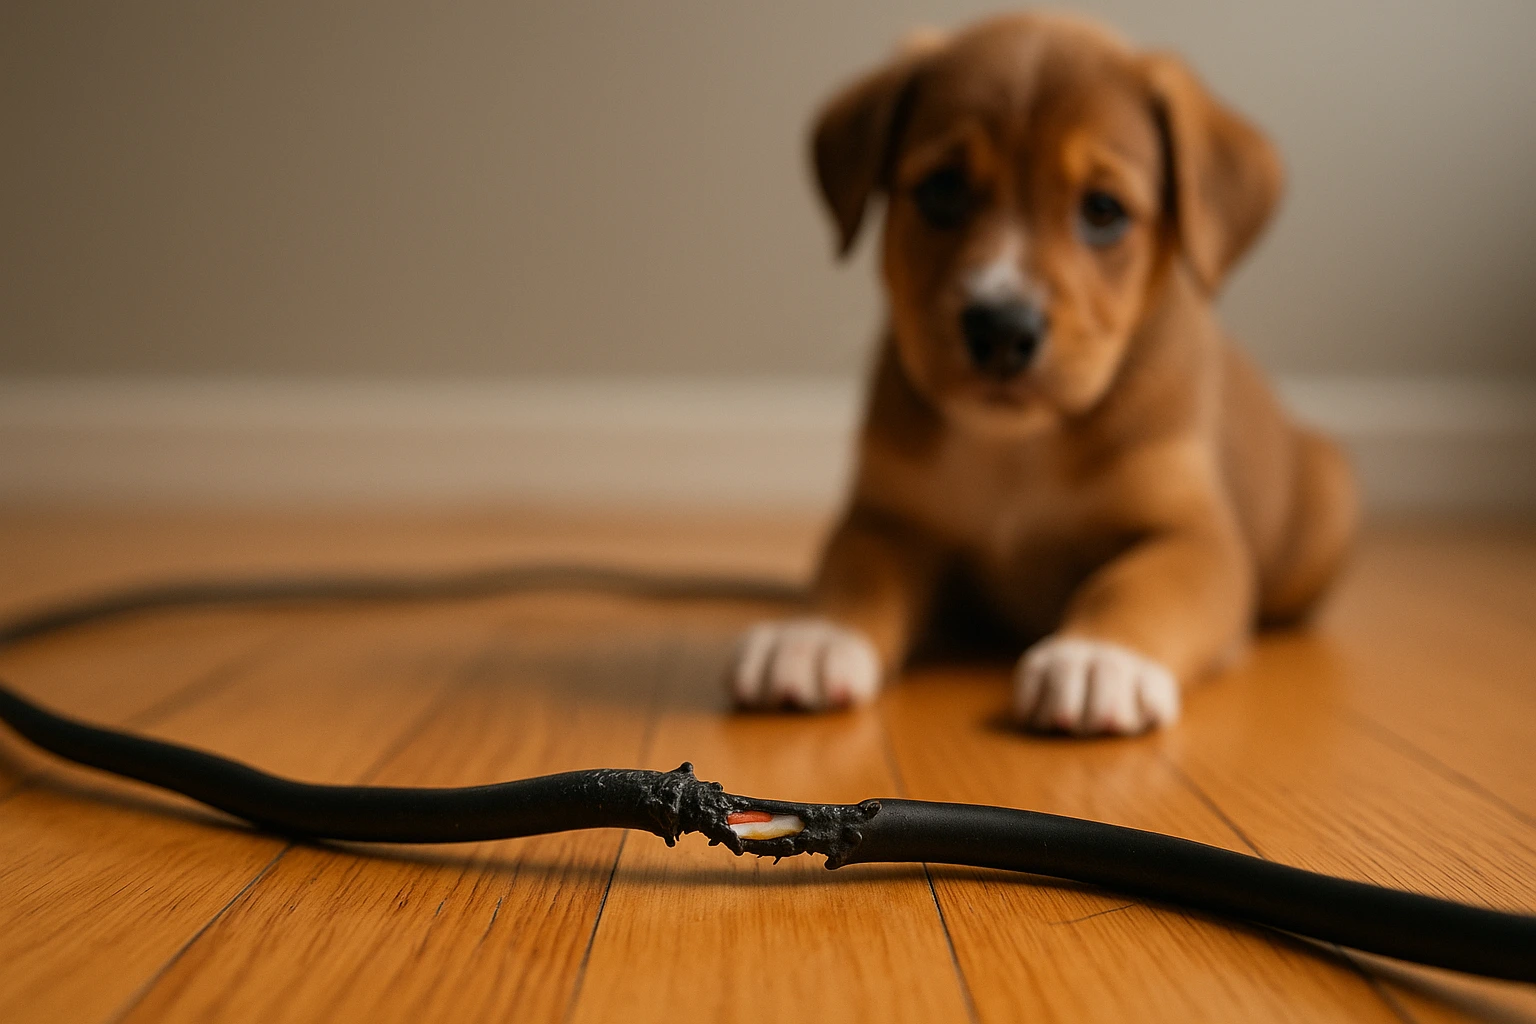
Stop condition: if you are unsure whether a cord is damaged, keep it unplugged until you can inspect or replace it. “Probably fine” is not a useful safety test.
Replace, Reroute, or Cover the Cord?
Answer three quick questions about the cord and the chewing risk. The result prioritizes stopping electrical hazards before choosing a cover.
Complete all three steps to see a cord-protection plan.
Three Budget Ways to Protect an Intact Cord
If the selector says the cord is intact, start with the least complicated option that removes access. A sleeve is useful only when the cord still has to cross a reachable area.
| Method | Best fit | Budget angle | Main limitation |
|---|---|---|---|
| Reroute and secure | Any intact cord that can be moved behind furniture, above reach, or into a closed route | Often uses furniture placement or clips you already own | Does not help when a cord must remain exposed |
| ¼-inch spiral wrap | Thin USB, ethernet, or similar low-voltage cables with occasional interest | Buy only the short length you need | Too light for persistent chewing and too small for thick cords |
| Pre-slit sleeve or closed cable channel | Thicker cords, longer exposed runs, or repeated chewing | Costs more than a light wrap but can protect a larger section cleanly | Still needs regular inspection and cannot repair damage |
1. Reroute and Secure the Cord
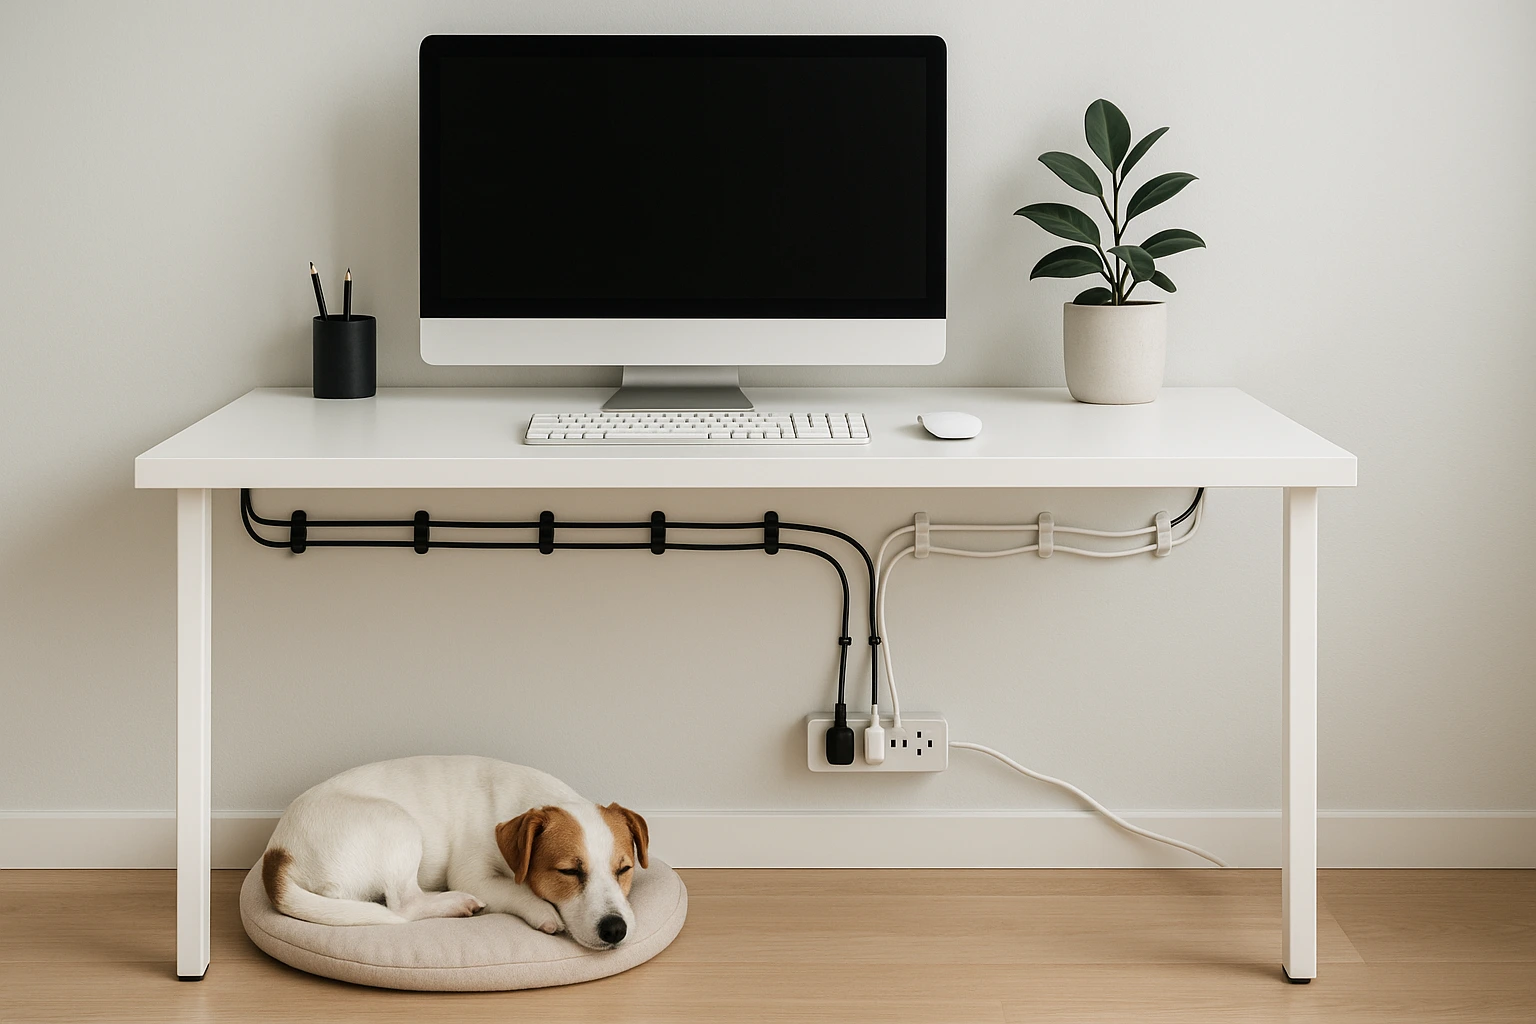
This is the strongest default because it removes the chewing opportunity instead of asking a material to withstand repeated bites. Move the cord behind a solid piece of furniture, clip it high on the back of a desk, or place the whole run inside a closed cable channel.
Keep the cord loose enough that furniture does not pinch it. Do not hide a power cord under a rug or carpet, and do not trap it in a door, window, or heavy furniture leg; the Electrical Safety Foundation International warns that pinching can damage insulation.
Furniture placement is free, so try it first. The harder case is a cord that has to cross open wall or baseboard, where there is nothing to hide it behind and clips still leave the cable exposed between them.
That is the job for a self-adhesive cord raceway.
A rigid channel sticks along the wall or baseboard and closes the route, so the cord stops being reachable instead of just being covered. It needs a clean surface that will hold adhesive, and it cannot do anything for a cord that is already damaged. If shifting one piece of furniture hides the run, save the money.
2. Use Spiral Wrap on Thin Data Cables
A ¼-inch spiral wrap is a tidy, removable option for a thin cable or small bundle. It can add abrasion resistance and reduce dangling movement, but it is not a heavy-duty barrier and should not be the only protection for a determined chewer.
Cut it to length with scissors and wind it on by hand. Unplug the cable first, start a little below the connector, and follow the reachable section without forcing a sharp bend. Leave both connectors visible so you can inspect them, and unwind the wrap now and then to check the cable underneath.
3. Use a Pre-Slit Sleeve or Closed Channel for Exposed Runs
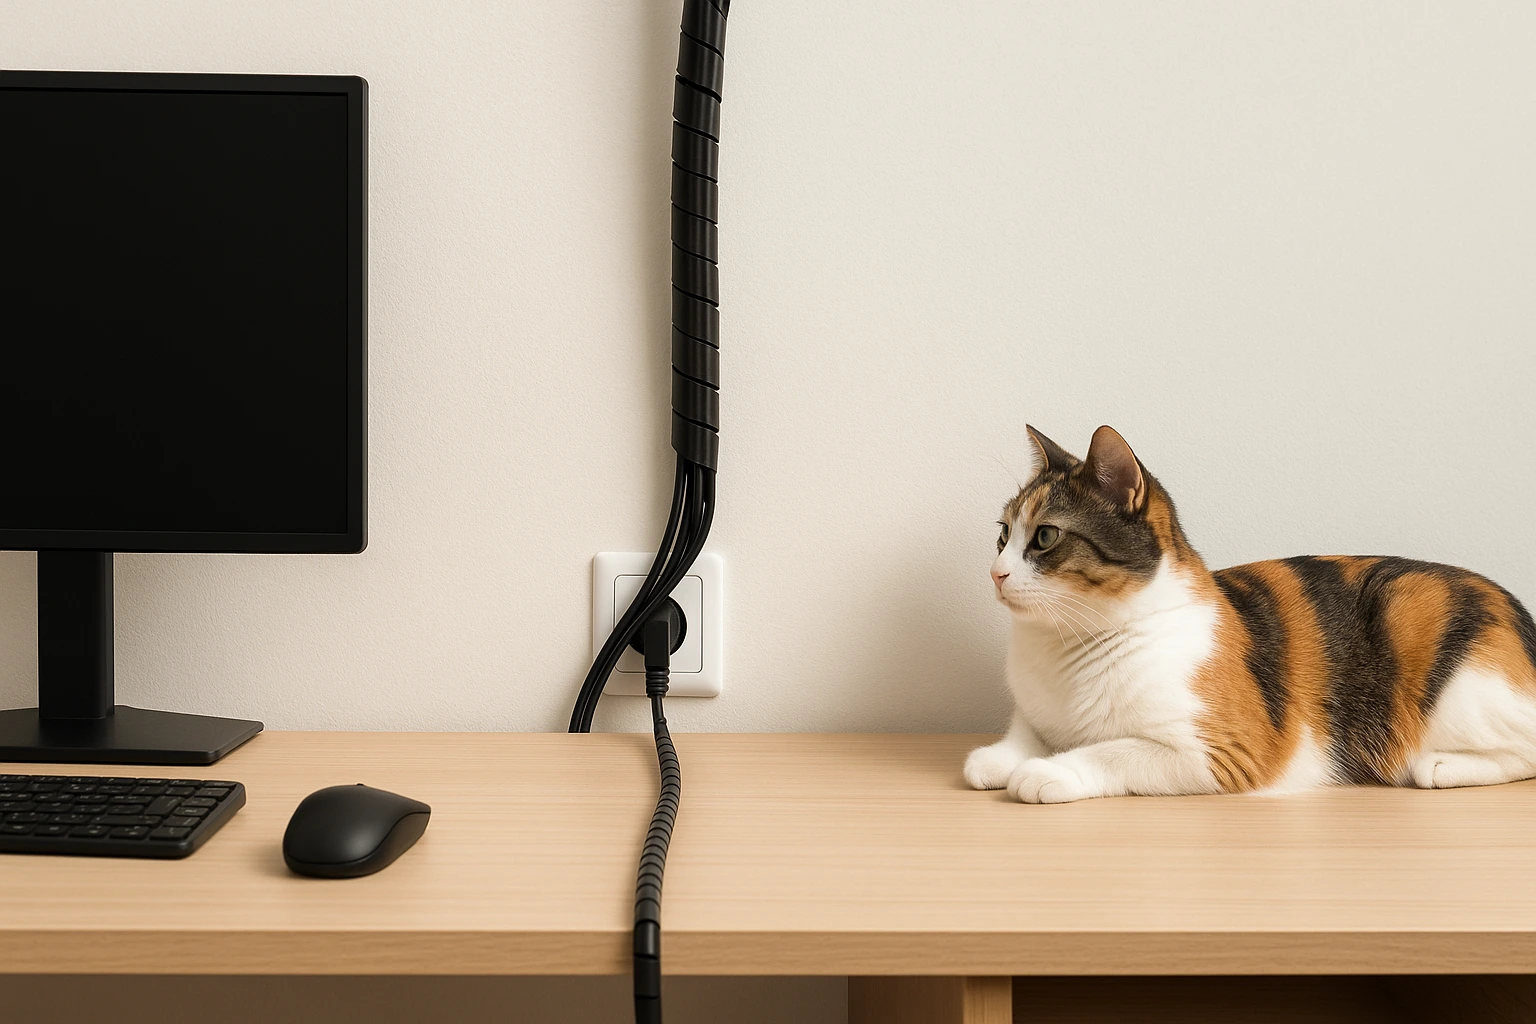
When the run is thicker, longer, or repeatedly targeted, use a purpose-built pre-slit sleeve, split loom, or closed cable channel sized for the cable. These options avoid the sharp cut edge and awkward fit created by hand-slitting rigid pipe.
For a thicker intact cable: Alex Tech 10-foot ½-inch split sleeve.
Compare it after measuring the cable. Skip it if the cord is damaged or your pet can still attack the entire run.
For a strong chewer, treat the sleeve as backup. The real fix is to block access to the route—sometimes that means moving furniture, closing off the desk area, or using a no-tool pet barrier to keep the pet out of the hazard zone.
Install a Sleeve Without Creating a New Hazard
- Unplug and inspect. Do not work on an energized cord, and do not cover damage.
- Measure the cable and exposed run. Choose a sleeve that closes without squeezing the insulation.
- Protect the connectors. Leave plugs, power bricks, adapters, and ventilation openings uncovered.
- Avoid heat and pressure points. Keep the cord out from under rugs and away from doors, windows, and heavy furniture.
- Secure the route. Stop the cable from dangling, swinging, or being pulled loose.
- Reconnect and recheck. After a short period of use, feel for unusual warmth and inspect for new bite marks or shifting.
A cover buys time; it does not create a chew-proof cord. If the pet keeps returning to the same spot, change the route or block the area rather than stacking more material around the wire.
Reduce Repeat Cord Chewing
A physical barrier solves access, not behavior. Puppies commonly chew objects within reach, and veterinary guidance recommends redirecting them to appropriate chew items. For rabbits, wires should be covered or placed out of reach, while suitable enrichment gives them a safer outlet for natural chewing. See the guidance from VCA Animal Hospitals and the RSPCA.
Use a simple pattern: interrupt access, offer an appropriate alternative, and reward the pet for choosing it. If the chewing is sudden, intense, or paired with other behavior changes, ask your veterinarian about the underlying cause rather than relying on a stronger cover.
Inspect the Cover, Cord, and Route
Check the protected section weekly at first and after every known chewing attempt. Look for tooth marks, flattened or split material, exposed cable, loose clips, heat discoloration, and pressure near the connector.
- Replace the sleeve when it cracks, opens, or develops deep bite damage.
- Replace the cord when the insulation underneath is marked, cut, hot, or uncertain.
- Change the route when your pet keeps reaching the same section despite the cover.
DIY Pet Cord Protector FAQ
The Best Fix Is the One Your Pet Cannot Reach
For an intact cord, reroute first and add a fitted cover only where exposure remains. For a damaged or uncertain cord, stop using it and replace it. Start with one reachable cable today: unplug it, inspect it, choose a safer route, and then decide whether a sleeve still adds value.
Once this cord is safer, use the DIY pet projects hub to tackle the next reachable pet hazard around your home.
Safety disclaimer: This guide is educational and does not replace veterinary or electrical advice. Never cover or tape over damaged wiring. If a pet may have bitten a live cord, contact a veterinarian promptly; for damaged outlets, fixed wiring, heat, or sparking, stop use and contact a qualified electrician.