
DIY pet barrier to the rescue: your pup raids the counter, your cat scales the bookcase—cute until chaos. These three ideas are fast, renter-friendly, and budget-smart, so you can cook, clean, or just breathe without a furry photobomber underfoot. Inspired by our guide to diy pet projects, you’ll pick a barrier that fits your space, your pet, and your style. Let’s dive in!
Discover Your Ideal Barrier!Table of Contents
Key Takeaways for Safer Pet Spaces
- No-Tool Solutions: Discover three drill-free pet gate methods using everyday items or affordable products.
- Renter-Friendly & Budget-Savvy: Learn how to craft temporary or semi-permanent pet gates that won’t damage walls or break the bank.
- Customizable Designs: Adapt each method to your space, pet size, and aesthetic preferences.
- Safety First: Get essential tips to ensure your pet gate is secure for pets of all energy levels.
- Must-Have Products: Find recommendations for items that make these projects a breeze, available online.
Why Choose a No-Tool DIY Pet Barrier?
Pets bring joy, but they can stir up trouble too. My pal Sarah’s Beagle, Max, once swiped a whole loaf of sourdough before anyone noticed—total kitchen bandit! Here’s why you might want one:
- Keep your dog out of the cat’s litter box. 🙀
- Safeguard wires by protecting cords from pets.
- Carve out a cozy spot for your cat, away from a rambunctious dog.
- Keep your just-mopped floors sparkling clean.
- Stop your cat from scampering up bookshelves.
- Cook safely in the kitchen without pet interruptions. 🍳
These solutions cut mess and stress in a stylish, drill-free way. If you rent or just want to skip permanent fixtures, traditional pet gates can be a pain—often requiring drilling (lease issues) or fussy hardware. For more ways to pet-proof your home, check out RE/MAX’s guide. You can also browse our budget-friendly tips for families for similar savings ideas.
“A no-fuss pet gate makes your home a safe haven without calling in the pros!”
Find the Right DIY Pet Barrier for Your Pet
Not sure which setup suits your home best? Try this interactive tool for a custom recommendation based on your pet’s size, behavior, and space.
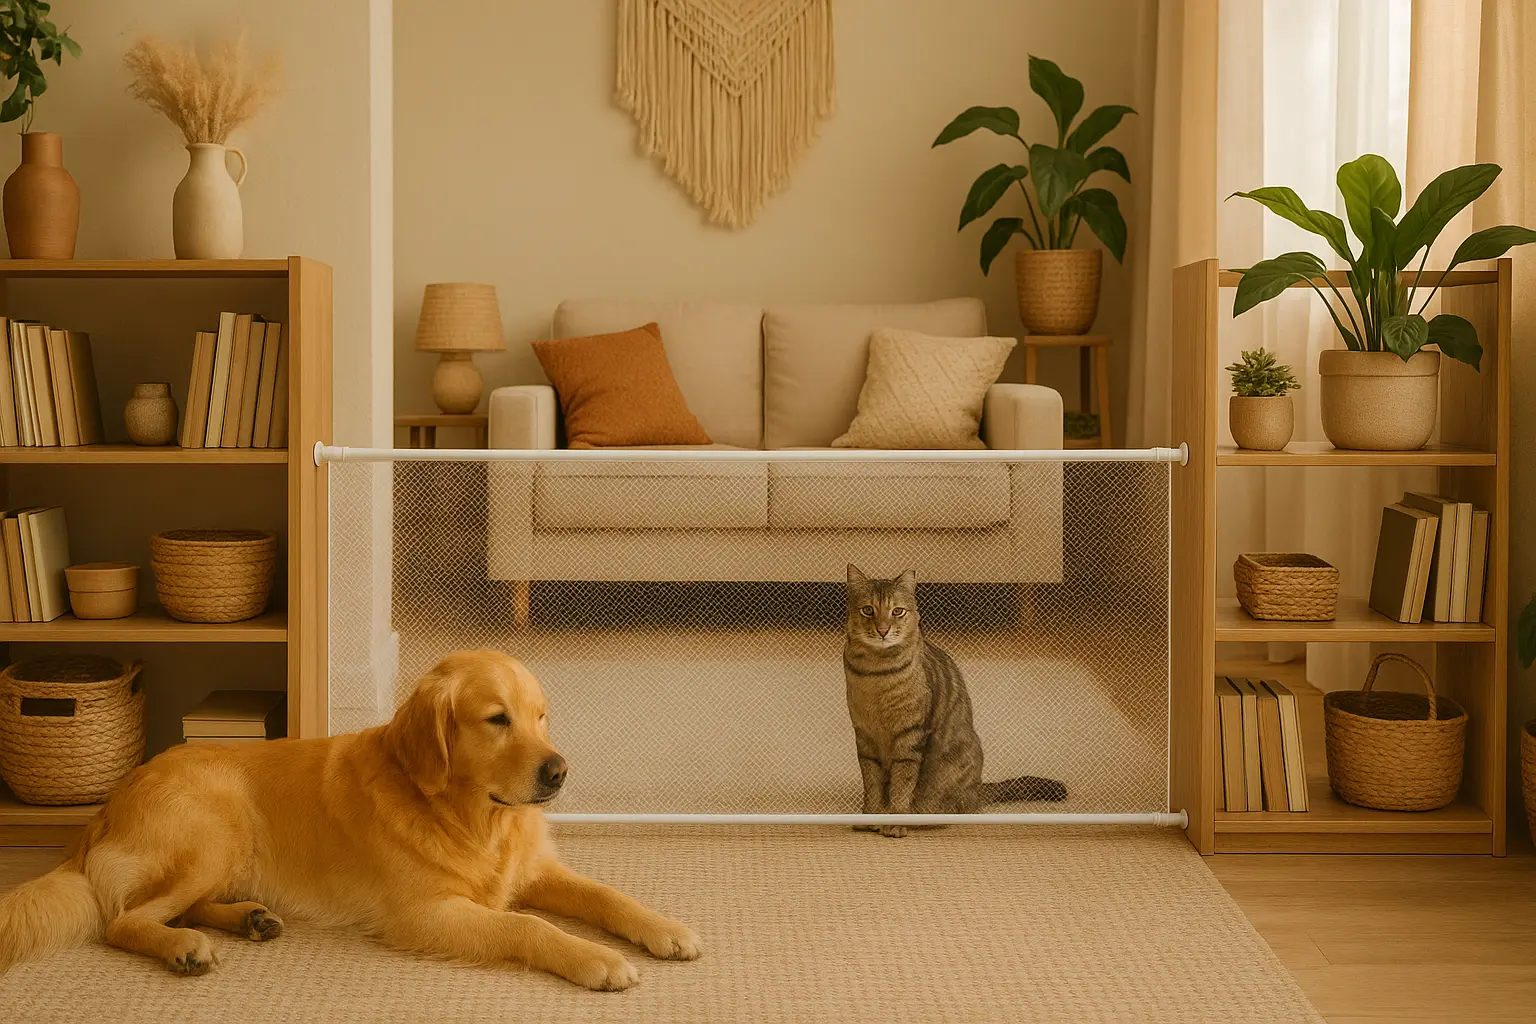
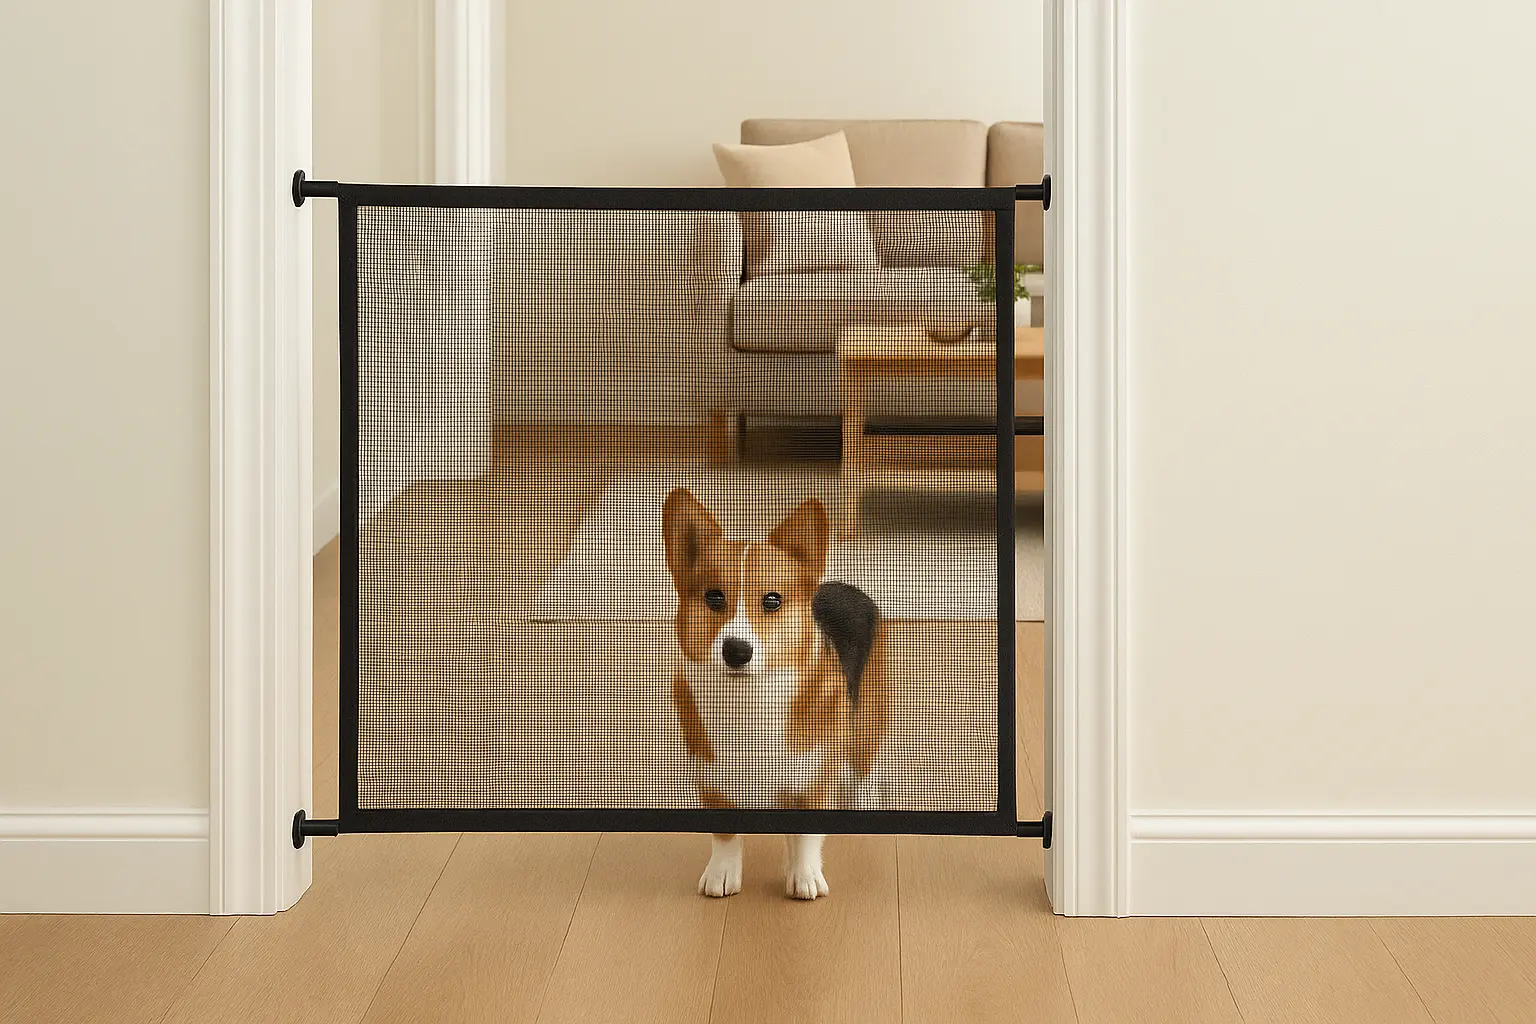
Tension Rod Gate
This renter-friendly setup creates an instant divider for doorways or hallways—perfect for keeping your dog or cat contained. No tools, no drama. It’s one of the easiest options for tight or awkward spaces.
How the Tension Rod DIY Pet Barrier Works
Using sturdy tension rods, you make a simple frame and clip on pet-safe mesh or canvas—great for doorways and narrow hallways.
Materials You’ll Need
- Heavy-Duty Tension Rod(s): Look for strong springs and rubber ends so they don’t slip. Measure the opening first. [Amazon Link: Heavy-Duty Tension Rods]
- Barrier Material:
- Pet-Friendly Mesh: Light, breathable, and sturdy against paw swats. [Amazon Link: Pet Safety Mesh]
- Thick Canvas: Solid coverage; machine-washable. [Amazon Link: Canvas Fabric]
- Old Curtains/Blankets: Budget-friendly and sturdier than it looks.
- Attachment Method:
- Curtain Rings: Clips on and off fast—no tools. [Amazon Link: Curtain Rings]
- Zip Ties: Semi-permanent and secure. [Amazon Link: Zip Ties]
- Velcro Straps: Great if you plan to move the barrier. [Amazon Link: Velcro Straps]
Step-by-Step Installation
- Measure Your Space: Jot down width and height so the barrier covers paw-level gaps.
- Choose Rods: Pick rods that fit snug; for jumpy cats, stack two for extra height.
- Prepare Material: Cut the mesh or fabric a touch wider than the opening so it pulls taut to the floor or second rod.
- Install Rods: Twist until the rubber ends grip firmly, then give the setup a gentle shove to confirm it holds.
Pros & Cons
| Pros | Cons |
|---|---|
| Renter-friendly: No drilling. | Not for strong chewers. |
| Customizable fabric/mesh. | May be jumped by agile pets. |
| Easy to relocate. | Can look temporary. |
| Budget-friendly. | Limited for wide openings. |
Upgrades for Cats and Dogs
For cats, add a second rod to deter climbers. For dogs (think Labradors), slide a small weighted dowel into the bottom hem to keep the barrier planted.
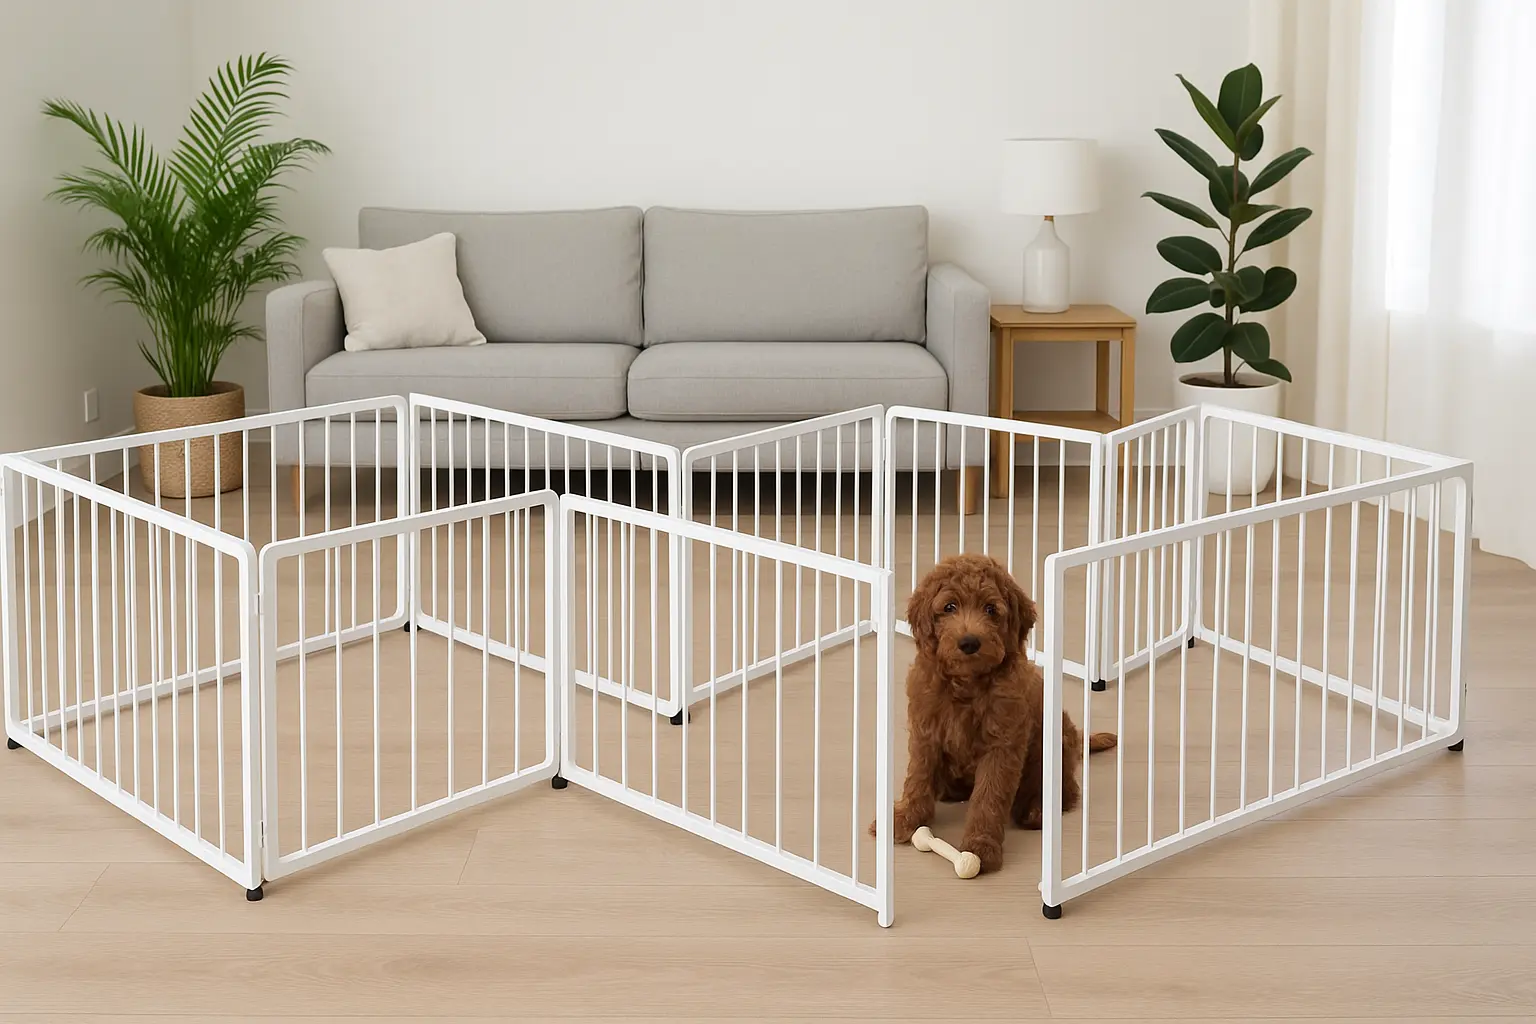
Modular Maze Panels
This flexible homemade pet gate uses interconnected panels to section off open spaces or create a playpen—great for larger areas. It stretches across wide openings and really suits open-plan rooms or busy homes with more than one pet.
How It Works
Link the panels and set them in a zig-zag, a U-shape, or a full loop—whatever fits the room and traffic pattern.
Materials You’ll Need
- Foldable Pet Playpen: Hinged panels with a walk-through gate make resets easy. [Amazon Link: Metal Pet Playpen]
- Freestanding Pet Gate Panels: Heavier sections with feet for stability. [Amazon Link: Wood Pet Gate Panels]
- Non-Slip Mats: Keep panels from sliding on tile or hardwood. [Amazon Link: Rug Grippers]
- Wall Protectors: Small pads that prevent scuffs where panels meet the wall. [Amazon Link: Wall Protectors]
Step-by-Step Setup
- Connect Panels: Drop the hinge pins in and check each joint.
- Arrange Shape: Use a zig-zag for doorways, a U-shape for room sections, or a closed loop for a playpen.
- Ensure Stability: Go with deeper zig-zags for balance and add non-slip mats if the floor is slick.
Pros & Cons
| Pros | Cons |
|---|---|
| Versatile shapes. | Can be pushed by large pets. |
| No installation needed. | Takes up floor space. |
| Portable. | May not blend with decor. |
| Ideal for large spaces. | Potential tipping risk. |
Upgrades for Pets
For cats, go with tall panels to stop those high-flying leaps. For dogs, anchor the ends to keep things steady. Paint panels to match decor.
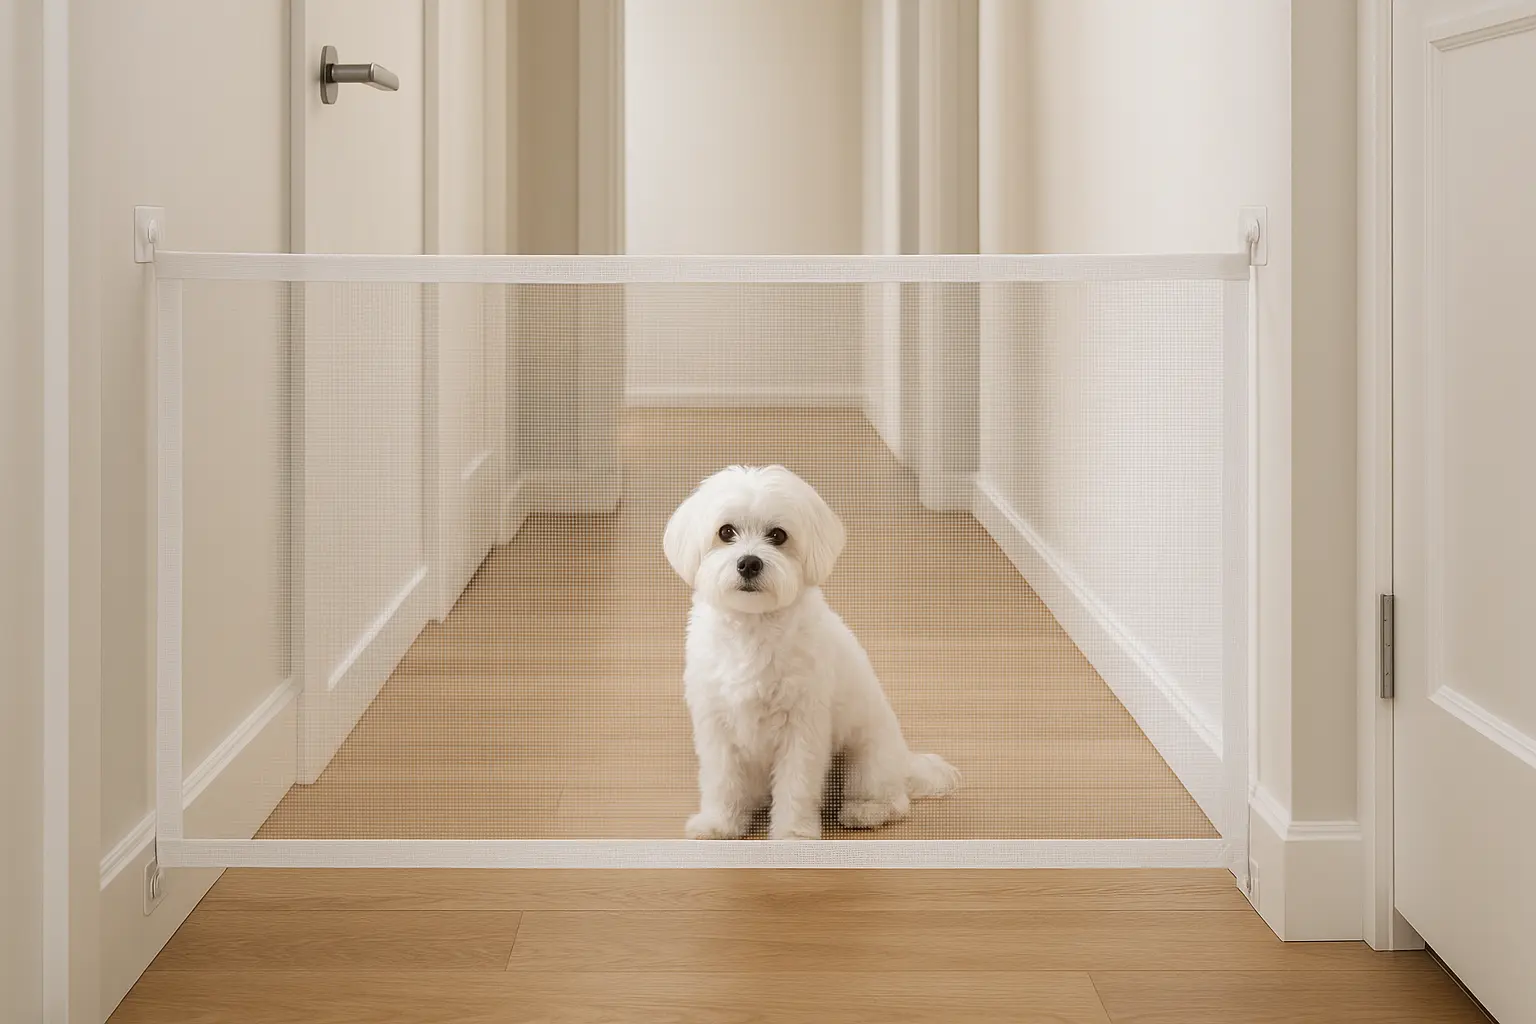
Stick-On Saver
This nearly invisible no-tool pet gate uses adhesive hooks for a lightweight, renter-friendly solution, perfect for small pets like Chihuahuas or calm cats. This is one of the simplest pet gate solutions for renters.
How It Works
Adhesive hooks hold a taut mesh or light fabric to make a low-profile gate—no tools required.
Materials You’ll Need
- Adhesive Hooks: Weight-rated (e.g., Command Jumbo) so they actually stay put. [Amazon Link: Command Hooks]
- Pet Safety Mesh: Thin, with sewn loops so it hangs cleanly. [Amazon Link: Mesh Gate]
- Alternative Materials: Sheer curtains or fine netting work in a pinch. [Amazon Links: Sheer Curtains, Mesh Netting]
- Attachment: Use Velcro strips or small carabiners to hang it tight. [Amazon Links: Velcro Strips, Carabiners]
Step-by-Step Setup
- Clean Surface: Wipe the wall with rubbing alcohol so the adhesive grabs.
- Mark Hook Placement: Measure so the hooks align with the barrier’s corners.
- Apply Hooks: Press firmly, then wait 1 hour.
- Prepare Material: Cut to fit and add loops if needed.
- Attach Barrier: Hang via loops, carabiners, or Velcro.
- Test: Ensure it holds against your pet’s nudges.
Pros & Cons
| Pros | Cons |
|---|---|
| Renter-friendly, clean removal. | Not for large/energetic pets. |
| Nearly invisible. | Adhesive may fail if not clean. |
| Lightweight and flexible. | Can look flimsy. |
| Cost-effective. | Limited height for jumpers. |
Upgrades for Pets
Add extra hooks for stability. For cats, use taut mesh. For small dogs, secure the bottom with a thin tension rod.
When to Consider Professional Pet Gates
While a pet fence is ideal for many, professional gates may be better for:
- Large, Energetic Dogs: Breeds like Huskies may overpower DIY solutions, needing heavy-duty gates.
- Permanent Needs: Homeowners may prefer drilled-in gates for stability.
- High-Traffic Areas: Swing-door styles are handy when people walk through that spot all day.
For renters or short-term needs, the no-tool options above are usually enough.
General Tips for Pet Gate Solutions
No matter which option you choose, these quick tips make setup smoother:
- Measure Carefully: Double-check the opening for a snug fit.
- Choosing the right pet gate solutions starts with understanding your layout—and your pet’s behavior.
- Clear Hazards: Put away chewable cords, small items, and any toxic plants.
- Teach Your Pet: Reward calm behavior around the barrier—especially for curious cats or stubborn pups.
- Keep Safety First:
- Avoid loose loops or gaps—paws or collars can snag.
- Do a wobble test; if it shifts, reinforce it.
- Supervise the first few runs to see how your pet reacts.
- Match Your Decor: Pick materials that vibe with your home’s style.
- Know Your Pet:
- Jumpers (cats): Pick taller pet gates or park a cat tree nearby as a decoy.
- Chewers (puppies): Choose chew-resistant materials they can’t shred.
- Pushers (large dogs): Anchor ends or add weight so it won’t slide.
FAQs About Pet Gates
Conclusion: Craft Your DIY Pet Barrier Today
With these no-tool DIY pet barrier ideas, your home can feel calmer and safer. The setups are simple and renter-friendly, and you can tweak them as your pet learns the rules. From the quick Tension Rod Trick to modular maze panels and the low-profile stick-on saver, there’s something for every space. Grab supplies, pick a plan, and give your crew a cozier corner to call their own. For on-the-go safety, check out pet barriers for cars. To dive deeper into budget-friendly pet projects, explore our main resource on DIY pet projects and frugal pet care.