
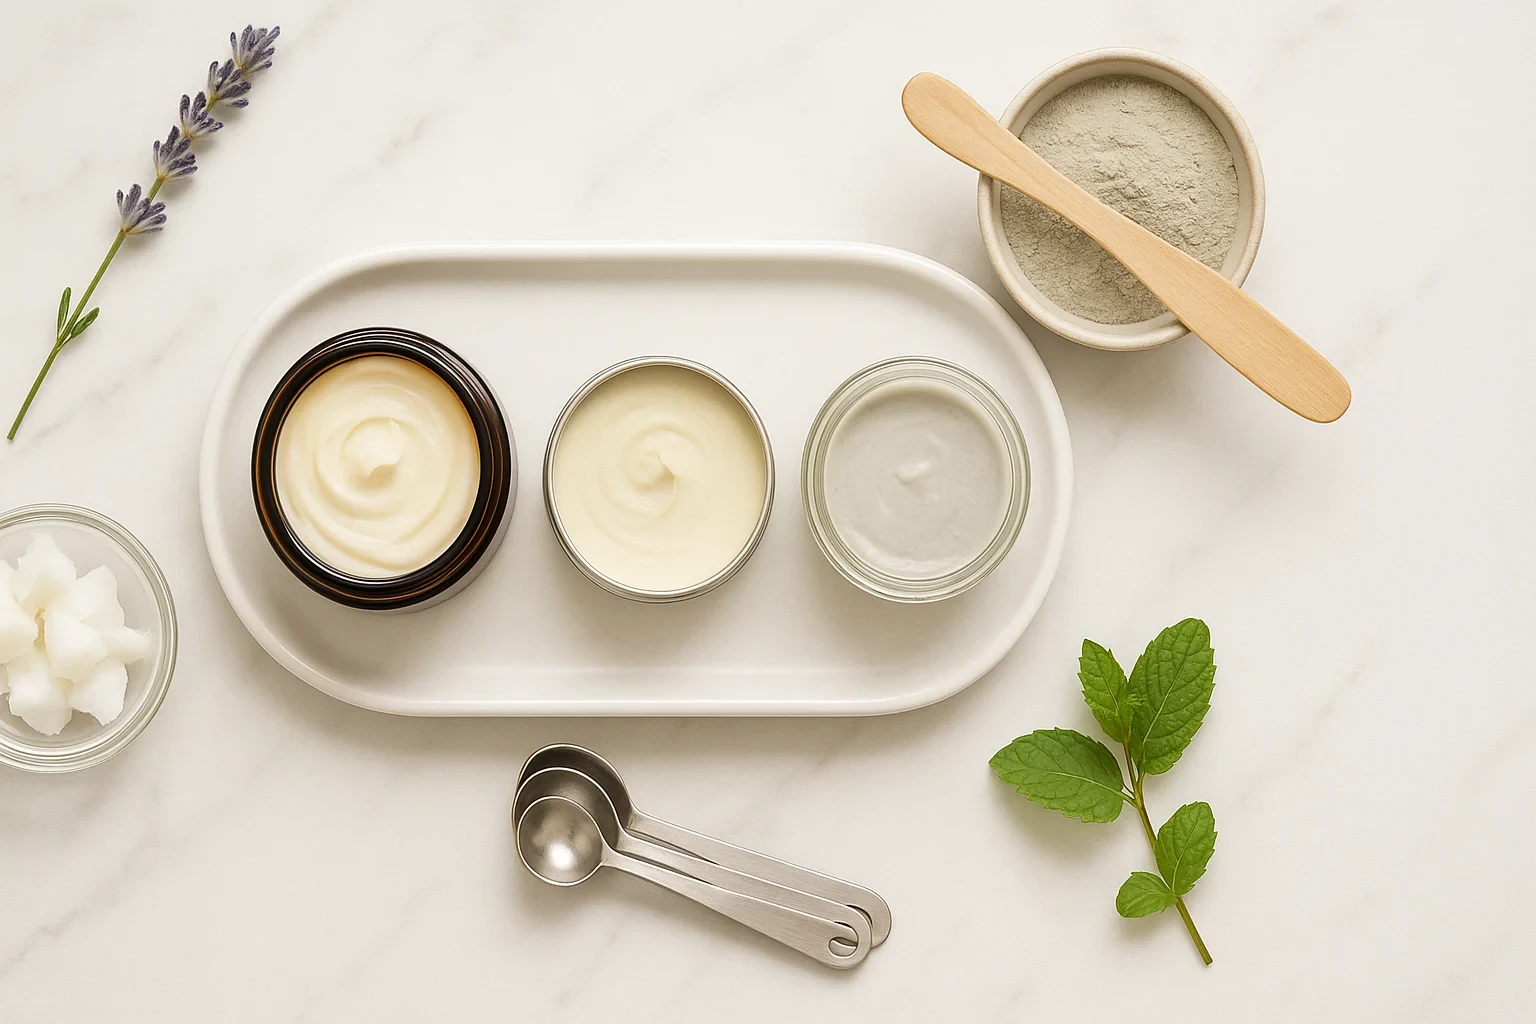
Which beauty products are actually worth making at home—and which are better left to tested formulas? The best DIY beauty products are small, simple projects that give you ingredient control without asking you to guess about preservation, cavity prevention, SPF, or insect protection.
This guide gives you eight beginner-friendly homemade beauty recipes for deodorant, masks, scrubs, body butter, and lotion bars. Start with five safety rules, then use the quick selector to find the right first project—or learn why a tested product is the better choice. By the end, you’ll know what to make, what to buy, and what not to improvise. For more low-cost wellness ideas beyond beauty, see our home remedies guide.
This page contains affiliate links. As an Amazon Associate, I earn from qualifying purchases at no extra cost to you. Learn more.
Table of Contents
- Five Rules Before You Mix Anything
- Choose Your First DIY Beauty Project
- DIY Ingredient Cheat Sheet
- Homemade Natural Deodorant: Two Options
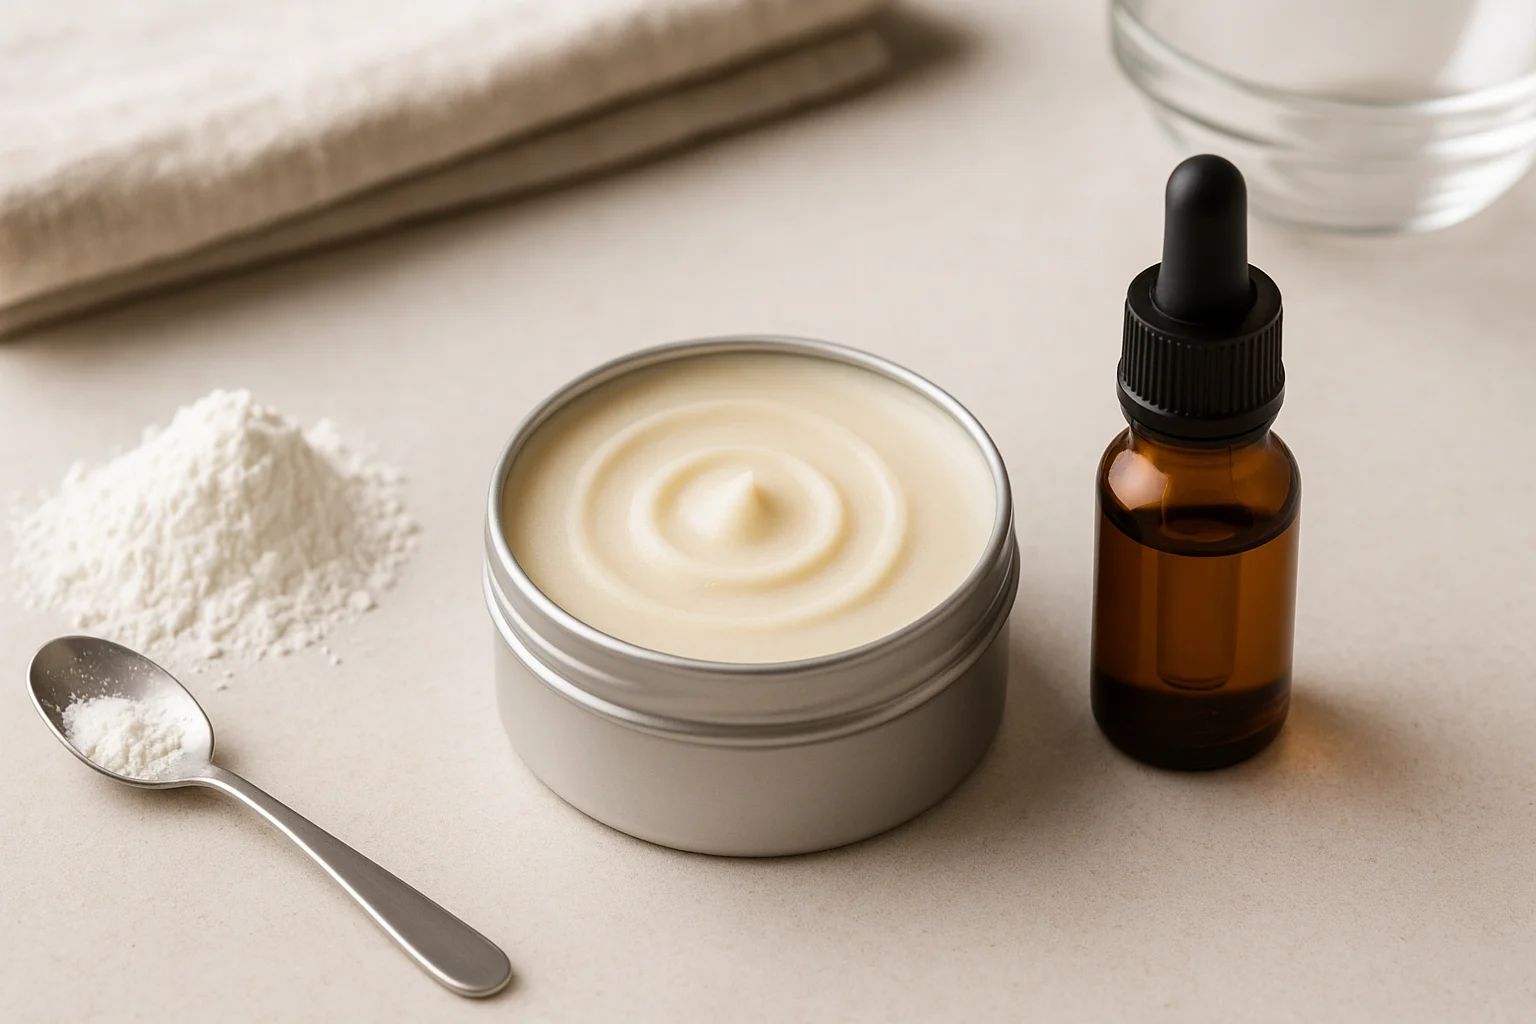
- DIY Natural Skin Care: Six Simple Recipes
- What Not to DIY: Four Products That Need Testing
- Fix Common DIY Beauty Problems
- Storage, Labels, and Cleanup
- Make a Batch You Can Repeat
- Frequently Asked Questions
- Make One Small Batch, Then Decide
Five Rules Before You Mix Anything
These five rules prevent more problems—and wasted ingredients—than adding another trendy ingredient:
- Start with single-use or water-free projects. A fresh rinse-off mask or a small oil-and-butter formula is easier to manage than a stored water-based cream. Neither is automatically sterile or shelf-stable.
- Use clean, completely dry tools and containers. Water, damp storage, fingers, and fresh food can introduce microorganisms. The FDA explains why cosmetic contamination matters.
- Treat fragrance as optional. Essential oils do not preserve a batch and can irritate skin. A fragrance-free first batch is easier to evaluate.
- Test leave-on products before wider use. The American Academy of Dermatology recommends testing a small area twice daily for seven to 10 days.
- Stop instead of trying to rescue a bad reaction. Wash off a product that burns, stings, swells, or itches. Discard a batch that develops an unusual smell, color, texture, gas, or visible growth.
With those limits in place, choose the product or job you have in mind. The selector will route you to one exact recipe—or tell you when a tested product is the safer, more useful answer.
Choose Your First DIY Beauty Project
Choose the product type. The tool asks one follow-up only when it changes the recommendation, then sends you to the exact recipe or safety limit.
DIY Ingredient Cheat Sheet
Once you have a project, buy ingredients for that formula—not for an imaginary future pantry. One versatile ingredient is frugal; eight half-used jars are not.
| Ingredient | Role and best fit | Main limit |
|---|---|---|
| Coconut oil | Adds glide to water-free deodorant, body butter, and body scrubs. | Melts in warmth and can feel heavy on some skin; it is not a preservative. |
| Shea or cocoa butter | Adds richness and body to body butter, lotion bars, and baking-soda-free deodorant. | Can feel heavy; cocoa butter also adds a noticeable scent. |
| Arrowroot or cornstarch | Absorbs some moisture and reduces greasiness in deodorant. | Does not stop sweating like an antiperspirant. |
| Baking soda | Deodorizes and adds abrasiveness; use it only as an optional deodorant ingredient here. | Can irritate underarms and has no validated abrasivity in a homemade oral formula. |
| Bentonite or rhassoul clay | Absorbs oil in a single-use face mask and can add powder to deodorant. | It is not a “detox” treatment and does not replace fluoride toothpaste. |
| Beeswax | Firms oil-and-butter mixtures such as lotion bars. | Too much makes a bar draggy or hard to apply. |
| Honey, avocado, or coffee | Adds texture to fresh, single-use masks and scrubs. | Do not store wet leftovers; food ingredients can spoil or irritate. |
| Jojoba, almond, or olive oil | Adds slip and softens body butter, lotion bars, and scrubs. | Choose an oil you tolerate and watch for odor changes over time. |
| Essential oils | Adds optional fragrance to leave-on body products. | They can irritate skin and do not replace a preservative system. |
Before buying larger sizes, compare unit prices and realistic use in our guide to buying natural ingredients in bulk. Some staples also appear in homemade cleaning solutions, but keep cosmetic and cleaning containers clearly labeled and separate.
Homemade Natural Deodorant Recipe: Two Small-Batch Options
A homemade natural deodorant recipe can address odor and absorb some moisture, but it will not reduce sweating the way an antiperspirant does. Start unscented, apply a small amount, and stop if the area becomes irritated.
Option 1: Simple Cream Deodorant
Best for: People who already tolerate baking soda on their underarms.
Makes: About ½ cup.
Ingredients:
- ¼ cup coconut oil
- ¼ cup arrowroot powder or cornstarch
- 2 tablespoons baking soda, with up to 2 tablespoons more only if you know you tolerate it
- Optional fragrance: preferably none for the first batch
Method:
- Soften or gently melt the coconut oil.
- Stir the arrowroot and baking soda together in a clean, dry bowl.
- Mix in the oil until the texture is smooth and spreadable.
- Transfer to a clean, completely dry jar and let it set.
Use and storage: Apply a pea-size amount to intact skin. Avoid applying immediately after shaving. Keep the jar cool and dry, use clean fingers or a small spatula, and discard it if the smell, color, or texture changes.
Option 2: Baking-Soda-Free Deodorant
Best for: A more cautious first attempt or anyone whose underarms do not tolerate baking soda.
Makes: About ½ cup.
Ingredients:
- ¼ cup shea butter
- 2 tablespoons coconut oil
- ¼ cup arrowroot powder
- 1 tablespoon bentonite clay, optional
- Optional fragrance: none is the simplest choice
Method: Gently melt the shea butter and coconut oil, stir in the dry ingredients, transfer to a clean, dry container, and let the mixture set.
Use and storage: Apply a small amount and give the formula time to warm against the skin. This version may feel softer and may control odor less strongly for some people, but it removes baking soda, which can irritate some underarms.
DIY Natural Skin Care: Six Simple Recipes
For a DIY natural skin care project, the easiest starting point is either a single-use rinse-off recipe or a small water-free batch. These six recipes avoid treatment claims and keep the ingredient list short.
1. Honey and Avocado Rinse-Off Mask
Makes: One application.
Ingredients: ½ ripe avocado, 1 tablespoon honey, and 1 teaspoon olive oil if you want a looser texture.
Method: Mash until smooth, apply a thin layer to intact skin, leave on for up to 10 minutes, and rinse thoroughly. Discard leftovers rather than storing a fresh-food mixture.
2. Oil-Absorbing Clay Mask
Makes: One application.
Ingredients: 1 tablespoon bentonite or rhassoul clay and enough water to make a spreadable paste.
Method: Mix in a clean bowl, apply a thin layer, and rinse before it becomes uncomfortably tight. Wash it off immediately if you feel burning, stinging, or itching; redness is not proof of “detox.”
3. Single-Use Coffee Body Scrub
Makes: One body-scrub session.
Ingredients: ¼ cup fine, dry coffee grounds and 2 tablespoons coconut or jojoba oil.
Method: Mix just before use, massage lightly over damp body skin, and rinse. Do not use this on the face or broken skin, and wipe excess grounds into the trash before rinsing to reduce drain buildup.
4. Sugar and Honey Lip Scrub
Makes: One application.
Ingredients: 1 teaspoon fine sugar, ½ teaspoon coconut oil, and ½ teaspoon honey.
Method: Mix, massage very gently for a few seconds, and rinse or wipe away. Skip the scrub if your lips are cracked, inflamed, or sore.
5. Whipped Shea Body Butter
Makes: About ¾ cup.
Ingredients: ½ cup shea butter, ¼ cup coconut oil, and 2 tablespoons jojoba or almond oil.
Method: Melt the ingredients gently, chill until the edges begin to firm, whip until light, and transfer to a clean, dry jar. Leave fragrance out for the first batch.
6. Simple Lotion Bar
Makes: Several small bars, depending on the mold.
Ingredients: ½ cup shea butter, ½ cup coconut oil, and ½ cup beeswax pellets.
Method: Melt together gently, pour into silicone molds, and cool completely. Rub the finished bar between warm hands, then apply a thin layer to dry body skin.
What Not to DIY: Four Products That Need Testing
The eight recipes above stay within simple cosmetic care. The four categories below are different: they depend on validated active ingredients, measured protection, or preservation testing that a kitchen recipe cannot prove.
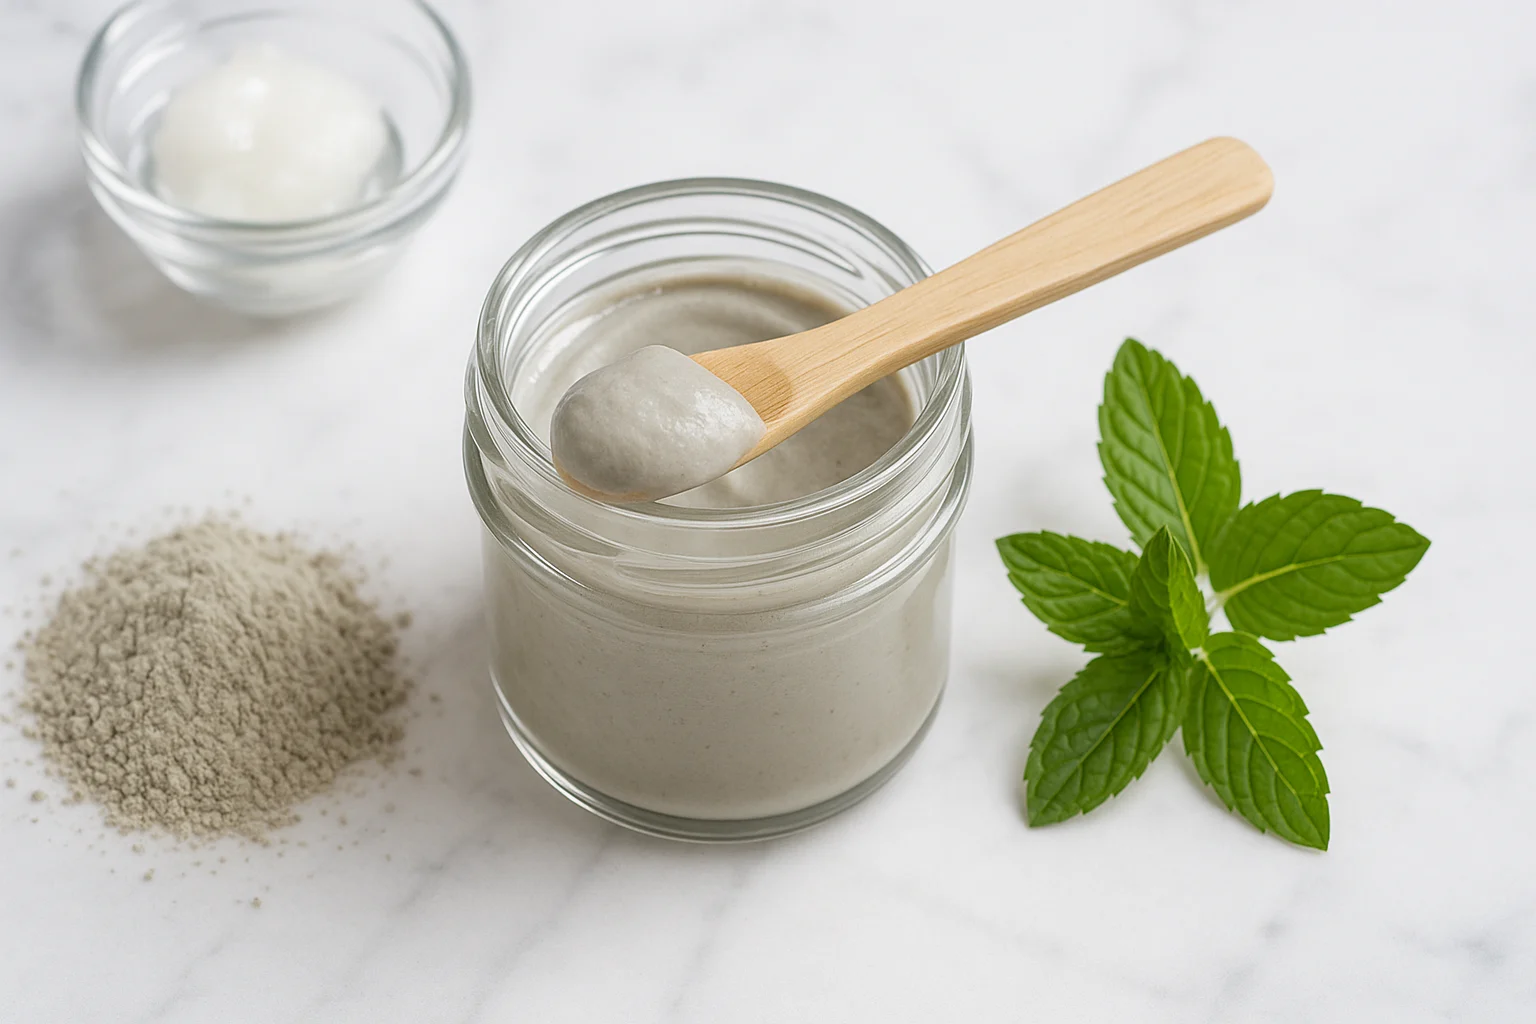
Homemade Natural Toothpaste
A homemade natural toothpaste may change flavor or texture, but it does not provide a validated fluoride dose, a tested Relative Dentin Abrasivity value, or a proven cavity-prevention claim. Brush with fluoride toothpaste at least twice daily unless your dentist gives you different guidance. See the CDC fluoride guidance and the ADA toothpaste overview.
Sunscreen and SPF Products
Do not estimate SPF from zinc oxide, oils, or a recipe percentage. Sunscreens are tested as complete products to establish UV protection and water-resistance claims. Choose a labeled product and follow its Drug Facts directions; the FDA explains how sunscreen testing and labels work.
Dependable Insect Repellent
Do not rely on a homemade citronella or essential-oil blend when bite prevention matters. The CDC recommends EPA-registered insect repellents, and the EPA provides a repellent finder based on protection needs.
Stored Water-Based Creams and Eye-Area Products
Lotions, creams, gels, and emulsions that contain water need more than refrigeration and a clean jar. Preservation, packaging, and stability all affect contamination risk. Keep this beginner guide to single-use mixtures and simple water-free formulas, and avoid homemade products for the eye area.
For projects that do belong at home, the next section helps you correct texture and irritation problems without throwing more ingredients at the batch.
Fix Common DIY Beauty Problems
Most failed batches are texture, temperature, or tolerance problems. Change one thing at a time instead of rebuilding the whole formula:
- The deodorant is too soft: Cool it fully before changing the formula. If it still runs, remelt and add a small amount of arrowroot or shea butter.
- The deodorant or lotion bar is too firm: Remelt a small test portion and add a little liquid oil before changing the whole batch.
- The body butter feels grainy: Remelt it completely, cool it more quickly, and whip again. Slow cooling can allow butter crystals to reform unevenly.
- A mask feels tight or stings: Rinse it off immediately. Do not wait for discomfort to prove that the mask is working.
- A leave-on product causes redness or itching: Stop using it. Do not add fragrance or another ingredient to cover the reaction.
- The smell, color, or texture changed: Discard the batch. A cosmetic recipe is not worth gambling on when its condition is uncertain.
Storage, Labels, and Cleanup
A simple formula still needs a simple handling routine. These habits make each batch easier to evaluate and less likely to be wasted:
- Label every container: Write the product name, ingredients, and batch date.
- Keep water out of stored products: Use dry hands or a clean, dry spatula and close the lid promptly.
- Make fresh-food masks one use at a time: Do not save avocado, honey, or wet clay leftovers for later.
- Store for the formula, not the fantasy: Cool, dark storage may slow changes, but it does not prove a fixed shelf life.
- Clean without overclaiming sterility: Wash utensils and jars thoroughly, rinse well, and let them dry completely. For inexpensive household cleaning routines, see our frugal cleaning hacks.
Make a Batch You Can Repeat
Measuring cups and spoons are fine for a first test. A scale becomes useful only after a formula works and you want the next batch to match it—or you want to make less without guessing at partial spoonfuls.
- Place the empty mixing bowl on the scale and press tare.
- Follow the recipe as written, but record the gram reading after each ingredient goes into the bowl.
- Press tare between ingredients so each amount is easy to copy later.
- Save the gram amounts with the batch date and one short note about texture and skin tolerance.
For repeatable batches: Etekcity EK6015 digital kitchen scale.
Use it after a recipe earns a second batch, not before. Its gram display and tare function let you record each ingredient without buying a specialty beauty kit. Skip it if you already own a scale that reads grams or you plan to make only one small batch.
A kitchen scale can improve repeatability, but it does not make a formula safer, extend shelf life, or validate SPF, cavity prevention, preservation, or skin compatibility.
Frequently Asked Questions
Make One Small Batch, Then Decide
Choose the project the tool matched you with—or the simplest recipe that uses ingredients you already own. Make the smallest useful batch, label it, and use it long enough to judge whether it solves the job. Keep the first version fragrance-free and change only one variable next time.
If the job depends on cavity prevention, SPF, registered insect protection, preservation testing, or treating a persistent skin problem, stop at the tested product. For the same buy-only-what-solves-a-real-job approach across your budget, continue with the Frugal Living Handbook.
This DIY beauty products guide is for general education and isn’t medical or dental advice. Homemade toothpaste is not a substitute for fluoride toothpaste or individualized dental care, and homemade essential-oil blends should not replace EPA-registered insect repellents when dependable protection matters. For persistent skin issues, sensitivities, pregnancy-related ingredient questions, or oral-health concerns, consult a licensed dermatologist, dentist, or other qualified clinician. Follow safe handling and discontinue use if irritation occurs.